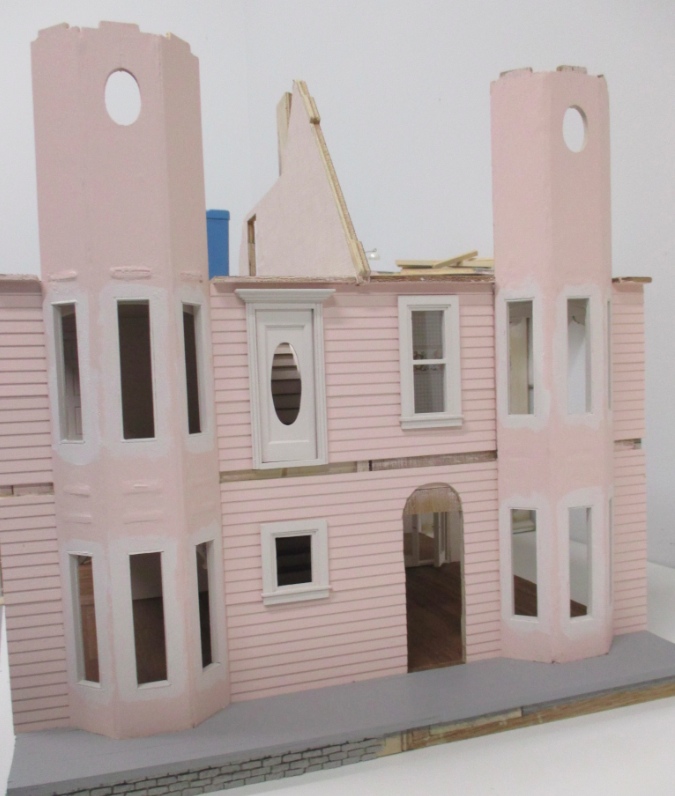
I think die cut dollhouses look best when the plywood is covered up. It takes a lot of sanding and prep work to give luan plywood a nice finish, and I’ve never managed to completely hide slots/tabs no matter how much wood filler I use. My back to back Victorianna is half birch plywood, which is a step up from the luan quality-wise, but the two sides need to match, so I’ve been planning all along to cover up the bay windows somehow.
I looked at a lot of real houses to figure out how to tackle this. (Dollhouse bay windows rarely look like real bay windows…) Luckily, living in San Francisco, I see tons of bay windows just walking around my neighborhood, so I took inspiration from some of those. Also pictures like this (from a page about Victorian house styles) and this (from Houzz) gave me ideas.
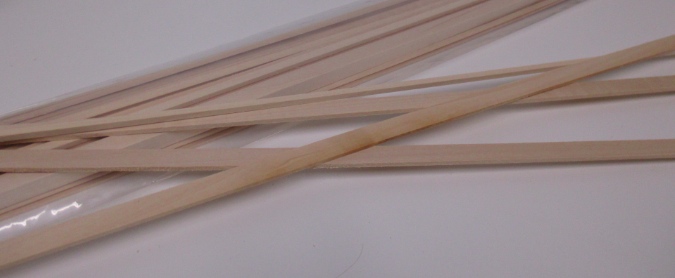
After months of putting this off, I finally came up with a plan and went to Dollhouses Trains and More for the wood. Those little pieces add up! I spent about $50 on strip wood (not all of it’s for the bays, but it is all for the Victorianna…)
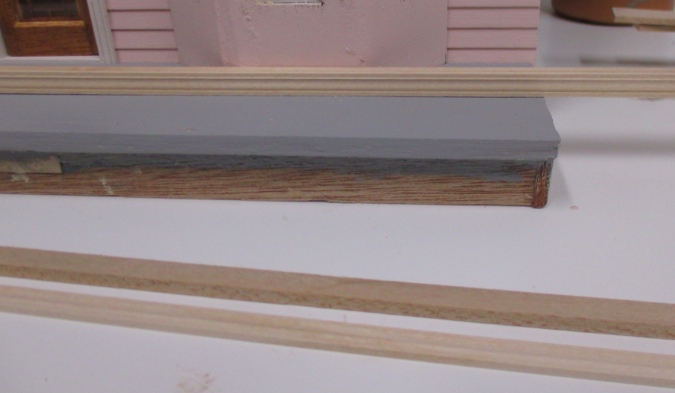
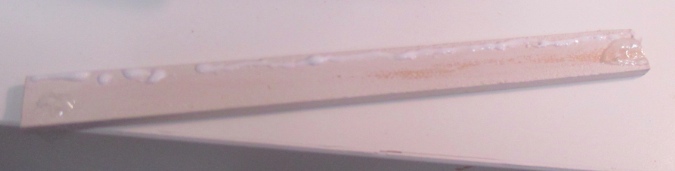
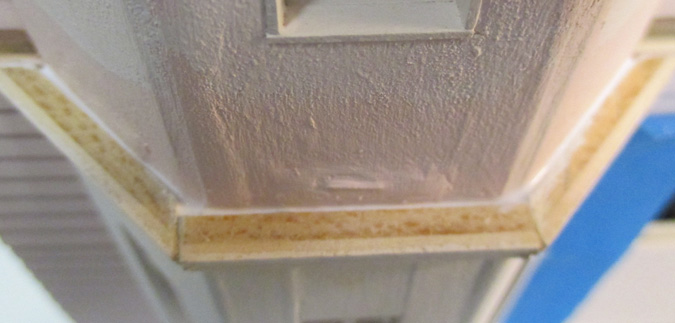
I wanted some kind of cornice for the top and bottom of each bay window. It needed to be around 1/4″ tall, 1/8″ deep, and have a flat edge on the top and bottom. I couldn’t find anything like what I wanted, so I ended up getting a flat trim (chair rail maybe?) and gluing it to a piece of 1/4″ x 1/8″ strip wood. Here you can see the two pieces at the bottom, and a glued together piece sitting on the porch.
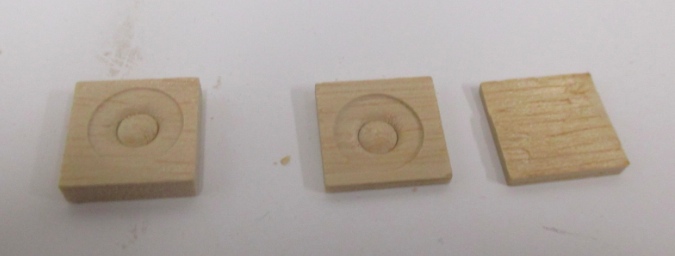
I’m using 1:12 corner blocks as a decorative element. These were a bit too thick for my purposes so I sliced off the backs with a utility knife. Some got a bit mangled but I managed to cut them all without destroying any completely.
Here’s the concept. The vertical pieces are 3/8″ wide x 5/16″ deep, with a piece of quarter round filling the gap between them. The window acetate will be glued to the exterior walls, sandwiched under the strip wood.
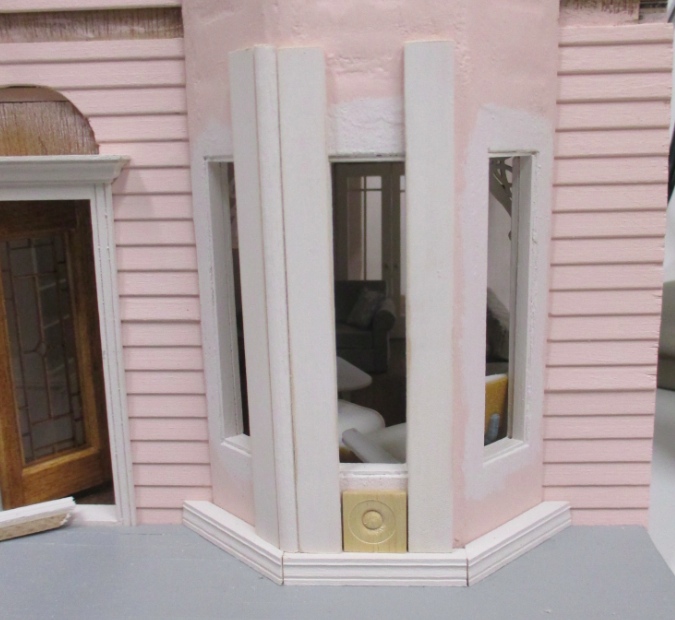
First I glued down the bottom molding and painted over the seams.

With the acetate glued on I wouldn’t be able to stick my fingers in the window hole to line up the strip wood with the interior trim, so I drew pencil lines as guides. Then I cut out the windows from clear acetate (I didn’t like the silkscreened design on the kit windows). I left plenty of extra around the edges so the glue wouldn’t squeeze into the visible area.

I’ve had bad experiences with acetate popping off when I’m trying to do window trim, so I left these alone a bit to dry. Some of the window edges didn’t stick well, but there will be a ton of trim holding them in place so there’s no way they can fall off.
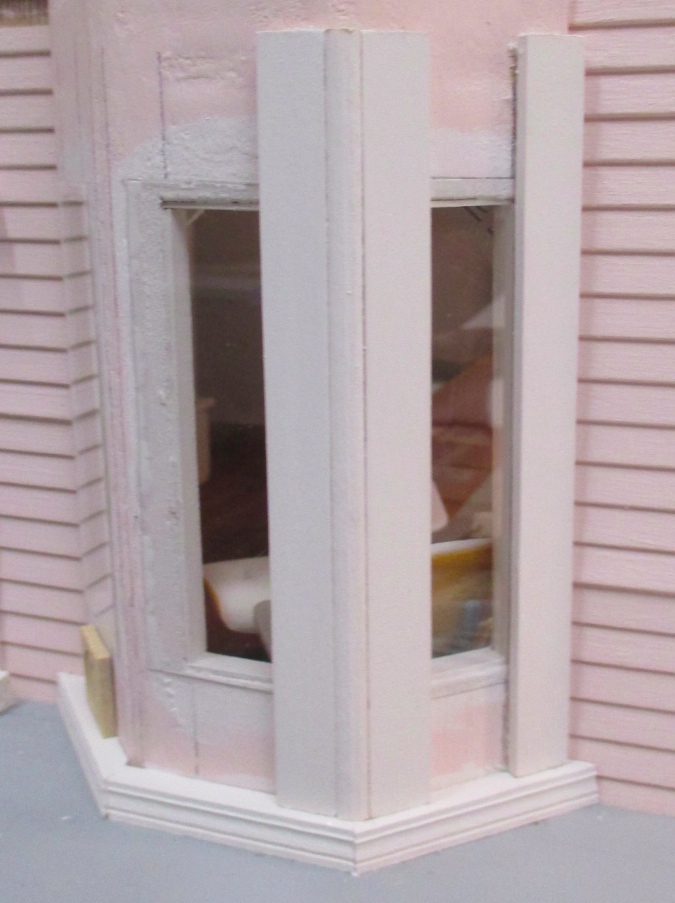
Next I glued in the vertical pieces. I put a glob of Quick Grip at the top and bottom, and a line of Tacky Glue on the edge that faces away from the window to prevent glue from squeezing out where you’ll see it.
I also put some Tacky Glue at the top and bottom on the house, for good measure.

For some of these, I had to hold the top and bottom for several minutes before the Quick Grip stuck. I think the trim on the inside edge of the window holes wasn’t always flush, so it was bumping into the vertical strips and preventing them from sitting flat. With patience (and Super Glue on a couple of them!) I got them all glued in.

Next came the corners. On the luan side of the house I used 1/8″ quarter round. On the birch plywood side the gap was slightly smaller, and I used the next size down — I think it was 3/32 but I’m not 100% sure about that. Once everything’s done you shouldn’t be able to tell they’re slightly different.
With the vertical strips and corners finished, I cut the rest of the pieces. The space at the top is approximately 5/8″ wide and I couldn’t get wood in that size, so I bought 3/4″ and cut some off the side.

There are some visible seams, especially around the corner blocks at the bottom. Originally I had thought about making the corner blocks a different color but I’m glad I nixed that idea, because it would have been impossible to mask those cracks.

I added wood filler to all the cracks.

Because the wood I used around the windows is fairly thick, it was easy to do another coat of paint without messing up the acetate. The few times I did get paint on the plastic I quickly wiped it off with a wet tissue.
The long skinny windows looked funny to me, so I added muntins (left over from some Houseworks windows).

I wanted to add them to the inside as well, to maintain the illusion of separate panes of glass, but it would have been much too hard to get my hands in there. Even my perfectionism has its limits.

The last step was to glue in the molding at the top.

My wood strips weren’t exactly the same height, so there were some cracks to fill in and paint over where they meet the crown.
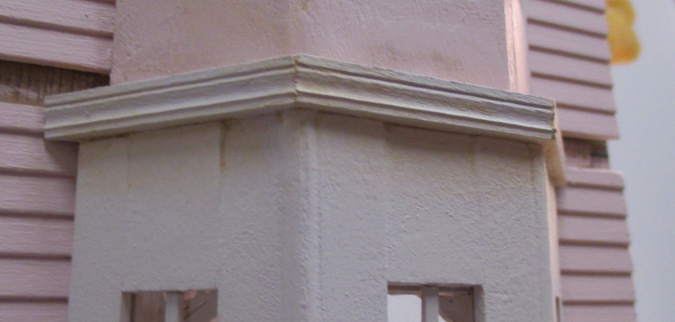
This top trim will act as a “shelf” for the upper porch to sit on — more stable than just being glued to the side of the house.

The upper porch will need to fit in right beneath the upstairs door (which isn’t glued in yet). I didn’t want to end up with glued-in pieces that kept the porch from fitting where it needs to go, so when I did the left bay window, I put the porch and door in position while the top crown molding dried. It was a tight fit, causing the molding pieces to bow out from the house a bit.

Since they weren’t getting a good bond against the house, I put a lot of glue in the space between the house and where the crown wanted to sit.
It seems to have dried all right. I filled in the gaps at the corners, and the visible crack under the porch will get covered up with trim eventually.
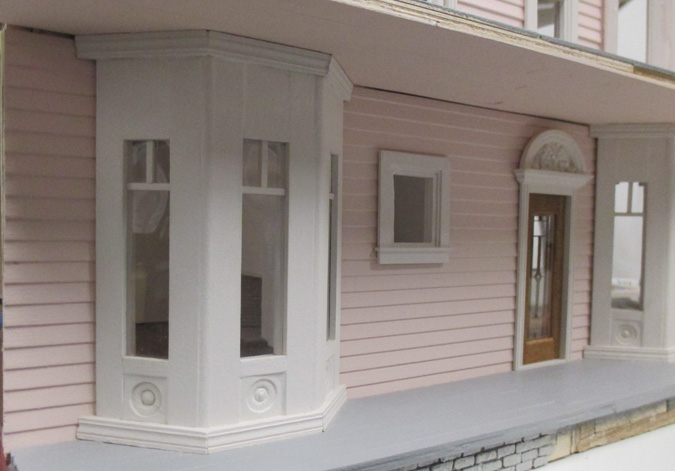
Here’s the house with the two downstairs bays finished. I might add some additional trim to the naked space above the windows… I’m going back and forth on it.

That’s it for now. I’ll glue in the upper porch and probably detour to some porch trim before I tackle the upstairs bay windows.
 Emily is a freelance writer, miniaturist, and adventure game enthusiast.


Now that is a really neat way of doing the bay windows, and they look wonderful. It’s a great idea to make them so that they support the upper porch too – much more secure. Great work!
They look great!