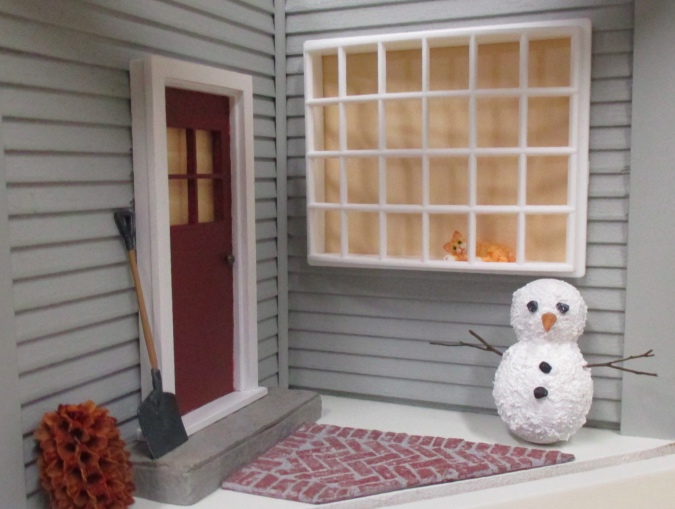
I’m waiting for something to come in the mail before I can continue with the four seasons roombox. In the meantime, here’s a tutorial for a 1:24 scale snowman.
Supplies needed:
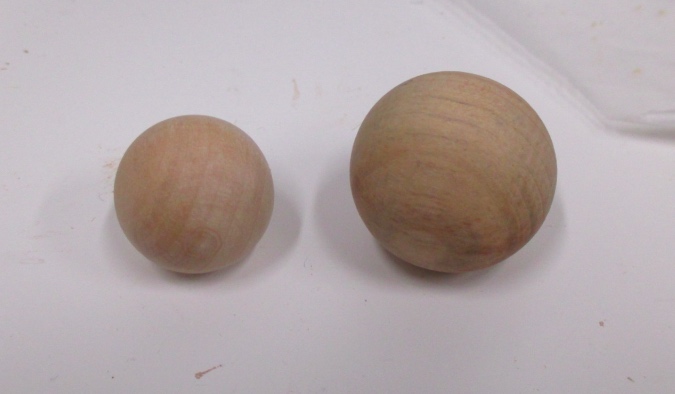
- Wood balls: 3/4″ and 1″ diameter
- Pin or thin wire
- Tiny pebbles (or something else) to make eyes, nose, and buttons
- A few sprigs of caspia basil
- Snow Tex
- Black, orange, and brown paint
- Tacky glue
- Finger drill
- Wire cutters or heavy scissors
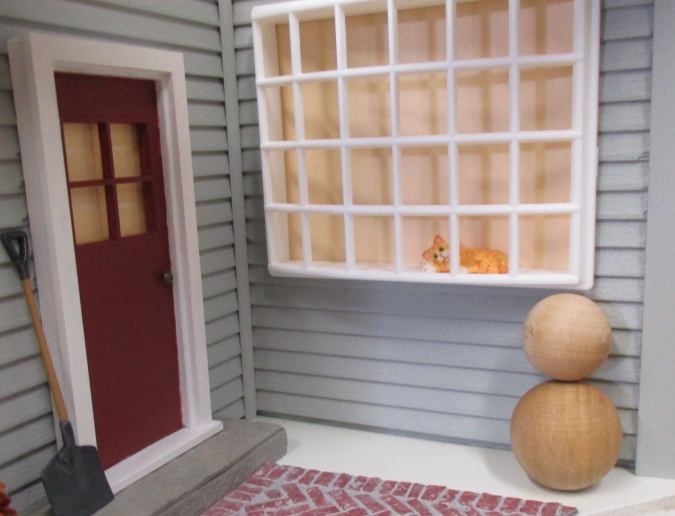
(Note: to make a taller 1:24 snowman, add a 1-1/4″ wood ball. To make a 1:12 scale snowman, use larger wood balls.)
The first step is to glue the two wooden balls together. Since they’re round, it helps to drill a tiny hole in each ball and stick in a piece of pin or wire to hold them together.
Use your finger drill to make a hole in each ball that’s just large enough to accommodate the wire. The hole doesn’t need to be very deep. Insert the wire into one ball and cut it down so it’s just long enough to insert into the second hole.

Add a dab of glue over the wire, then attach the second ball to the first.
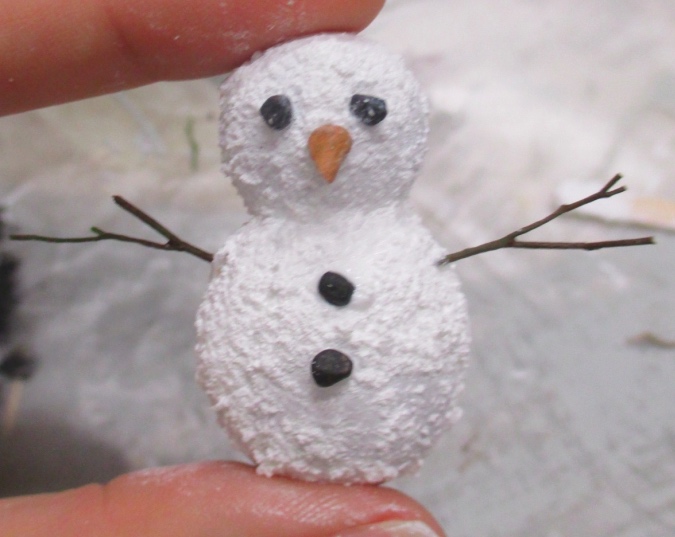
I picked through a baggie of tiny pebbles in my stash and separated out four roundish ones (two for eyes and two for buttons), plus one pointy pebble for a “carrot” nose.
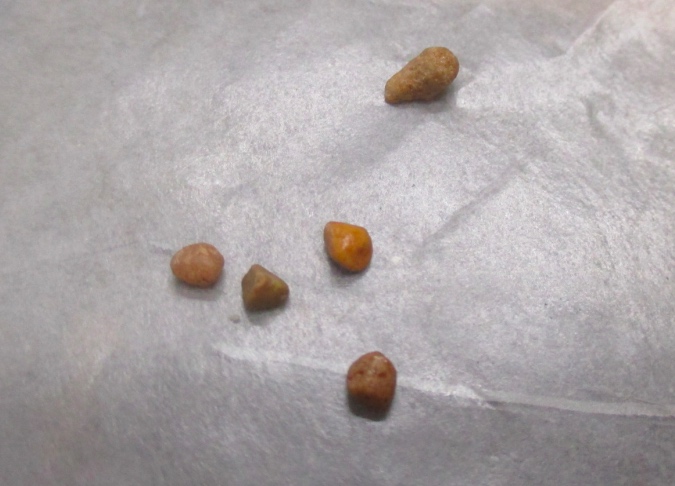
If you don’t have pebbles handy, you could use seed beads for the buttons/eyes and a sanded dowel for the nose, or you could make them out of Fimo or air dry clay.
The “branch” arms are made out of caspia basil. Hold up some segments against your wooden balls to get an idea of what looks in scale. Avoid using the wispy parts since they break easily. The thicker parts at the bottom of the branch are stronger.
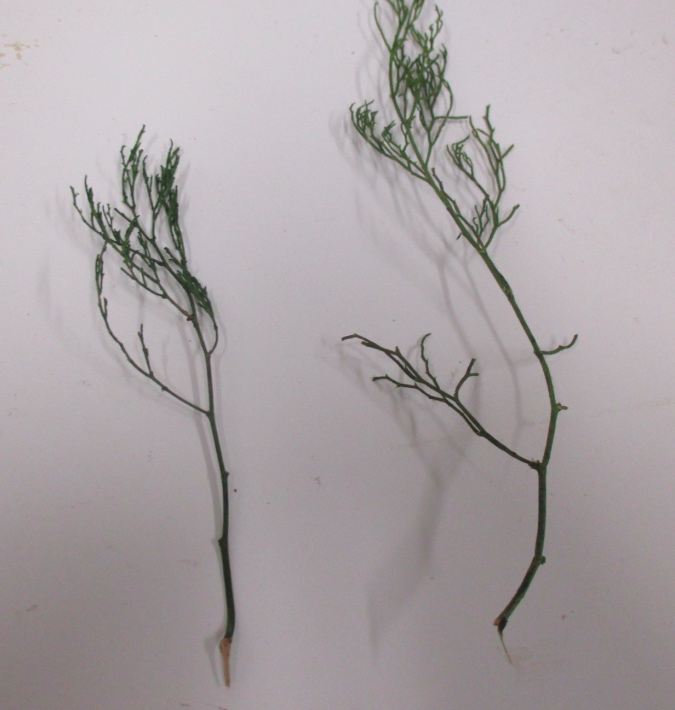
Paint the eyes and buttons black, the carrot nose orange, and the branch arms brown. (I wasn’t sure yet which segments of the basil I’d use, so I painted more than I needed.)

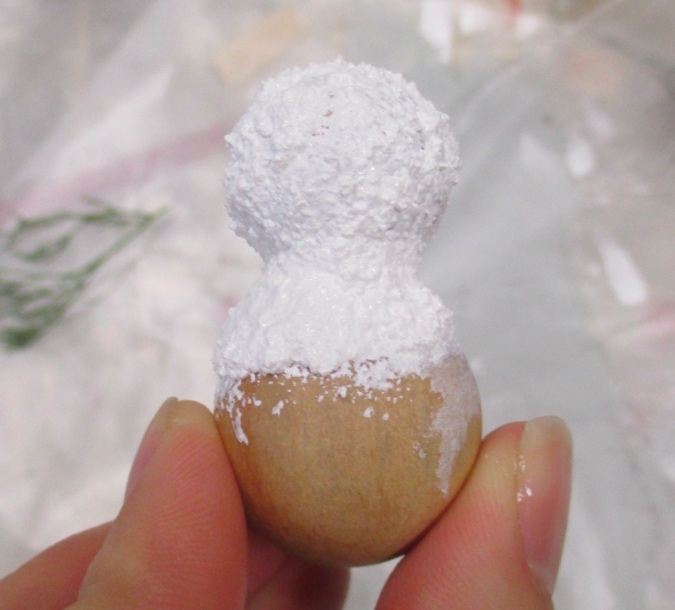
Cover the wooden balls with Snow Tex. I spread this on with my fingers and used a coffee stir stick to tamp in the snow between the two balls, so the snowman’s neck wouldn’t disappear.
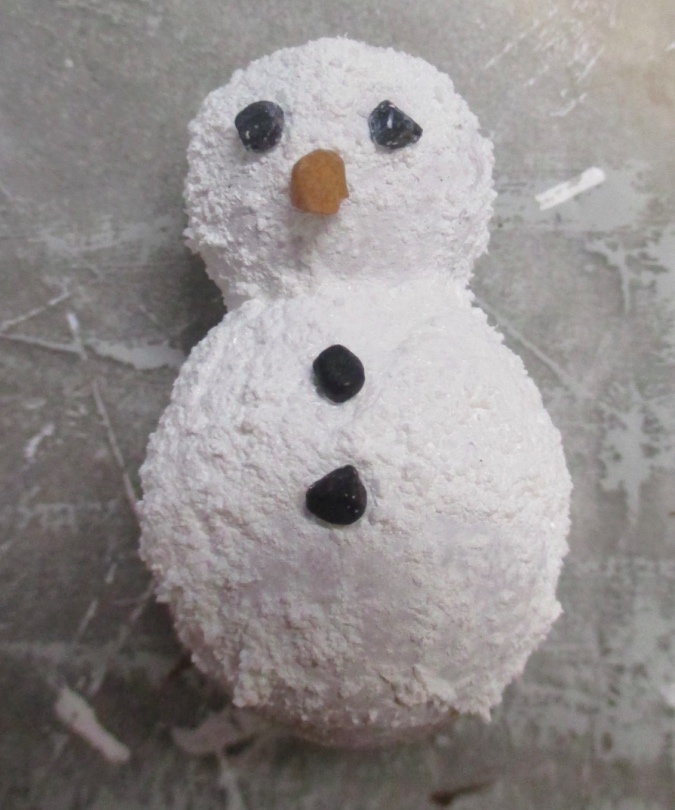
While the Snow Tex is still wet, place the eyes, buttons, and nose where you want them. Don’t glue yet — setting them in place first flattens the Snow Tex a little so you can glue them in more easily once it’s hardened. Leave the snowman alone to dry.
(Notice mine isn’t completely covered at the bottom — that’ll get covered up when I add him to my scene.)
When the Snow Tex is dry, carefully remove the eyes, nose, and buttons and reattach them in the same spots with glue. Then use the finger drill to make two arm holes large enough to accommodate the branches you cut from the caspia basil. Make sure the holes aren’t only going through the Snow Tex — they need to extend into the wooden balls a little to hold the branches in place. (You should see sawdust once you hit the balls.)
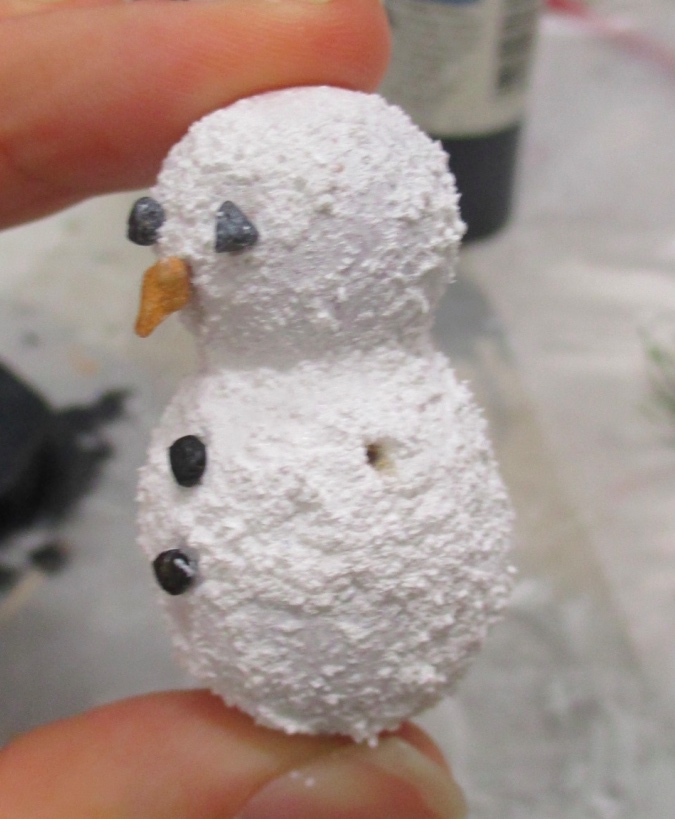
Dab glue over the holes and stick in the branches. Once the glue is dry you might need to touch up the snow around the arms and any bald spots, including on the back if it flattened when it was lying down to dry.
 Emily is a freelance writer, miniaturist, and adventure game enthusiast.


So freakin’ cute!