I’m at the point where I could attach the Victorianna’s roof, but after spending so much time shingling the Rowhouse I just don’t have it in me to do another roof right now. So I moved on to the last room in the house: the kitchen.
I wanted to use the same tan wallpaper I used in the second floor bathroom (which has the same texture as the pink wallpaper used in the rest of the house), but I don’t have any more and it’s discontinued. Instead I papered it with a heavy off-white scrapbook paper that also has some texture to it.
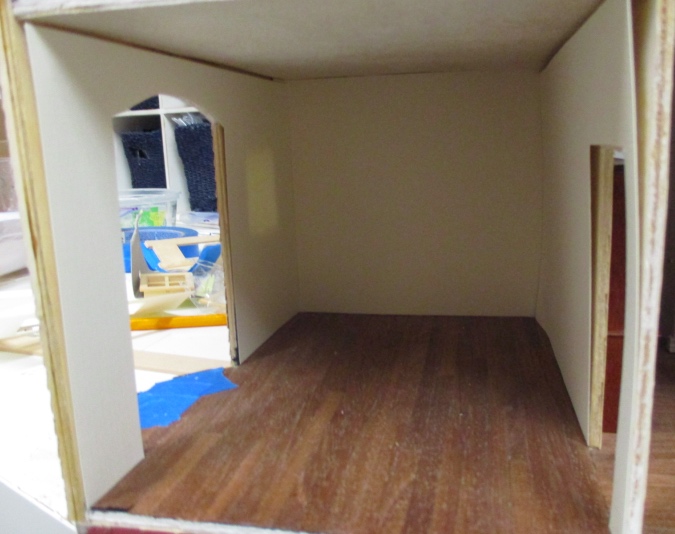
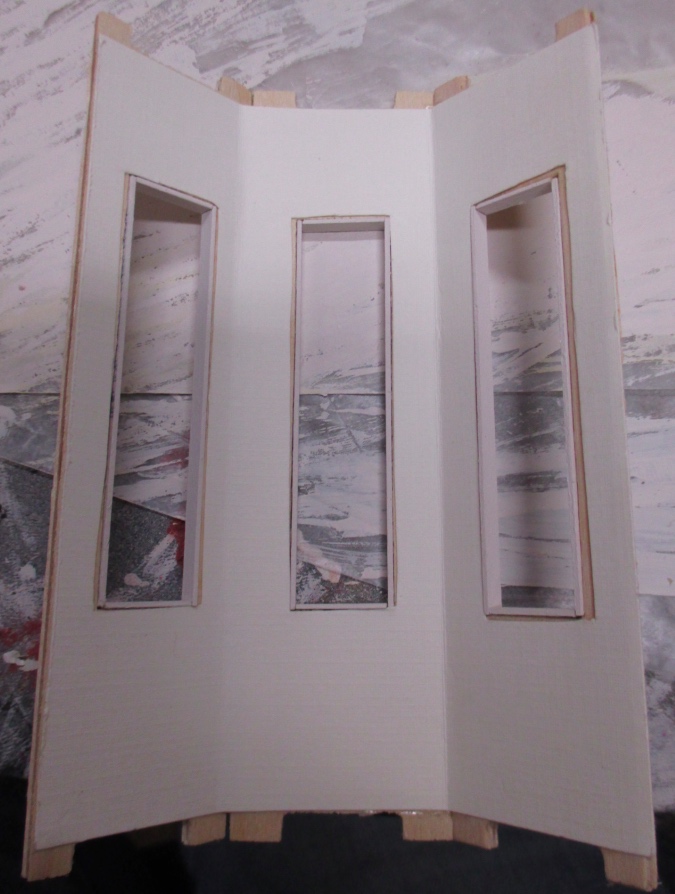
It’s too difficult to slide the wallpaper up behind the archway, especially with this stiff scrapbook paper. When I did the other four bay windows, I slid the wallpaper in through the gaps in the sides. I couldn’t do that in the kitchen because I’ve already added siding to the back of the house, blocking off those gaps. Luckily I hadn’t glued in the bay window wall pieces yet. With one of the walls removed, I was able to slide the wallpaper in.
I put that wall panel back in, creased the paper at the joints, and cut out the window holes.
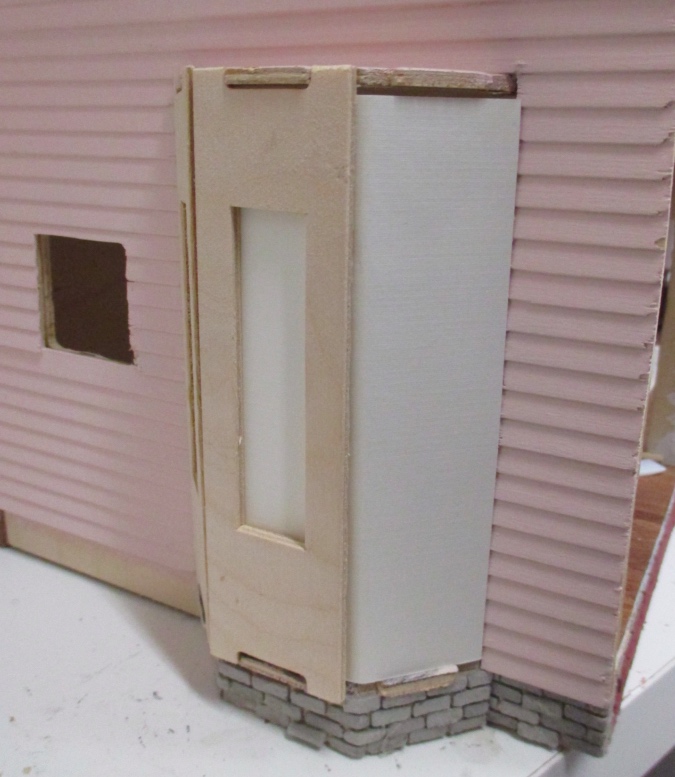
Then I removed the wallpaper from the opening and glued the three wall pieces together. These are only glued to each other, not to the house yet.
When the glue was dry, I was able to remove the assembly to add wallpaper and trim. This was much easier than doing it with the bay window in place (which is how I did the other four).
I added painted strip wood to the inside edges of the window holes.
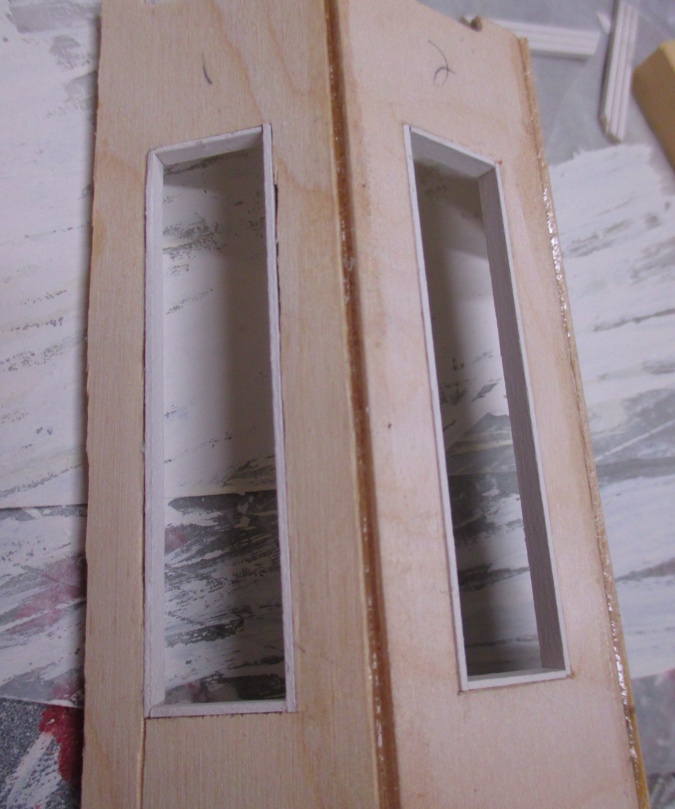
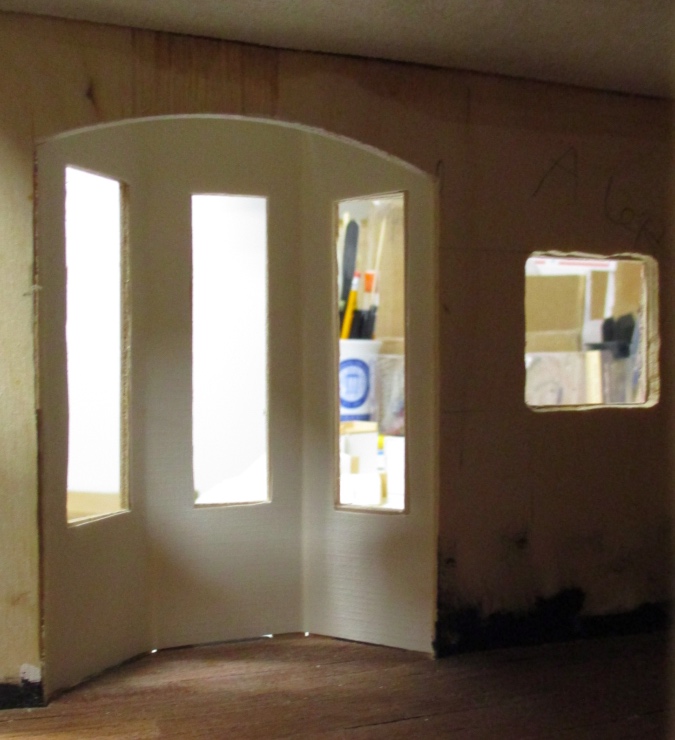
Then I glued in the interior window trim, cleaned up the seams with wood filler, and touched up the paint.
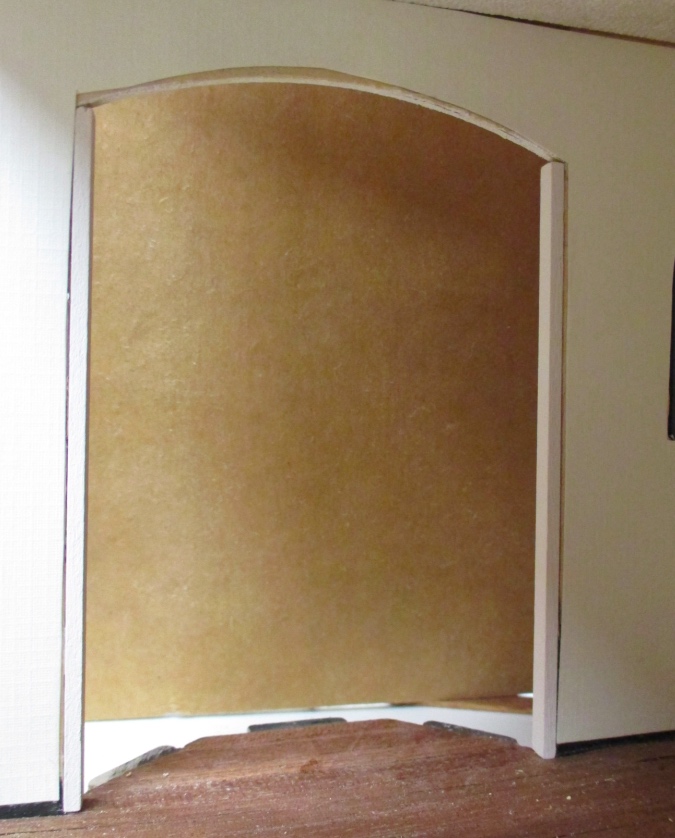
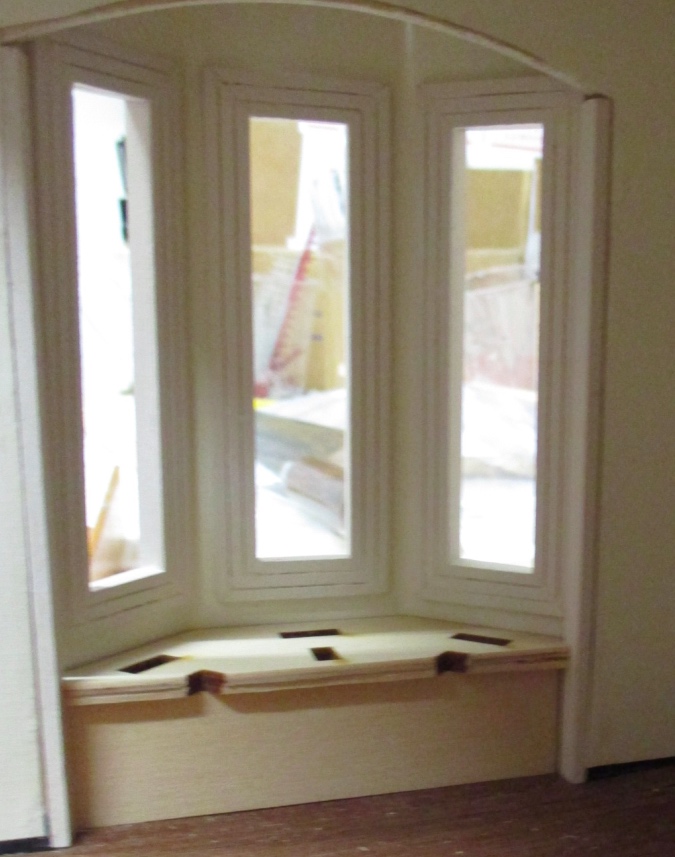
Next I added strip wood to the edges of the archway. While the glue was still tacky, I popped the bay window back into place to make sure this trim wouldn’t bump into the window trim. (It didn’t.)
With those side trim pieces in, it was time to build the window seat. This octagon piece is left over from the 1:48 scale gazebo I bashed into a cupola. It just happens to match the width of the bay window walls.
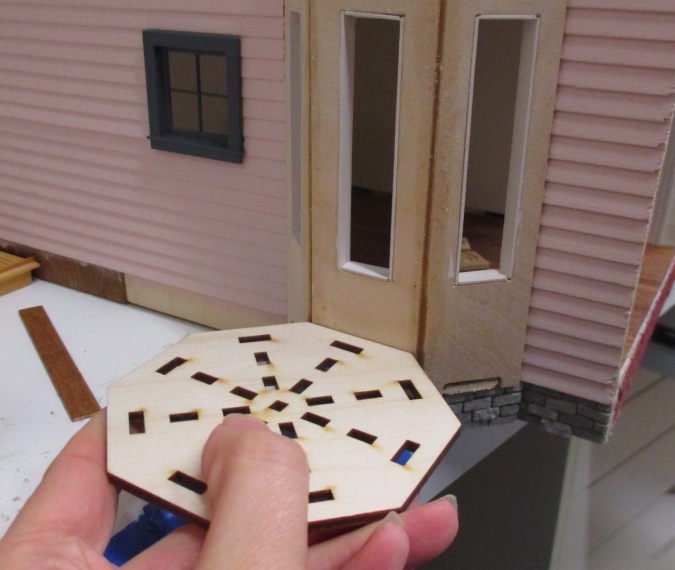
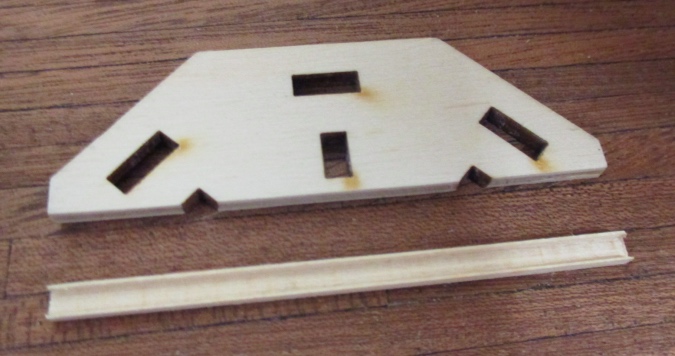
I used a utility knife to cut down the octagon.
The corners needed to be cut off for it to fit in the opening.
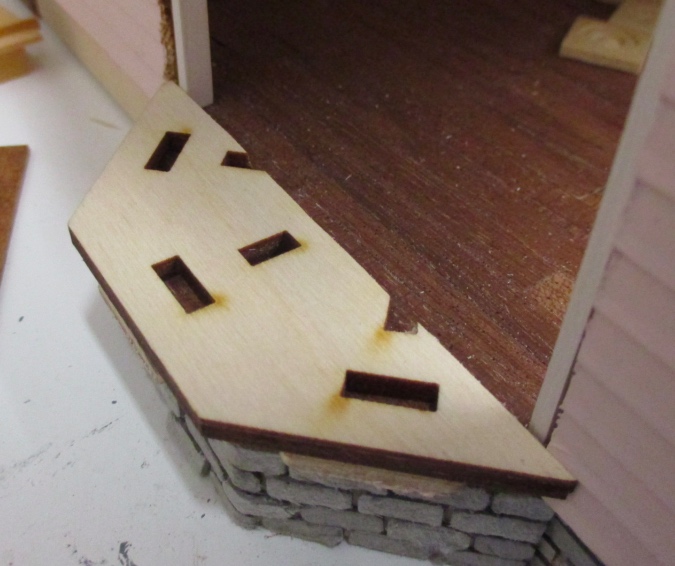
Based on where the piece was hitting the sides of the opening, I marked where I thought I should cut, but I got it wrong.
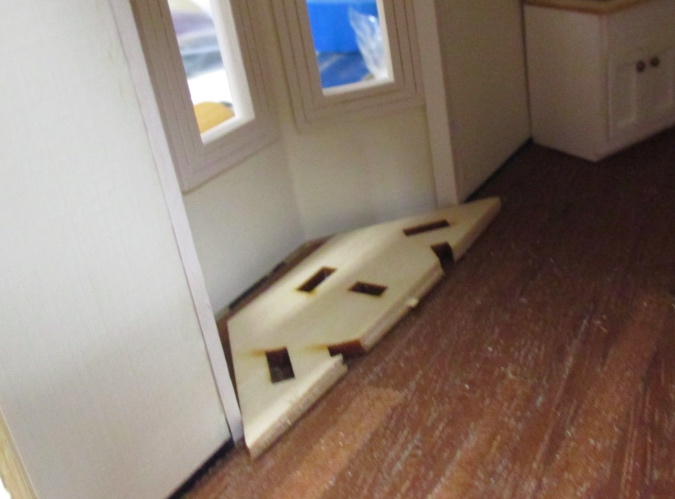
Luckily I still had the other side of the octagon piece. This time instead of cutting the corners, I sanded them with the disc sander, little by little, until the seat piece fit perfectly. The vertical piece is 3/4″ basswood, and there’s another piece at the back to hold the seat level.
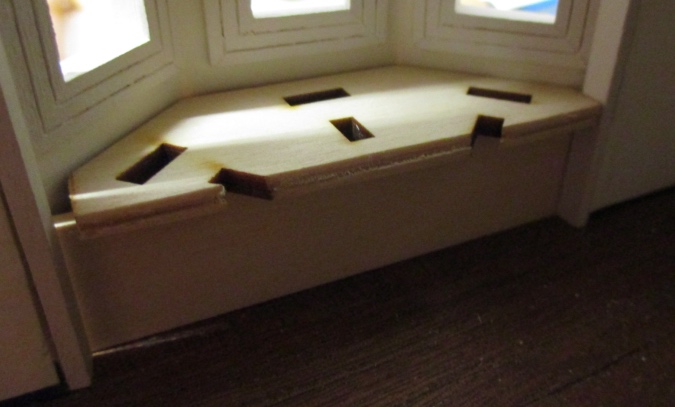
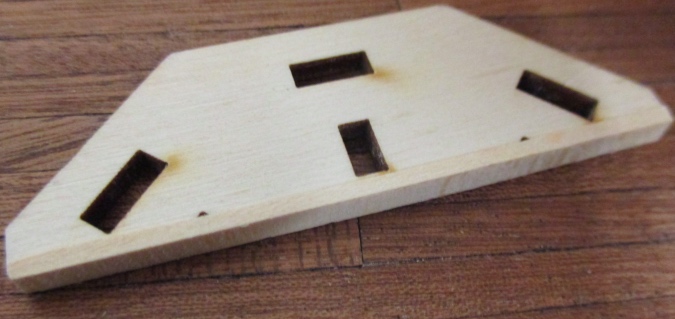
I looked through my scrap pile and found a piece of channel molding that fit over the front edge of the seat.
This covers up the slots and provides a cleaner edge than the exposed plywood.
I had a small piece of hardwood floor with very skinny planks left over from the Artist’s Cottage. I cut this to fit and glued it on.
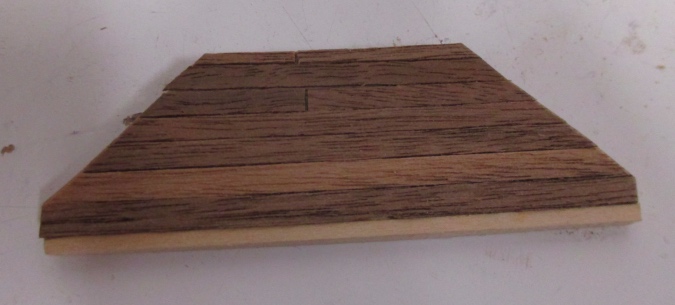
Here’s how it will look. I also added a piece of cove molding to the front bottom of the unit. The whole seat will be painted trim color.

Back to the bay window trim. I had two options for the corners. This is the fancier style I used in the living room and dining room. I liked the idea of all three first floor bay windows matching, but this seemed a bit much for a kitchen.
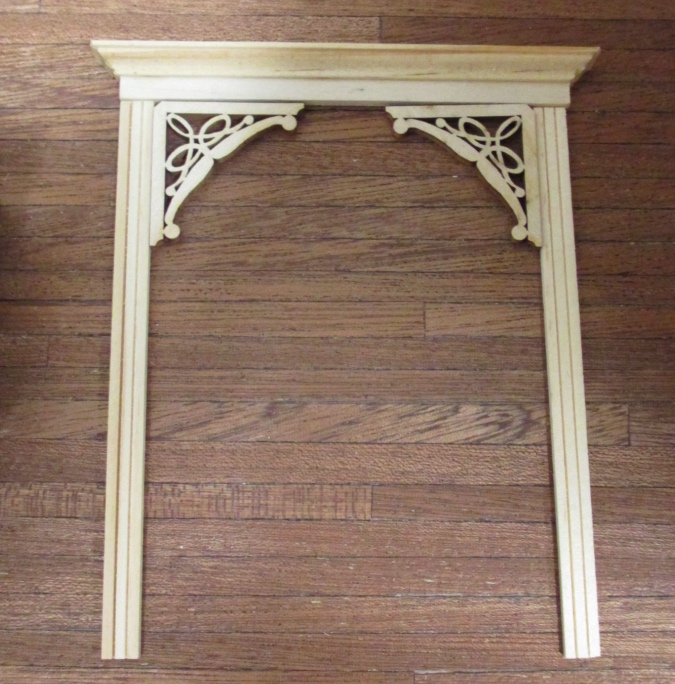
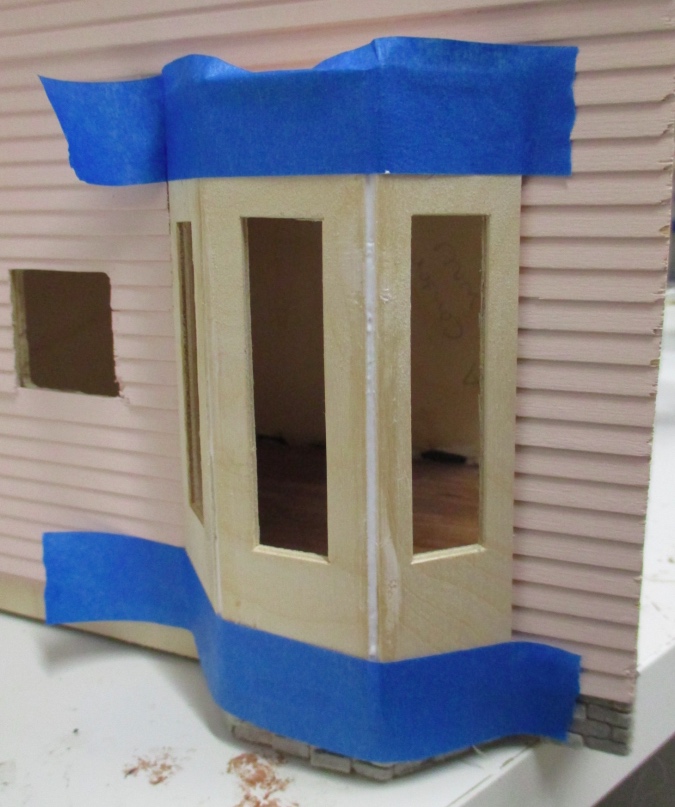
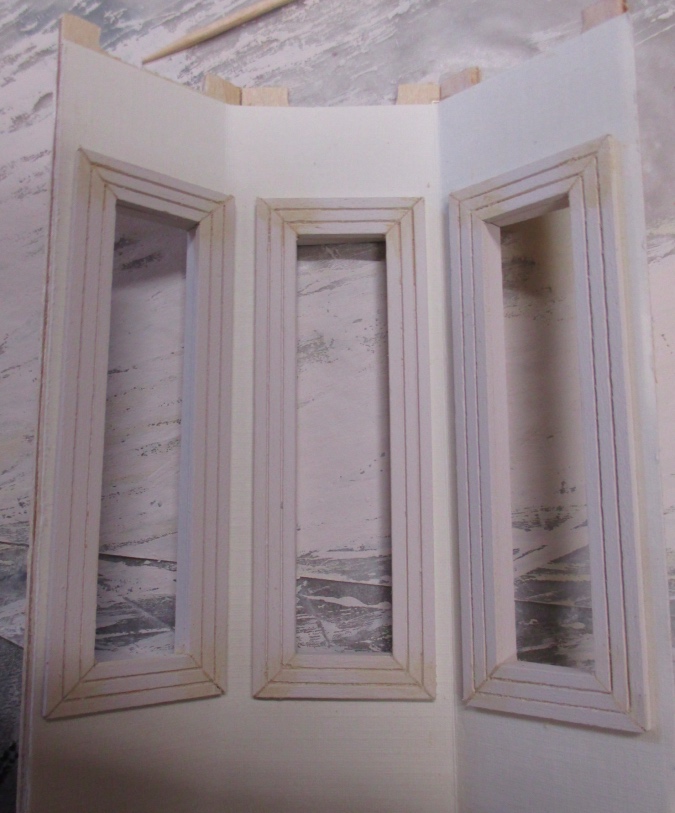
This simpler style is similar to what I used on the second floor, but a little larger. I decided to go with this one.

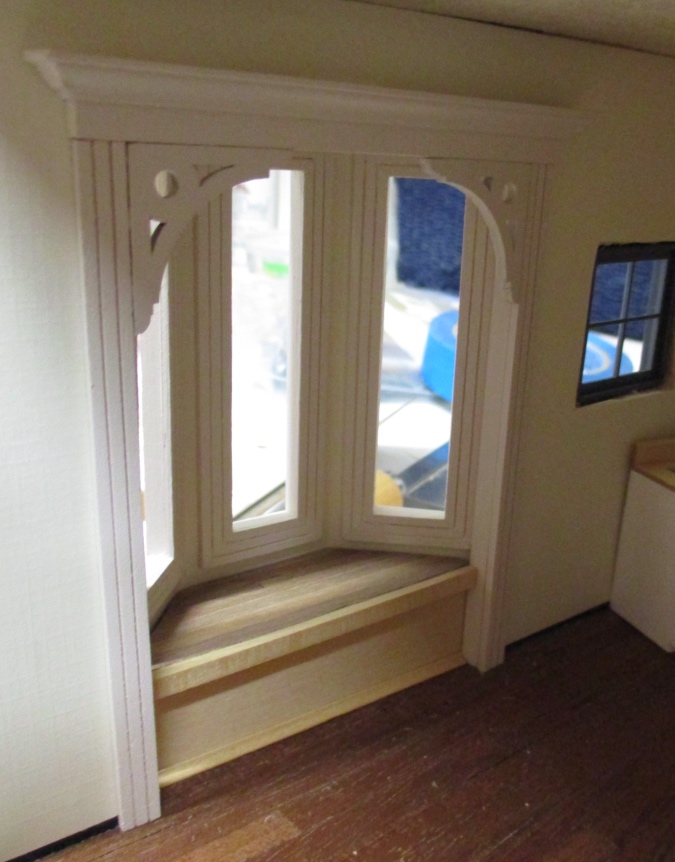
Here’s where I left off for today. I’m going to put a round table here, with the window seat providing seating on one side and two chairs on the other side.
 Emily is a freelance writer, miniaturist, and adventure game enthusiast.


I love your window seat! So pretty and practical too.
I love your work! Are you caulking the seams and gaps? I’ll be posting photos the San Fran later today and I have a lot of gaps, so I am wondering if caulking would help some. Your work is also so clean and neat. Love how you are using up you stash. The window seat is so inviting.
I add wood filler to the gaps and then paint over it. This can be tricky sometimes depending on where it is in the house (that’s why I was grateful to be able to do the interior windows on this bay window while it was still outside the house). I haven’t done it yet to the trim around the bay window.
If I had white wood filler I might get away with not having to paint it, which would be easier, but I found that stuff once at Home Depot and then never again. :(
Wow! I actually vetoed a window seat in my first house because I couldn’t imagine how to deal with all the issues that you outlined in this post (so clearly and patiently). Now, I’m seriously contemplating digging out those pieces and adding them to my current house; I may be hesitant but I’d never throw away good scrap!! LOL
If I hadn’t had that octagonal piece handy, I might have vetoed it! I’ve done other window seats but they were in square bay windows. (Realistically, if I hadn’t already had the octagon, I would have traced the shape of the floor onto a piece of wood, from the outside with the walls still off.)
Absolutely gorgeous!
What a beautiful and useful addition to any room. Will endeavour to try one in my current Victorian build thanks to your great descriptions and photos!
Love that window seat and the pretty trim! You make it look so easy (which I know it’s not)!
I love it! You did a beautiful job!
Your clean application of the wallpaper as well as the clever technique you used to build the window seat was a pleasure to see! It looks really inviting and user friendly and I’m eager to see how the rest of the kitchen develops.