Tragedy struck my $1 Horace Jones sink. I’d left it in the countertop (not glued in) and I picked up the cabinet and tipped it slightly to look at something and the sink fell out and hit the floor. Before this happened, I’d actually thought to myself that I shouldn’t leave the sink in the countertop, for this very reason. So I only have myself to blame!
I heard the faucet go flying and spent about fifteen minutes looking for it on the floor, but couldn’t find it. Then I went back to the sink and discovered one corner had broken off. I tried sanding it to a curve but it’s still noticeable.
Especially from the side/front. If it had been the other corner it wouldn’t have mattered as much, since you can’t see that corner with the cabinet in place. But this would be glaring.
While I was pouting about it, Geoff found the faucet on the floor, which made me feel a little better. At least I can use the faucet on another sink someday. And I did only spend a dollar on it. Easy come, easy go. :(
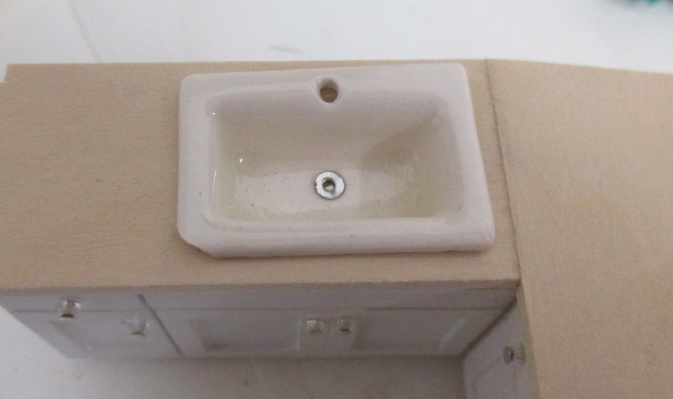
Conincidentally, the day before this happened I had placed an order with Elf Miniatures for an exhaust fan and various other 1:24 items that are being closed out, including a sink with a built-in drainboard.
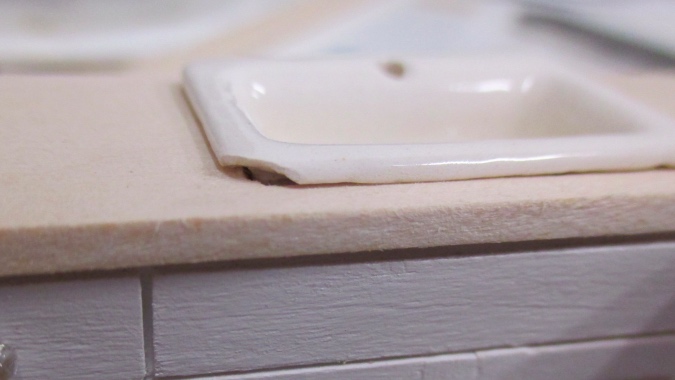
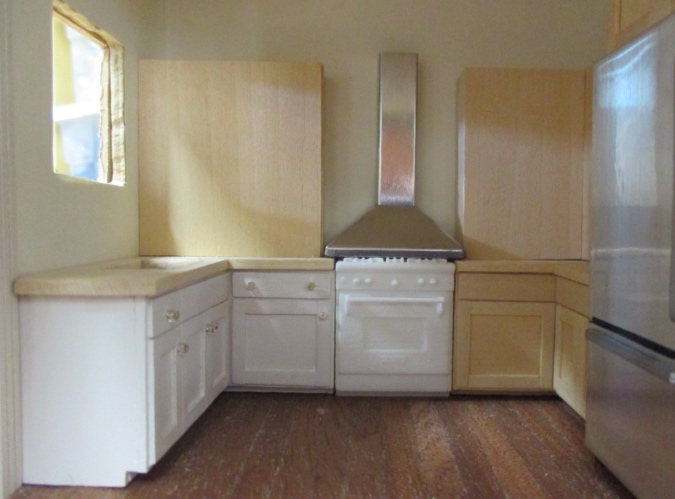
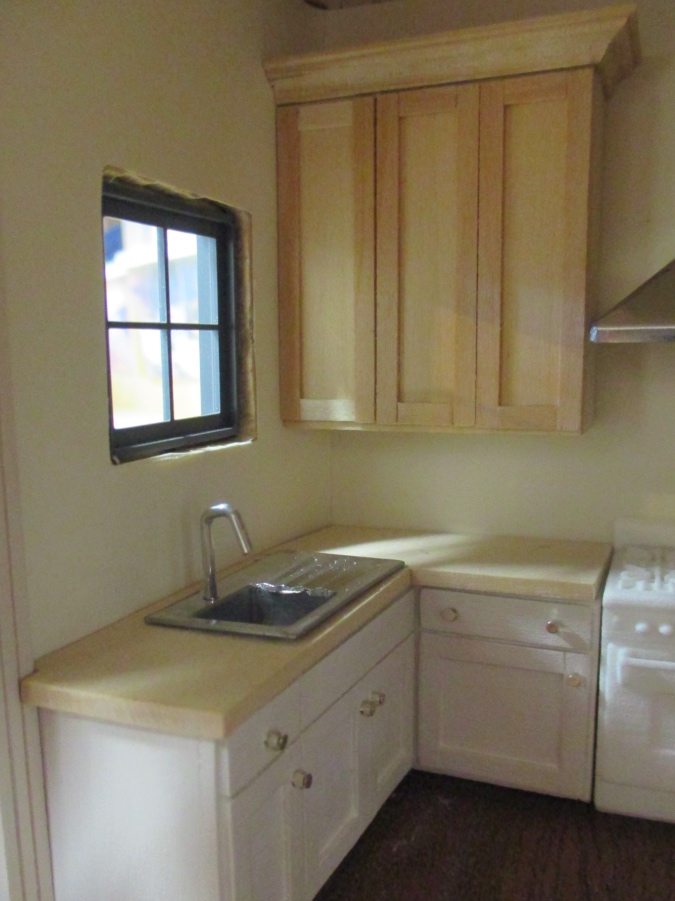
This is 1.5″ wide, the same as the sink cabinet. The Horace Jones sink was slightly smaller, so I had to enlarge the hole. Added bonus: the right edge of the sink mostly covers up the seam where the two counter pieces meet up.

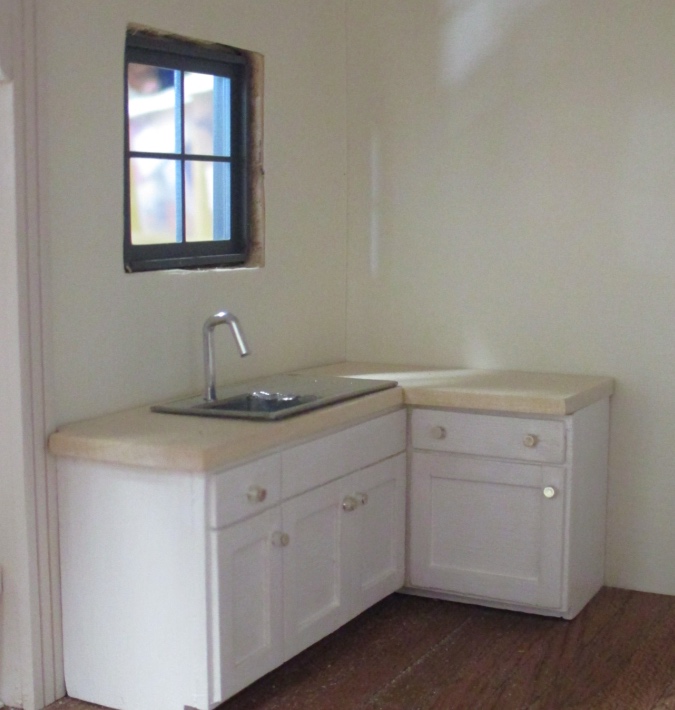
Even though the sink is centered in the cabinet, the faucet isn’t centered under the window. Normally that would bug me, but you can’t really see the sink head-on, so it’s not obvious.
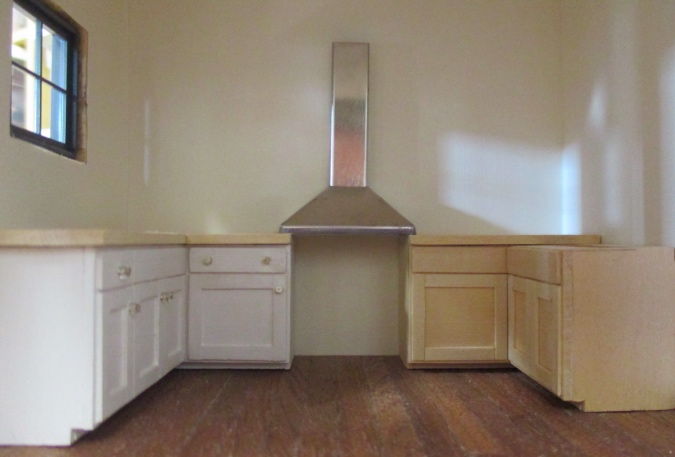
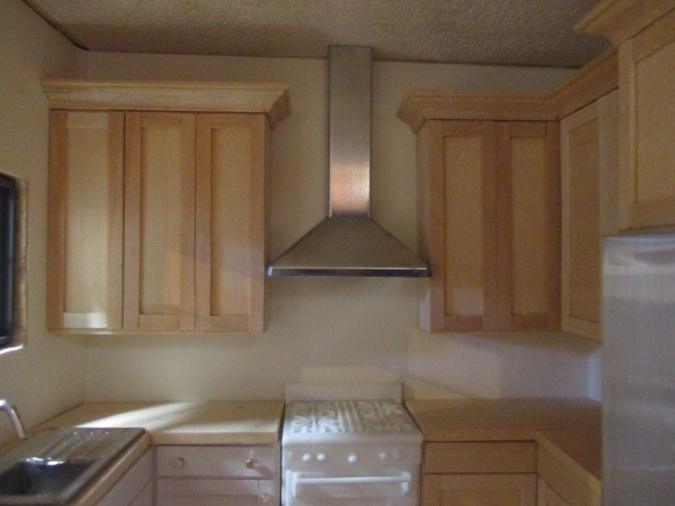
Here’s the exhaust fan. It’s slightly wider than the oven, so I was waiting for this before I finished the upper cabinets, to get the width of those cabinets exactly right.
I started with the one on the right, that connects to the run of cabinets on the perpendicular wall.
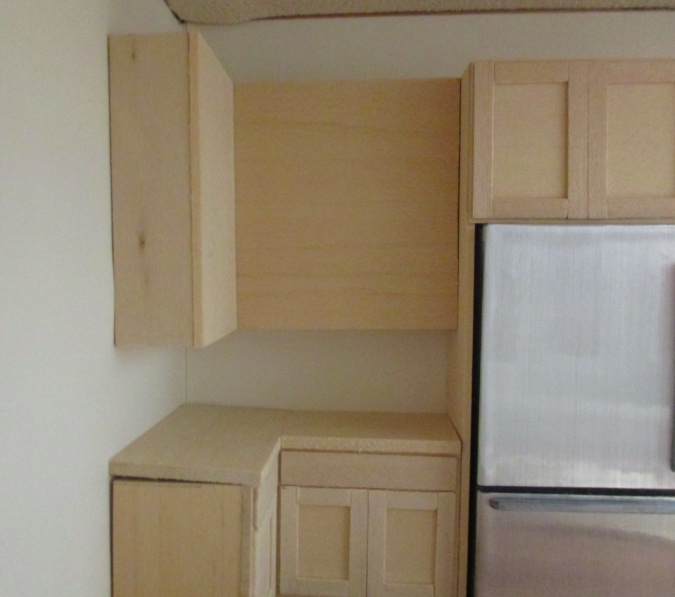
To accommodate the width of the hood, the upper cabinet ends about 1/8″ before the lower cabinet does.
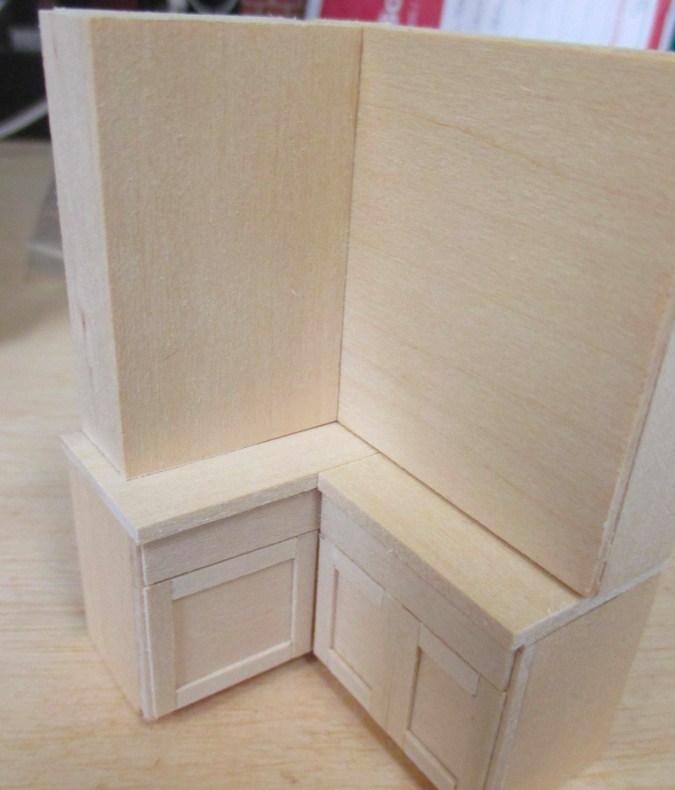
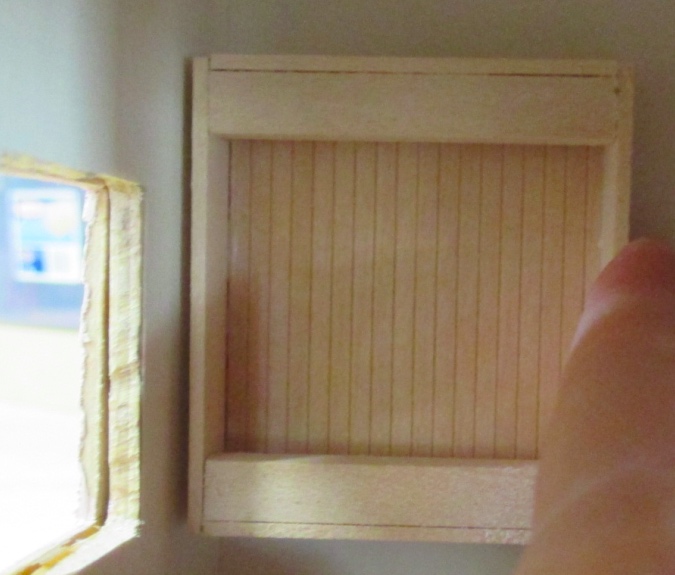
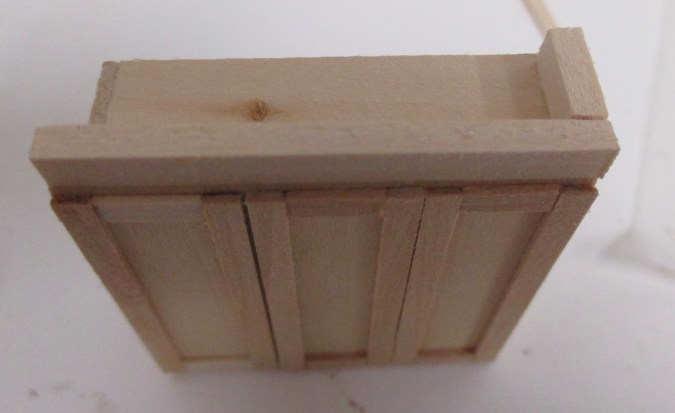
On the other side, the corner isn’t quite square. When the back of the cabinet is against the wall, there’s a gap on the left. (Apologies for my weird giant finger in this photo!)
I cut the front of the cabinet slightly longer, to cover up the gap.
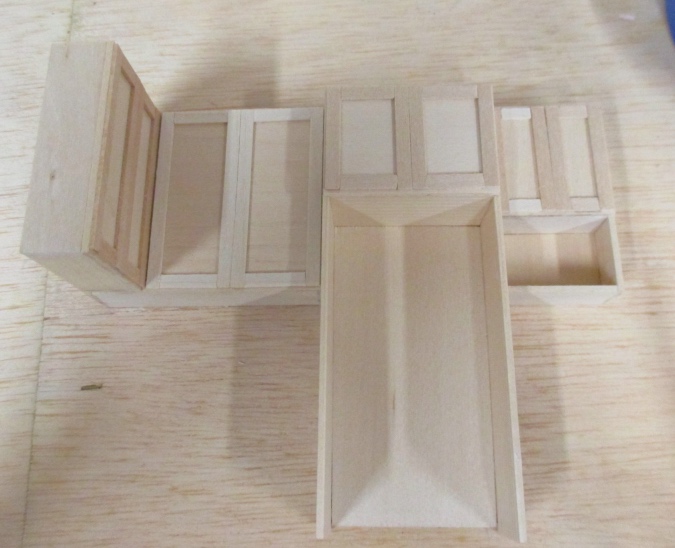
Here are the naked cabinets with the hood — just the right width.
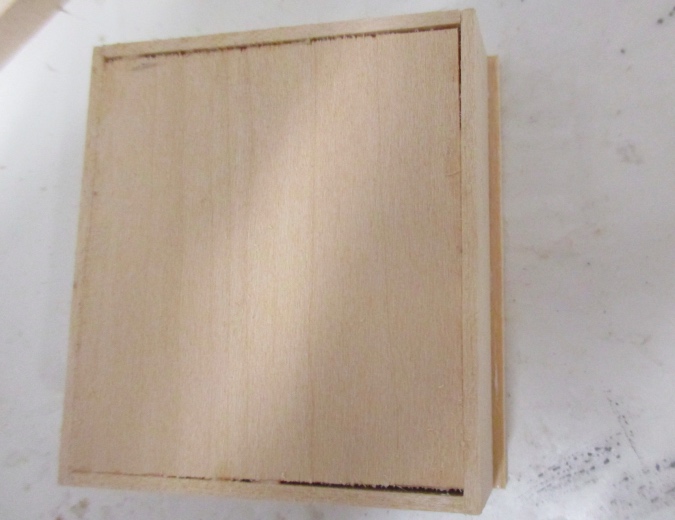
Next I added 1/8″ x 1/32″ strip wood to form the fake doors.

Then I glued the corner cabinet to the rest of the run. Since these uppers are attached to the fridge cabinet, they’ll stand up by themselves. The upper on the other side will need to be glued to the wall.
Next I added crown molding. I started by gluing 1/8″ x 3/16″ wood to the front and side edge.
Then I glued on 1/4″ cornice.

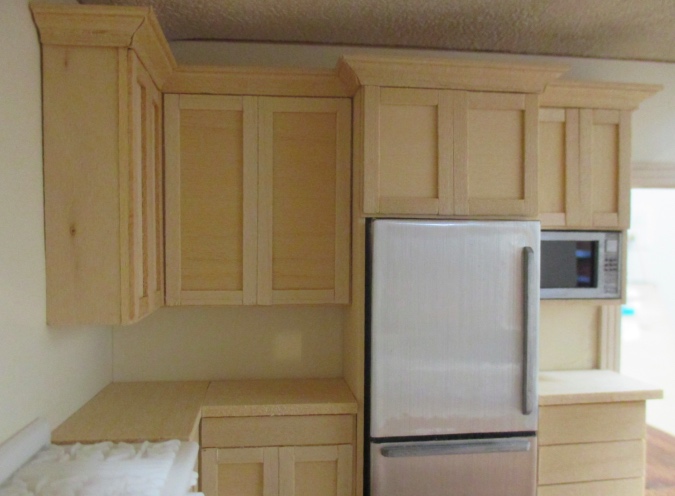
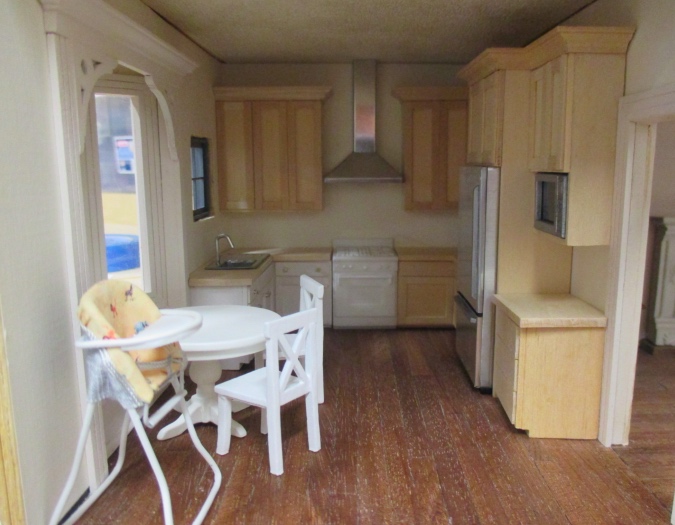
That’s a wrap on these cabinets! Of course I still have to paint them and do the countertops and backsplash, but here are some photos of the kitchen now that all the cabinets exist. I temporarily attached the hood and the left cabinet to the wall with putty.

 Emily is a freelance writer, miniaturist, and adventure game enthusiast.


Oh my gosh! Love!! This turned out so wonderfully Emily. I love that you added crown and went with taller uppers.. it looks so classy and expensive. I’m jealous of the inhabitants. :D
I cheated by buying a 1:24 house. I had thought that I’d build one, but it is so small, so I admire your work at that scale. The kitchen looks professional and perfect despite your problems. Dropping the sink must have been a very dark moment. I’ve made some mistakes, too. We all do, but you had a great save with little sink with the drain board. I’ll be checking to see your progress.
WoWeeeeee! I love the new cabinetry with the crown moldings and the upscale stove hood which looks sensational with the uppers and your fridge.
It was such a shame about your original kitchen sink but perhaps you might be able to fudge the repair with some Fimo and a heat gun.
Meanwhile, the new sink looks Great and provides a visual balance with the other stainless steel appliances.
I’ m loving the progress on this house! So many tips I’m sure I’ll need (if only I can remember them!). Maybe your poor chipped sink can find a new life as an undermount sink? Next…..
Your kitchen looks fantastic! So much like a life sized one!
I love how the cabinets look! And the second sink is very nice. I feel for you on the broken one. I hate when that happens!
But your kitchen is turning out so well!
I like the new sink, covering the counter seam is a fortuitous win. The cute little white one can be used elsewhere, perhaps, with a dishrag draped over the corner.
Your upper cabinet molding are lovely! How did you get those great angles on the top two pieces?
Thanks! I used a mini saw and miter box to cut the 45-degree angles. When you cut an angle for an outside corner, the piece left behind has the correct angle for the inside corner. I took advantage of that as I worked my way through the pieces, so I didn’t have to make as many cuts.