I’m waiting for some things to come in the mail before I continue with Sam & Max’s office, so I took a break from the structure to build Sam’s desk. Here’s a render from Telltale’s game that shows what it looks like.
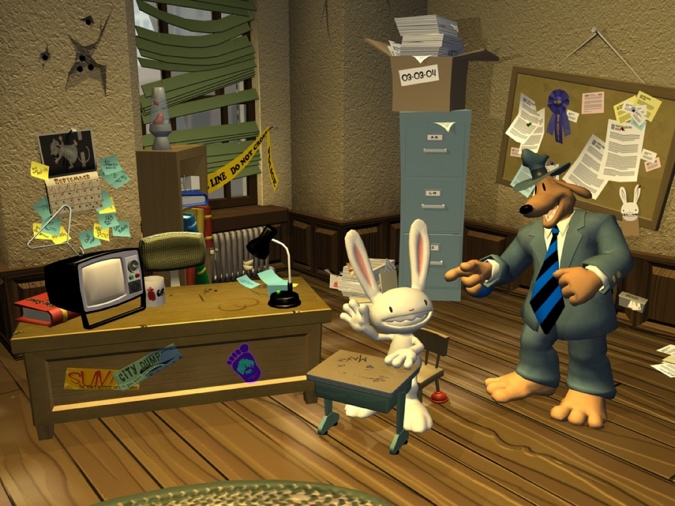
We only ever see Sam’s desk from the back, so I don’t know what the other side looks like, but I assume it’s a kneehole desk with drawers on either side of the chair hole.
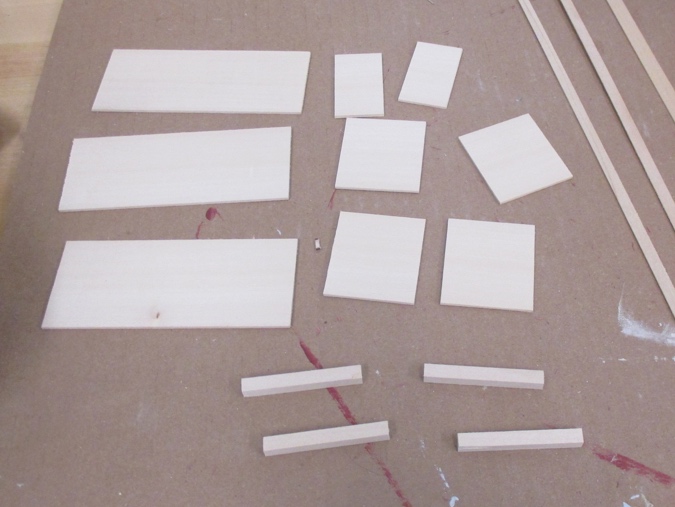
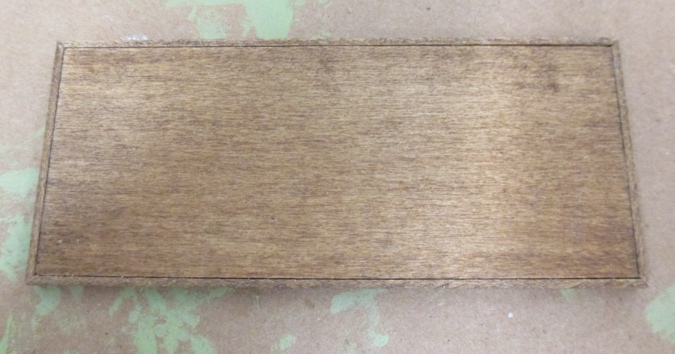
I cut all of the side, front, and top pieces from 2″ wide, 1/16″ thick basswood. I wanted to get all the pieces out of one 24″ strip of wood, so I was more focused on that than on copying the dimensions of a real desk. The front is a little less than 5″ wide and the sides are 1.75″ wide. The legs are 2 1/8″ tall (1/8″ will poke out under the desk and the rest will be inside the desk for support).
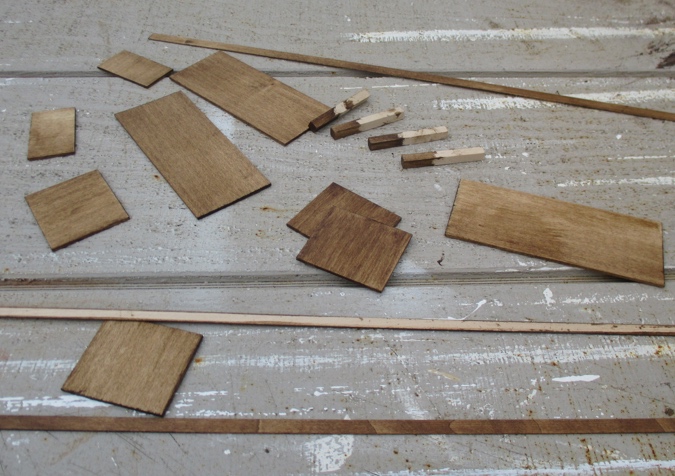
I used Minwax Aged Oak gel stain for these. I’d originally intended to use this color for the wainscot, doors, etc. in the roombox but grabbed the wrong can (Walnut) at the time and didn’t realize it until later. It worked out, though, since the furniture needs to be a lighter color than the trim. If I’d used Aged Oak in the roombox, I wouldn’t have something slightly lighter than this to use for the furniture.
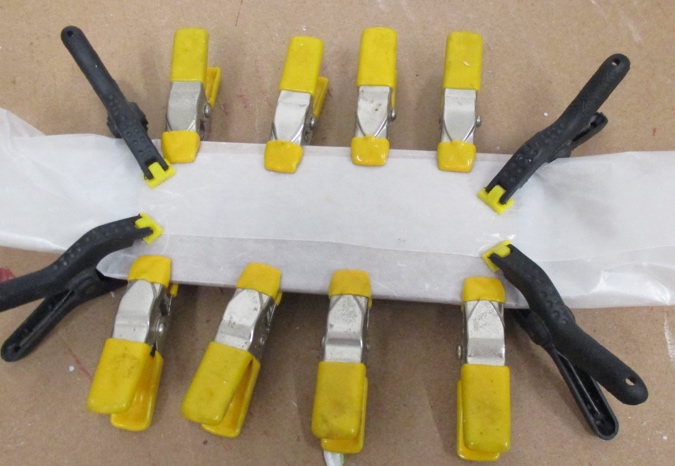
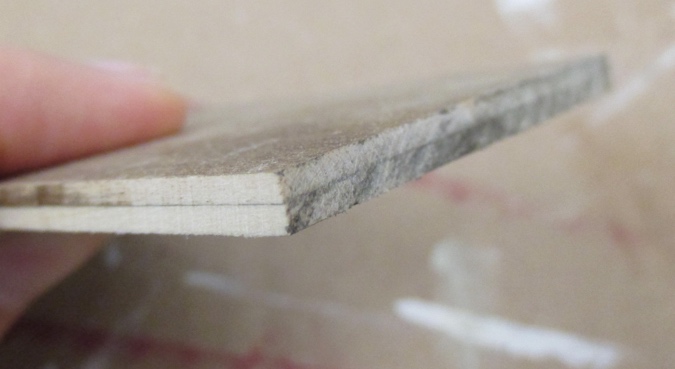
The top needs to be thicker than the rest but I didn’t have a thicker piece of 2″ basswood, so I cut two top pieces to glue together. I clamped them while the glue dried, with the wood wrapped in wax paper so the clamps wouldn’t leave marks.
The pieces shifted when I clamped them so the edges weren’t flush when the glue dried. I cleaned them up on the disc sander.
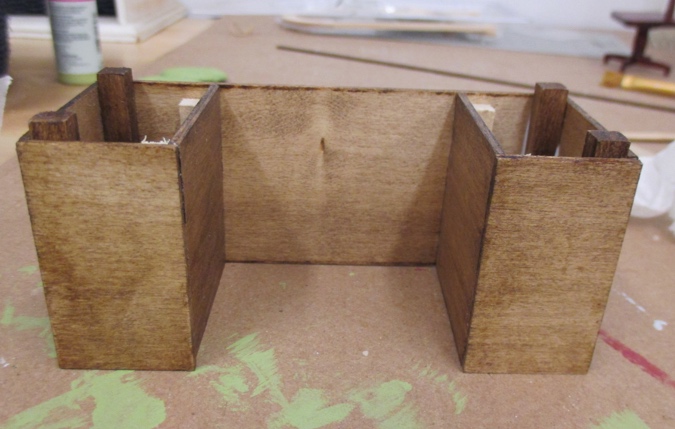
Here’s the desk upside down. I used 1/4″ square basswood for the legs and as supports in the corners that don’t have legs.
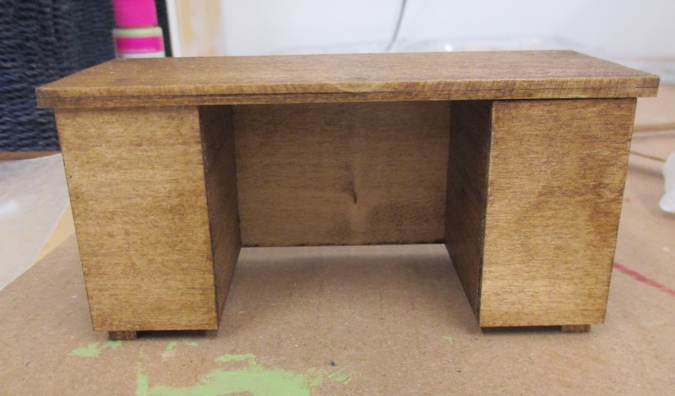
And right-side up. I had planned to add drawers to the pedestals, but I’m not sure if I’ll bother, since you won’t see this side of the desk inside the roombox.
Because I didn’t plan out my measurements carefully, I ended up with a desktop that was exactly the same depth as the desk, rather than overhanging. I didn’t like the seam from the two pieces being glued together, so this was a happy accident.
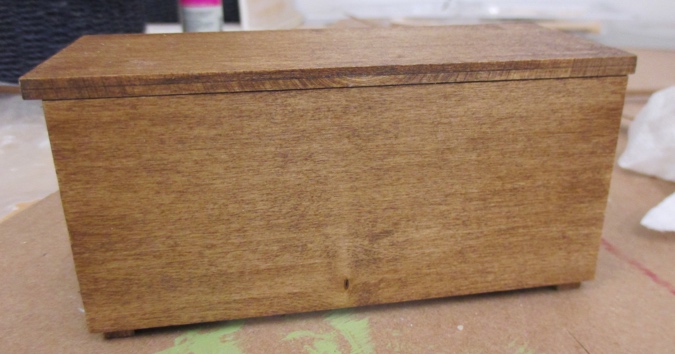
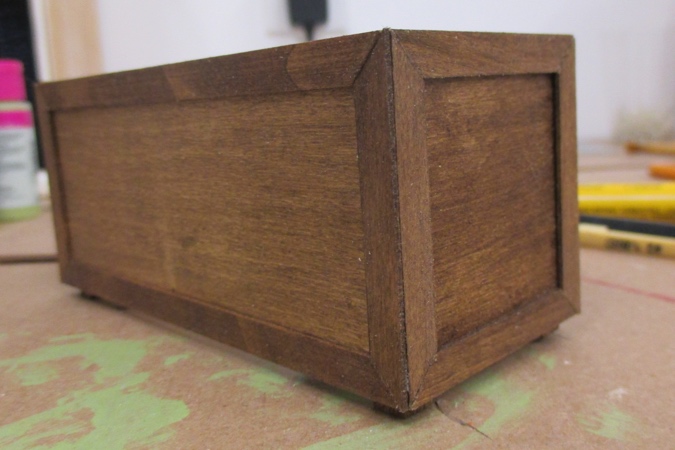
I fixed it by gluing a basswood frame around the outer edge of the desktop.
Next I added mitered pieces of 1/4″ basswood around the front and sides to create panels.
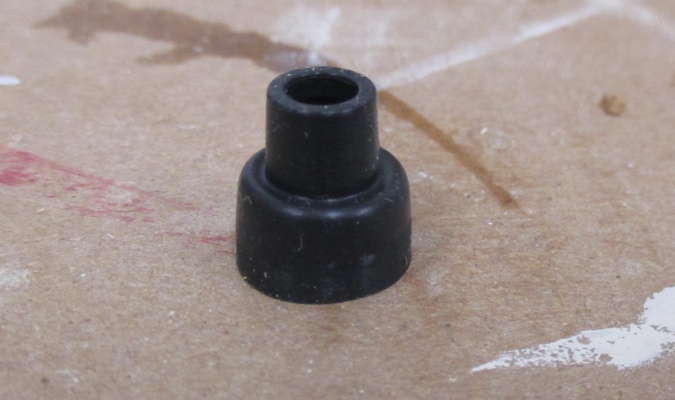
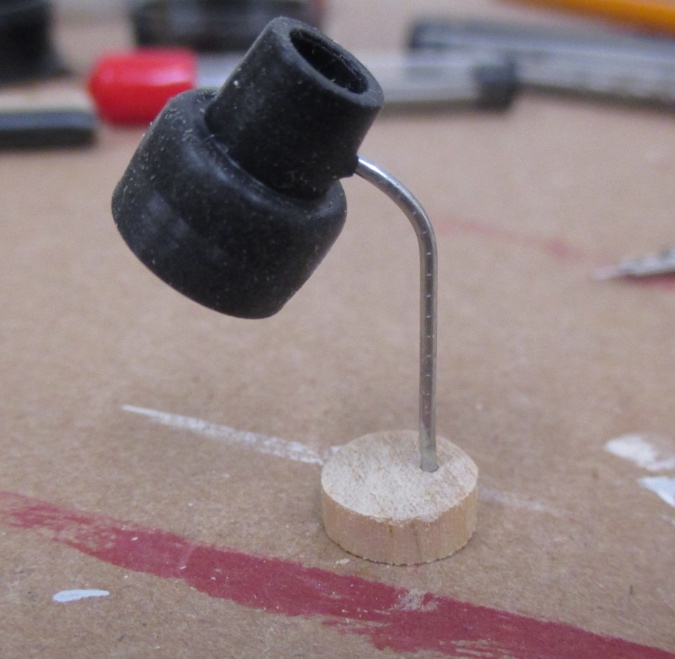
Sam’s desk has a few items on it, including a lamp and a TV with a coat hanger antenna. The lamp is a common style and I was surprised I couldn’t find one like it to buy. Googling for lamp tutorials revealed that the silicone nubs that go over ear buds to make them fit in your ear look like this when you turn them inside out. Perfect!
I cut a paper clip for the neck of the lamp.
I wanted to use a disc bead for the base, but could only find ones with holes in the center, and the hole needs to be off-center. Instead I cut a slice off a 3/8″ dowel.
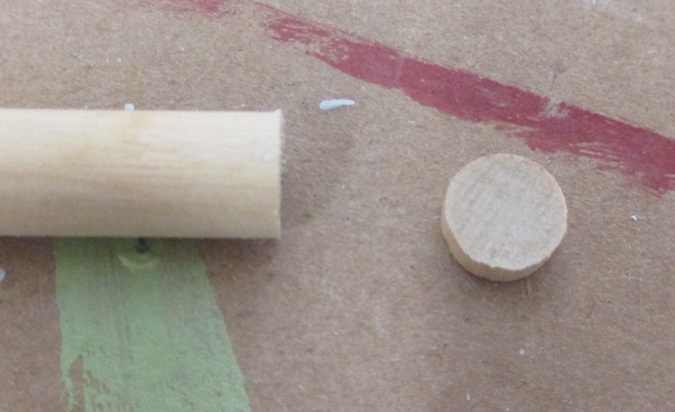
I think it’s a little too small. I didn’t glue it in, so I can swap it later if I get my hands on a larger dowel.
I colored the base with black Sharpie — quicker and less messy than painting.
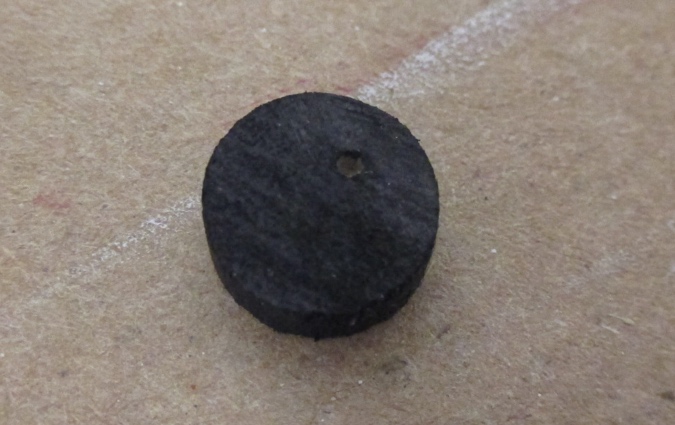
The back of the lamp has this big hole that needs filling.
This black brad is the perfect size.
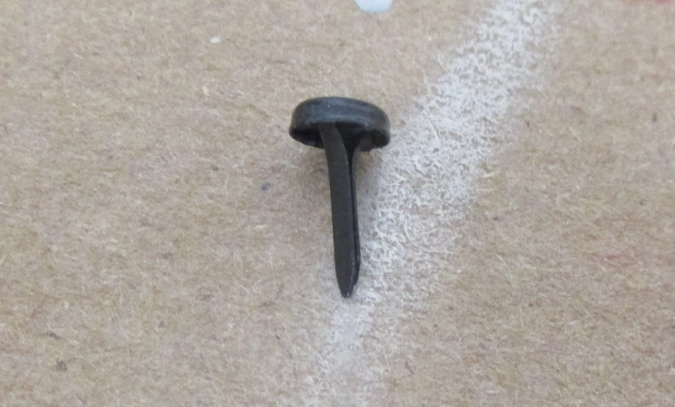
I love brads! I’ve found so many weird uses for these things.
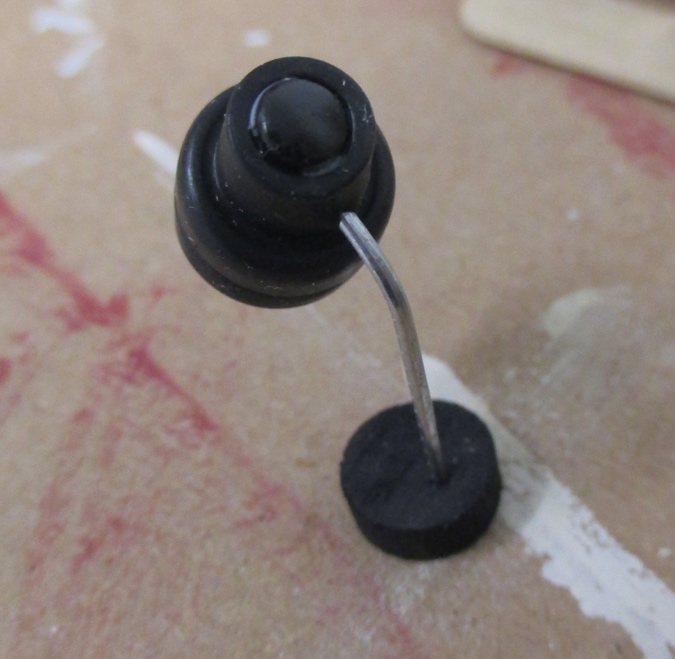
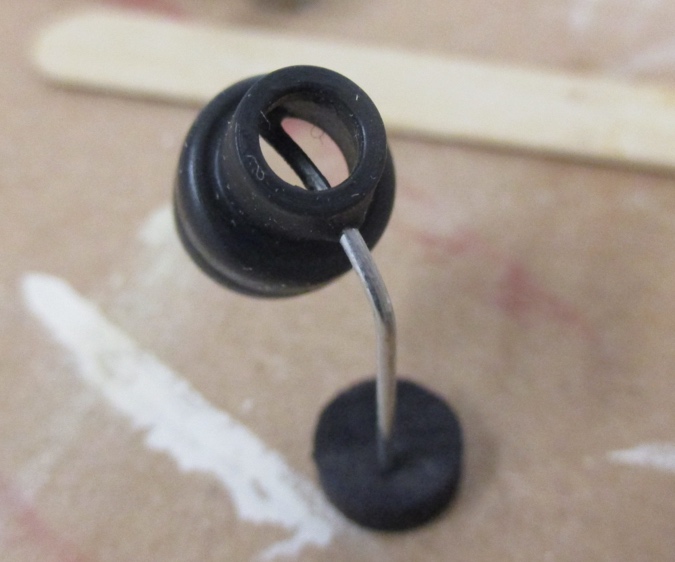
Voila! A lamp!

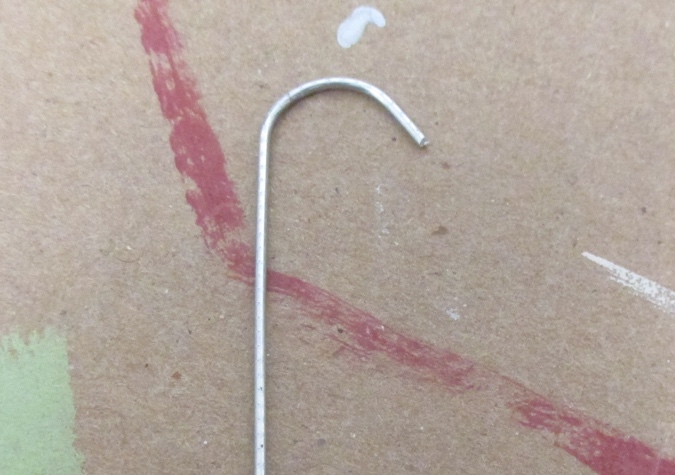
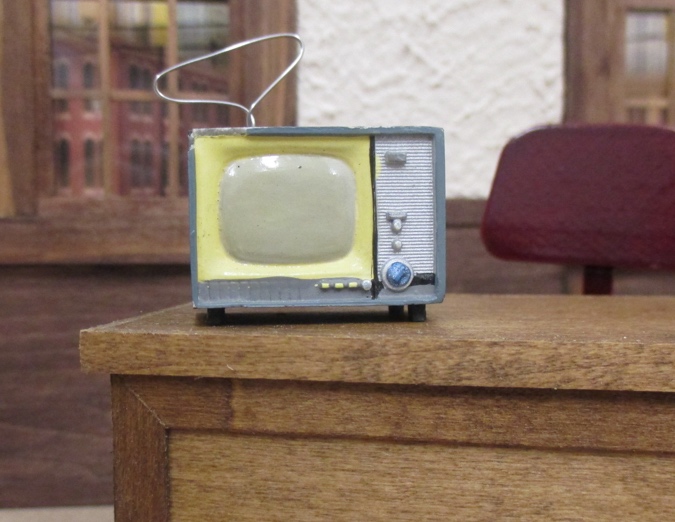
I bought this resin TV online several years ago — it was supposed to be half scale, but it’s not, so I put it aside for a rainy day. (It’s also chipped on the upper left corner. That’s okay, Sam & Max are the types to have a chipped TV.) I made the hanger out of safety wire using my super high-tech hanger jig, but didn’t bother doing the loop at the top.
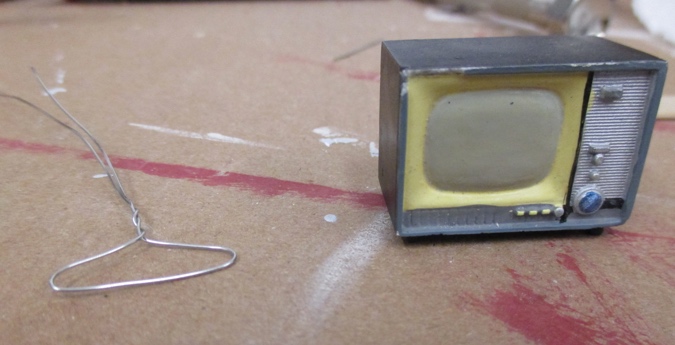
I drilled a hole in the back of the TV, stuck in the ends of the wire, and folded. Then I removed the wire and reinserted it with a dab of glue so it’ll stay put.

Ta da!
When I first saw the desk in the room, it seemed small. The Sam & Max action figures I pre-ordered haven’t shipped yet so I don’t have those to use for reference. I dug a 1:12 desk out of my stash and was pleasantly surprised to find they’re almost exactly the same width, depth, and height.

The last step for the desk was to print out the bumper stickers for the front of the desk, courtesy of Telltale Explorer. While I was poking around in the textures I found this — it’s the top of Sam’s desk.
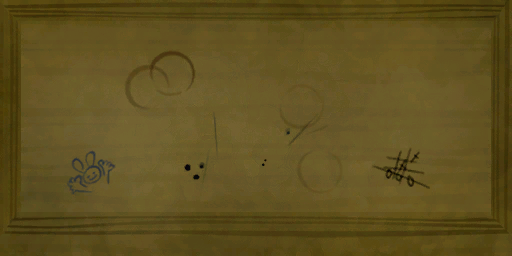
I resized it to the width of my desk and printed it out.
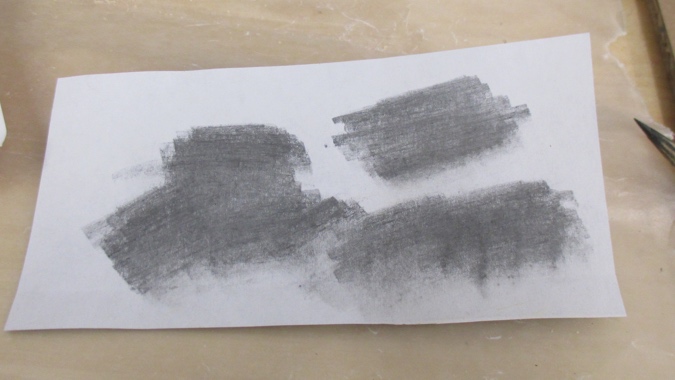
I did a graphite transfer to trace the doodles onto the desktop. First I rubbed a pencil on the back, over the areas to be traced.
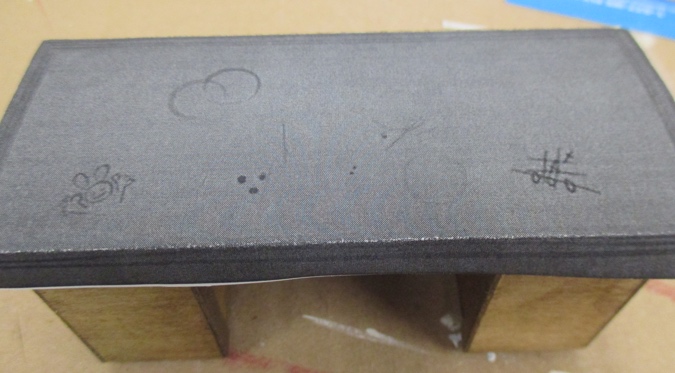
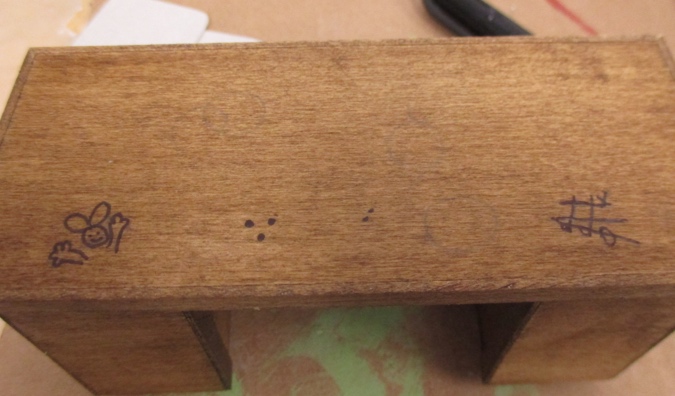
Then I lay the printout down on the desk and traced over the doodles and coffee cup rings.
Then I went over the pencil lines with a fine-tip Sharpie. Max’s ears are too close together — I think the paper slid on the desk as I was tracing it. But hey, good enough.
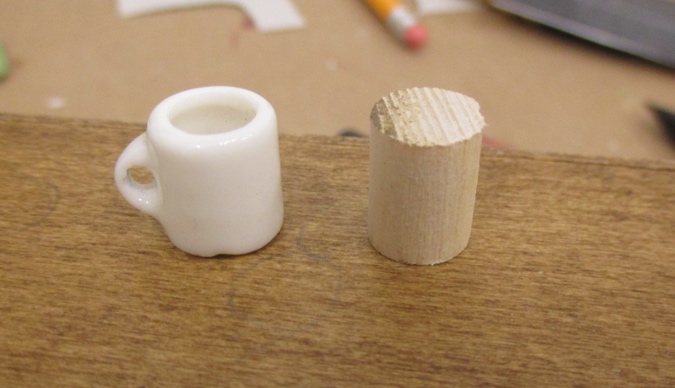
For the coffee cup rings, I cut another piece of 3/8″ dowel, which is about the same size as a 1:12 coffee mug.
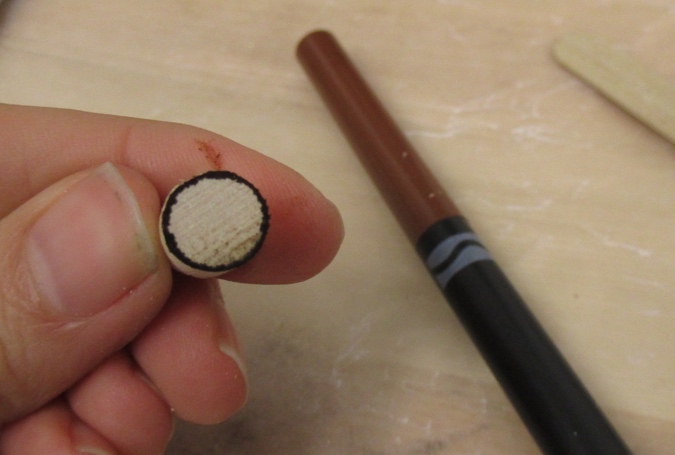
I went around the edge of the dowel with marker. Initially I used brown but this didn’t show up on the stained wood, so I switched to black Sharpie.
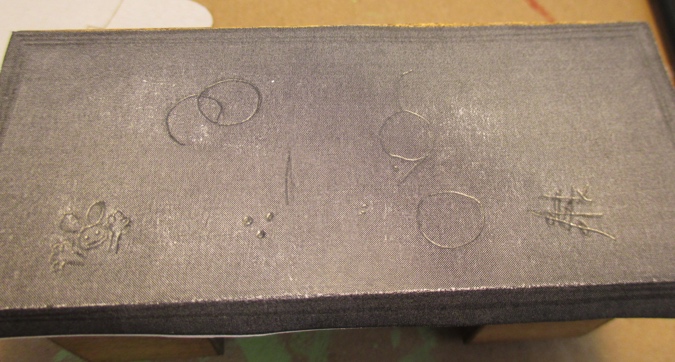
I pressed this over the pencil lines of the rings that I’d traced. When that was done, I erased the remaining pencil marks.
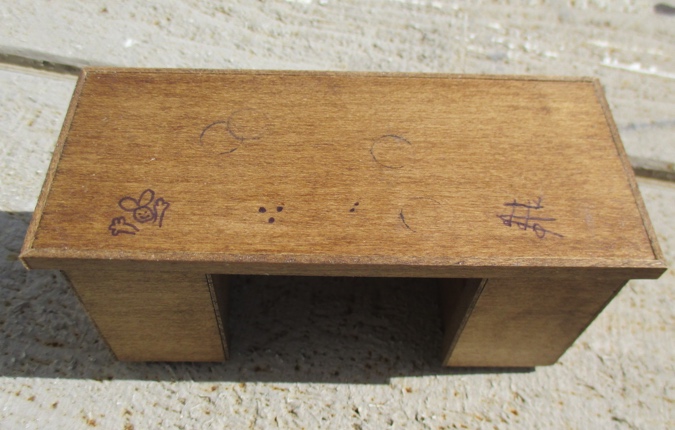
(The tic-tac-toe game should have an X in the center square — I missed it when I was tracing, but drew it in after taking this picture.)
On to the chair. Most of the furniture in Sam & Max’s office will be easy enough to build, but the chair is more complex and I hoped to find one ready made. When I searched around for a “desk chair” the best I came up with was this one, which is a little too high tech. Then I thought to search for “computer chair” and found a bunch of eBay listings from Chinese sellers for this janky thing.
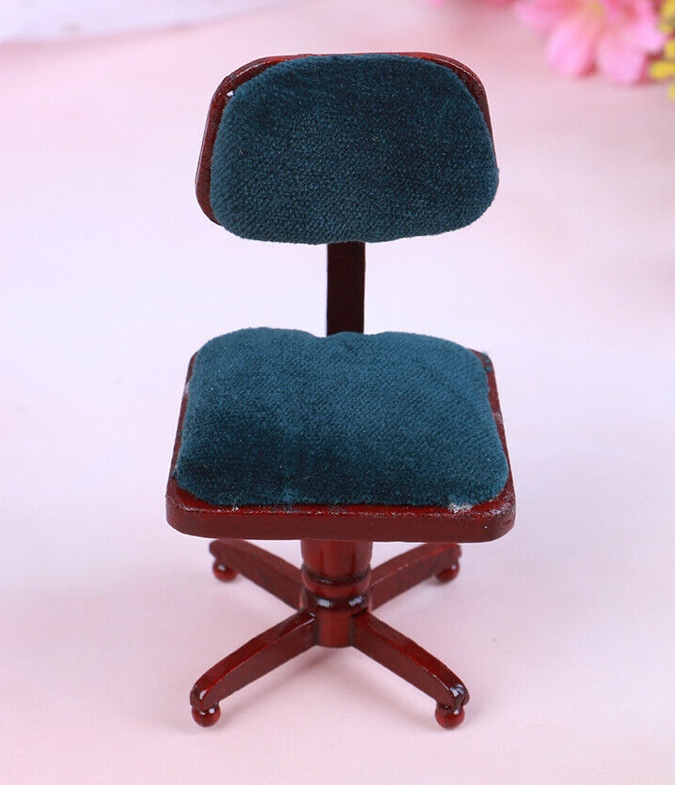
I don’t usually order stuff from China, both because the shipping takes forever and because the quality often isn’t great, but in this case I wasn’t in a hurry and I was planning to redo it anyway. (Plus the price was right, I only paid around $3 with free shipping!) It took exactly a month to arrive and the back cushion fell off in transit. I was able to peel off the seat cushion easily.

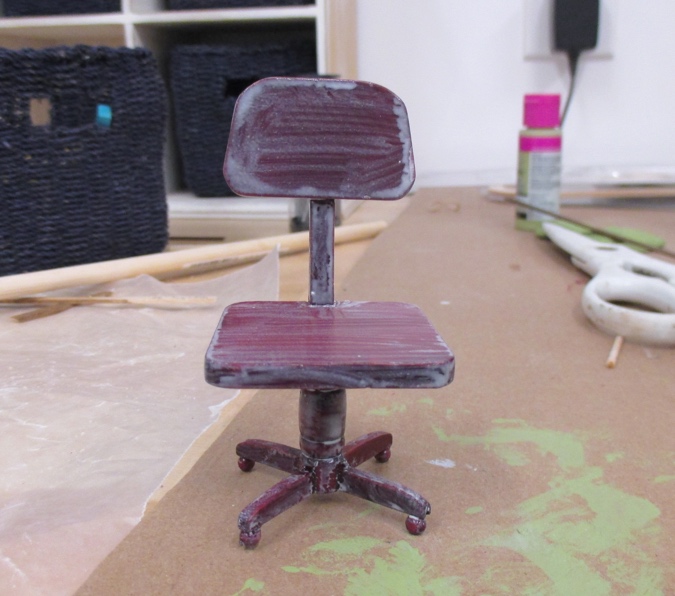
A little Goo Gone and the surfaces were all cleaned up.

The wood had a shiny finish and I wasn’t sure if paint would stick to it, so I painted it with a thin coat of Gesso first.
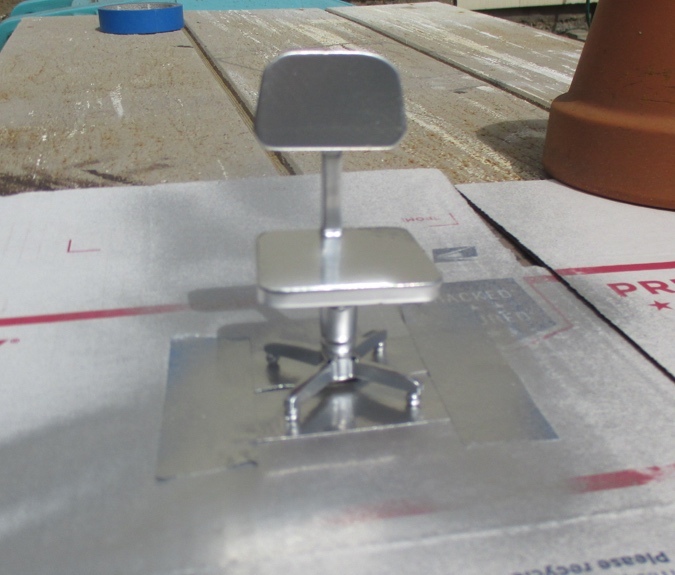
I waited for a nice sunny afternoon and spray painted it silver.
I tried a few different options for the cushions before coming up with one I liked, but this post is too long already so I won’t bore you with the details. In the end I used a piece of green upholstery fabric. I applied strips around the outside edges of the seat and the back.
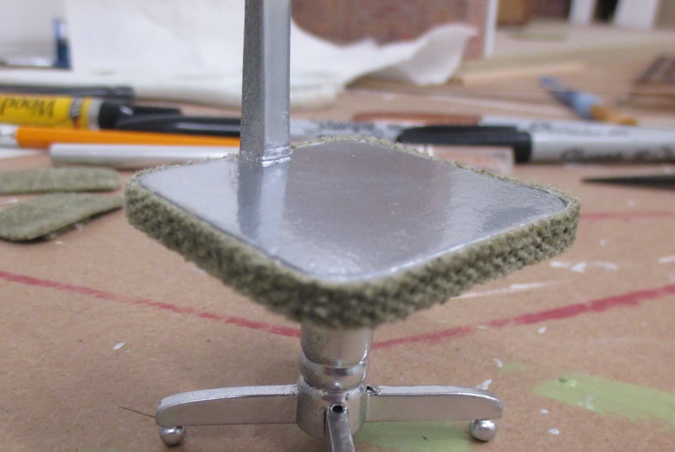
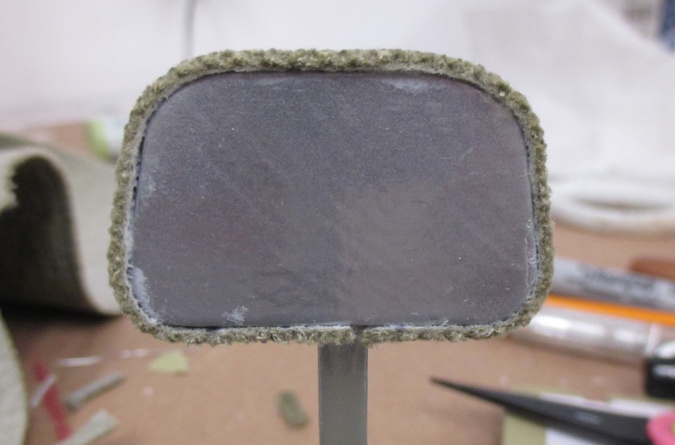
Then I cut pieces to fit over the surfaces.
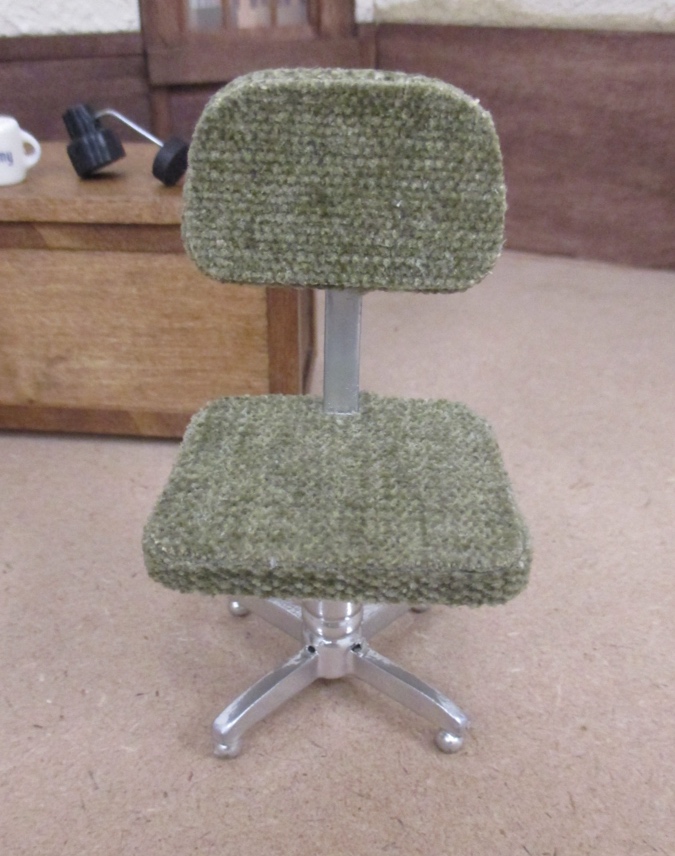
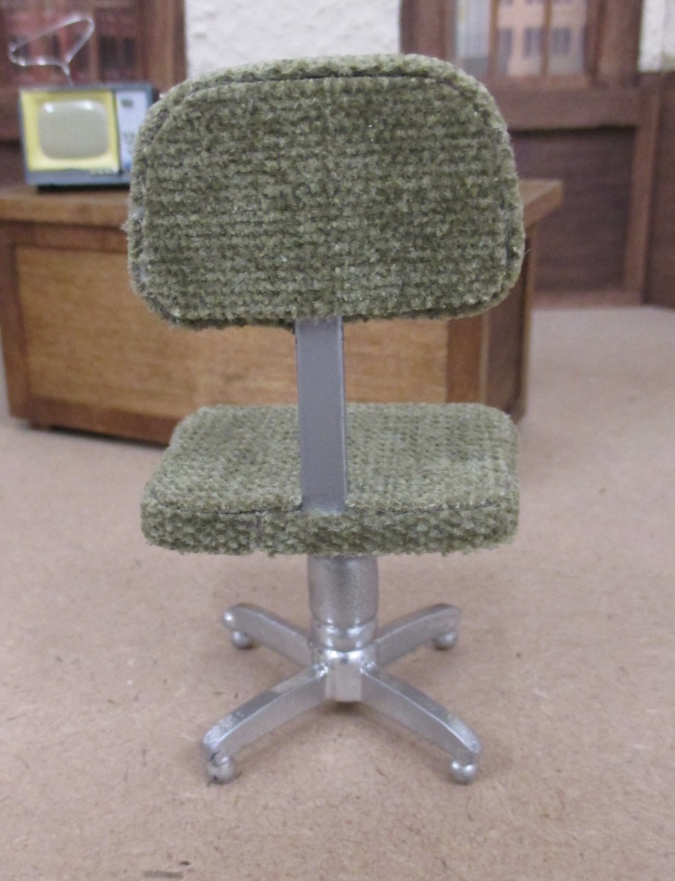
I did the back of the backrest, even though you won’t see it.
Here’s the full set. I colored in the wheels on the chair with my old friend the black Sharpie.

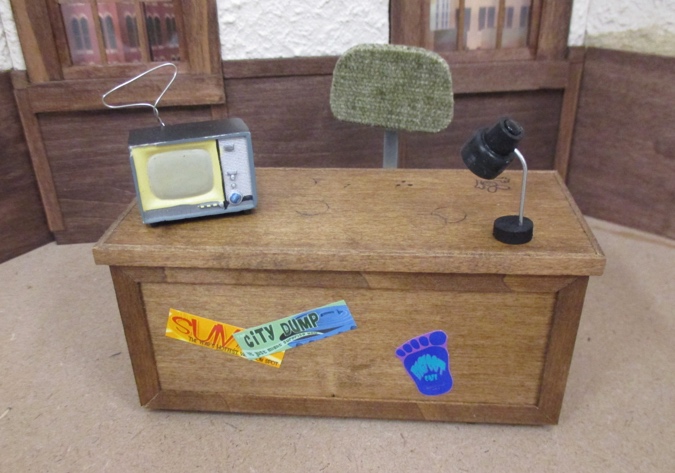
Without any other furniture in the room, it’s hard to tell if this is to scale. It took a lot of work, so I really hope the desk doesn’t look too small once the figures arrive.

 Emily is a freelance writer, miniaturist, and adventure game enthusiast.


I love the way your mind works……your attention to the teeniest detail and how you resolve your mini issues! And your patience!!!! Waiting for the delivery of something I don’t have right to hand when I need it can be the death knell for some of my projects. I tend to obsess and pre-plan and delay the start until I have all I need. Sigh…..but I love it when a plan comes together!
Ironically the package I was waiting for came yesterday and the one thing I needed most (stripwood to straighten out the back of the warped closet wall) wasn’t in the box! So now I have to wait longer while they ship that separately. Gah.
that looks great! Cool project!
Thanks!
Emily, you leave me wondering what scene I would recreate. Something from a favorite fairytale? A scene from Outlander? Then I remembered, my Grandmother’s cabin in the mountains just west of Denver. You have so many ideas for recreating the scene, I especially love the lamp. An ear bud cover? Who would have thought! I love the details that you have added to the desk, for the challenge is in the minute little extras. Bravo!
Ooh, recreating your grandmother’s cabin could be fun! Especially if you have photographs to work from. When I was in high school my parents and I made a scene for my sister (who was away at college) based on an old family photo. I thought it was good until I saw it recently, it was pretty basic! But it was still fun, and a special thing to make. I’ll post a picture here someday.
Someone on the Greenleaf forum did a scene from Outlander, it’s amazing. You can see it here: http://www.greenleafdollhouses.com/forum/?app=gallery&module=gallery&controller=browse&album=8266
It is Fascinating and Fun to see how you have customized and created specific pieces for this unusual project, in such totally inventive ways! Love the coffee cup rings on the desktop and the way you have breathed new life to a washed up computer chair – TWO thumbs up!
Thanks! I’m proud of that $3 chair. :)
Awesome work, Em! I love all your solutions, and the China chair came out incredible! The transfers on the desk were a stroke of genius and the TV antenna tickles me! What a fun project to follow along on!
Nice work! Looks great.
Great post! Thanks for sharing the nitty gritty details, I love seeing how people problem solve and create. The chair turned out terrific.