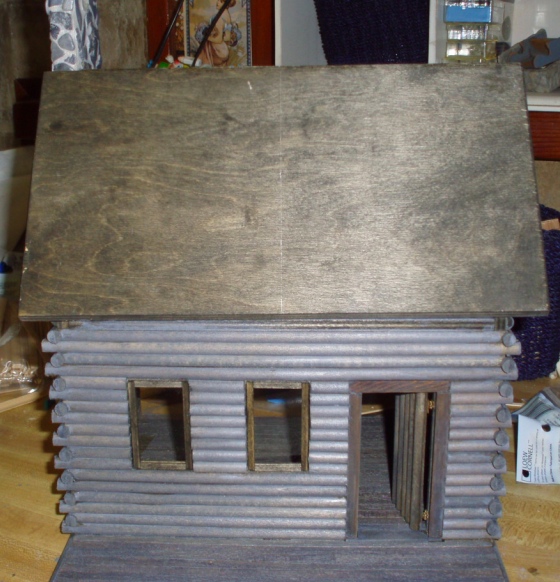
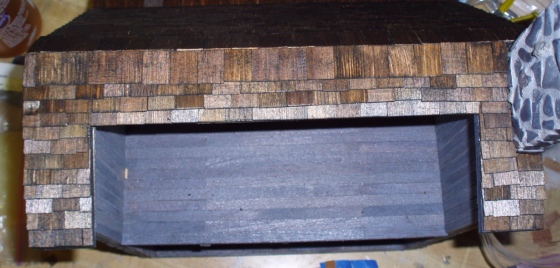
Shingling was the last big job to do on the cabin. When I glued the skinny sticks to the inside of the roof, something got off kilter so the roof wouldn’t glue on straight. Oops.
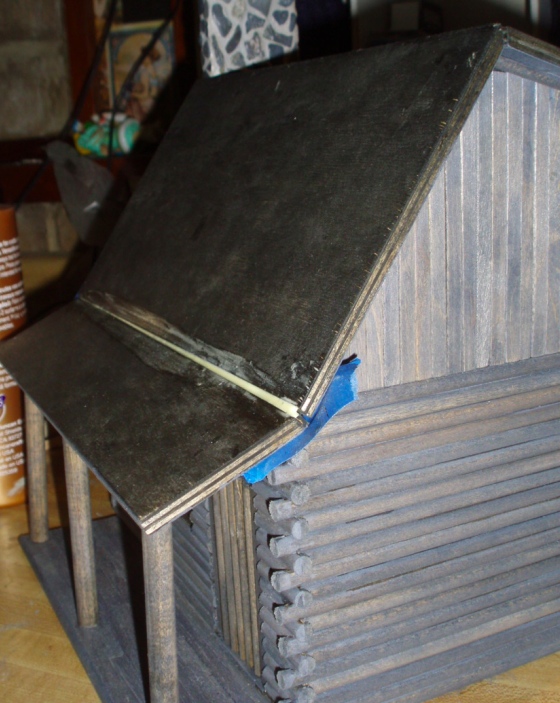
The porch roof is supposed to attach to the front of the roof at a 45-degree angle. I glued a shim to the right side of it to compensate for the crooked roof.
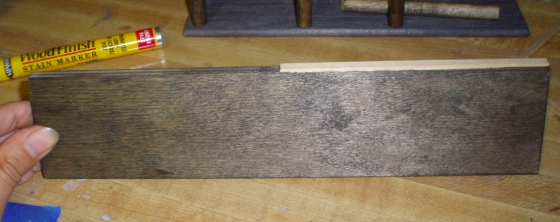
The shim made it so I could attach the porch roof more or less straight.
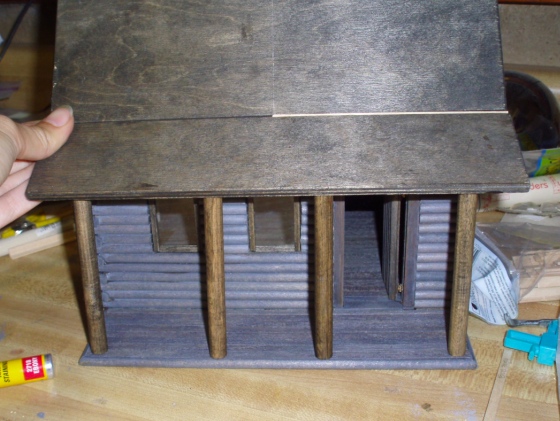
I glopped it up with plenty of glue. Also, I decided to use only three of the four porch posts since with four, I couldn’t space them evenly without blocking the door.
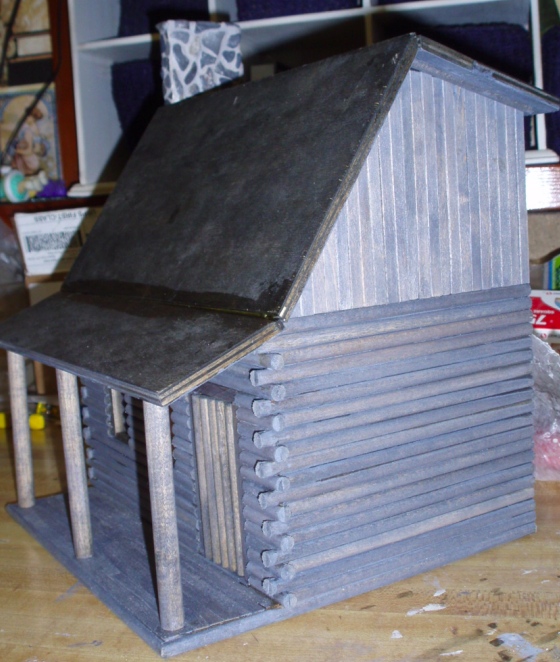
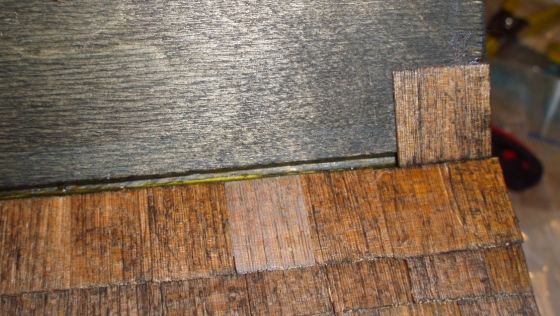
Here’s the messy glue job from the side. I’m planning to cover the exposed edges of plywood with trim when this is all done, so that will hide the gap where the roof pieces don’t quite meet up.
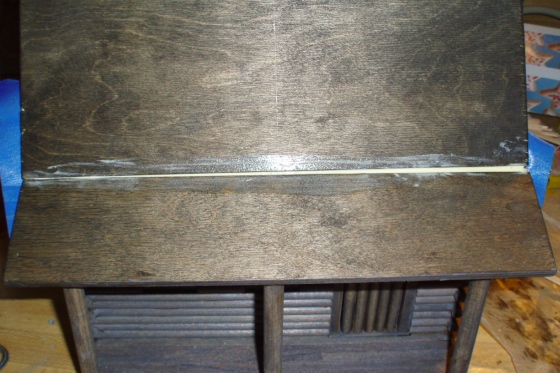
And here it is once the glue dried. Not entirely straight, but much better than it would have been if I’d glued the porch roof on like I was supposed to. At the top, I figured I could fudge the shingles to make the roof line look (mostly) straight.
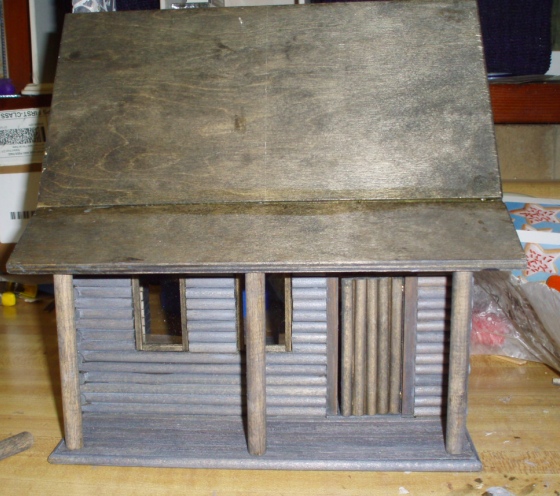
I keep reminding myself that this is a log cabin in the 1800s in the middle of the woods. It’s not like they had building codes!
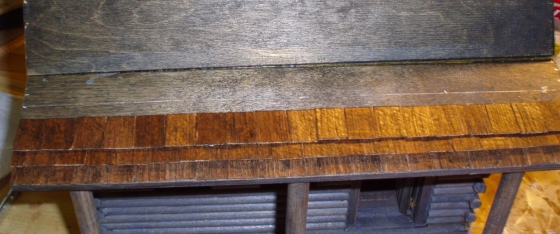
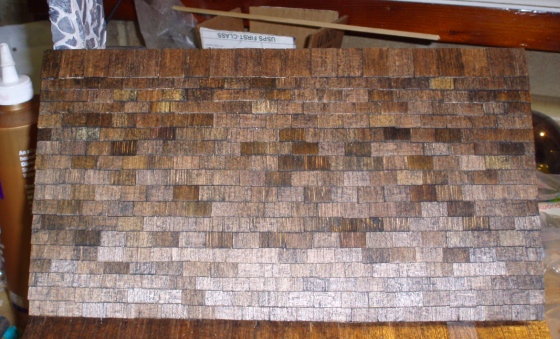
I spaced the rows of shingles 1/4″ apart, using my silver pen to draw on the stained wood. In the past when I’ve tried to draw all the lines in the beginning, I usually get messed up halfway up the roof. So instead I glue on a row, and then measure 1/4″ up from that to do the next row. It’s not a perfect system but maybe a bit of unevenness makes it look more authentically rustic.
When I got to the top row, I kept the shingles along the edge of the original porch roof piece.
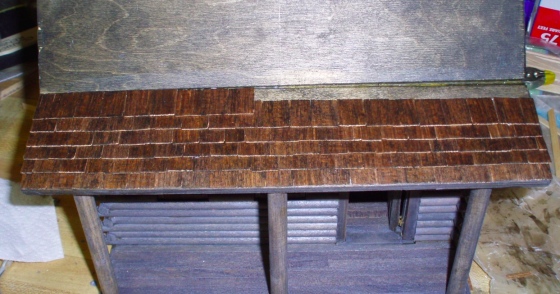
Then with the next row, I covered up the gap where the roof pieces didn’t quite meet.
About five rows up the main roof piece, it became apparent that I didn’t have enough shingles left for the whole roof. I sort of suspected this when I started, but I was in denial. I needed about fourteen rows’ worth to finish the front of the roof (that’s not even including the back!) and only had enough shingles for nine of them.
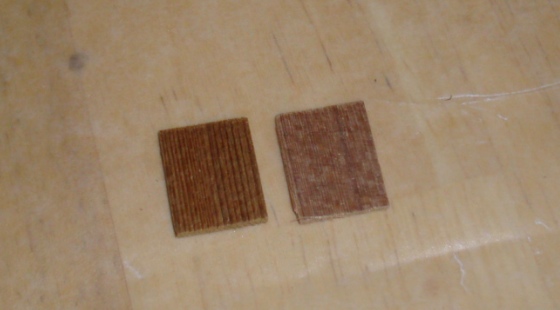
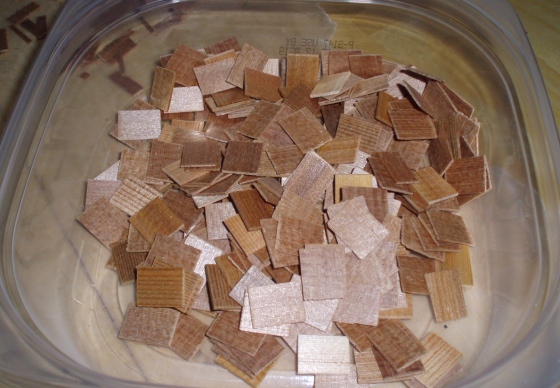
Luckily I had some half scale cedar shake shingles leftover from another project. They’re close, but not exactly the same. (On the left below is one of the new shingles, next to one from the kit.) The replacement shingles are a little bit shorter and thicker. They also have a greater color variation than the kit shingles, which were all fairly uniform. But I didn’t have much choice…
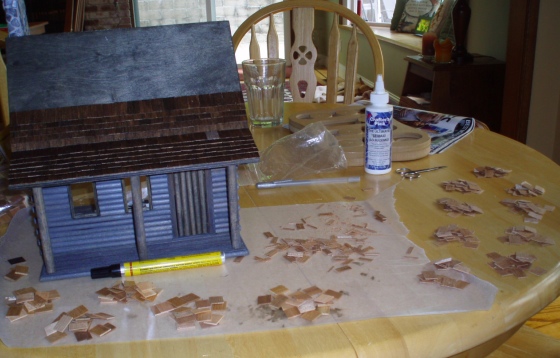
I counted out enough of the new shingles for the remaining roof rows, and mixed them all together so the transition from one type to the other would be less obvious.
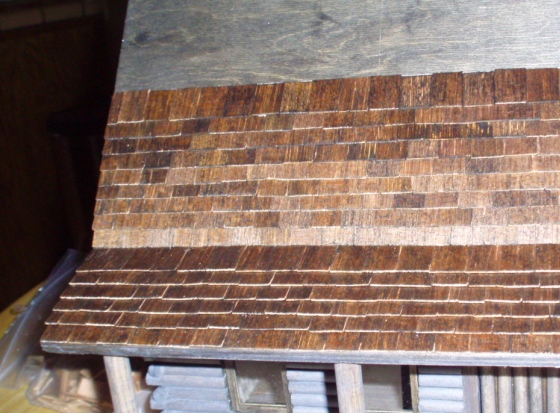
Since the new shingles are a tad shorter, I tried to match those up at the bottom rather than lining them up with the guide line at the top.
The thickness of the new shingles made the roof kind of lumpy, but it works much better in a rustic cabin than it would in a frilly Victorian!
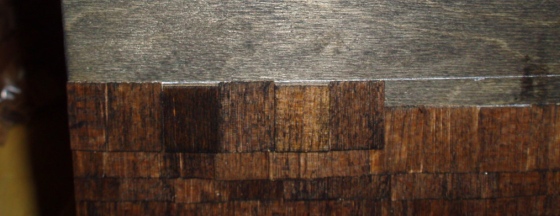
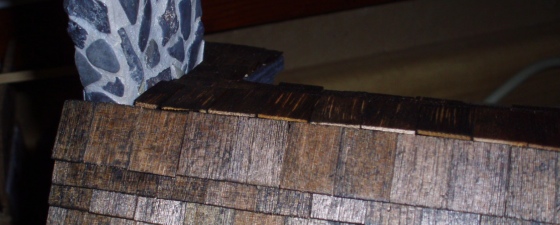
As expected, at the top my spacing was off due to the crookedness of the roof.
I was able to hide this (more or less) by making the shingles on the left overshoot the top of the roof a little bit. I’m also planning to add ridge trim, which should mask any weirdness where the shingles meet at the top;.
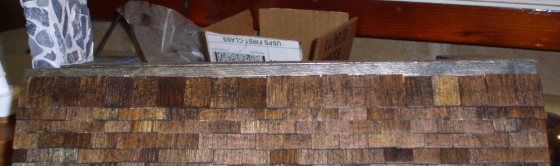
And here’s the shingling job on the back. I got a bit sloppy by the end and the spacing on these rows is not the best. Also it’s a little weird around the chimney. Eh, whatever. This is the 1800s, right?!
Here’s how it looks at the roof peak. I’m planning to cover this seam with trim.
Not bad considering I almost had a shingle emergency midway through! I’m still planning to do some weathering to these to make them more gray, like the rest of the house. They’re stained with the same ebony stain as all the rest of the wood, but the (cedar?) shingle material causes them to look much more brown than everything else.

Next comes the fun part—decorating! I have several furniture kits to put together and am going to try building a bed and trundle bed from scratch by adapting 1:12 patterns from this booklet. Pictures to follow!
 Emily is a freelance writer, miniaturist, and adventure game enthusiast.


Do you know where one can buy this kit you used – Sugar and Spice Log Cabin,” by Joyce Hagarth?
I got mine off eBay and it’s the only one I’ve ever seen. If you’re specifically looking for half scale you might have better luck finding a Real Good Toys Adirondack cabin (discontinued in half scale, but probably easier to find than the Sugar and Spice kit) or a G scale log cabin kit that you can adapt into a dollhouse by leaving off the back wall.