I’ve been playing around with paint colors for the Queen Anne Rowhouse. I’m trying to keep the colors sort of subtle because that’s what a library book told me to do. (Apparently garish paint schemes are no longer “in” in San Francisco, and I’m not really a fan of garish anyway.) I had some Glidden paint samples that I thought would look good with the Behr Baked Scone I used for the house.
(These are very roughly painted, so ignore the messy lines!)
These colors are Slate Green, Smoky Mauve, and Behr Sandstone Cove. For some reason it didn’t sing to me. Too pastel.
Went back to the drawing board, this time with two shades of (not pastel) green. The lighter green is Glidden Olivewood and the darker one is Mossy Green. I like this a lot better. In this photo the white is still Sandstone Cove, but I ended up replacing that with the Baked Scone I’m using for the house, which is an off-white with a very faint hint of tan. The Sandstone Cove was too stark. (I didn’t bother taking a comparison picture because the shades are so similar, I’m not sure you’d be able to tell the difference…)
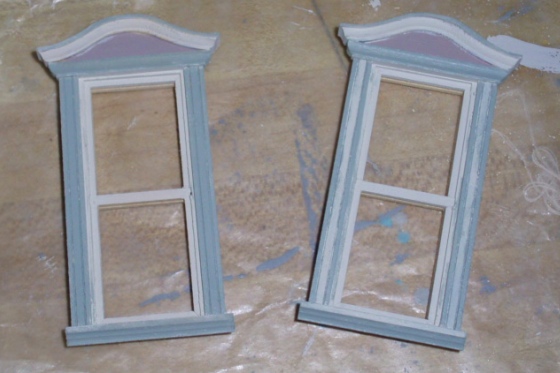
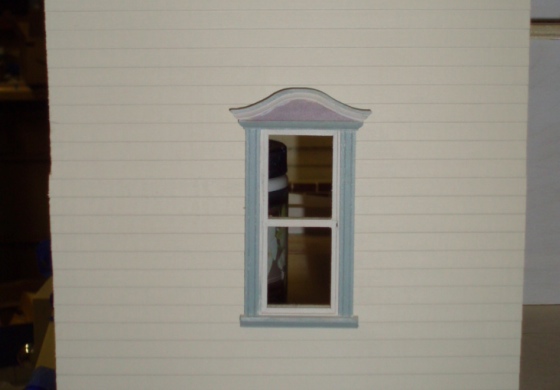
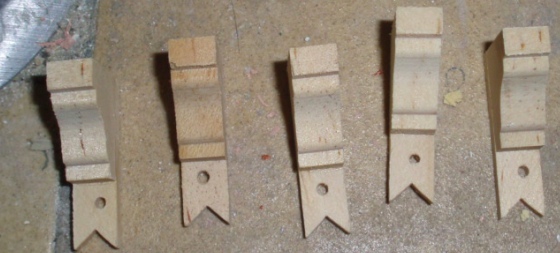
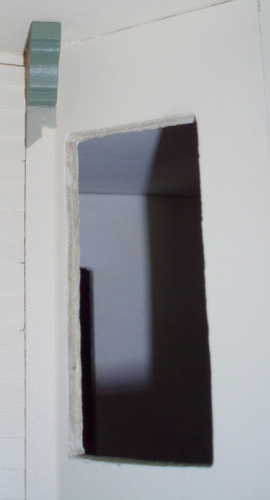
I’m not pleased with the quality of the wood on these windows. I like Houseworks windows because they usually look nice out of the box without needing sanding, etc., but in this batch the wood is really “chewed up”. Not sure you can tell in the pictures but it’s very obvious in person—a lot of crumbs on the wood that I wasn’t able to sand off, and the right side of every bonnet (where it slopes back down after the peak) is also very rough. I did the best I could painting them and hope it won’t be too obvious when they’re on the house. Normally I would have painted the inner stripe of the windows a contrasting color but because of the chewed-up-ness it looked terrible, so I decided to go with Olivewood for the whole frame instead.
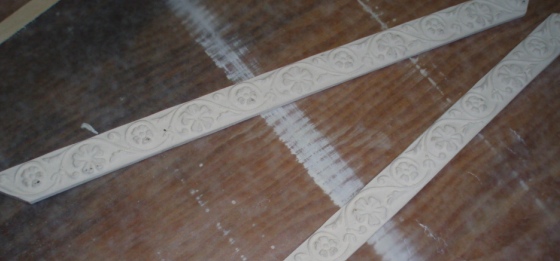
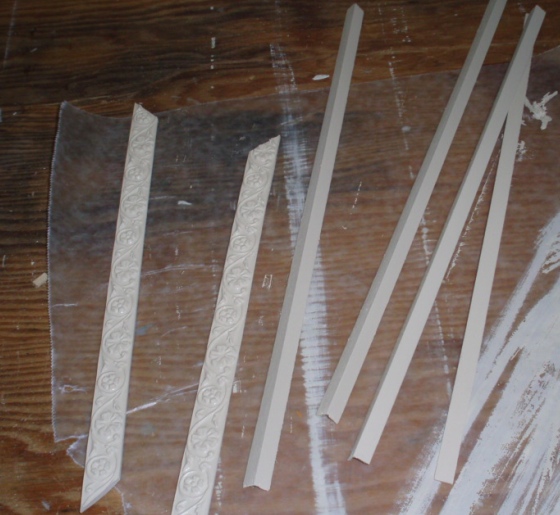
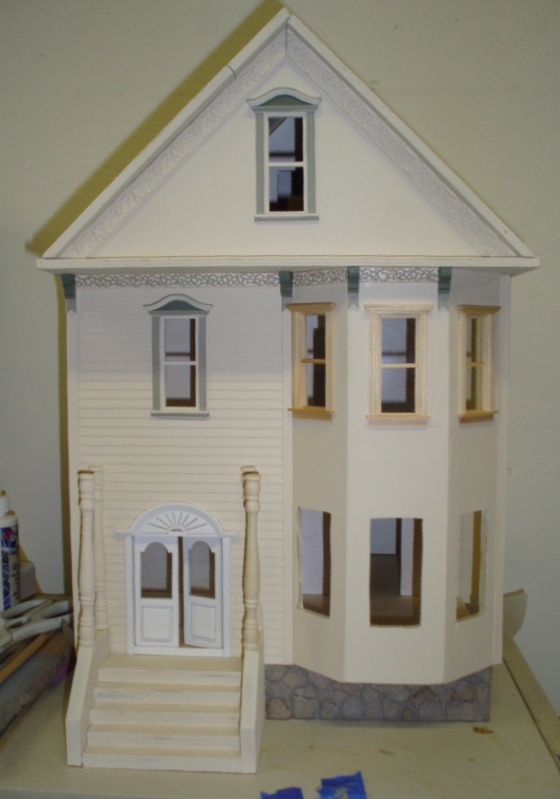
Next, I started working on trim on the front of the house. I bought decorative resin trim to use under the eaves, along with some corner trim and stripwood to cover the raggedy edges of the siding.
I painted these with Baked Scone.
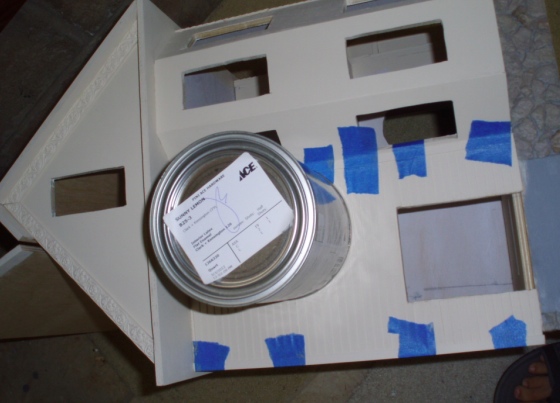
One of the trim pieces was warped, so I needed to weight it down during gluing.
Voila! Amazing what a little stripwood can do to clean up a sloppy siding job!
I’ll probably paint the details on the resin trim (it’s not glued in yet), although it does look kind of pretty all white like this. I’m trying to decide if I should just keep these two pieces or add a third piece at the bottom, like so.

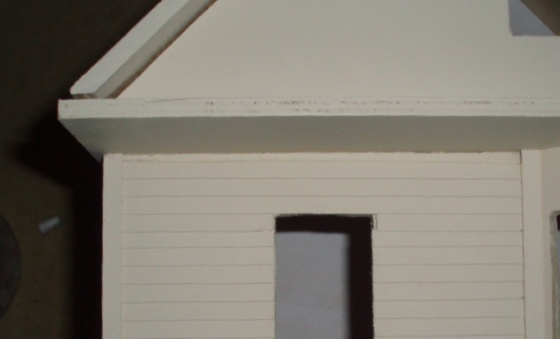
Speaking of sloppy siding jobs, the front of the house still had a big gap at the top that needed covering up.
I had some different resin trim left over from making a stove hood for the Rosedale— just enough to fit around the front of the house. But I didn’t want to have to deal with cutting nice corners on the bay. (My trusty miter box does 45-degree angles, but that’s it! And these are not 45-degree angles…)
Decorative brackets are common on San Francisco Victorians, and I figured they’d solve the corner problem nicely. (Same concept as having two pieces of crown molding butt up against a block in the corner rather than meeting at an angle.) I wanted something really pretty and detailed, like the resin trim, and wasn’t too happy with my options. The strip wood trim (which a few of the brackets would sit on) is 1/2″ wide, and these Handley House Classics brackets were all the dollhouse store had that would work. I didn’t like the circles, and they were all misaligned anyway, so I filled those with wood filler before painting.
Here’s the basic idea.
I painted the resin trim with Baked Scone, and then on a whim started painting the vines with the Olivewood trim color. It was surprisingly easy, I just used a toothpick to spread paint across the raised parts.
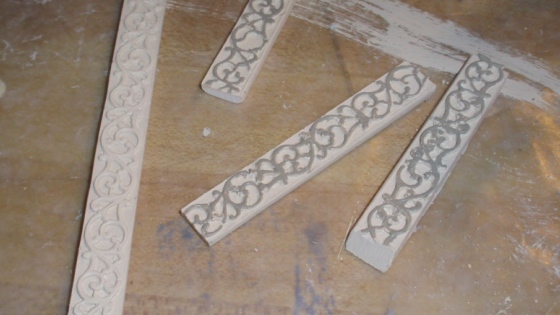
After the green paint dried I covered the trim with a coat of satin varnish. In retrospect, I maybe should have used matte; they’re a bit shiny now. Oh well.
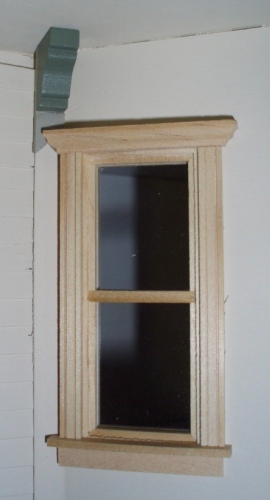
On the brackets, I used Mossy Green on the top part and Olivewood on the bottom. Just as I was getting ready to glue them on I realized the trim on the bay’s left window would bump into the bracket. I cut a small notch in the bracket to account for this. (It wasn’t at all intentional, but since the window trim comes up at a 45-degree angle just like the bottom of the bracket does, the window trim will sort of complete the bottom of the bracket.)
I started gluing on the trim and brackets, and when I got to the last segment I realized I hadn’t covered up this sloppy siding edge with trim. I used two pieces of stripwood butting up against each other so it’s similar to the corner trim on the other side of the house, but at a different angle.
After gluing, there was a small gap between the two pieces. I filled the gap with watered-down wood filler and gave the trim another coat of paint. Here’s the end result.
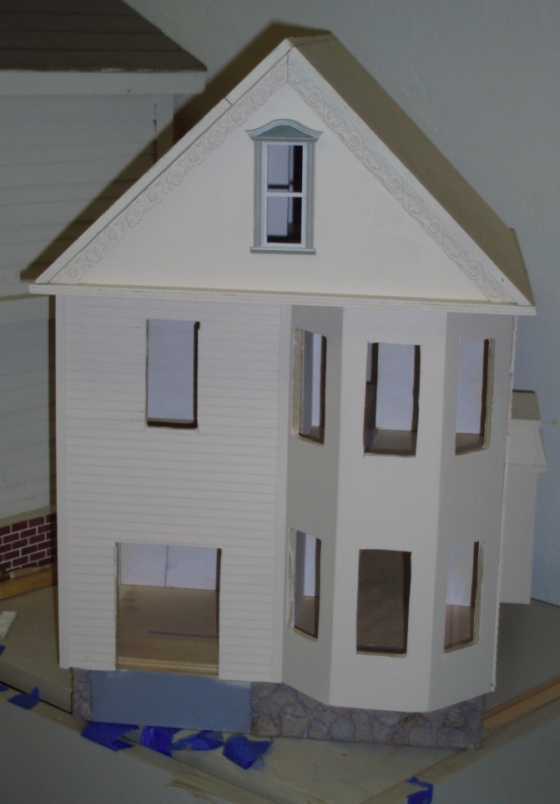
And here’s how the trim will look all the way around. (The paint on the corner trim wasn’t quite dry so I didn’t actually glue in the last bracket or trim piece yet.)

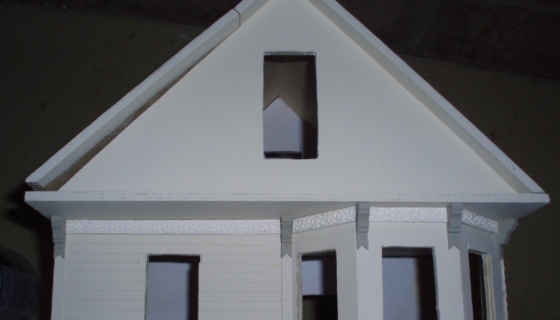
Today I also painted the stairs and three of the porch posts (I forgot about one of them!) Here’s how the house looked when I stopped working on it today. The stairs will need another coat… I’m trying to decide if I like this, or if the railings should be Olivewood instead.
 Emily is a freelance writer, miniaturist, and adventure game enthusiast.


Houseworks!! Nooo :( I bought the baulisters for my stairs from Houseworks assuming also that they would be nice quality wood, but I am having the same issues with the wood being really “chewed up” as you would say — that is the best way to descirbe it I would say! It’s a shame because it seems as though they make quality products?! :(
Rebecca (aka broccolianddip on Greenleaf)
Sorry to hear you had the same problem. :(
Lovely detail on the trim. How disappointing that you and Rebecca had such poor quality items from Houseworks.