About a month ago, I started working on wainscot and flooring in the rowhouse attic. I actually made good progress with it that very weekend, but then hit some unexpected snags that have only now been unraveled. Once again, electricity has proven to be my nemesis. But I’m getting ahead of myself.
The stain I’m using for this house comes in a can rather than a stain pen (my preferred tool for staining small trim pieces), so when I need to stain, I try to do a bunch of stuff at once. This particular batch includes the attic windows and door, trim pieces, and the inside of the roof. (I had planned to wallpaper the inside of the roof but didn’t have enough paper, and even if I had, the paper was only 12″ square, like most scrapbook paper, so I couldn’t have papered the inside of the roof with one continuous piece. I didn’t want a visible seam staring you in the face when you flip the roof open.)
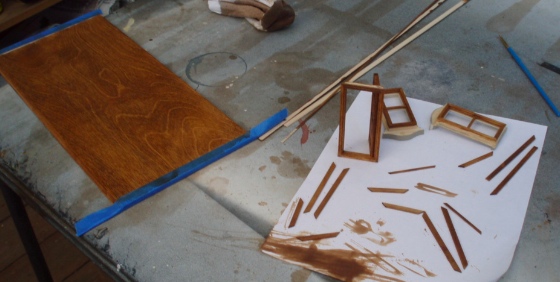
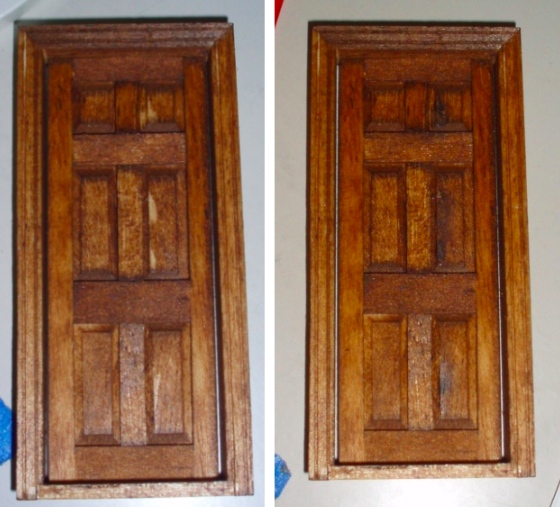
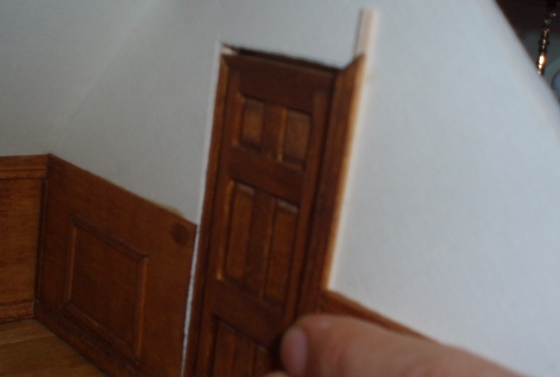
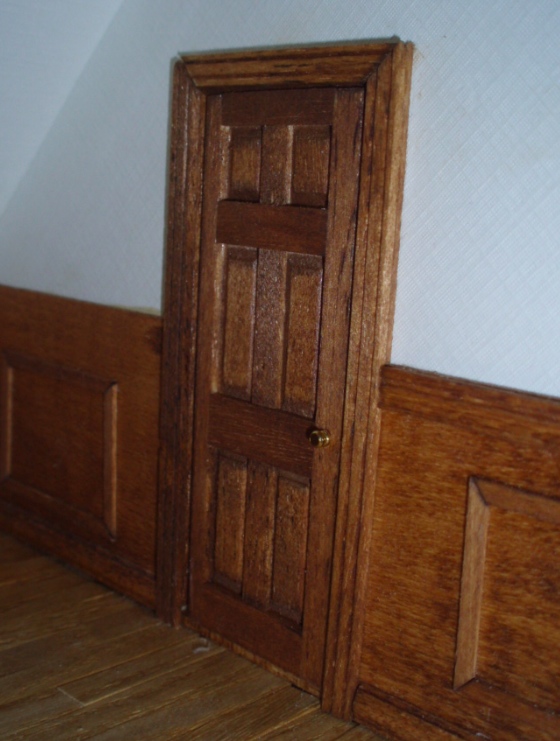
Through no fault of my own (for once), the door had some glue spots on it that prevented the stain from taking. I dry-brushed brown and black paint over these to make them less obvious.
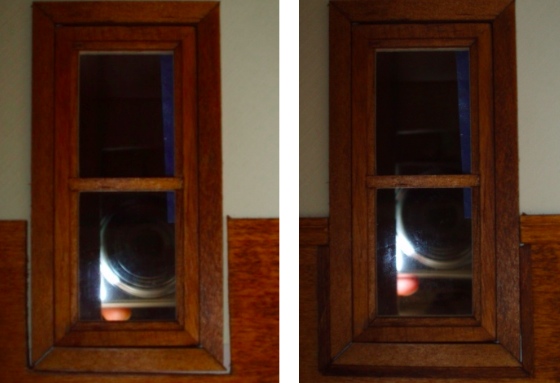
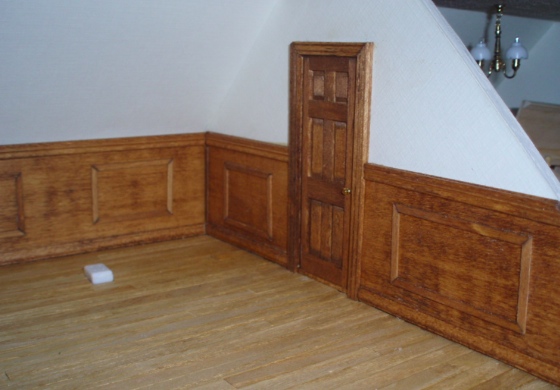
I used a small piece of basswood in the corner to cover up where the two pieces of wainscot weren’t quite meeting.
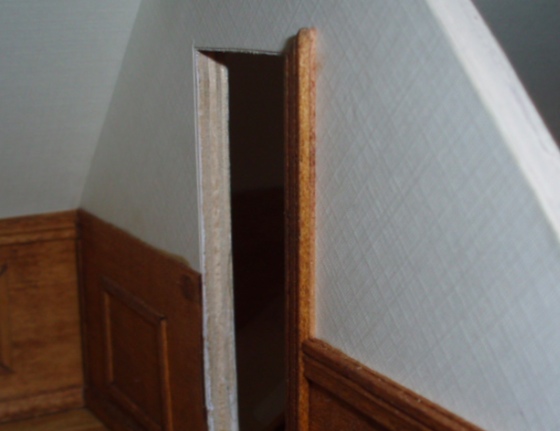
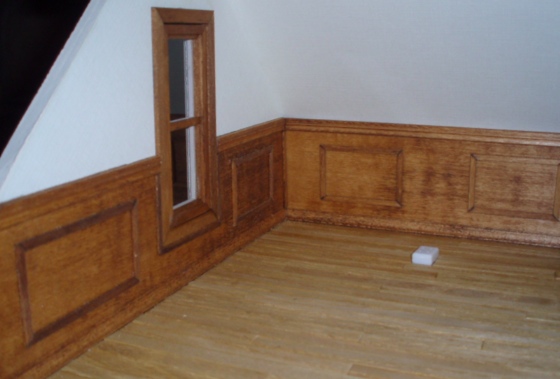
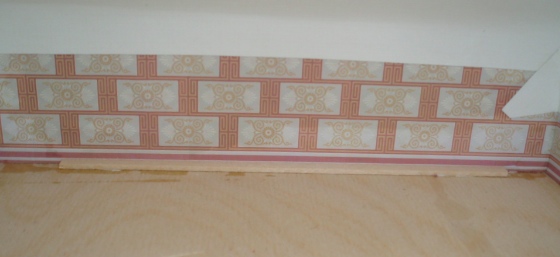
I also added basswood against the window trim to cover up the imperfect hole I cut for the window. As you can see in the second picture, even with the added basswood it’s not quite perfect, but it’s impossible to see the window straight on and it looks fine from the vantage point you have into the room.
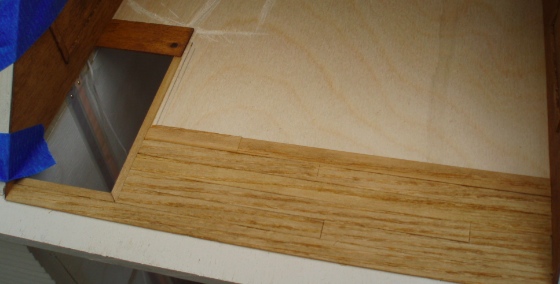
Next came the door. Since the bottom portion of the trim is on top of the wainscot panel, I needed to add a shim to the top part for it to reach the wall. I started by laying a piece of basswood behind the door trim and drawing where it needed to be cut.
Here’s how it looks with the shim.
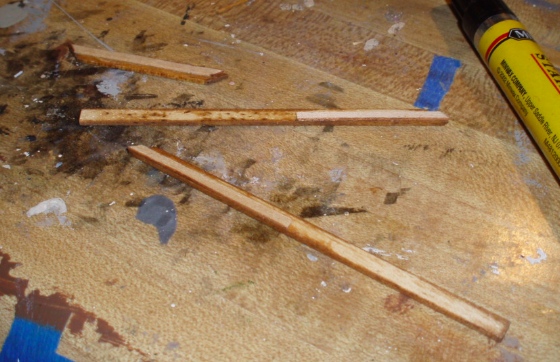
And here are my stained door trim pieces with shims attached. Rather than open up the stain can to stain the edges of the shim, I used Minwax Red Oak, which is a close enough match for small pieces and touch-ups.
Everything was going well and I got cocky here, putting glue on the pieces without dry fitting my handiwork. And, of course, it turned out I messed up! The trim that comes with this door is meant to go around the outside of the door frame, not resting on top of the door frame as I had it. So the trim pieces were a tad too big. I panicked and ran to the disc sander to make the trim smaller and sanded off too much of the first piece. So I had to grab a piece from another door. (I was able to fix the other two pieces without destroying them…)
Opened the stain can again, stained the new piece, and I was back on track.
My entry closet only needs trim around one edge, so it turns out I can use the two other pieces that I took out of the other door package. This still leaves me with a door that has no trim, but I’m sure I’ll find a solution for that when the time comes. (Or, more likely, forget all about it and turn the workshop inside out trying to find the final door’s missing trim…)

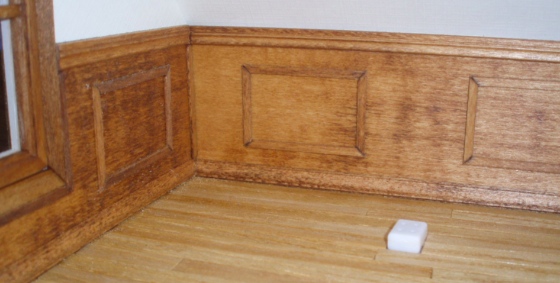
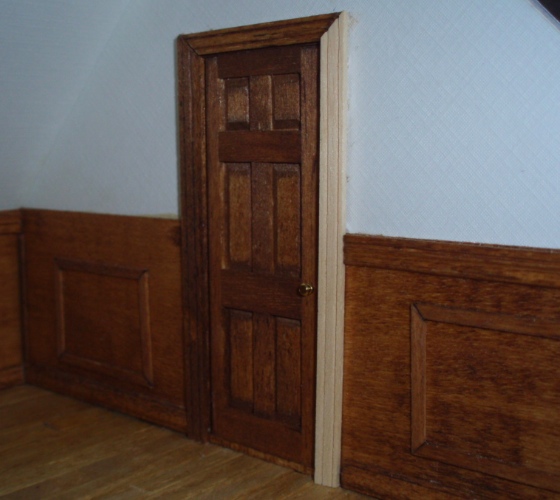
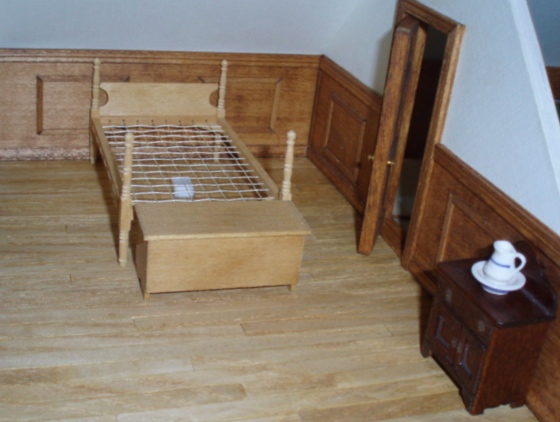
Here’s the smaller room finished. Classy!
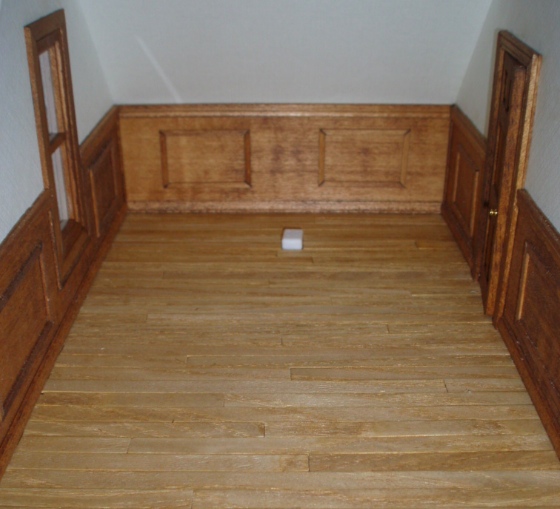
This is probably not the furniture I’ll use, but just to give an idea…
So, onto the bigger room. Here I started by gluing a piece of basswood to the back wall, to keep the wainscot panel from sinking inward. The wall isn’t quite straight and the basswood the panel is made from is very thin, both issues that contributed to the panel bowing in the smaller room and leaving gaps at the corners. I didn’t want that to happen again.
So far so good.
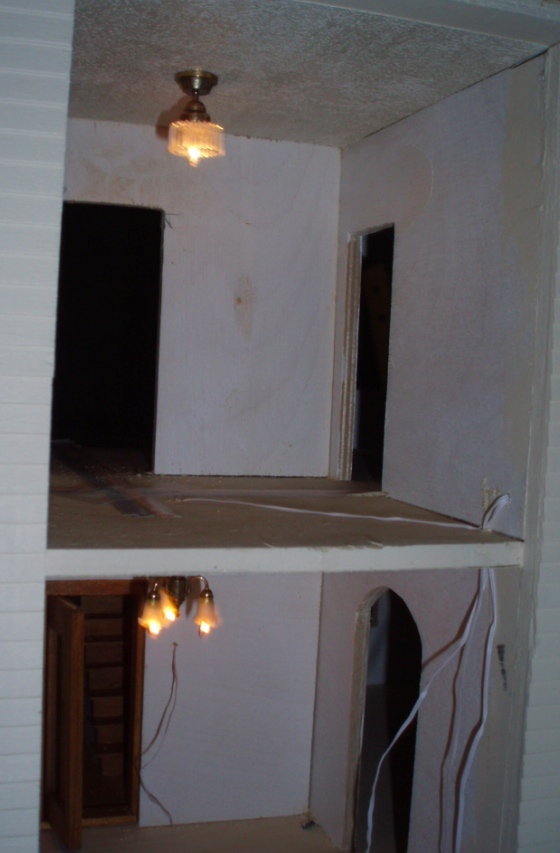
At this point I paused to add a ceiling fixture to the room below this… and here’s where things started to go off the rails. The light itself went in fine.
I wanted to cut a gouge in the floor to nestle the wire in, so it wouldn’t interfere with the flooring. This is a 1″ light so the wire is thicker than most of the other lights in the house, and I’d already run into some problems getting the floorboards to lie flat over brads in the other rooms. Gluing flooring directly on top of the wire seemed like a disaster in the making.
I started by cutting a groove using a grout saw, which is a tip I read online. (I first had to go out and buy a grout saw, which cost $10.) It didn’t work out too well. I did manage to get a groove that would get the wire to the stairs, but then it needed to run down the wall for two stories and I just couldn’t make it work. I had visions of buckling wallpaper, my staircases not fitting snug against the wall, etc. that made me want to cry.
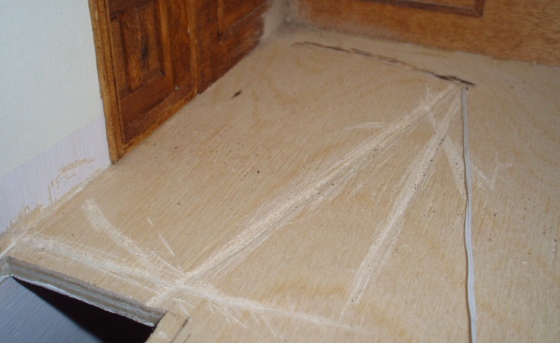
So I enlisted Geoff’s help with the Dremel. I decided to drop the wire down the back corner instead, since the back corners of the downstairs rooms will be blocked off with a fireplace / chimney and the wires could just hang down without having to be hidden under wallpaper. He cut the groove for me (the jaggedy black mark in the back of this photo) and it seemed like everything was on track. Yay!
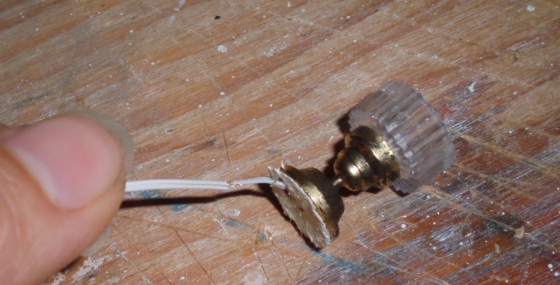
Then Geoff noticed that because the wire had been pulled around so much as I attempted to cut these grooves and keep the wire out of the way, the insulation was coming off. Boo. There was no obvious way to fix it so I ended up ripping it out. That’s *another* light I’ve now paid for and can’t use… I’ve lost count of how much money I’ve wasted trying to electrify this dollhouse. I am never, ever electrifying a dollhouse again.
After two weeks of sulking, I decided to move on with the attic floor. (I still have to replace the damaged light fixture, but if I end up doing a ceiling light down there I have an idea for how to do that that won’t require pulling the wire up through the floor. Or I could use a wall sconce instead.)
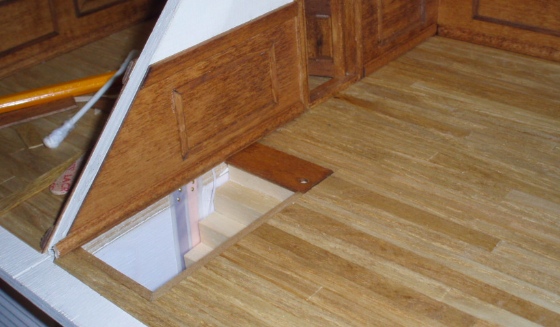
Like with the smaller attic room, I started my floorboards at the edge that’s more visible to ensure a nice straight edge. I used basswood to trim the stair hole and laid down the tread of the top step that’s going to go there so I could make the floorboards butt up against it.
Here’s how the stairs will look. Since the hinged roof piece sits at a 45-degree angle just behind the stair hole, there isn’t a lot of space for a railing around the hole. So I’ll potentially leave it open like this but block it off with a couch or equally bulky piece of furniture, so the little people can’t fall through.
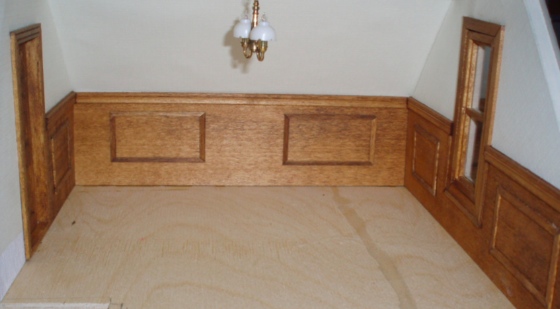
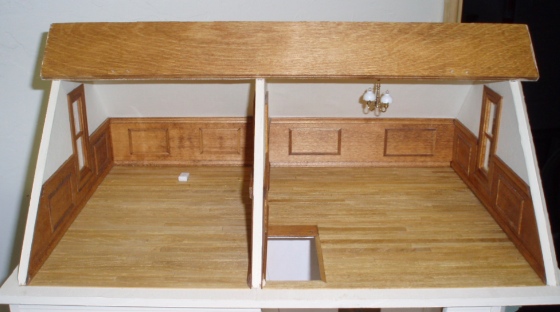
Here are the two finished rooms. The panels at the back of the larger room look like they’re different heights. Oh well. Once the pool table’s in the room will be too busy for that to draw your eye, I think.
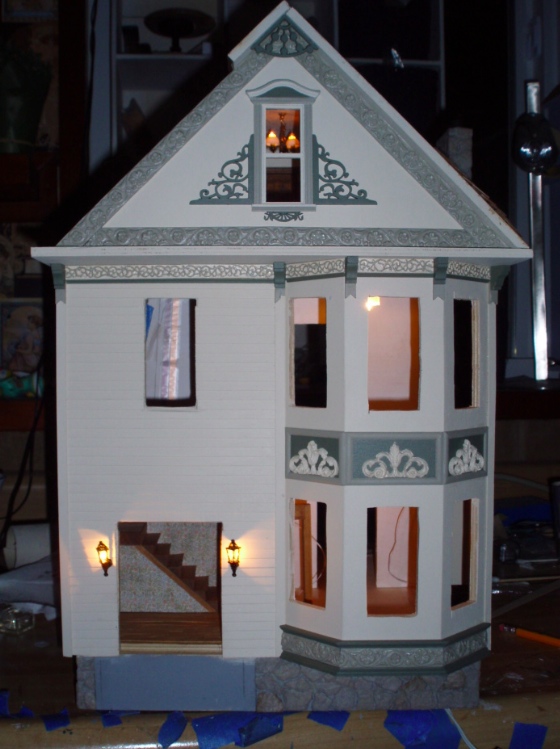
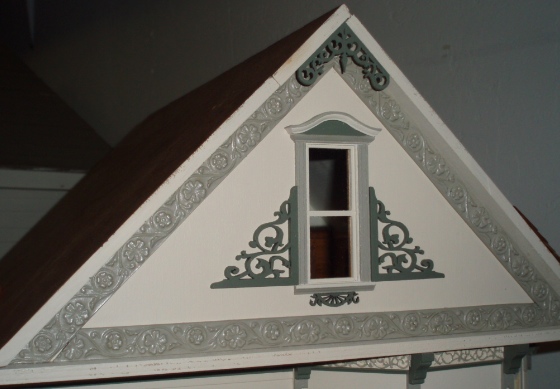
Last but not least, I wasn’t happy with the apex trim so I replaced it with something that complements the curve of the window pediment instead of competing with it. I think this looks better.
 Emily is a freelance writer, miniaturist, and adventure game enthusiast.


Too bad about the electrical problems. The lights really look good when they work. Perhaps Geoff can repair the insulation (maybe using some liquid latex that is used to coat tool handles). I’ll bet he could even replace the wire if necessary.
Dad
Also, the handrail coming up the stairs through the hole will provide some “protection” for the little people at the edge where the roof line is higher.