With the wallpaper, floors, and trim in the stair rooms finished, the time has come to finish the stairs. I started on the second floor, which is complicated by the fact that I wanted to hang a light down from the underside of the landing.
I used a round file to make a groove in the top side of the landing. This is to hide the wire.
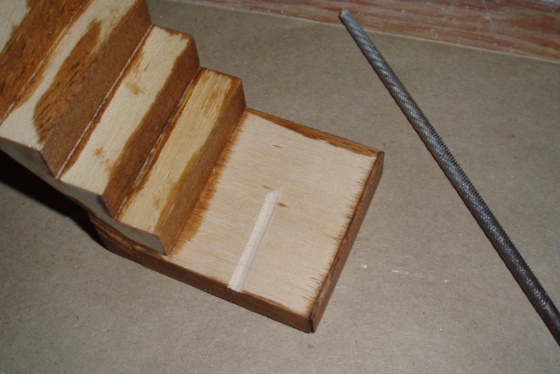
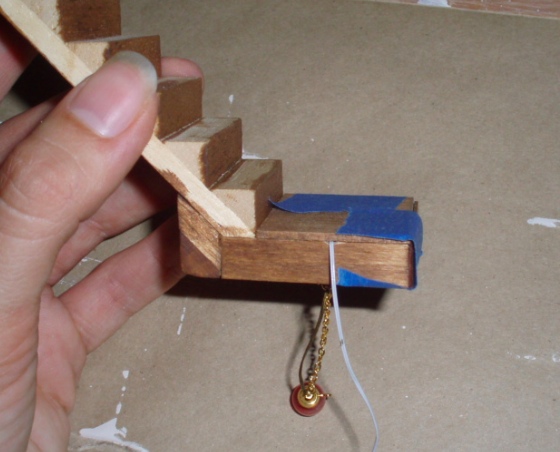
Then I drilled a hole through the landing, attached the hanging light underneath, and threaded the wire through the hole. With the tread in place it looks like this.
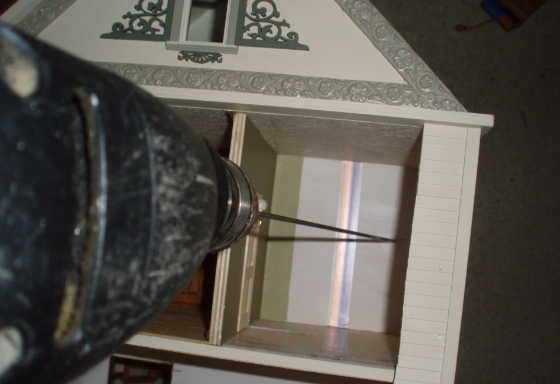
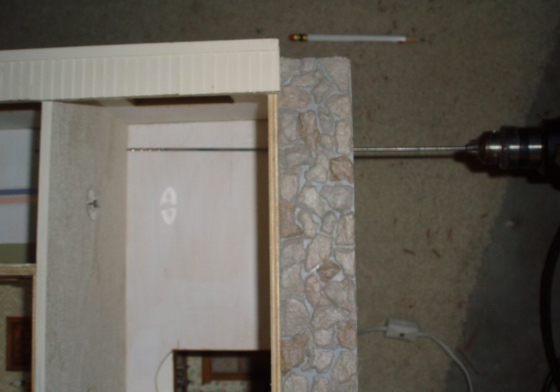
To drill a hole in the wall for the wire to go through, I carefully measured and marked it on the opposite side, using an extra long drill bit.
The wire comes out the side of the landing and goes through the hole in the wall. With the stairs in place the landing butts right up against the hole, so you don’t see the wire at all.
I then used the same extra long drill bit to drill a hole up through the kitchen floor, and then through the bathroom floor. The wire from the hall light goes through the hall wall into the bathroom, down the wall and through the floor, then down the kitchen wall and through the kitchen floor to the tape wire underneath the house. A bit of a crazy plan, but it all worked!
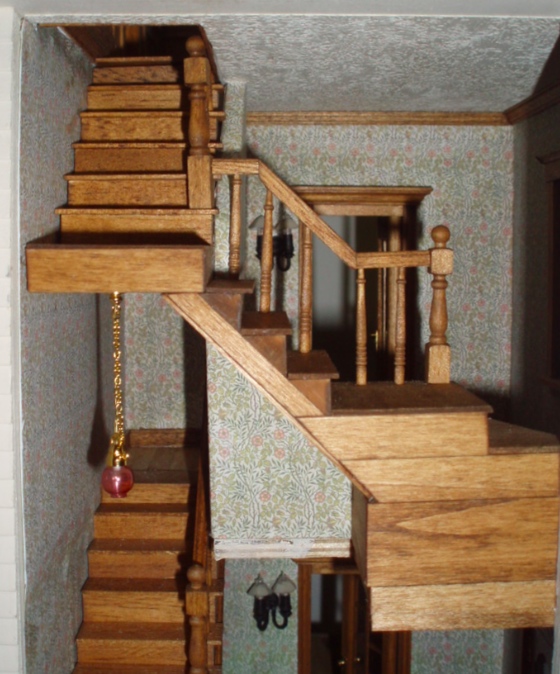
With the light taken care of, I was able to glue the stairs in place and put together the railings. I hate it when dollhouse stairs have two newel posts right next to each other, so figured out a way that I could have just one newel post connected to both the lower and upper railings. I’m not sure if a railing would attach to the lower part of the newel post in real life, but I like this better than two newel posts next to each other.

From another angle. I had to cut down the final spindle before the turn a little, to make it fit.

Here’s how it looks at the top.

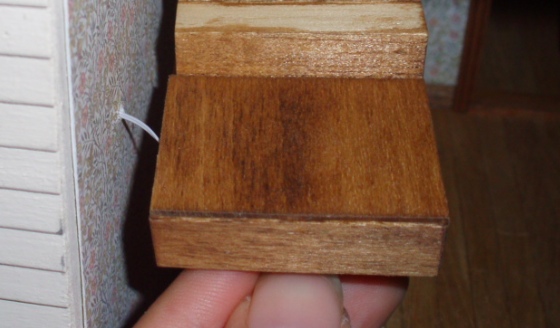
I added pieces strip wood to the back side of the staircase, so it would be nice(ish) through the open wall. The exposed plywood edge under the triangular wallpaper part will be covered with stained wood, as will the edge right next to the first floor stairway, but I have to finish the first floor stairway before gluing those in because it won’t fit with the trim piece in place.
I also added a wood piece to the back of the stairs, to cover up the seams from bashing this together. I didn’t bother doing this with the other portion of the stairs because you can’t really see the underside of the stairway, from any angle.

 Emily is a freelance writer, miniaturist, and adventure game enthusiast.


Fantastic! It looks very professional and realistic.
A note for you or others who may not have a long drill bit available when needed: A straight piece of coat hanger wire sharpened to a point on one end can also be used to drill small holes. I use that when I want to drill an unobtrusive pilot hole through walls where there is no stud to check location.
I too dislike seeing two newel posts side by side in dollhouses so I liked your solution. The staircase is great.