Since half scale furniture can be hard to come by, I’ve been collecting a lot of Cassidy Creations kits, mostly off eBay. I’m planning to build a bunch of them to go in the almost finished Queen Anne Rowhouse, but these first two might end up in other houses.
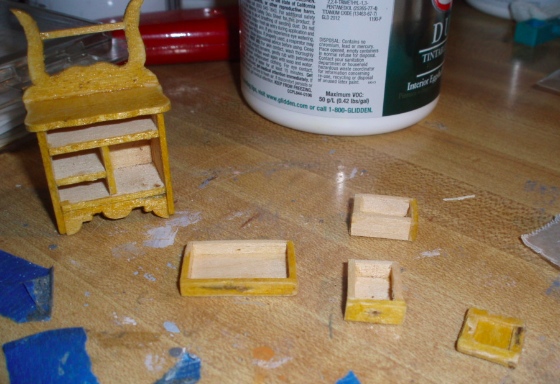
The first is a washstand that I bought already assembled. I have another of these in the package but the price on this was decent and it looked good in the pictures. Or so I thought. Apparently I didn’t look at the pictures carefully enough (or saw what I wanted to see!) because the washstand was in pretty rough shape — stained a horrid yellow color, coated with polyurethane and rough to the touch, and the metal pieces had all rusted creating black streaks in the wood. Also the door was poorly hinged and wouldn’t stay shut.
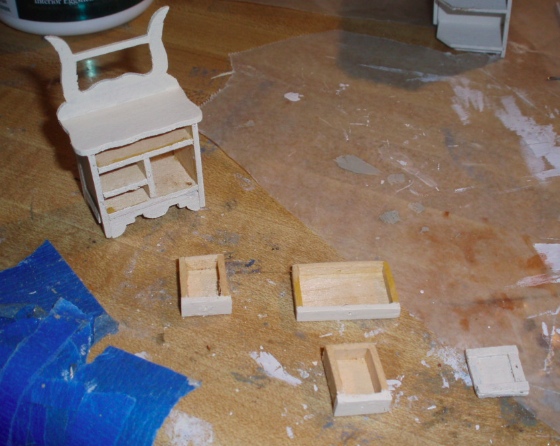
I took it apart, removed the metal pieces, and sanded heavily.
Then I painted all the pieces off-white.
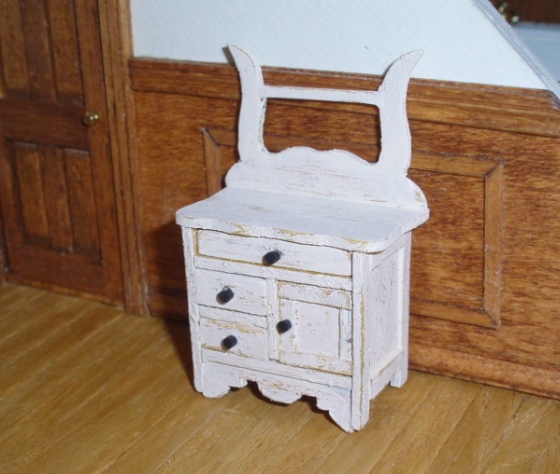
I started sanding intending to do a second coat, but liked the distressed look with the yellow stain showing through, so decided to leave it this way. The drawers open, but I glued in the door since it had been damaged by the original pin-hinging. The pulls were leftover from my SDK Miniatures modern kitchen kit — they’re small wooden cylinders that I painted matte black.
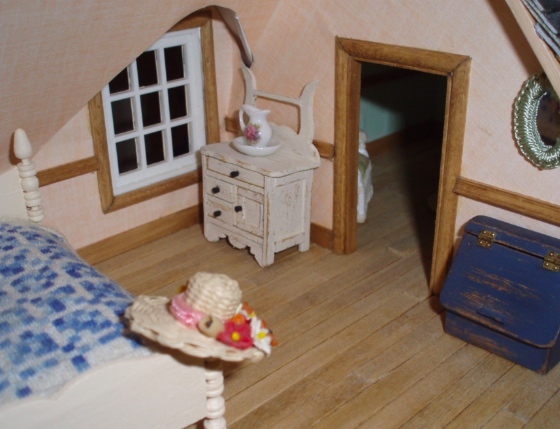
I thought I might use this in the Rowhouse attic (above), but later decided it’s a better fit for the puzzle house, which has a pastel, country, almost shabby chic thing going on. I rearranged the bedroom furniture to make room for it near the window.
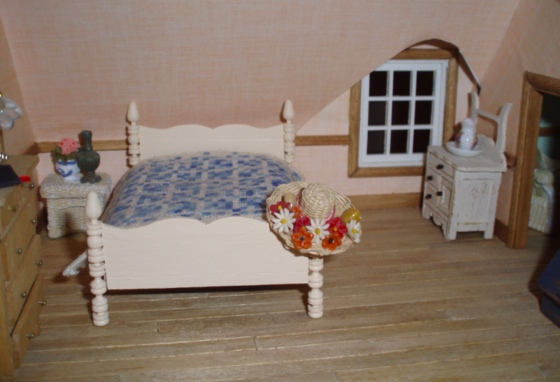
Still need to add a little towel to the bar, maybe something white with a blue stripe.
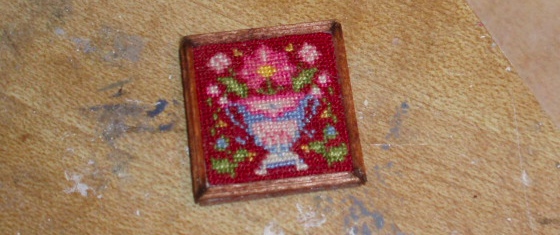
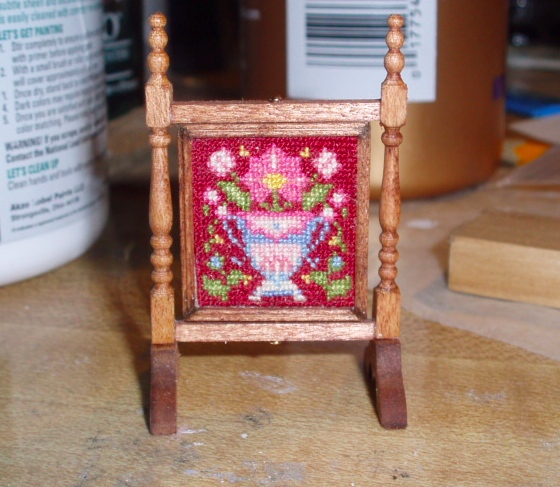
Next up: the Cassidy Creations firescreen. I stitched a few different designs from Pamela Warner’s Miniature Embroidery for the Georgian Dolls’ House. These are meant to be square cushions, but I stitched them on 56-count linen that I learned the hard way with a past project isn’t square, so they came out rectangular and just the right size for the firescreen kit.
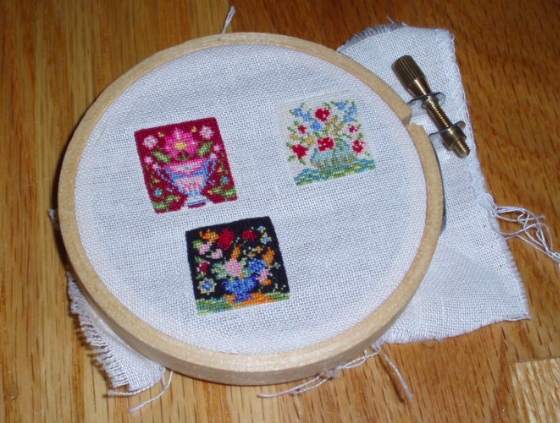
I decided to go with the red one, and will either hold onto the other two for a future firescreen (don’t have any more of this kit in my stash, at the moment!) or I’ll frame them for the wall.
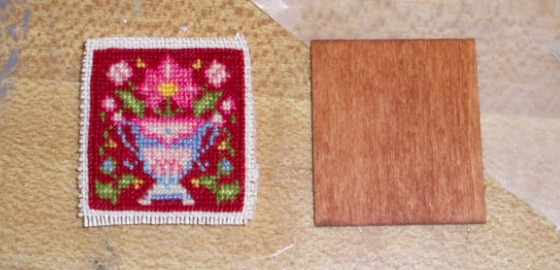
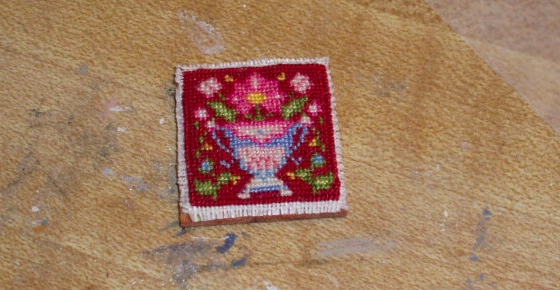
Leaving a small fabric border around the edge, I glued the design to the wooden backing with tacky glue.
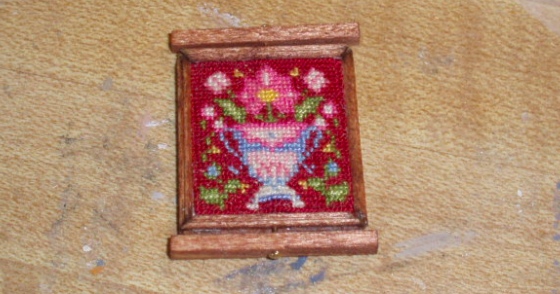
Then I added the trim pieces. These had to be mitered by hand and it was a bit tough to get them to the perfect size and glued in place.
Next the top and bottom pieces get pinned in. The instructions said to stick the pin directly into the wood and not to insert it all the way, but to snip off the top of the pin with wire cutters. I don’t see how you could stick the pin into the wood as the wood backing is very thin. My pins went in between the backing and the design, and I inserted them fully. They make a bit of a lump behind the fabric but I don’t think I could have made it work if I’d followed the instructions.
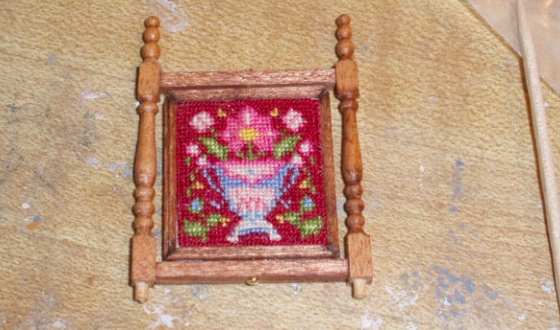
Next I glued the firescreen assembly to the legs. This was also a deviation from the instructions, which said to glue the legs into the feet first. Everything twisted around too much when I tried it that way. This way I was able to lie everything flat and press the legs into the horizontal pieces while the glue set.
Then I put the assembly on top of a wooden block and added the feet.
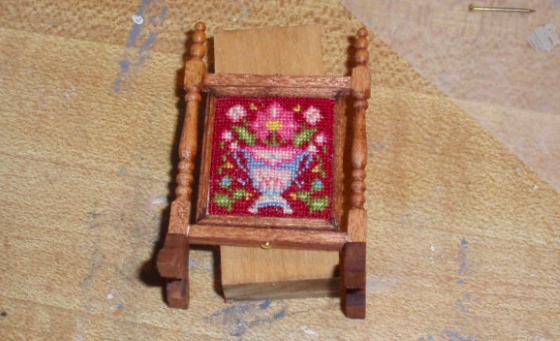
Viola! The pins allow the firescreen to rotate, which I guess is what you’d want it to do if you were using it to screen you from a fire? Come to think of it, I don’t really know what the point of something like this is. (Other than to display needlework!)
My original plan was to use this with one of the Rowhouse’s fireplaces, but I’m not sure I like it. The feet make it sit kind of far out from the wall or the fireplace. Plus if it’s actually in front of the fireplace, you see the back instead of the front with the design, because of how the opening on this house is situated.
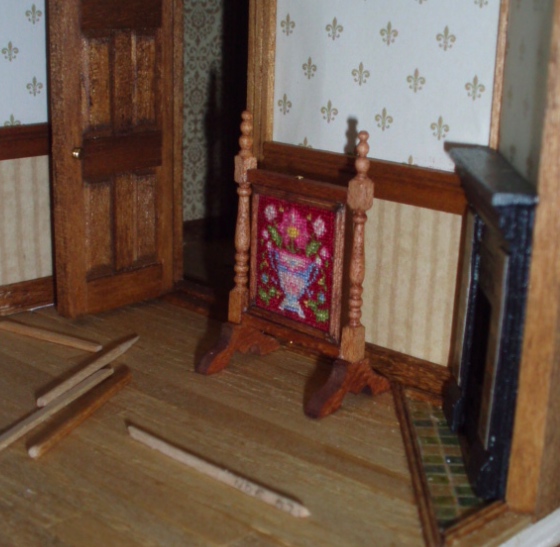
For now I’ve moved it to the Fairfield, so it doesn’t get lost or broken before I find the perfect spot for it…
 Emily is a freelance writer, miniaturist, and adventure game enthusiast.


That’s really pretty. Beautifully done!