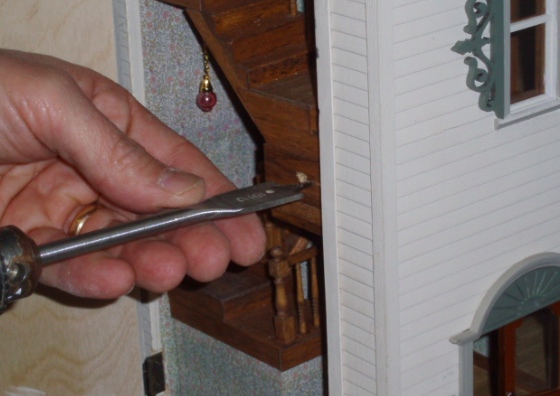
Back in November when my dad and I attached the hinged panels to the Rowhouse, the panel on the stair side wasn’t closing all the way so we decided to add a magnet to help keep it closed. My dad used a special drill bit to drill a hole in the back side of the second story landing.
Before gluing in the magnet, I ran the red oak stain pen around the edge so none of the raw wood would show through.
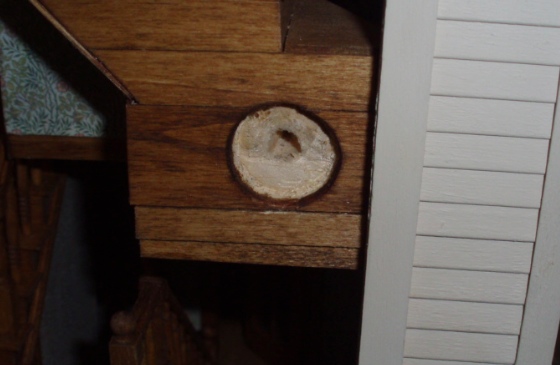
Then I glued in a ceramic magnet.
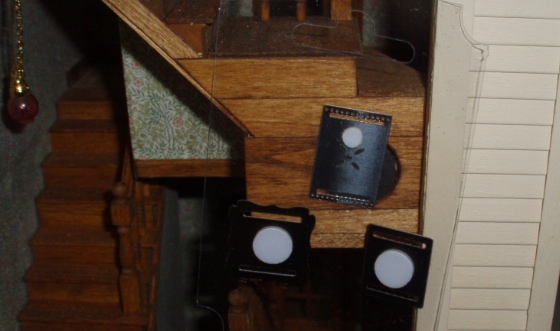
I needed something metallic to put on the panel to engage the magnet. I wanted it to be unobtrusive and possibly even look like it belonged there. I found these metallic stickers and brads at Michaels in the scrapbook section. (I tested them with a magnet while I was in the store… not everything they had that was metallic was also magnetic!)
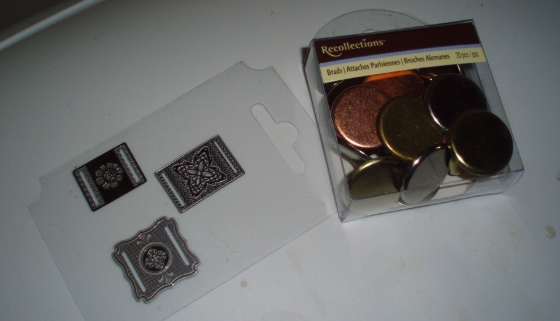
The decorative sticker thingies engaged with the magnet, with the added benefit of looking sort of like a Victorian heating vent, so I decided to use one of those.
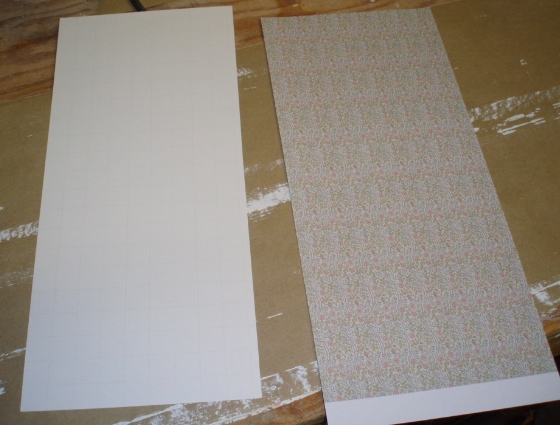
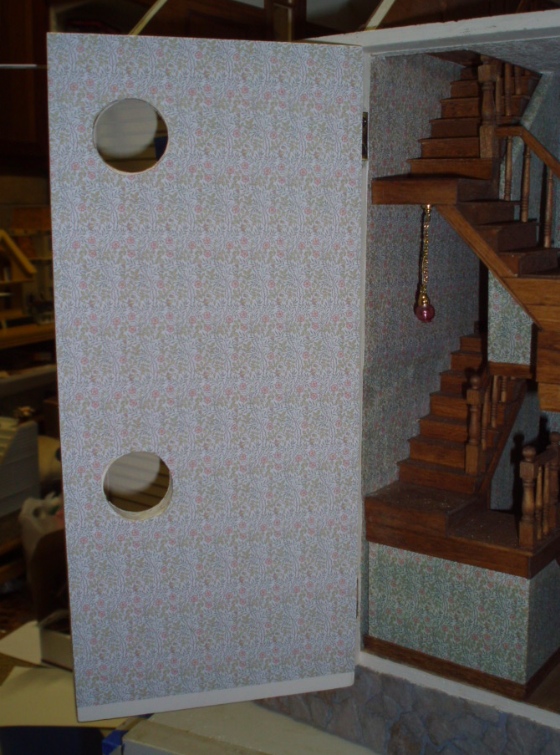
My next step was to wallpaper the inside of the panel. This is wallpaper I created myself by tiling sample images from Bradbury & Bradbury. In other spots of the room, the glue soaked through and discolored the paper. Through trial and error I realized this probably had something to do with the walls, since against the staircase wall I had attached the wallpaper to a piece of stiffer scrapbook paper first and that piece was the only one that didn’t get discolored.
Too late to fix it in the rest of the room (unfortunately) but I decided to play it safe and attach this piece to scrapbook paper before gluing it to the wall.
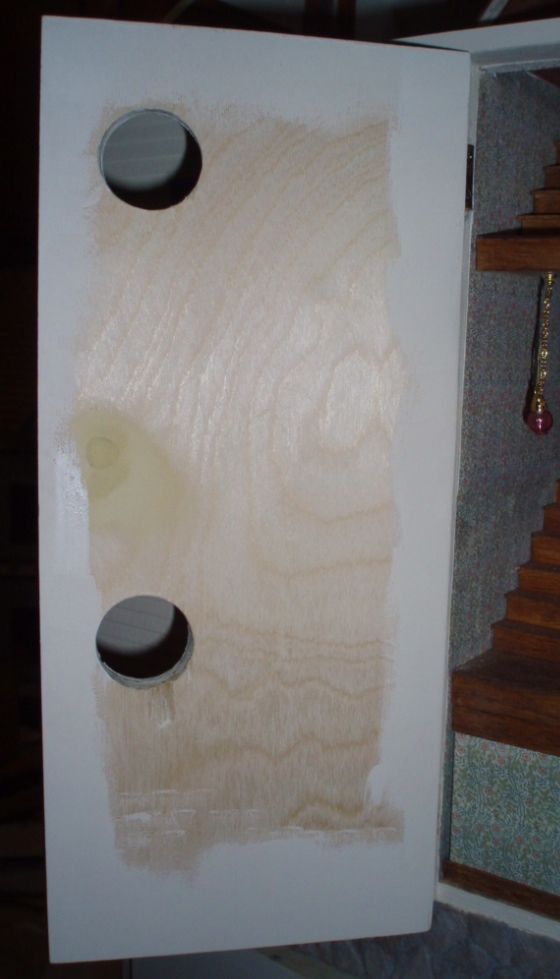
First I painted the edges and the bottom, which will show underneath the paper, with the Baked Scone house color.
I cut the scrapbook paper to size and glued the wallpaper onto it. Then I ran the Xacto knife around the edge of the scrapbook paper to trim off the edges of the wallpaper. This gave me a nice clean cut without any scrapbook paper showing through at the edges.
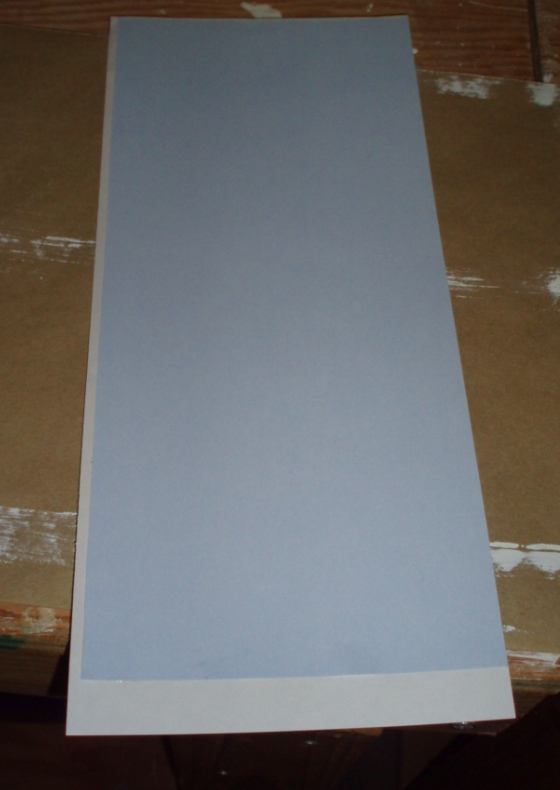
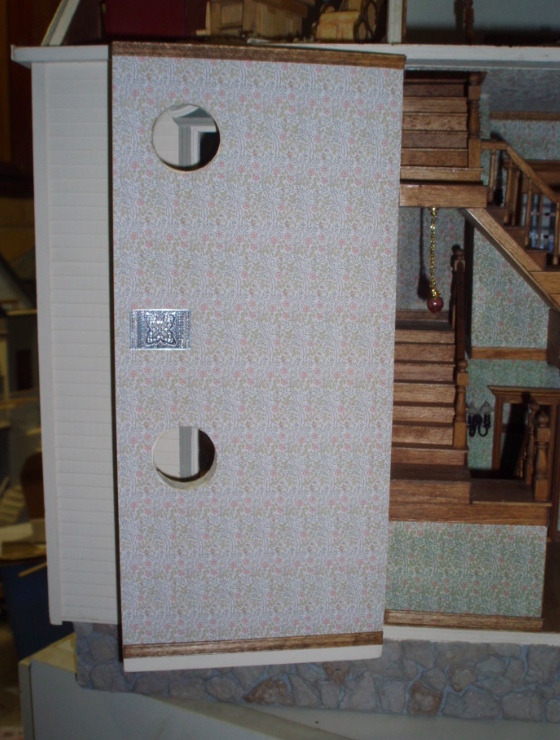
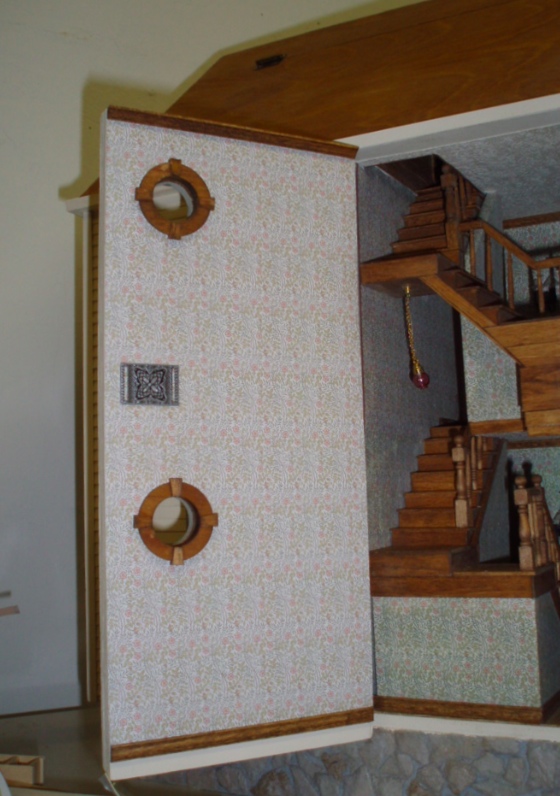
It was important to me to do this nice and neatly since you’ll see it up close when you open the panel. Mission accomplished!
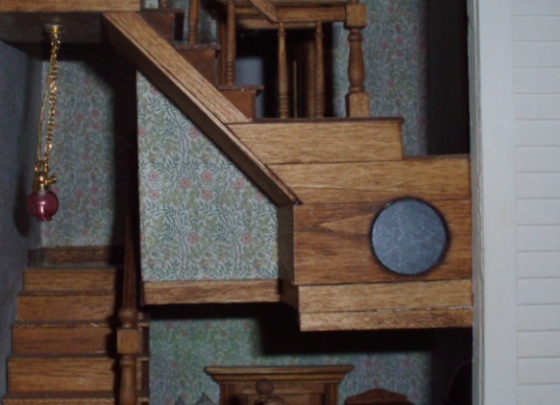
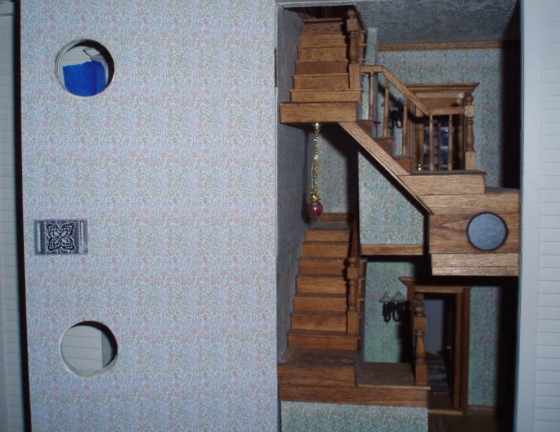
Here it is with the “heating vent” added.
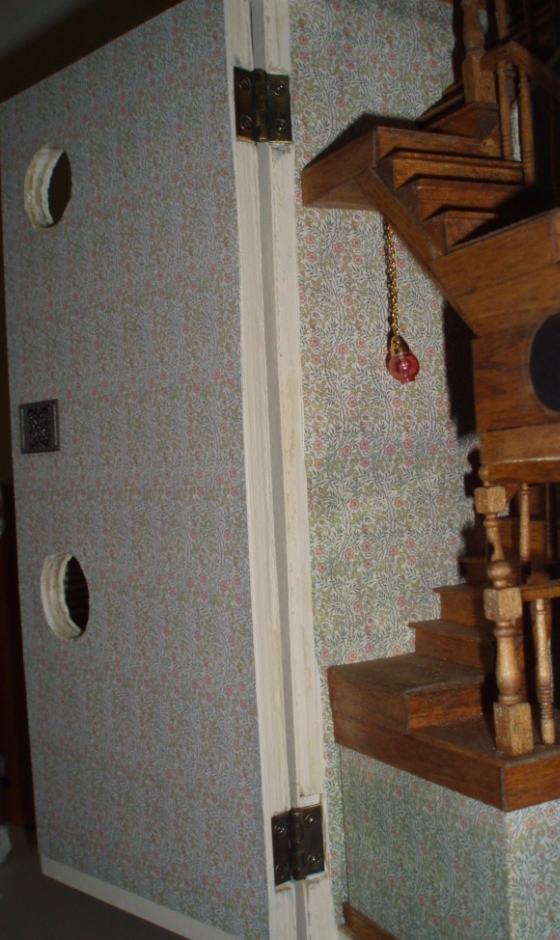
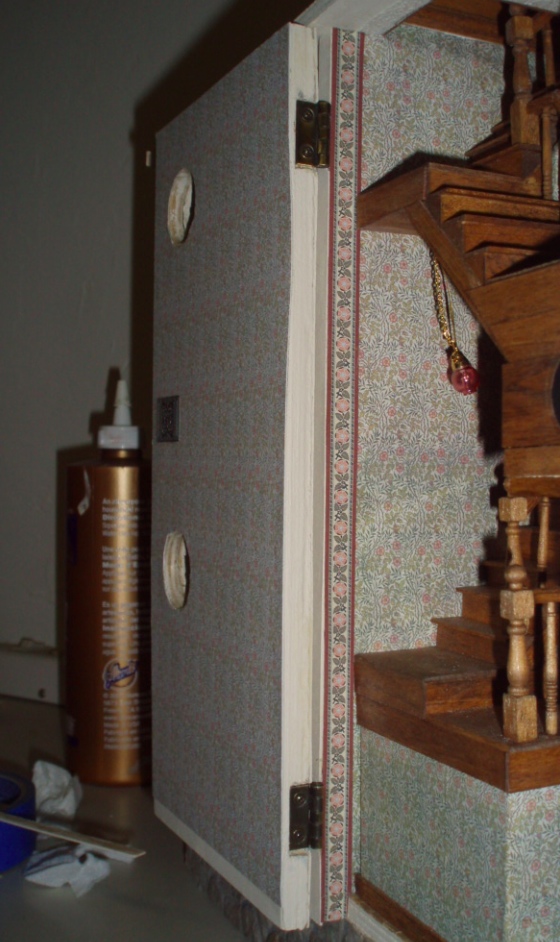
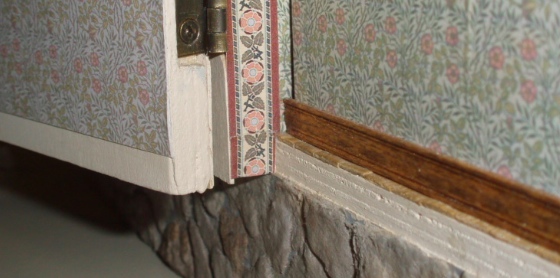
On the inside edge, I wanted to cover up the hinges on the interior wall somehow. When I papered this room I didn’t realize this edge would be visible so it isn’t a straight cut, plus the gauges we cut for these hinges are particularly sloppy. I just didn’t like it being visible.
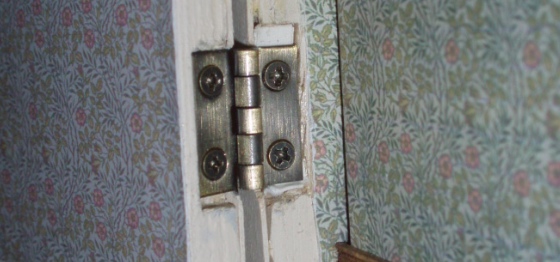
A close-up of the worst offender. I just needed it hidden, for my own sanity.
My original plan to was to glue a piece of stripwood over this, but it got in the way of the door and prevented it from closing properly. So instead I printed out a wallpaper border that complements the flowered paper. Not ideal but it gets the job done.
The two stories are a bit taller than the 11″ of a piece of paper, so I had to piece on a tiny bit at the bottom. It’s hard to tell unless you know it’s there (like I do!).
I added crown molding and baseboard. To keep the baseboard from bumping into the baseboard at the bottom of the stairs and preventing the panel from closing, I sanded down the back of it with Geoff’s belt sander first.
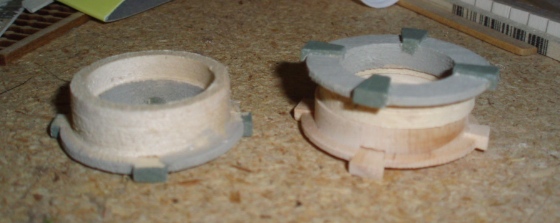
I didn’t like the window trim that came with the round windows – it’s just a circle and the diameter is slightly wider than the window opening, so it doesn’t hold the window plastic in place. Plus, one of my trim pieces broke. I bought two more windows with the plan of using the new ones on the inside. Back to back, the two windows are deeper than the wall.
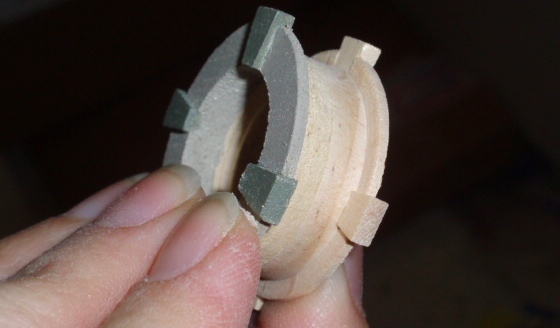
I used the disc sander to reduce the amount of each window that sticks into the hole. Here you can see the two sanded windows next to one unsanded window.
Then I stained the new windows and the inside edges of the painted windows. (Plus some other window trim for the bedroom, unrelated to this post.)
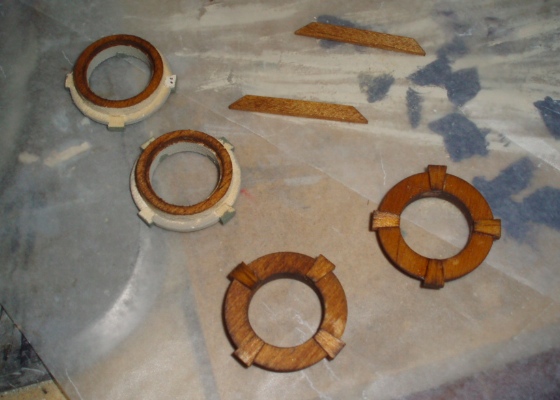
The new windows have some glue splotches on them – not my fault! – that I need to touch up with paint like I did on the attic door. Until then, here’s how they’ll look.
 Emily is a freelance writer, miniaturist, and adventure game enthusiast.


Now comes the fun part – all the accessories and furniture. Good job well done.