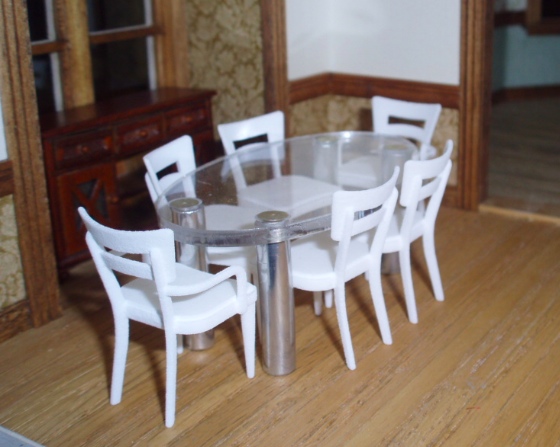
I’m outfitting my Queen Anne Rowhouse with a lot of formal / traditional furniture, but the kitchen is decidedly modern. I bought a set of 3D printed Dog Bone Chairs from Pretty Small Things and wanted a glass-topped table to go with them. Unable to find anything like what I was picturing, I made my own (with help from Dad!).
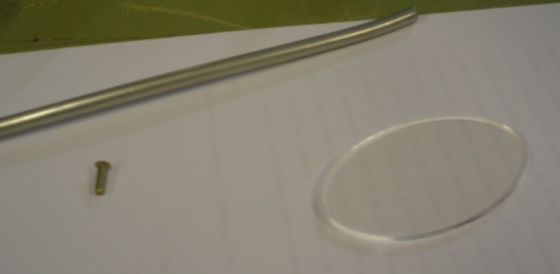
The table is made from a plexiglass oval I bought off Etsy, and some metal tubing and rivets Geoff had left over from when he built an airplane.
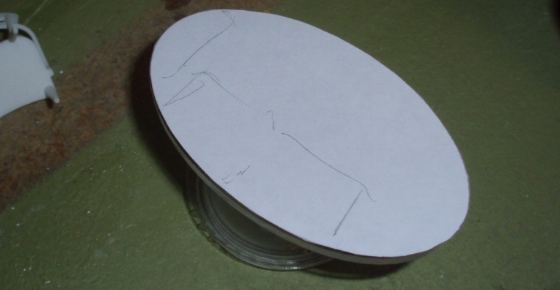
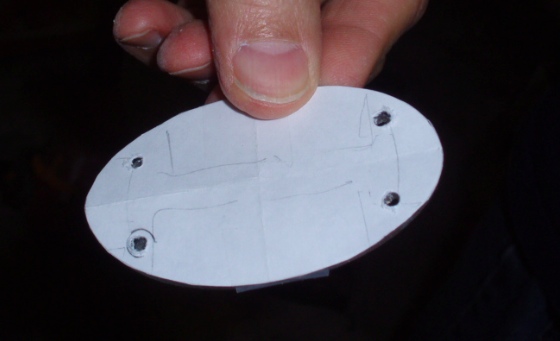
We cut a piece of paper the size of the oval and laid the chairs on top of it to figure out where to put the legs.
After roughly tracing the edges of the seats, I had an idea of where the legs could sit without getting in the way.
We folded the paper in half, then in half again. I drew around the head of the rivet to illustrate where the leg would go, then poked a hole through the center of this.
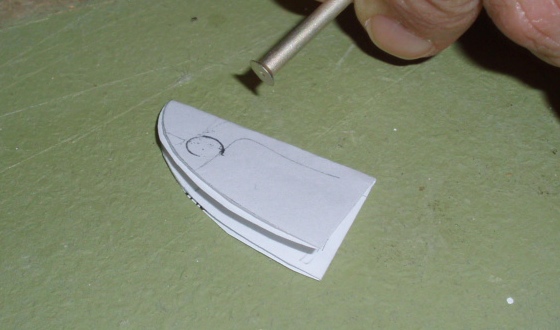
When the paper is unfolded, the poked hole is (more or less) positioned in the same spot in all four corners.
After taping the paper onto the oval, my dad used it as a guide to drill holes with the drill press.
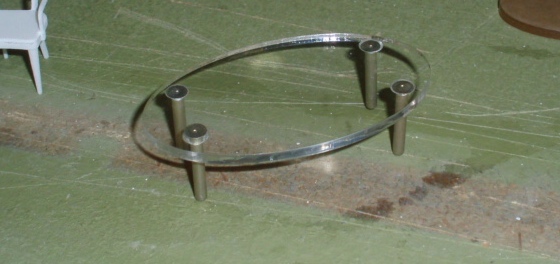
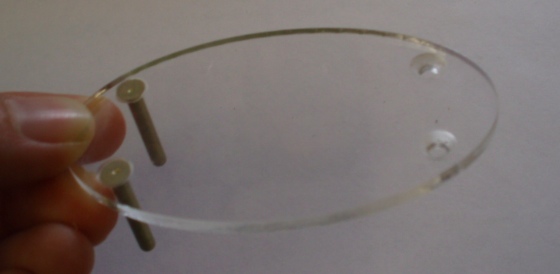
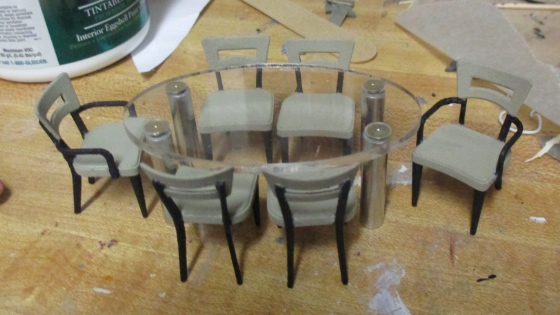
Here it is with the rivets inserted. Note that these rivets are longer than the ones in the photo at the top of the blog post. We used the longest ones Geoff had, to add stability to the legs. But they weren’t quite long enough to be table legs, which is where the metal tubing comes in.
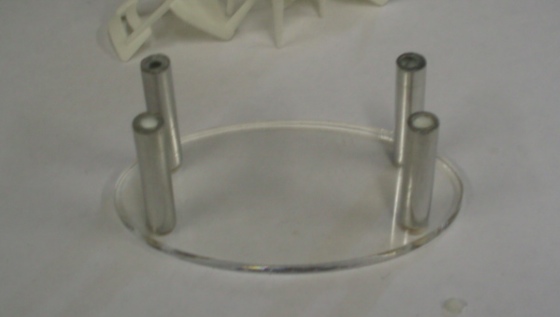
We cut four pieces of metal tubing, about 1-1/8″ long. In half scale, this is the equivalent of 27″ high. This plus the thickness of the plexiglass oval makes the table about 30″ (standard table height).
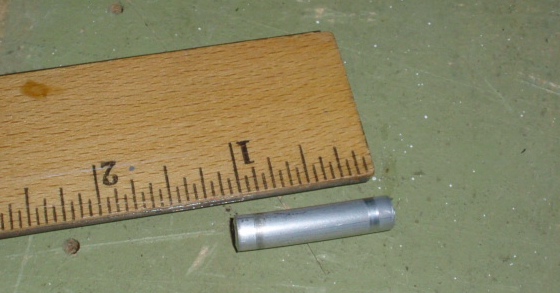
I checked it with the chairs to make sure the height looked good. The rivets are inserted into the holes and through the table top to stick into the tubing legs.
To make sure the legs were all the same length and flatten the edges (which were sort of rounded from being cut), my dad lined them up on a piece of masking tape.
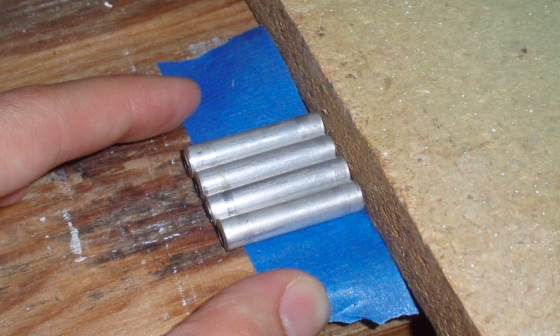
Then he put them in a clamp and sanded the edges with a file. He did this on both sides so all four legs were exactly the same length with nice flat edges.
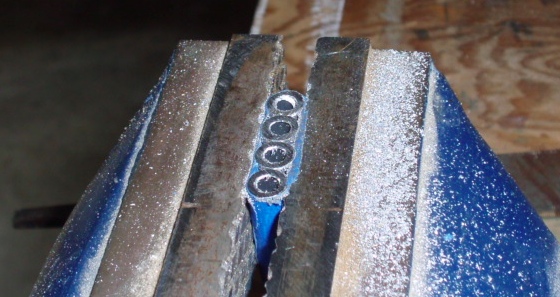
Before gluing everything together, we noticed that because the bottom edge of the rivet head is sloped, the rivets were popping out of the holes slightly instead of sitting flush with the table top. To account for this, my dad used the drill press to make countersinks.
Using a bit the size of the head (so, slightly larger than the one used to drill the holes), he lowered the bit slowly with very little pressure, using the drill press’s adjustable stop to prevent drilling a larger hole all the way through. The cutting angle on the tip of the bit forms a slope inside the hole. He set the stop high at first and after several tries, when the rivet top was flush with the table top, he used the stop to guide the depth of the other holes.
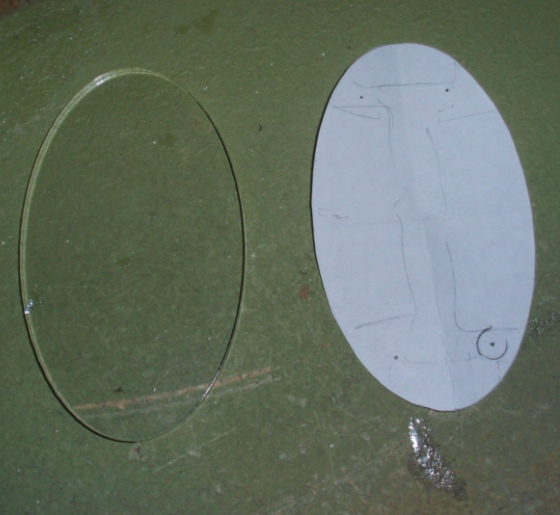
In the picture below you can see the flush rivets on the left, and the sloped holes on the right.
Not pictured – before attaching the tubing legs, my dad cleaned them with metal polish to make them nice and shiny.
Securing the legs was tricky. I didn’t want any glue to leak through and smear on the table top. With all the pieces assembled, we flipped over the table and squirted glue into bottoms of the the hollow legs, with the idea that when the glue dried it would hold the rivets inside the legs.
After the glue dried the legs were still wiggly, so I had to repeat this a few times over the next day or two.
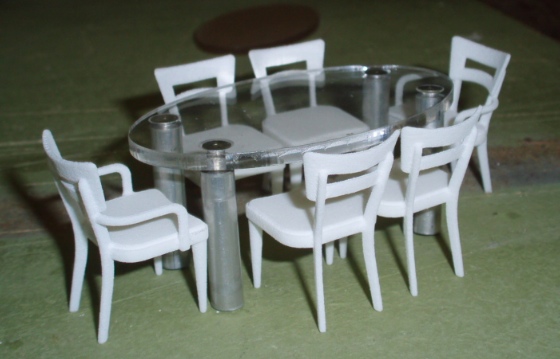
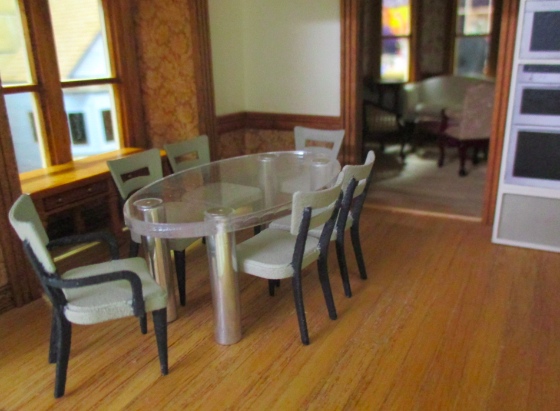
The legs still wiggle slightly, but they’re not going anywhere and there’s no visible glue, so mission accomplished! Here’s how the table looks with the chairs.
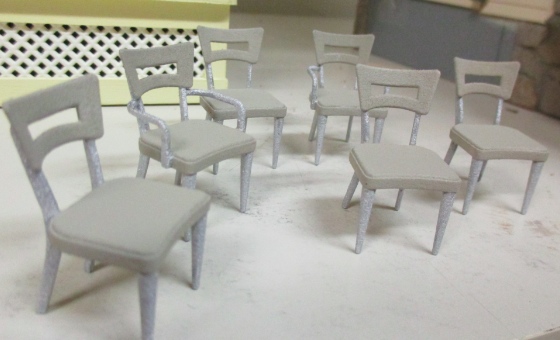
I wanted the chairs to have the same green accent color as the kitchen cabinets, with silver legs to match the table legs. I’ve placed a few orders for 3D printed furniture but this was my first time painting any. It took the paint very well. The finish is kind of grainy, even after light sanding, but it looks fine. On the green part, the graininess gives the illusion of fabric.

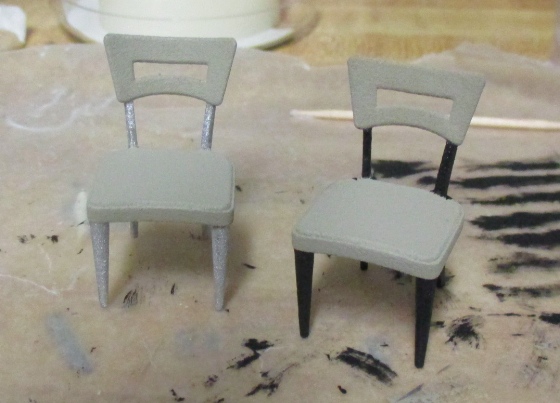
I used my Testor’s chrome paint on the arms and legs.
At first I was happy with this, but when I saw the chairs and table together, the chrome paint looked sort of like glitter than metal. The graininess of the plastic may have contributed to this.

So, I painted over the silver with black.
Somehow I made much more of a mess with the black paint than I had with the silver. Maybe it’s just that the spots outside the lines are more noticeable and obvious. But I also didn’t have a small enough brush.
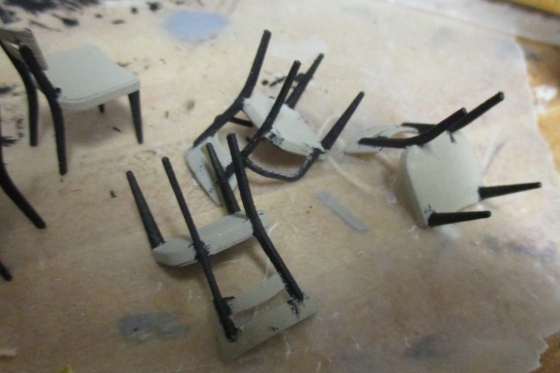
I went back and forth multiple times, first touching up with green, then with black, then with green, etc., using the smallest brush I have and toothpicks.
I’m still not entirely happy with the areas where the black and green meet, but I need to get a small chisel brush to do a better job with it (if I’m even capable of doing a better job). So I’m calling this good enough for now.
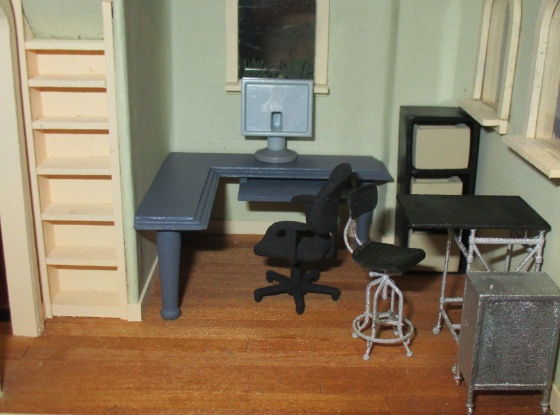
Added bonus: while I had the black and chrome paints out, I painted the 3D printed stool, rolling desk, and filing cabinet I got for the Rosedale’s home office, also from Pretty Small Things. These pieces are much more delicate but I managed not to break anything.
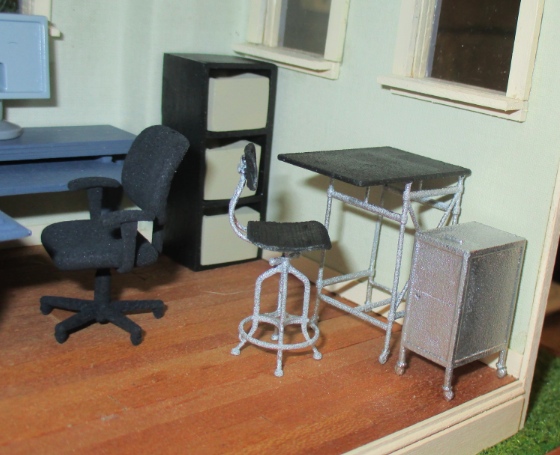
The silver paint also has a kind of glittery look on these but it bothers me less when it’s not directly next to real metal. I was kind of quick with the legs of the stool and rolling desk, so I might end up doing another coat on those.
 Emily is a freelance writer, miniaturist, and adventure game enthusiast.


The table is really excellent and the chairs look good with it. I have a silver spray paint that is great for giving a fantastic shiny finish on things. Have you checked out the spray paint department?
I do have some silver spray paint but I’m nervous about using it. It seems like it would be hard to control, especially on these tiny pieces.