The Gull Bay has been sitting for a while, and before that I made some progress that I never blogged about. I pulled the house out again last weekend so now need to play catch-up on the blog.
For starters, the wallpaper is now finished. I’m papering this house with white scrapbook paper, since the house is fully enclosed and I want the furniture to stand out when you look in through the windows.
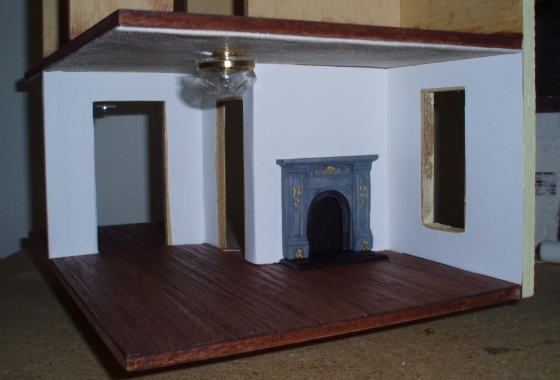
I realized as I was finishing the wallpaper that I didn’t have enough of the paper I was using to do the whole house. I purchased it on clearance years ago from a Ben Franklin store that’s now out of business, and I’ve never seen that brand anywhere else.
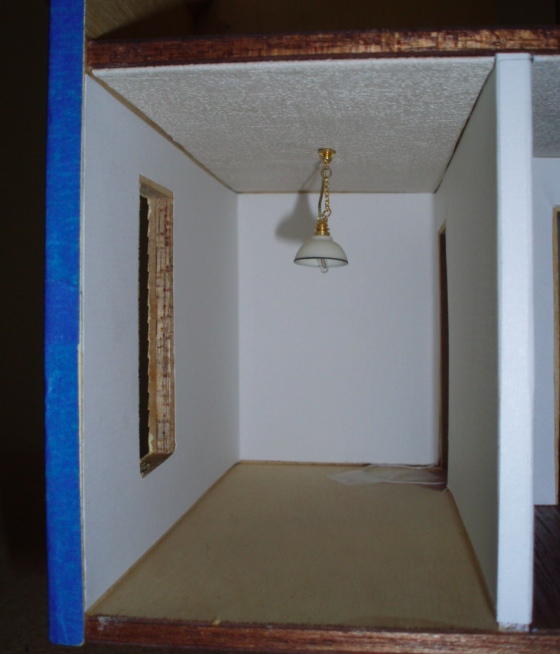
So, the kitchen (shown below) and the middle upstairs room are done with another white paper that’s slightly brighter and has a different texture. You can tell if you really stare at it, but at a glance (especially with the house enclosed) it’s not obvious at all. (And I’m sure you can’t tell in the pictures…)
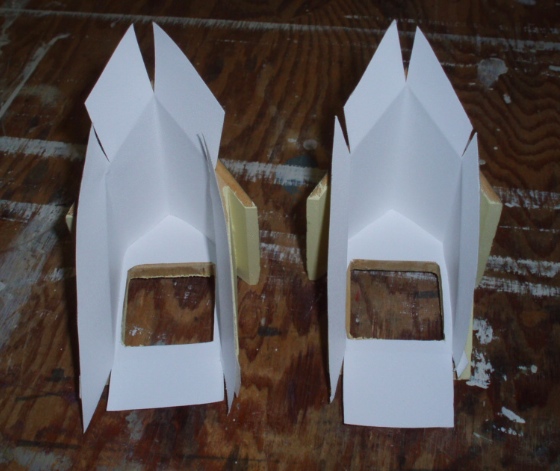
I don’t know if there’s a “right” way to wallpaper dormers, but here’s how I did it. First I cut a piece to go along the back side.
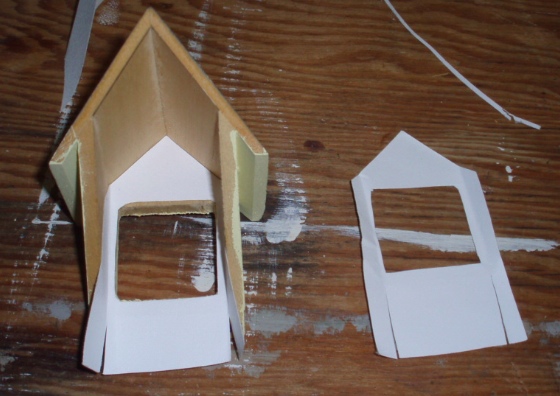
Then I cut a second piece to wrap around the inner walls and ceiling. This has flaps that hang out past the edge of the dormer, to wrap onto the ceiling.
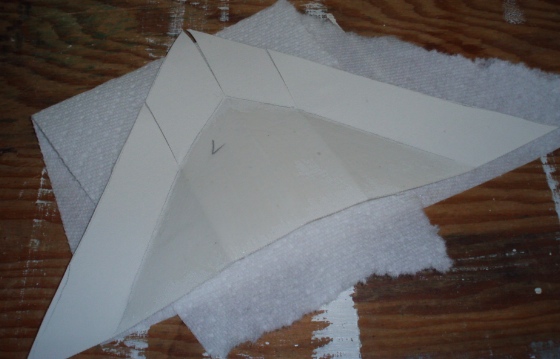
Glued in, the two pieces look like this.
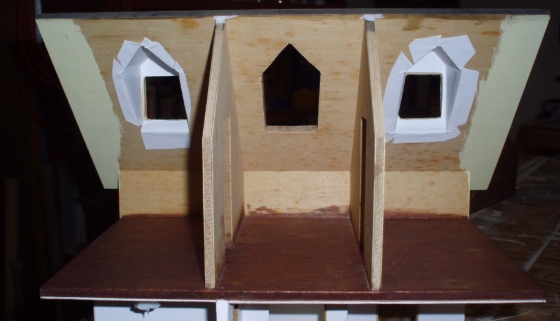
And here they are glued in place. My flaps were a bit excessive so I cut them down as I was gluing in the dormers. My order of operations was: 1) glue paper to inside of dormer, 2) glue dormer house, and 3) glue flaps to ceiling. I guess I could have glued the dormers first and then applied the (already cut) paper, but I thought this would be better for getting my fingers in to glue the paper neatly.
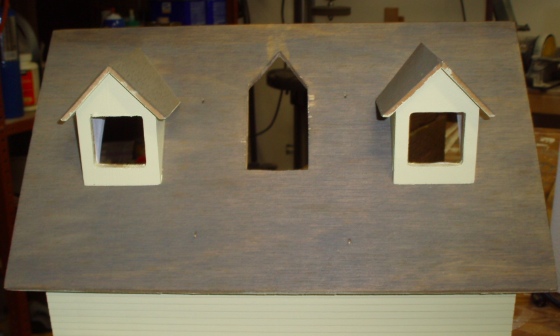
Here’s how they look from the outside. The paper for the middle room is stiffer and harder to work with so I started with the rooms with the more flexible paper, to perfect my techinque.
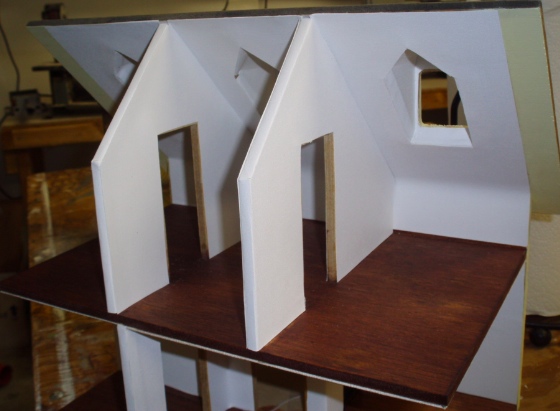
Skipping ahead a bit, here’s the wallpapered upstairs. It looks fine in this picture but the areas around the dormers are far from perfect. I’ll probably add trim. (They’ll be very hard to see from that angle with the house closed up, so maybe this won’t be necessary. But I am a perfectionist!)
Back in April I started shingling. Here’s my progress on the front of the house.
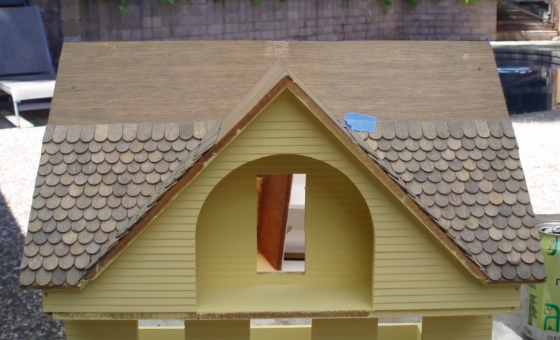
Initially I thought the chimney should go here, so I stopped shingling until the chimneys were finished. I chose this height for the chimneys so the corner trim that goes at the top of the roof could run behind them. Looking at it again today, though, I decided the chimneys should go higher, so their backs are flush with the top of the roof.
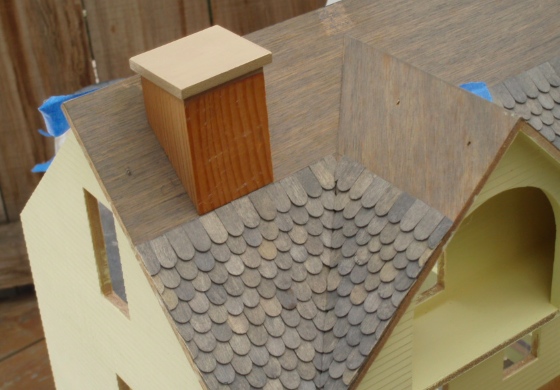
With the chimneys preventing me from finishing the front, I moved on to the back of the house.
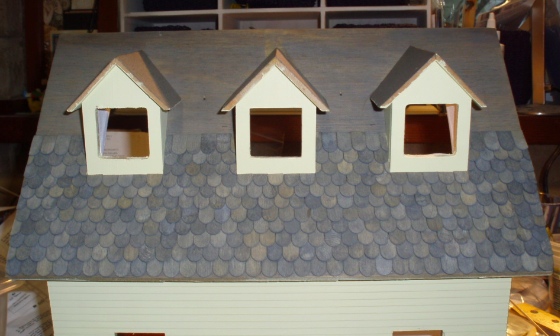
Shingling around the dormers was challenging. I measured down from the top to know where to glue the shingles but I couldn’t get the ruler in there to draw lines, so my rows are a tad crooked.

I had a hard time with the side of the dormer, because the bottom edge wasn’t completely straight and also because the bottom edge doesn’t match up neatly with a row of shingles from the main roof. I started gluing shingles on kind of haphazardly thinking it would look okay when it was done. Then I took a step back and looked at it — not okay!

So, off they came. I put off the dormers until later and went back to the rest of the roof. I’m not sure how you’re supposed to shingle around the top of a dormer roof, but here’s what I did.
All done!
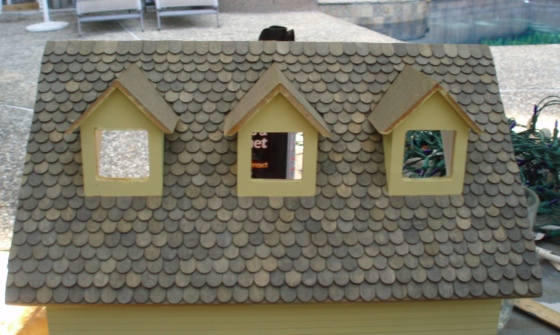
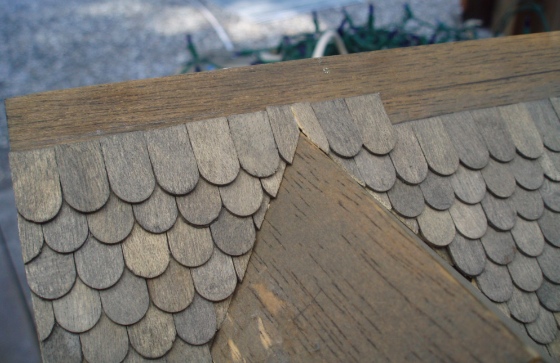
At the top of the dormers my nicely staggered rows went a bit off kilter, so the last few rows at the top of the roof don’t overlap quite right. Oh well.

The next time I had the stain can opened, I stained some pieces of basswood to glue to the bottom edges of the dormer roofs. These provide a clean, straight edge instead of the uneven edges the dormers had originally. I think this will allow me to do a neater job with the shingles, but I haven’t been brave enough to try it yet…

 Emily is a freelance writer, miniaturist, and adventure game enthusiast.


Nice job on the roof shingles :)
Doing them individually like that is a lot of work, but it looks really nice!
Thanks! It is a lot of work and my spacing is far from perfect, but I just love the color variation you get doing it this way.