With the Gull Bay’s exterior finished, all that remains is interior trim. Since this house will be displayed fully closed up, the only view in is through the windows, so you really only get a glimpse. Because of this I considered not bothering with molding and baseboards but the house felt unfinished to me without them. Onward and upward!
I started with crown molding in the downstairs rooms. This is a bit larger than I’d normally use — a small 1:12 molding from Classics — but it doesn’t look out of place, especially with the 1:12 lights. Since this piece will slide around when I need to open the house, I wanted something with enough bulk to withstand a little jostling (and I also had just enough of it lying around).

Here’s the dining room with all the trim in. The baseboards are made from Midwest #3109 trim, it’s supposed to be 1:12 chair rail. Flipped upside down, I really like how this looks as half scale baseboard.

While working on the dining room, my hand bumped the light and the lightbulb broke. That was the first annoyance of the day. But it wasn’t until I moved on to the kitchen that the dominoes really started to fall.
Before I could cut the trim for the doorway leading into the kitchen, I had to add a transition piece between the hardwood and the tile. This is a floorboard cut from the leftovers of the flooring sheet I used in the living room. Because of the lump caused by the wire underneath (attached to the kitchen light), the tile sheet wasn’t firmly glued down near the doorway. When I glued in the transition piece, I also slid some more glue under the tile sheet and taped everything down to dry.
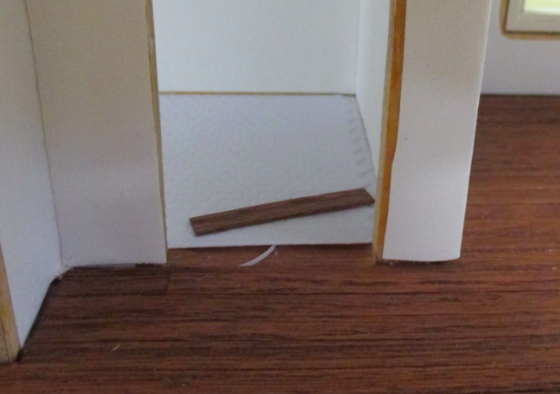
When I pulled up the masking tape, the wood in the doorway stayed down but the tile floor came right back up with it. First I tried tacky glue, and then wallpaper mucilage and finally Super Glue.
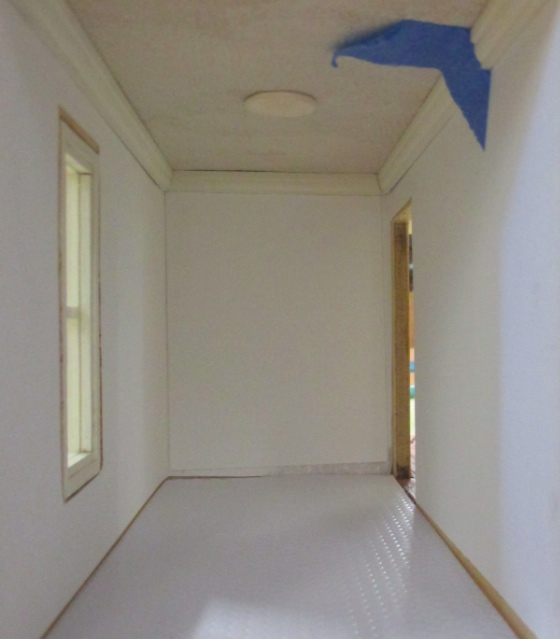
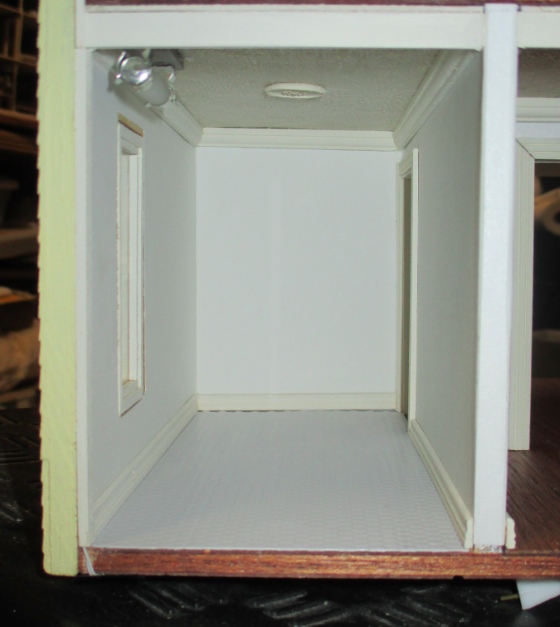
Through all of this, I’d been facing in from the living room side of the house, with my hands through the doorway. When I finally got the floor glued down I peeked in from the kitchen, and this is what I saw:
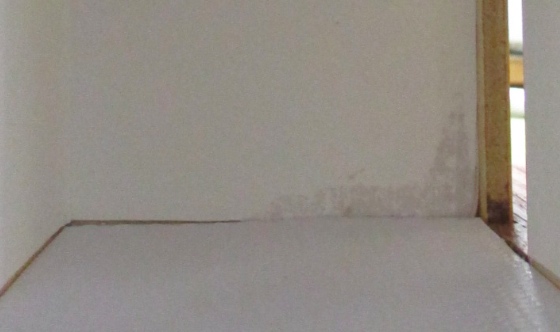
I have NO IDEA HOW THIS HAPPENED! It must have been from one of my glue attempts but I can’t imagine how, since I was sliding glue under the tile sheet and not flinging it on the walls.
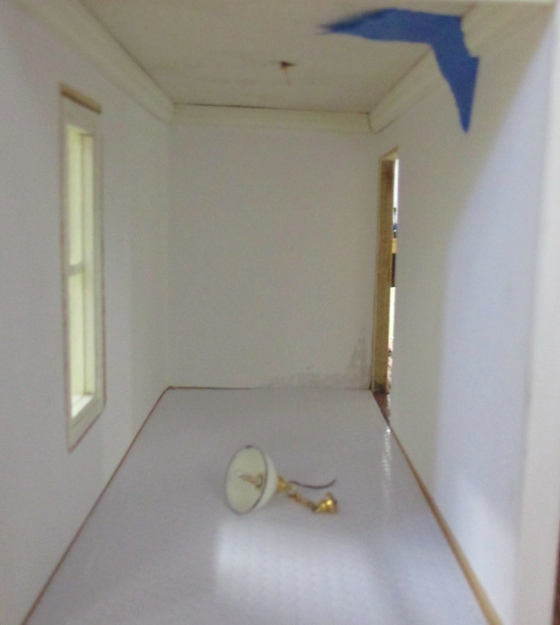
It gets worse. This is a long, narrow room, and while I had my hands in there trying to figure out how to cover up the stain I knocked into the kitchen light and broke it. In a matter of minutes my beautiful, almost finished house had turned into a disaster zone.
I should point out that I was worried about this light already. When I put the wallpaper in, I had an L-shaped piece to put against the back and one long wall, and because the paper was rigid and covered in glue I had a hard time getting it in without banging into the light a few times. A few weeks later I went to plug in the electricity and this light didn’t work. I worried that I’d damaged the wire running through the ceiling while wallpapering, and did what any responsible dollhouse owner does in this situation: ignored it and hoped it would resolve itself. I was prepared to replace the light before gluing down the floor and crown molding, if need be.
Right before doing those things I tried the electricity again and realized the bulb was loose. I pushed it in, the light worked, and the crisis appeared to be averted. But the fact that the wire snapped when my hand brushed it suggests that the wire had already been damaged, and I suppose it’s better that this happened now than when the house was completely finished.
Still, it was infuriating. The crown molding was already glued in and not easily coming off. I only had a tiny bit of wallpaper left — not enough to redo the room if I messed up the wallpaper trying to take down the crown. And worst of all I was mad that I’d have to pay $10+ for another flimsy fixture that would probably just break on me down the road.
I stomped my feet for a while, then went online looking for ideas. A battery operated light could have done the job, but you need to get your hand into the room to turn it on and that’s not practical with this house. I was leaning toward a wall sconce, but have been burned too many times with the delicate half scale lights and wasn’t sure I could find a 1:12 sconce that wouldn’t look completely gigantic.
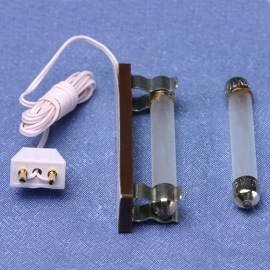
While visiting various websites and going through every page of lighting supplies to try to find a solution, I stumbled across a fluorette socket with a plug attached (shown on the left below). I’m already using fluorettes in the upstairs rooms, that nail into the tape wire (the on the right below). I would have used them downstairs too, except the lights attached to the back piece of the house needed plugs since there’s no tape wire on the back side. (This post shows how the house is electrified.) Miniatures.com doesn’t carry the version with the plug so I didn’t even know it existed.

The socket with the plug was exactly what I needed. I could position it in a barely visible spot and run the wire down the side of the house to plug in underneath. Just one problem: this socket is discontinued. I tried several sites and found a few that claimed to have it in stock, but the price was going up ($10ish for the socket and another $5ish for shipping…)
The next day I went to my local mini shop (Dollhouses Trains and More) and they thankfully had it in stock. I taped it in and looked in from different angles to make sure it wouldn’t be too noticeable.
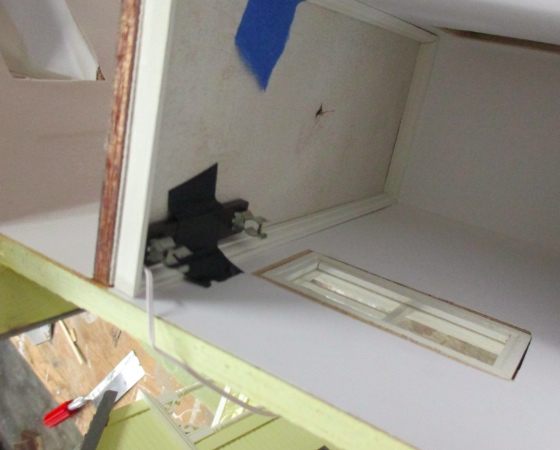
Found a little piece of channel molding in my stash that covers the wire nicely.

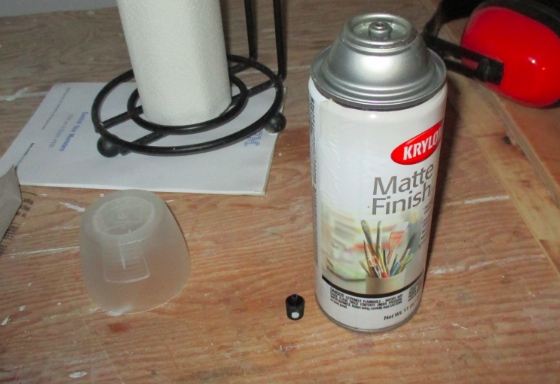
I wanted to fix the wallpaper at the back of the room before gluing in the new light to avoid any more hand vs. fixture incidents. Just when things seemed to be moving again, I went to spray the piece of wallpaper I cut to cover up the mysterious stain and the top broke off the matte finish can. Seriously, this weekend was one step forward, two steps back.
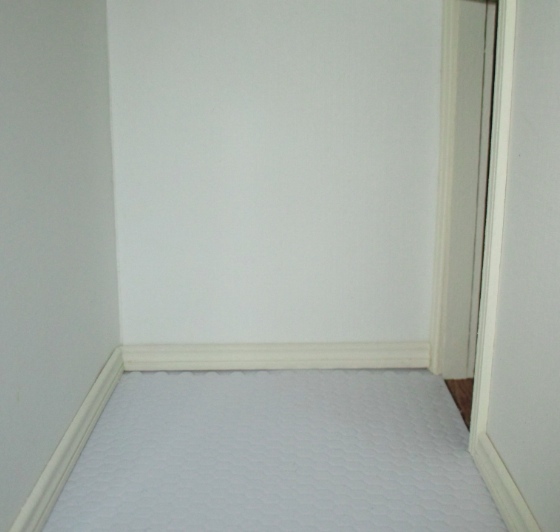
One trip to the hardware store later, I got a piece of replacement wallpaper in and covered up the broken light wire with a resin applique. The wallpaper isn’t perfect but I only had a few small pieces so this was the best I could do. It doesn’t hide the stain completely, but the part that’s still showing will be covered up with baseboard and door trim. This head-on view isn’t possible once the house is closed up; when you’re peeking in from the window or the door, the seam on the left side blends in better.
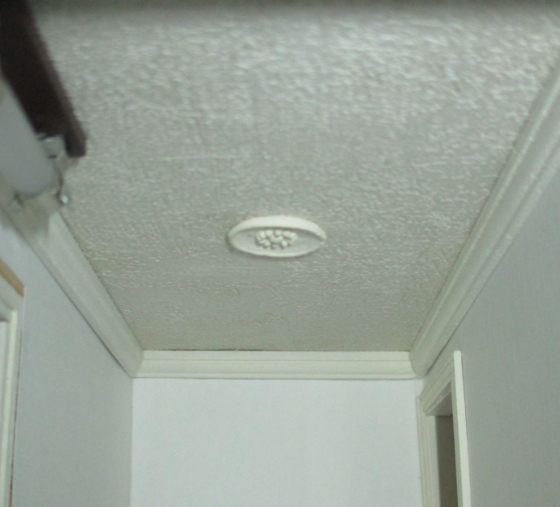
Here’s the light fixture with channel molding glued in place.
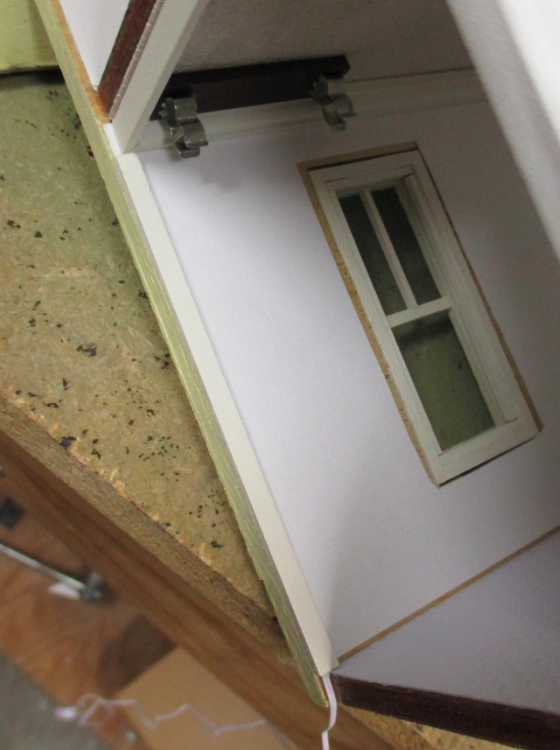
Whew! The day has been saved!
The mysterious stain is completely hidden. The baseboard doesn’t cover up the edge of the tiles as well as I expected it to, but with furniture here and the house closed up it’ll be really hard to tell.
I’m sad to lose my ceiling fixture, but the applique doesn’t look bad. Added bonus: I had this lying around, no need to buy one!
Here’s the view in from the living room. You can’t tell the wallpaper was patched in.

The moral of this story is that no matter how catastrophic it seems, almost everything can be fixed… maybe not the way you had it before you broke it, but with an alternative. Oh, and the other moral is that I’m never electrifying a dollhouse again.
 Emily is a freelance writer, miniaturist, and adventure game enthusiast.


The wallpaper fix looks invisible, so great job! I love that chair rail for baseboards too :D
Great job dealing with the crises!
Oh, no! I hate days like that! You handled it well, and the house is looking fantastic.
You did well handling all that. I like the way you solve the problems that arise and don’t just end up with UFOs all over the place like I do :)