Two days until Christmas! Gotta get this roombox finished, or it’ll be embarrassing. :o
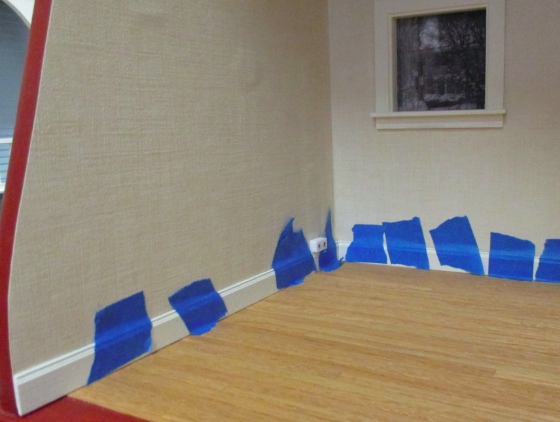
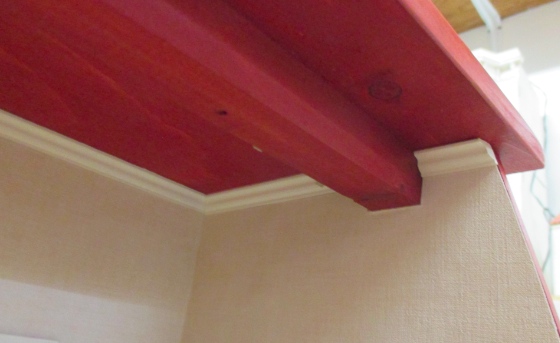
With the wallpaper and cabinets finished, I glued in the baseboards and crown molding.
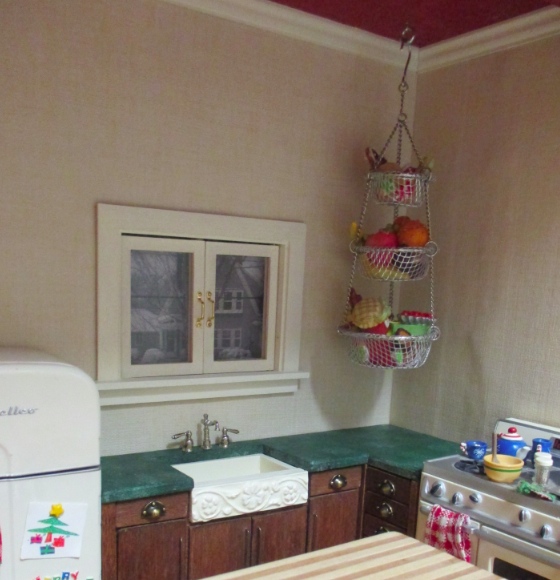
This hanging basket is another Hallmark ornament. I had one of these already but had removed the bottom basket to make it more in scale. Since the breadbox has a high ceiling, the whole ornamnet fits, so I bought another one off eBay. Luckily this ornament isn’t as rare as the stove and fridge, so it only set me back about $10.
With the baseboards glued in, Geoff drilled holes for the lid. I could have done it myself but I’m so nervous using power tools on something so close to finished. I’m still waiting for a new knob I ordered for the lid — it probably won’t show up until after Christmas — so I plan to post another blog at some point that shows how we re-attached the lid.
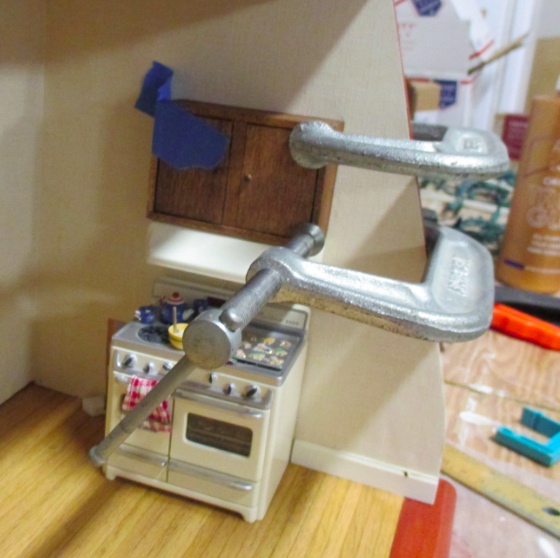
With the holes drilled, I was able glue in the upper cabinet and stove hood, making sure the lid didn’t bump into them when closed. First, I put blue putty on the back of the cabinet and figured out exactly where to put it so it both lined up with the stove, but stayed clear of the lid. I marked the position with tape.

Then I glued in the cabinet with tacky glue. I’m kind of surprised clamping it like this worked, but it did. I left it alone overnight, the clamps didn’t fall off, and the cabinet is positioned just right.
Oh, and the lights still work! Considering my usual experiences with electricity, this is a Christmas miracle.
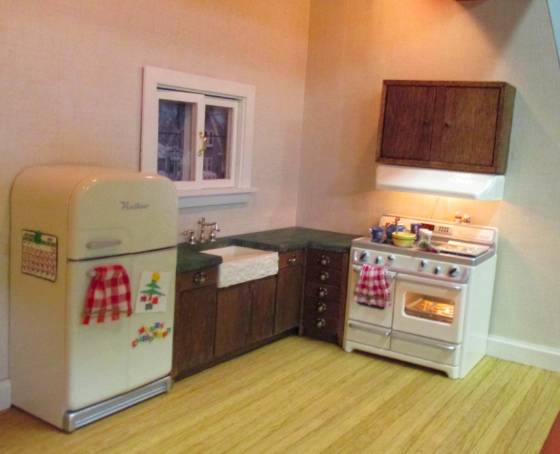
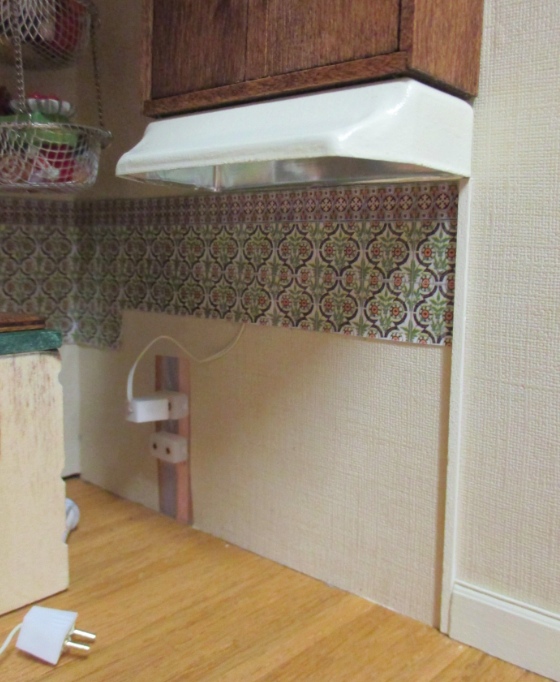
Here’s a peek at the plugs and how they’re hidden behind the cabinet. I used a slim circular file to make grooves in the cabinet back, so the wires can run behind it without pushing the cabinet out from the wall.
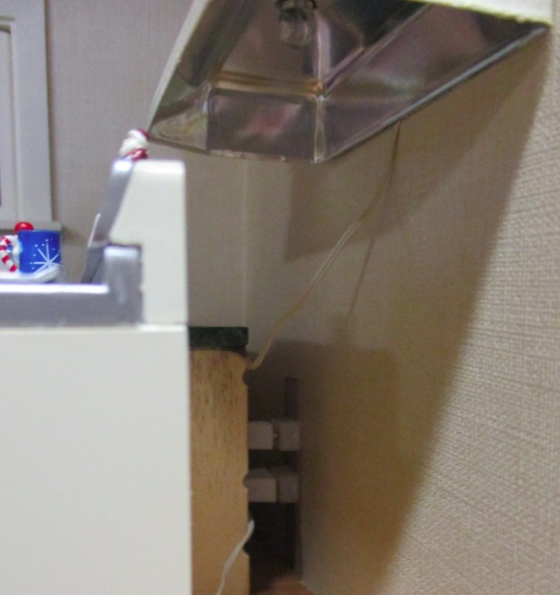
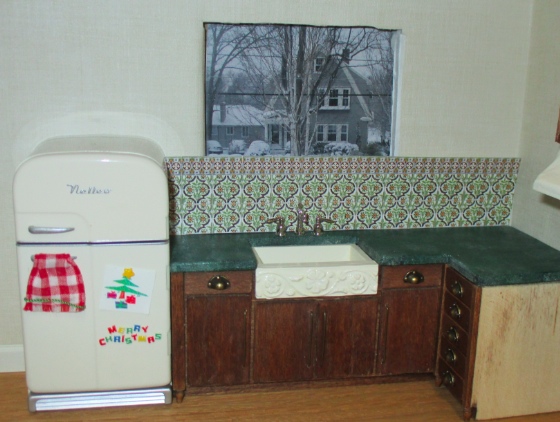
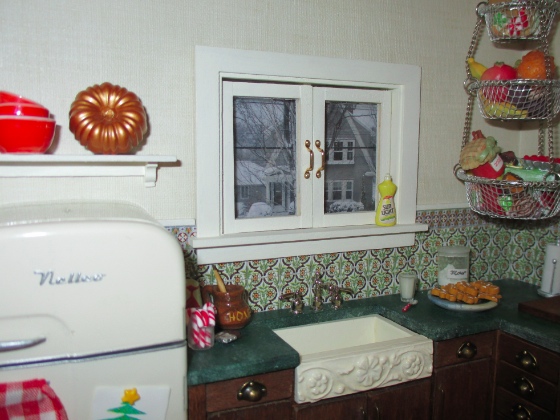
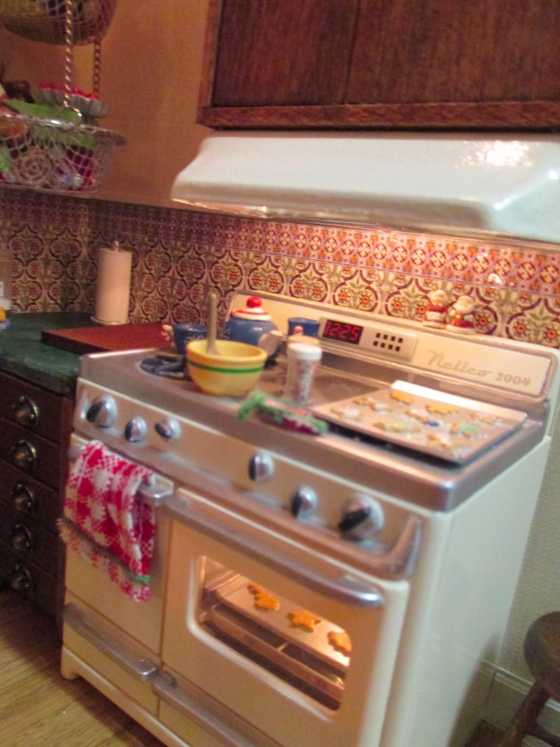
With the upper cabinet glued in, now I can add the backsplash. I happened to have a sheet of this Christmasy tile that I didn’t use for another project.
I started under the hood and worked my way around, overlapping the tiles in the corner where seams would be less obvious.
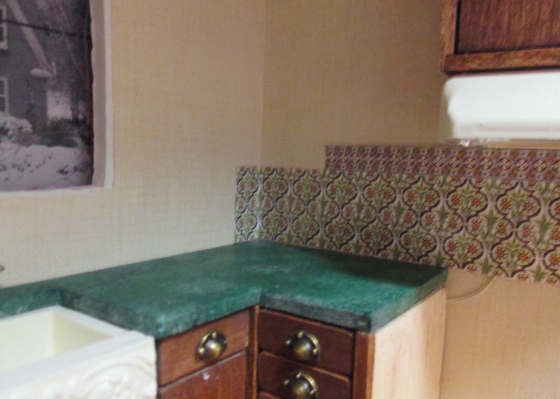
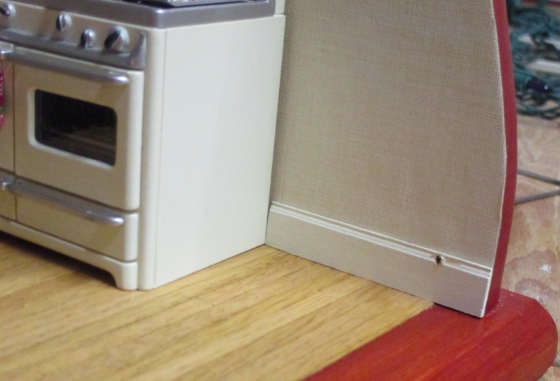
The backsplash ends abruptly at the edge of the hood, so I added a piece of trim to give the backsplash a clean edge and help fill in the gap where the stove doesn’t sit quite flush against the wall.
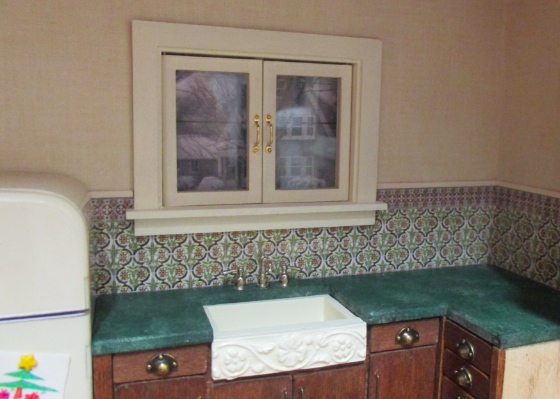
I also added trim to the top of the backsplash. This is the unused mullion wood that came with the square window on the other side of the roombox.
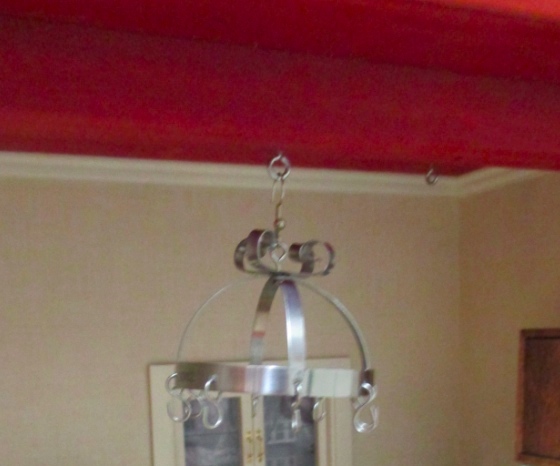
This pot rack is yet another Hallmark ornament. I dismantled an old earring to hang it from the beam that runs across the roombox. I positioned this carefully to make sure it wouldn’t bang into the lid when the lid is closed.
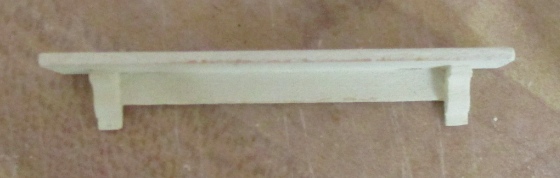
I also wanted a shelf over the fridge, to display a few more pots. This is made from scrap wood and slices of crown molding.
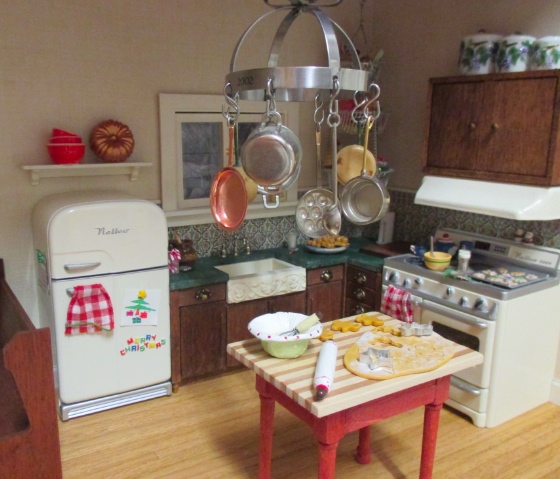
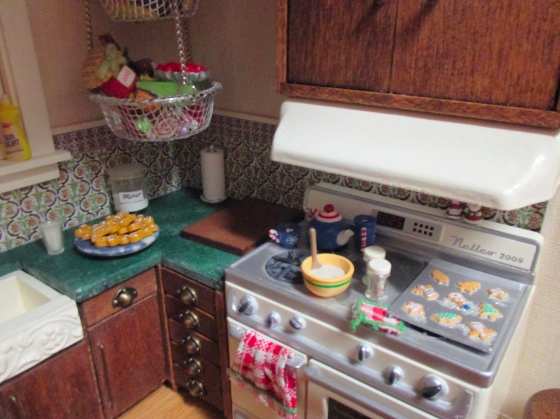
Here are the shelf and pot rack in place, and some accessories spread around (mostly from the gingerbread prep table I bought off Etsy).
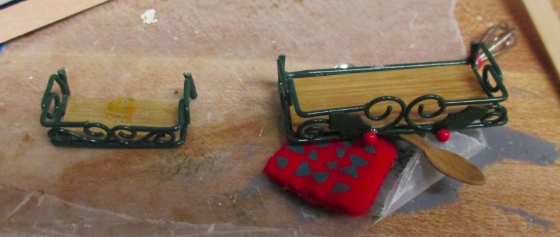
I had one more ornament I wanted to use. I love the accessories on this but never really liked the Christmas tree shape… it seems sort of tacky to me, and not like something someone would have hanging in their kitchen. I have two of these that I bought on clearance the year they came out, so I decided to try dismantling one of them.

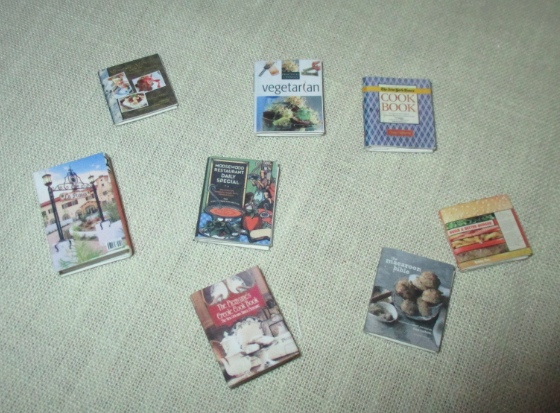
I cut the bottom and middle shelf apart and removed the accessories. I actually used the copper bundt cake mold from the bottom shelf over the fridge. The larger shelf seemed perfect for cookbooks, and the smaller one for spices, olive oil, etc.
I cut the leaves and berries off the front of the larger shelf. I touched up the cut edges with green paint and gloss varnish, and then glued the shelf to the wall with super glue.
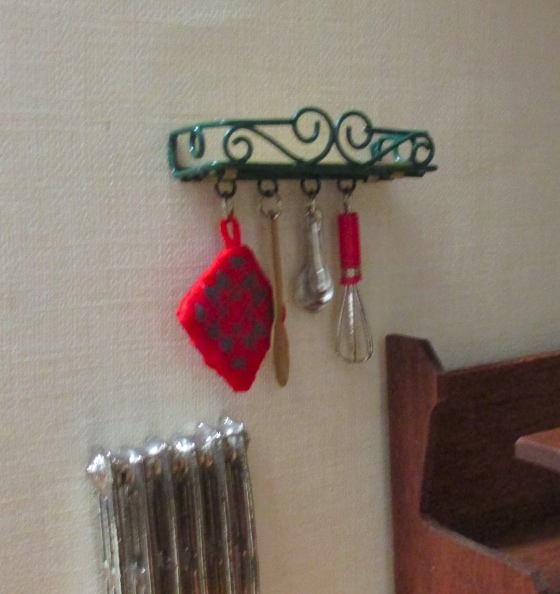
The shelf is just over 5/8″ deep. I made a bunch of cookbooks (using some scans of my own cookbooks and other dust jackets I found online), sizing them to be 5/8″ deep or less so they’d be sure to fit.
Ta da!
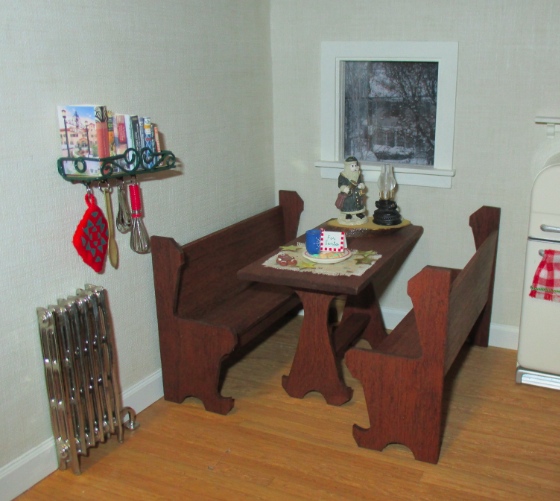
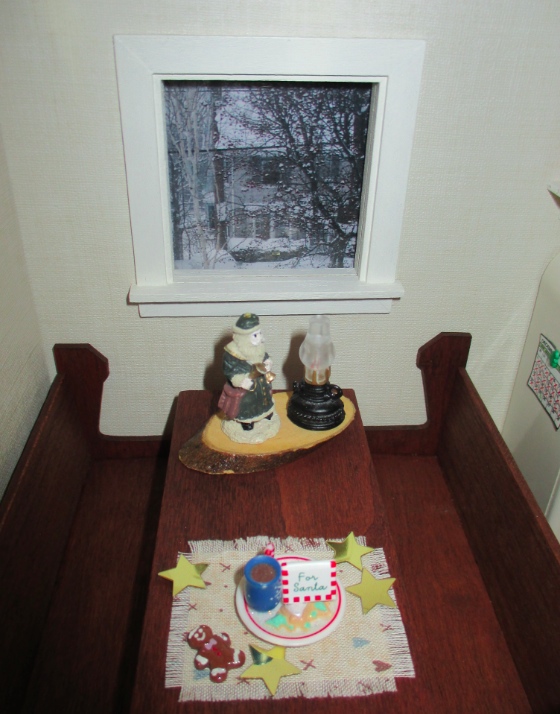
Absent a Christmas tree or fireplace, the table is set up for Santa. The wooden tray, placemat, stars, and gingerbread man came with the Etsy gingerbread table. The Santa figurine is an ornament, and the “for Santa” cookies are a mini Hallmark ornament that I think came out the same year as the stove.
That blank wall needs something. Yesterday I bought a Prairie Schooler pamphlet, Folk Art Christmas, that has mini designs meant to be made as ornaments. I’ll stitch either one of the horizontal designs or two of the vertical ones to go on this wall.

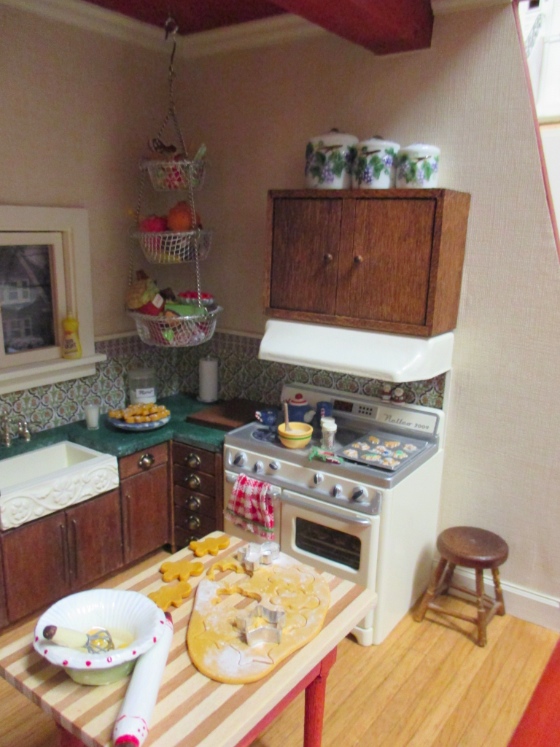
Some more views of the accessorized kitchen…
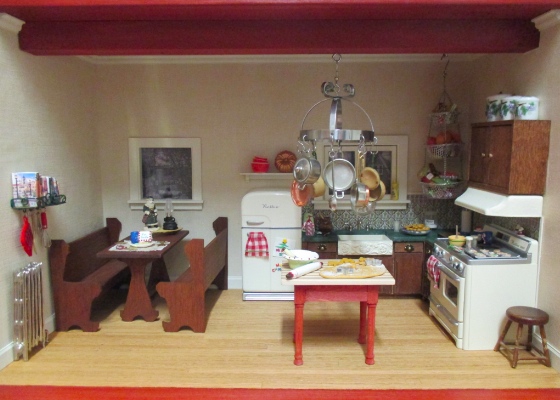
I thought about adding the smaller wire shelf here over the stool, but didn’t get around to it. I might just hold on to it for another kitchen.
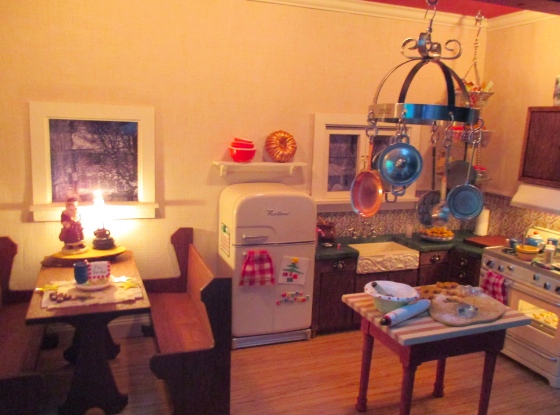
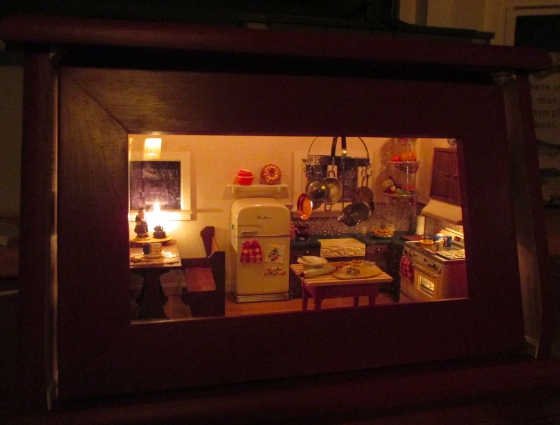
And all lit up.

Even though the lid isn’t quite finished, I’ve moved the roombox upstairs so I can sit and stare at it for long periods of time. I’m not going to want to put it away after the holidays…
 Emily is a freelance writer, miniaturist, and adventure game enthusiast.


Wow! When Santa see that he should really leave you a good present. It looks fantastic.
With all the Hallmark ornaments you used, you should see if they would be interested in an article or if they have a contest you could enter.
Thanks! I do know of one contest held by the National Association of Miniature Enthusiasts, but you’re not allowed to alter the ornaments. An article is an interesting idea, though…
That is simply beautiful! You won’t want to put it away at all.
I love your breadbox kitchen!!! Love how you changed and modified the ornaments. You did a beautiful job!!