This is a long post. If floors bore you but you’re dying to see appliances and accessorized kitchens, scroll down!
Pleased with how well my micro veneer floors turned out, I decided to try a variation in the Victorianna’s kitchen using a blue/gray color of veneer that doesn’t really look like natural wood. I thought I could emulate the ceramic tile that looks like hardwood that’s become popular lately. (If HGTV is to be believed, anyway.)
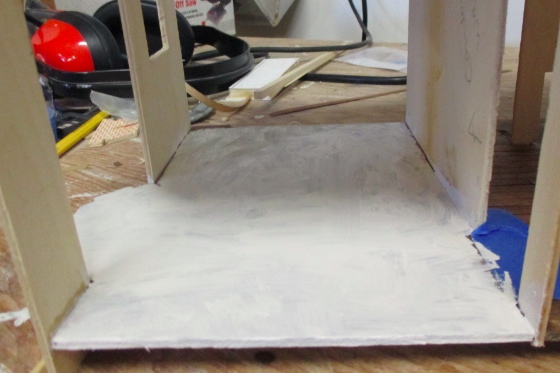
I had originally stained the floor just in case I decided to continue the hardwoods throughout, so I started by painting it white. I did a sloppy job of this since it’ll be covered up.
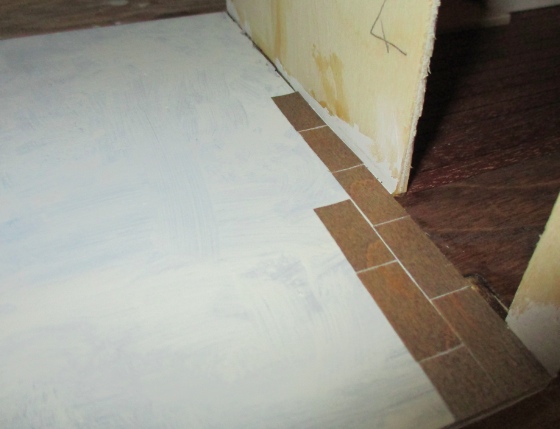
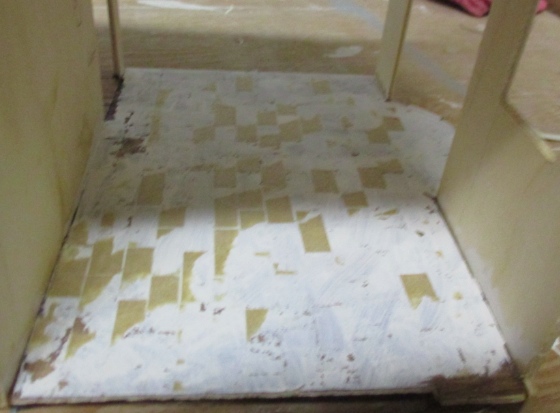
I cut veneer pieces 3/8″ wide by 7/8″ long and started laying them down in a subway pattern. I used a white Sharpie paint pen around the edges hoping it would give the illusion of a white seam between the pieces, the same way the black Sharpie gives the illusion of a black seam with the hardwood floor.
A few rows in I found that the strips of veneer I’d cut weren’t exactly the same 3/8″ width, so my rows started getting a little funky. I replaced a few pieces and from this point on used up all the pieces from one strip before cutting another, to prevent as much variation.
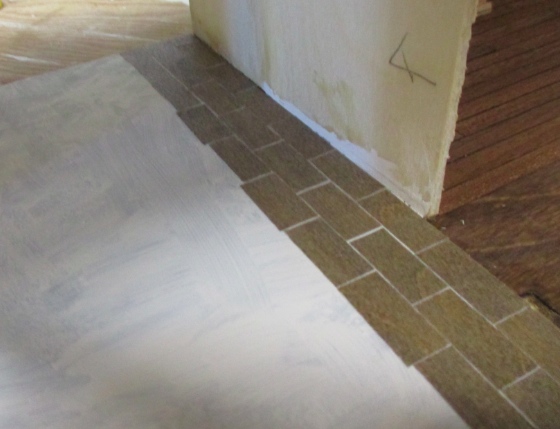
It seemed like it was going to work.

But… it didn’t.

A few things went wrong here. I got overzealous leaving space between the tiles, and ended up with grout lines that are inconsistent and way too thick. I also got crooked about halfway across, which is very visible once the cabinets are in place.
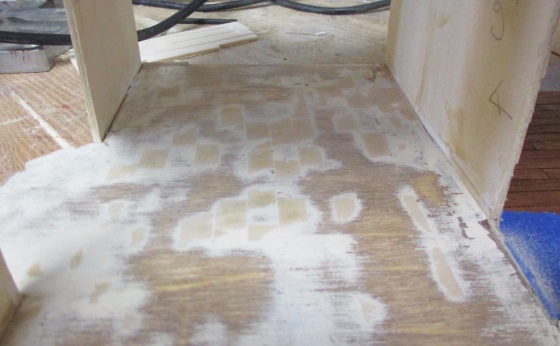
I let it sit a few days and decided I just couldn’t live with it, so I ripped it all out. (Fingernails to the rescue!) The wood all came up but some of the paper backing stayed behind.
I tackled it with the Mouse sander and got it relatively smooth. I thought about using a tiled paper like this, but it was Easter so the dollhouse store was closed, and I wasn’t convinced the paper would look how I wanted it to, either. So in the end I decided to go with the known quantity and do hardwood floors in here, too.
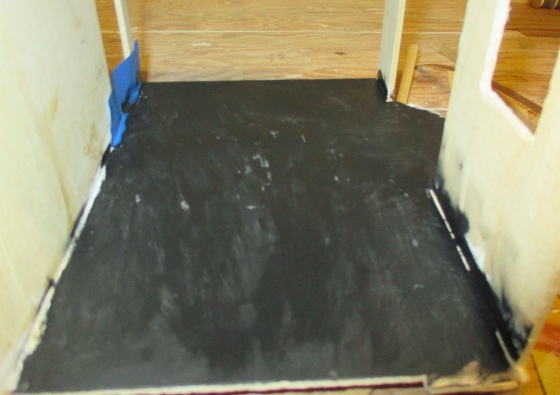
I started by repainting the floor black. Stained would have been better, but that wasn’t an option anymore.
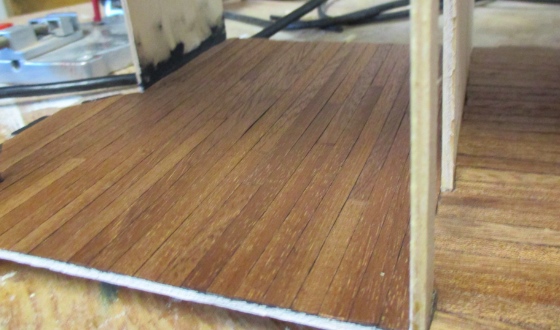
In retrospect I wish I’d continued the floor running horizontally rather than doing it vertically in here. I had a few reasons for doing it this way — didn’t want to pull up flooring I’d already laid in the dining room but also didn’t want a stripe of seams in the doorway, plus hardwoods are supposed to run the length of the room — but now I’m not sure they were good reasons. But I’m not pulling it up again!
Next I built a stove from a MiniEtchers kit. I had intended to use an Acme stove but it was a tight squeeze and once the house was glued together it didn’t fit. I didn’t know the width of the MiniEtchers kit when I bought it, but I figured I’d use it for another house if it didn’t go here. Good karma: it’s just right!
This is my first time building one of MiniEtchers’ kits, and I’m impressed. I bought a bunch of others — appliances and random stuff — that I’ll hold onto for later. Since I already had cabinets for the Victorianna I didn’t get any of those, but they have modular cabinets similar to the discontinued Bonnie Lavish kits I used in my Fairfield and Rosedale, and I’m eager to try them out next time I need a kitchen. (Oh darn, guess that means I’ll have to build another dollhouse…)
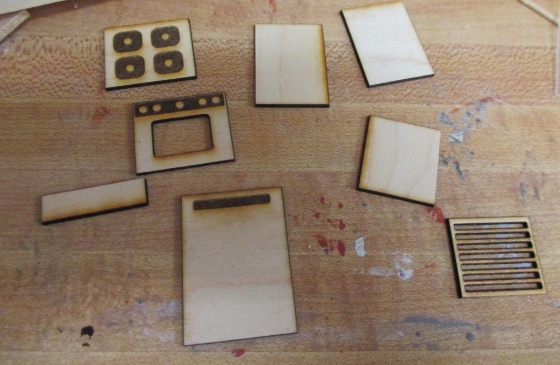
Here are the stove pieces. I neglected to take pictures of the assembly but you’ll get the idea from the photo above.
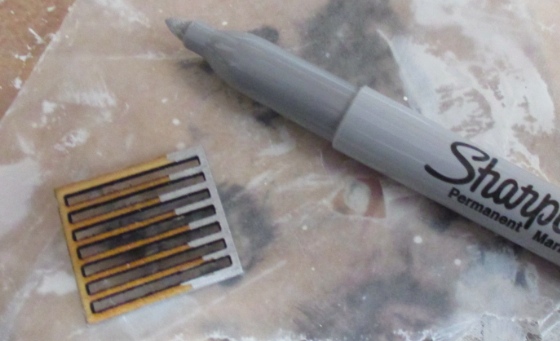
I have a little bottle of silver Testor’s paint that’s almost empty, and I hate using it because the brush needs to be cleaned with mineral spirits instead of water afterward. (Because it’s *such* a chore to walk across the garage for the mineral spirits…) I recently bought a pack of metallic Sharpies and tried out the silver one on the rack that goes inside the stove.
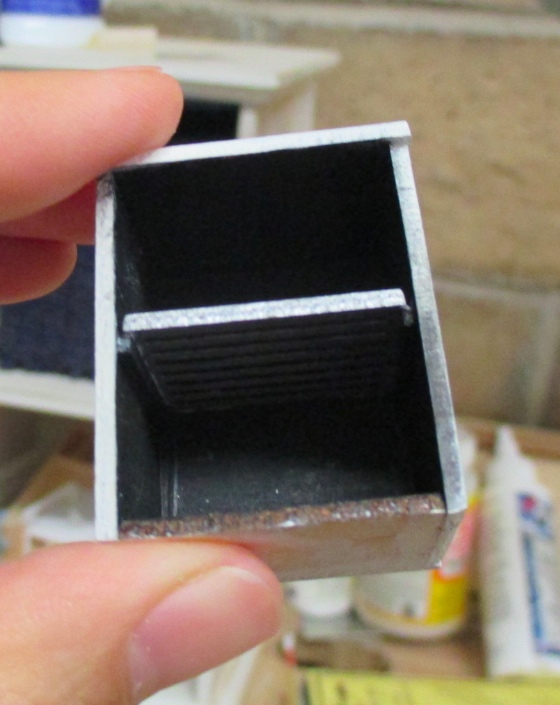
It works great, and is much less messy than paint! On the downside, I couldn’t get the tip between the slats to cover those charred edges, but with the rack inside the oven they’ll be hard to see.
I also used the Sharpie on some MiniEtchers faucets. The gooseneck is for this kitchen, and the other one with the sprayer is for the Rosedale, whose sink has been sitting for years without a faucet.
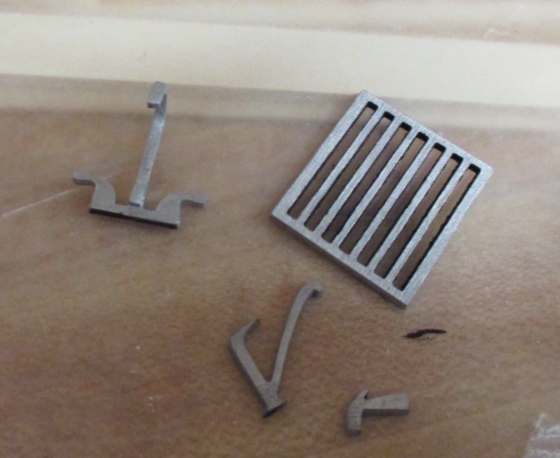
The rack is slightly narrower than it should be, so I added rails underneath and glued it to those. The rails are made from some of those window mullion pieces I always have left over.
I really like this kit, but if I had one request it would be to include an extra knob and burner. I was terrified of losing one of my knobs, and one of the delicate burners actually split during painting (not badly though). Having an extra included would be a relief.
Anyway, I “painted” the knobs with black Sharpie thinking it would be neater than actual paint.
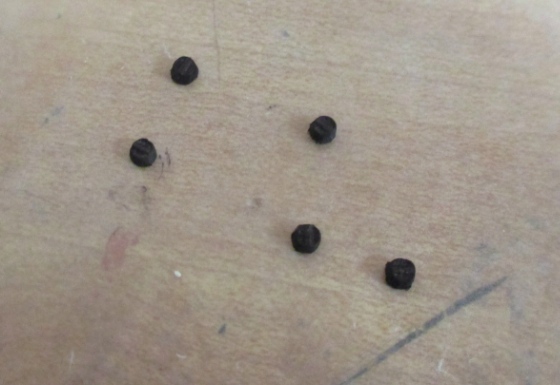
I used paint on the burners, but in retrospect I could have Sharpie’d those, too.
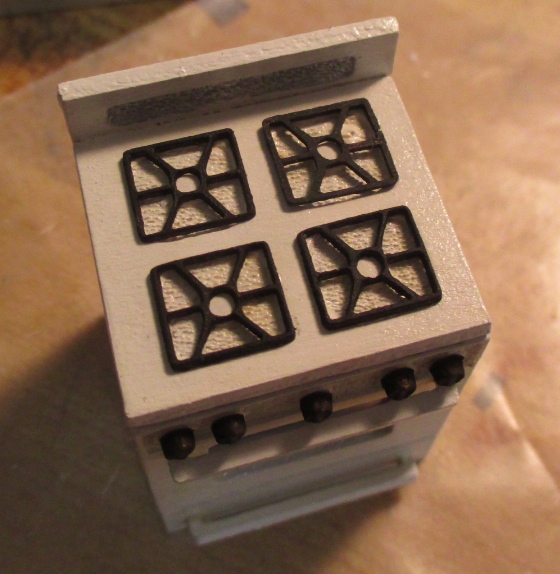
There’s some yellowing on the panel behind the knobs and where the handle attaches to the drawer. I think it’s where the gloss varnish pooled. By the time I noticed it was kind of too late to do anything about. So the stove could stand to be cleaned — just like in real life!
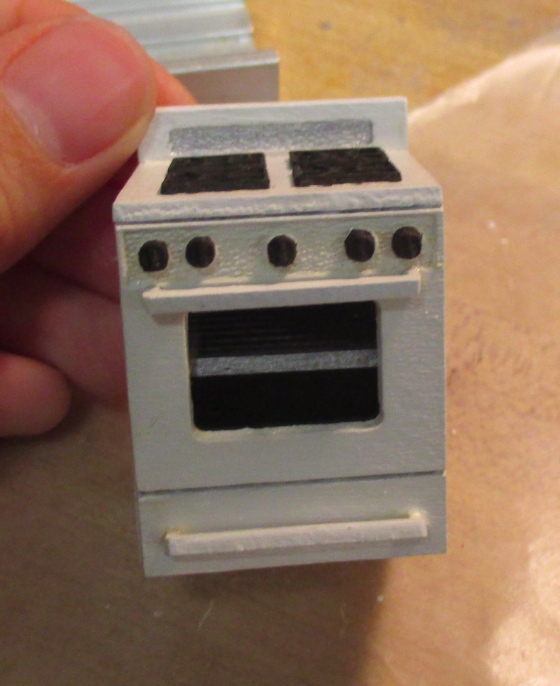
I thought about hinging this door so it would open. I was thinking I could attach Houseworks hinges on the inside, over the seam where the the oven door and drawer front meet, and then glue on just the drawer front, and the door would swing open. But I didn’t have any hinges lying around and didn’t care that much about having an opening door, so I ended up gluing it in as instructed.
The kit does not come with acetate for the window but that was easy enough to salvage up from a piece of unused dollhouse kit window.
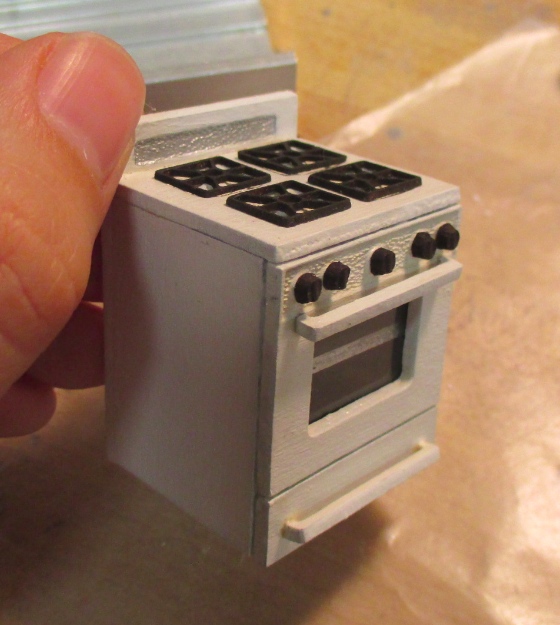
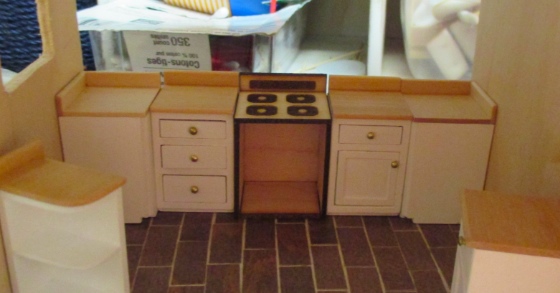
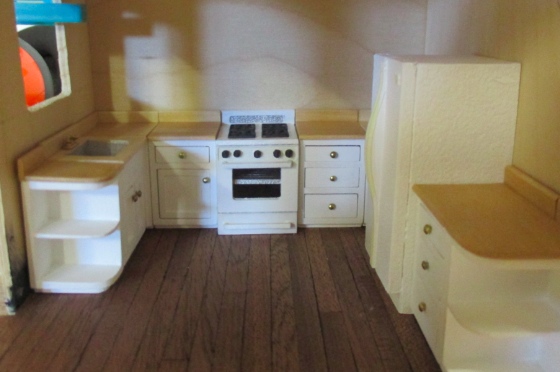
Width-wise it’s is perfect but height-wise it’s a smidge too short, with the stove top just under the lip of the counter top. I might add feet to the bottom to raise it up.
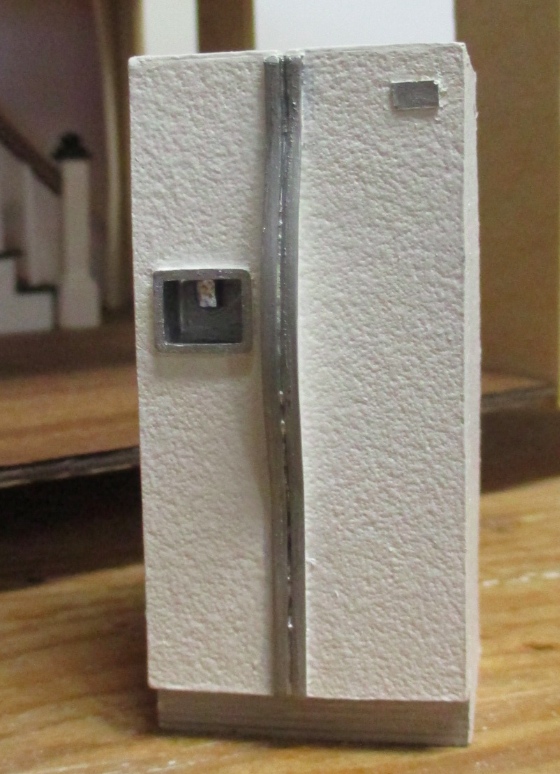
And here’s the fridge I’m using, an eBay purchase. (Might be Model Builder Supply brand?) It’s resin with that bumpy texture baked in. I again used the silver marker on this, with a little paint touch-up between the fridge handles and the inside of the ice maker, where the Sharpie tip wouldn’t fit. I used a Q-tip with the paint so I wouldn’t have to clean a paintbrush!
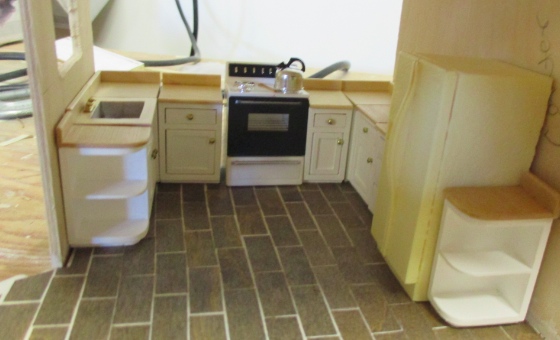
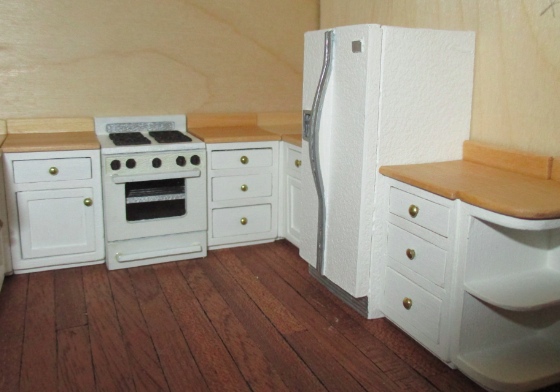
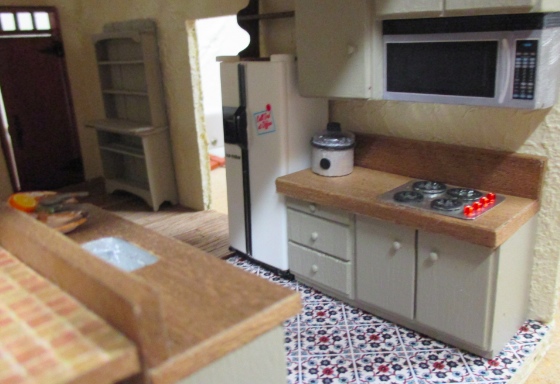
Here’s the fridge in place. I opted not to use gloss varnish on this and it seems much brighter than the stove, but that could also be related to the lighting of the photo.
While we’re on the subject of half scale kitchens (nice segue!), the theme for this year’s Half Scale Yahoo Group swap was kitchens, so I recently acquired a ton of cute kitchen accessories to spread out around my houses. (Here are photos of all the swap items, but you might need to be a member of the group to view them.) Here are some photos.
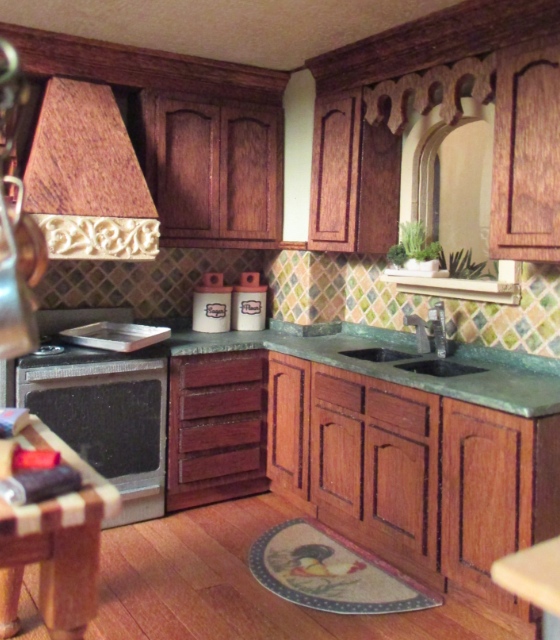
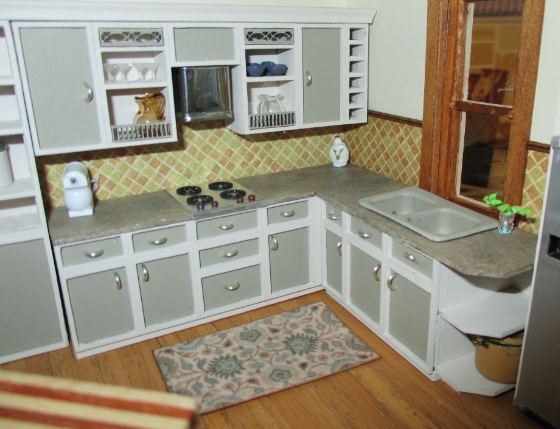
Rosedale kitchen: the rooster rug, herbs on the window sill, cookie sheet on the stove, and items on the island all came from the half scale swap. I made the canisters for last year’s swap. Here you can also see the MiniEtchers faucet, although it looks a little funky from this angle.
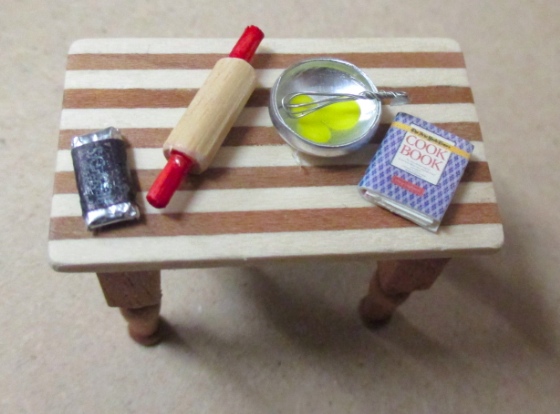
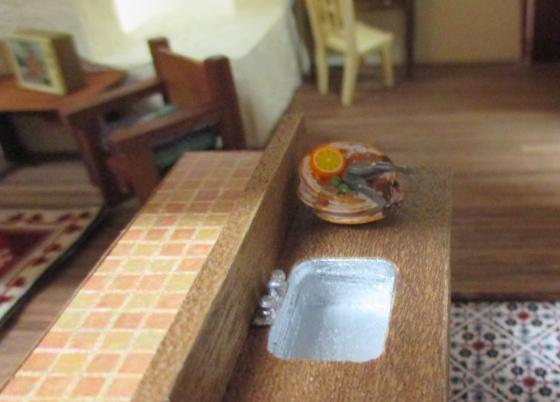
Close-up of the items on the island. The tiny whisk is one of my favorites from the swap and I almost lost it on the floor, but luckily found it again. The cookbook was my contribution (one of four different designs), along with cutting boards similar to the island’s tabletop.
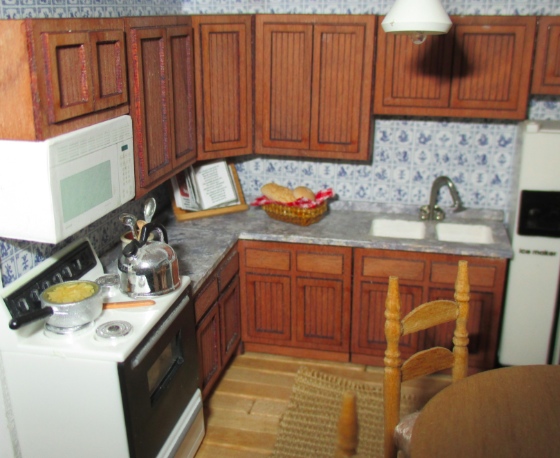
Fairfield kitchen: the cookbook and holder came from the Yahoo swap. I love that the pages are printed so you can sit it on the rack and it looks real, gluing those in must have taken a ton of work! The basket with bread is from a recent Greenleaf swap (photos of the goodies start with post 94).
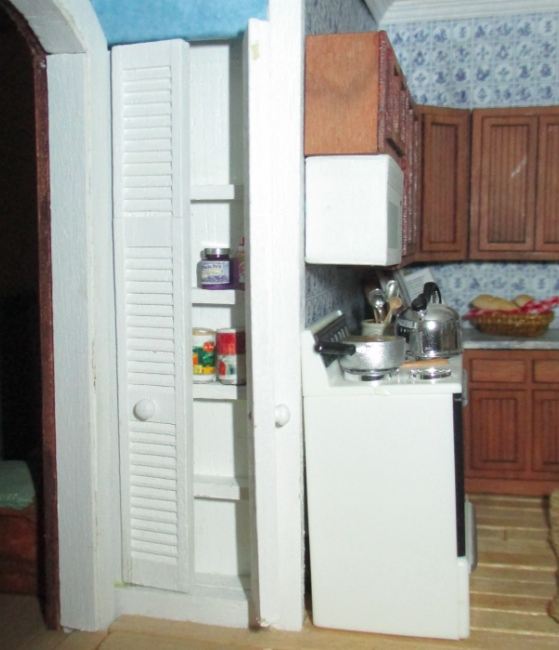
The cans in the pantry also came from the Yahoo swap (plus a third one that’s hiding behind the door. They join the peanut butter and jelly that for five years have been the only things in here. The people who live here must eat out a lot.
Rowhouse kitchen: the mixer, cookie jar, and plant cutting are from the Yahoo swap (along with a rolling pin on the island that you can’t see in this photo). The rug on the floor is from the Greenleaf swap.
Crock pot from the Yahoo swap in the artist’s cottage kitchen. This tiny house doesn’t have an oven, so I figured this would help with meal options.
And this one’s not from a swap, but was graciously sent to me as a gift by Greenleaf forum member Kelly Morin a few years ago — a stack of dirty dishes. :)
 Emily is a freelance writer, miniaturist, and adventure game enthusiast.


Emily,
Thanks for the nice review of my stove kit. Great idea to add extra knobs and grills which I will do in the future.
Shellie
It’s good to see how you used so many of the swaps you have received. The kitchen is progressing nicely.