With the stairs done, I was ready to move on to Step 4. I was surprised to see that this step was assembling the shell! On the Orchid, assembling the shell didn’t come until much later in the project.
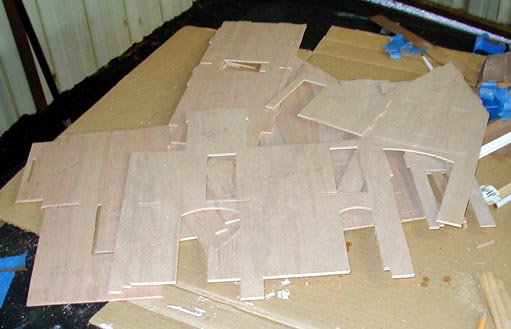
I punched out many, many pieces, and got to work on sanding them. One piece split a little (a chunk of the top layer of plywood came off right above an interior doorway). I tried gluing it back on but it didn’t look like it would hold. I guess I can always fill it with woodfiller.
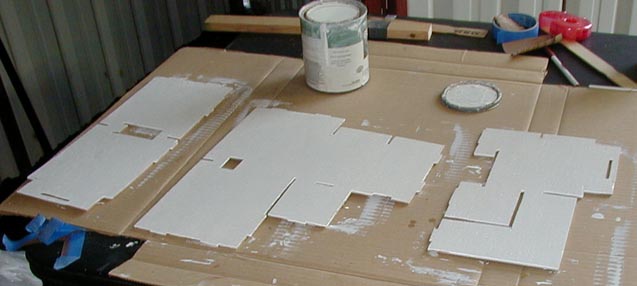
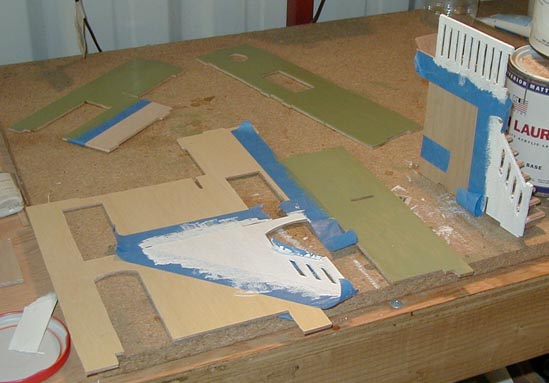
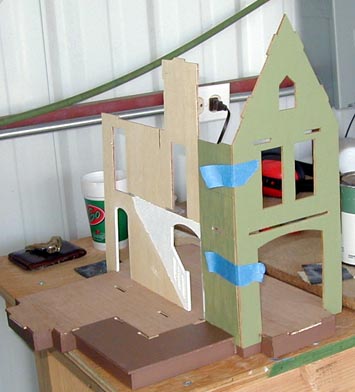
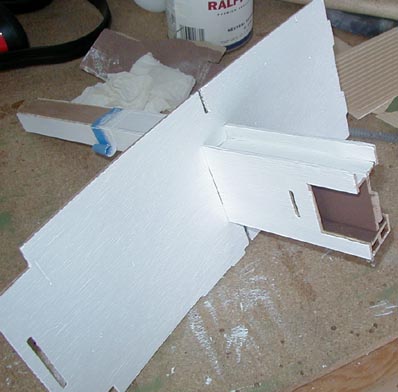
Here are the exterior walls, soaking up sanding sealer. I’m going to paint them an olive green color.
I decided to paint the ceilings this time (rather than covering them with paper like I did in the Orchid).
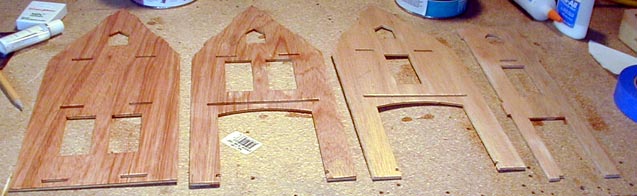
Update: It’s now April, and I finally got back to the hangar to work on the Fairfield. Spent a lot of time figuring out which walls go where, so I’d know how to paint them. The exterior of the house will be green. The interior will be wallpapered, but certain places (like the railing on the stairs) are being painted.
The front door will open onto the stairs. The room to the right is the living room.
Masking tape is my new best friend! I may wind up putting siding on the outside of the house, but was compelled to paint the pieces anyway…
Unfortunately, as with the Orchid, some of the pieces are warping. I don’t know if it’s from being in the hangar or what. The ceilings are the worst. I have put them under heavy things, and hope they will flatten out…
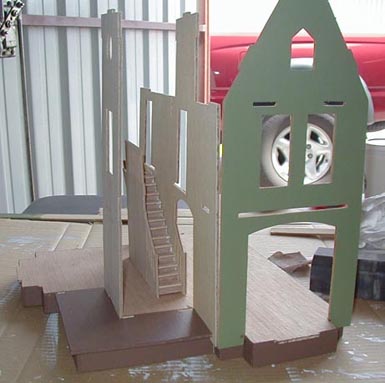
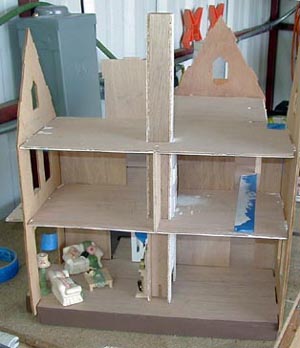
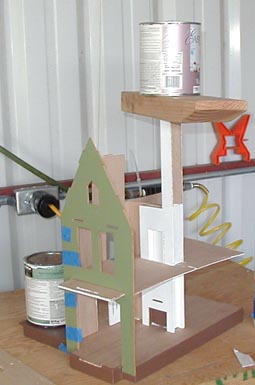
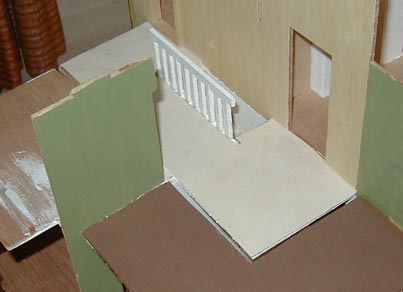
I put some of the pieces together just to see what the house would look like. It really helped me to visualize the rooms and understand what goes where. The brown part is the front porch. The front door goes directly in front of the stairs. The room on the left is (supposed to be) the kitchen.
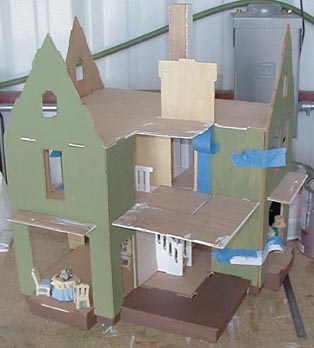
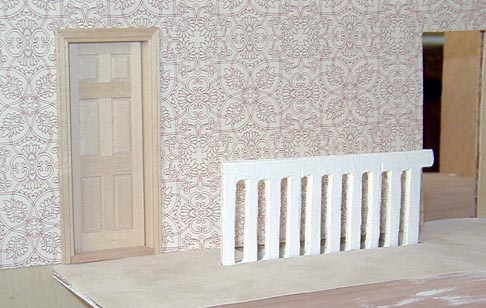
This is the kitchen downstairs, and the hallway and bathroom upstairs. I may cover over the kitchen doorway (which also leads to the porch) so the kitchen has more wall space.
Seeing the rooms this way gave me a bunch of ideas. The part of the second floor that hangs over the porch (the porch ceiling) could be a second-story porch. But how would the little people get onto it? The tower walls will be up against it… maybe I could fit a French door into one of the tower walls? (I don’t think it would fit. A regular sized door might not even fit, because of the way the roof slopes down over the tower walls. I will have to futz.) At the very least, I could make a second-story porch and the little people could climb onto it through the windows…
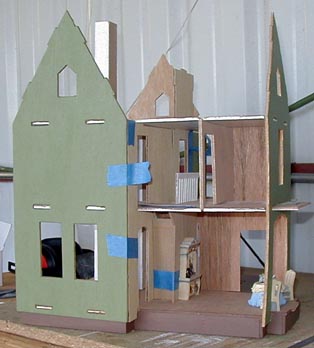
Here’s the house from another angle. According to the floorplan, the room on the left is the living room, and on the right is the dining room, but I’m undecided on whether the room on the right will be the dining room or the kitchen. The upstairs rooms are bedrooms.
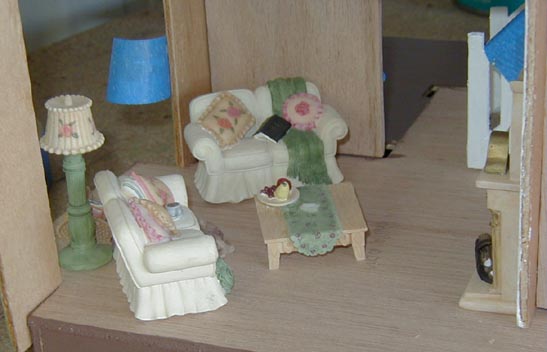
Living room closeups, with the Avon country cottage furniture in place. The opening behind the lamp will be a bay window.
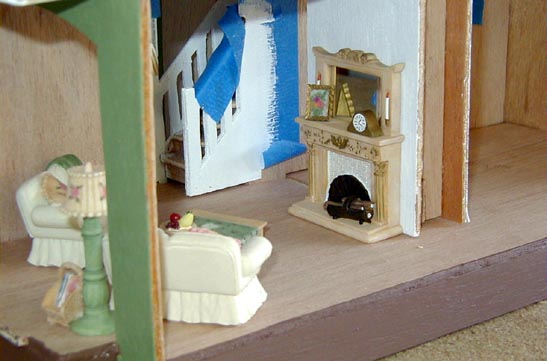
I haven’t decided if I will use this fireplace or dress up the “built in” one that this is currently hiding.
After a lot of playing and brainstorming, I took the plunge and glued the first piece. I’m glad I tried fitting the pieces together first because it helped me understand where I may run into trouble because of the warped floors / ceilings, and where I may need to deviate from the instructions.
And here’s one for the “I wish I’d realized that before!” file. The instructions call for sliding the chimney assembly through the hole in the ceiling. I did this once when I was playing, then took the chimney assembly back out to paint some of the edges that are going to show. Of course, when I tried to slide the assembly back in, the added paint got in the way. I had to sand the edges down, slide the chimney in, then paint the edges again. Note for next time: insert the chimney assembly first, THEN paint!
The chimney assembly was not easy to glue in, because there was no good way to weigh it down while the glue dried. So there is a gap between the bottom of the fireplace and the floor, but it won’t show. Hopefully the fact that it wasn’t a snug fit won’t affect anything later on…
Attempting to weigh down the chimney. Needless to say, this didn’t work very well.
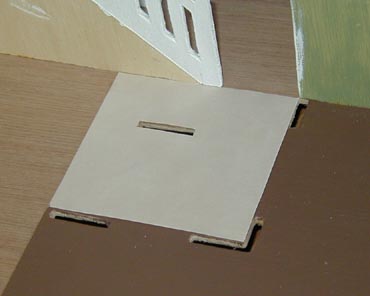
I glued in carpet along with the stairs, so I could tuck the edges under the stair assembly. Hopefully I won’t make a mess on the carpet while I build the rest of the house!
The entry carpet was glued in before the stairs:
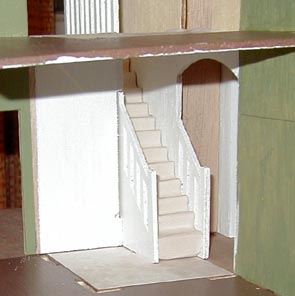
Here’s how it looks with the stairs in place:
The view from upstairs:
Other than some angst over the very warped second floor, the rest of Step 4 went pretty smoothly. I started thinking about carpeting and wallpaper for some of the rooms. Here are some ideas.
One of the bedrooms:

The second floor hallway:
I may decide to use that red and white paper in the McKinley instead, but only if I can find a few more sheets. (I keep going back to Beverly’s Crafts, where I got it the first time, but they’re sold out…) If I can’t find more I think it will look fine in the Fairfield, but I really like the paper and it will show better in the McKinley.
Now that I’m done with Step 4, I started on applying some siding. I also ordered a bunch of porch posts and spindles from HBS. Although I’m not ready to put them in yet, I may start painting.
 Emily is a freelance writer, miniaturist, and adventure game enthusiast.


Help. We are having trouble with the fireplace in the Fairfield dollhouse. It seems to be missing a piece. Inside slots on the right hand side of the chimney.
I built this house too long ago to remember all the pieces, but if you post on the Greenleaf forum I’m sure someone can help you: https://forum.greenleafdollhouses.com/forum/27-greenleaf-dollhouses/
Also the More Minis blog has good pictures that might be helpful: https://moreminis.blogspot.com/2017/09/the-fairfield-dollhouse-half-scale-blog.html
My daughter and I just started this project and are working in bits and pieces. (It’s our first dollhouse!) We papered the chimney/fireplace pieces with brick paper and we are having the same trouble with fitting it into the slots in the flooring. Ugh. Hoping maybe some Dremmeling will help some. Yours looks amazing, btw.
Thank you! I’ve actually been daydreaming about building another Fairfield. I’ve learned so much since I built this one (almost 20 years ago!) and when I look at it I see every flaw…
A Dremel would work, but an easier/quicker way to enlarge those holes might be to shave off the edges with a utility knife.
I need step by step for the chimney and where it goes i keep messing up
Thanks for your comment. I also replied to your post on the Greenleaf forum. It’s been a long time since I built the Fairfield so I can’t help you step by step, but maybe the Fairfield posts on the More Minis blog will help: https://moreminis.blogspot.com/
I have enjoyed your Fairfield information. Hope to start mine soon.