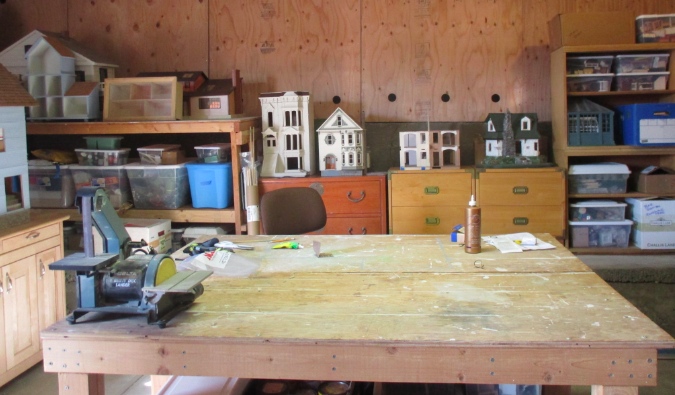
I just moved from a house that had a dedicated dollhouse workshop to one that doesn’t. Eventually we will build a room of some sort into the garage but for now I have a corner of the garage that doesn’t have all the storage and shelving I’m used to. Last weekend I was able to get it sort of organized…
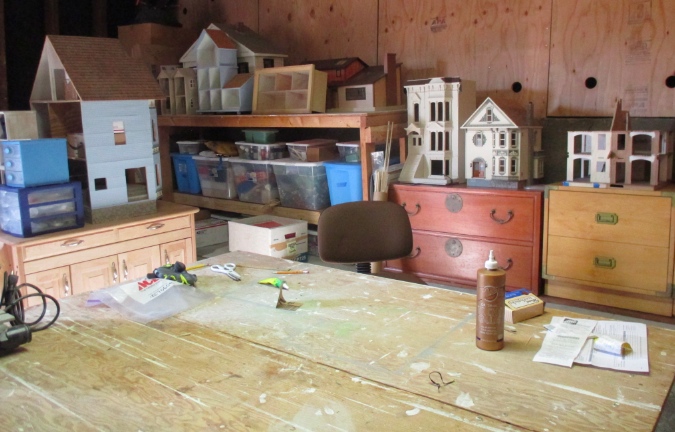
When we moved, I got a bunch of see-through bins and tried to pack them in a logical way, since these will be the storage for all my supplies for the foreseeable future. Geoff pushed two tables together to give me a big workspace and I set up the houses in progress where I can reach them easily. The more finished houses are all upstairs in the house (kind of all over the place, though – no dedicated place to display them at the moment).
Time to test out this new setup with a new project! My parents are coming to visit in a couple of weeks and my mom and I are going to decorate faux gingerbread houses, which I will assemble and paint before she gets here. She makes real gingerbread houses every Christmas but we tried it here once and the air was too moist – the house basically caved in overnight. (Still yummy though!)
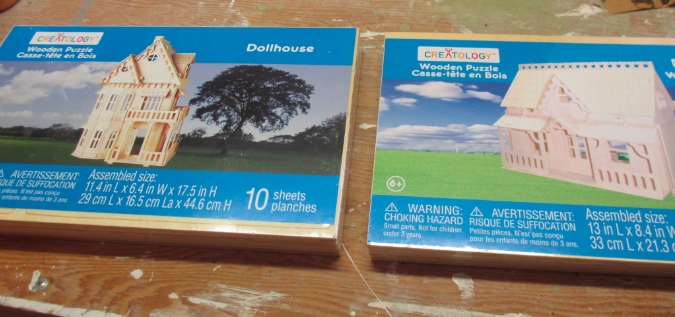
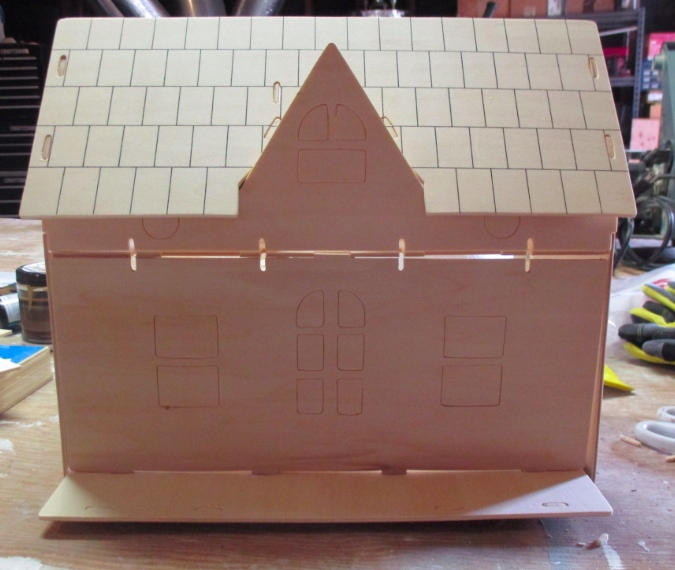
We’ll use these two Creatology puzzle house kits, which I bought at Michaels several years back. I don’t know if they’re still sold (if yes, they’re usually stocked in the spring/summer). I built the one on the right a while ago as a half scale cottage (the blog posts about that build are here if you’re curious). The one on the left, I haven’t done before.
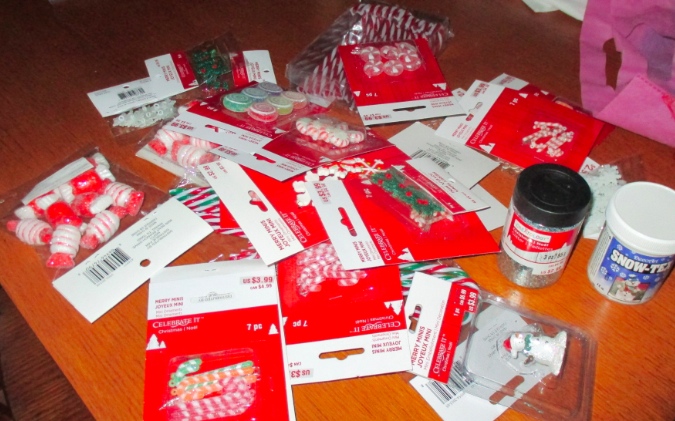
We’ll be decorating with fake candy, also from Michaels. Most of it was 40% off in a “pre Black Friday” sale.
First I assembled the house I’ve done before. These come with fairly confusing assemble-by-number instructions that I ignored completely. I started with a dry fit. I’m leaving the windows “unpopped” to be more like a real gingerbread house. My mom actually makes “stained glass” windows with melted Life Savers for her gingerbread houses, but I liked the idea of leaving the pop-outs in to look more cookie-like.
I generally like painting once the house is put together, but in this case I tried painting first thinking it would be easier to do the inside before assembly. I tried two different colors I had lying around, “Cup of Cocoa” (the lighter one) and “French Truffle” (the darker one). Neither came out particularly gingerbready.
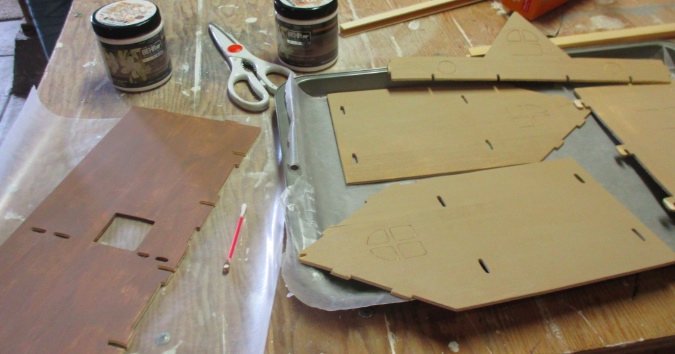
In hindsight I shouldn’t have painted the pieces, since paint glopped in the slots and made fitting the pieces together more difficult than the initial dry fit. Lesson learned. I will wait to glue on the roof and dormer until the house is painted inside and out — easier to get my hands in that way.
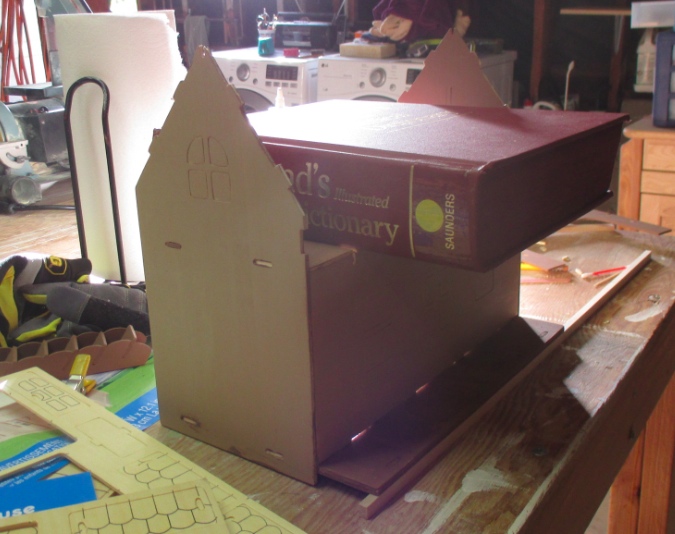
I beefed up the porch with strip wood, same as last time. Then I tried a new paint color – this is Glidden “Spiced Gingerbread” and I bought it sight unseen from the Home Depot website, which I just learned ships paint samples for free. Added bonus, it was supposed to take a week to get here and only took two days!
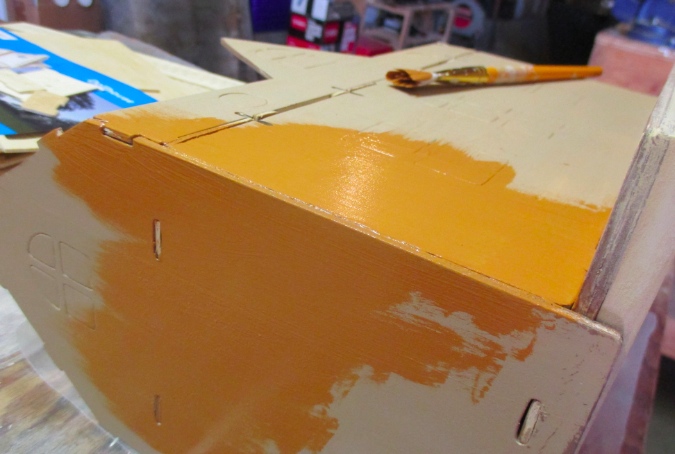
First reaction: it seems kind of orange. But, the lighting in the garage is funky, and this is only a base coat. I will do a second coat with sand mixed in for texture, and if the color still seems off I can experiment with mixing in other browns.
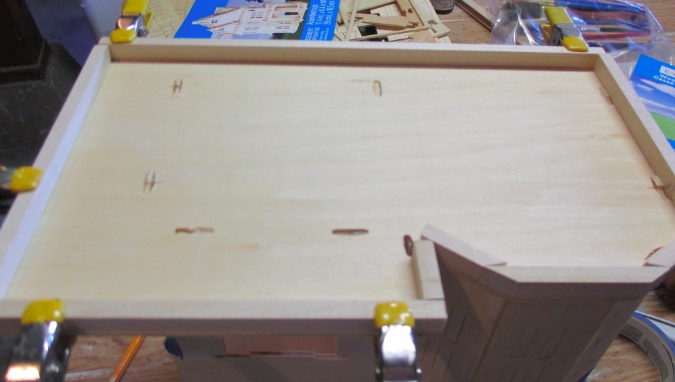
While that paint was drying, I tackled the second house. Even though I haven’t built this one before, it was easier to figure out how it went together by experimenting and looking at the picture, than trying to decipher the instructions.
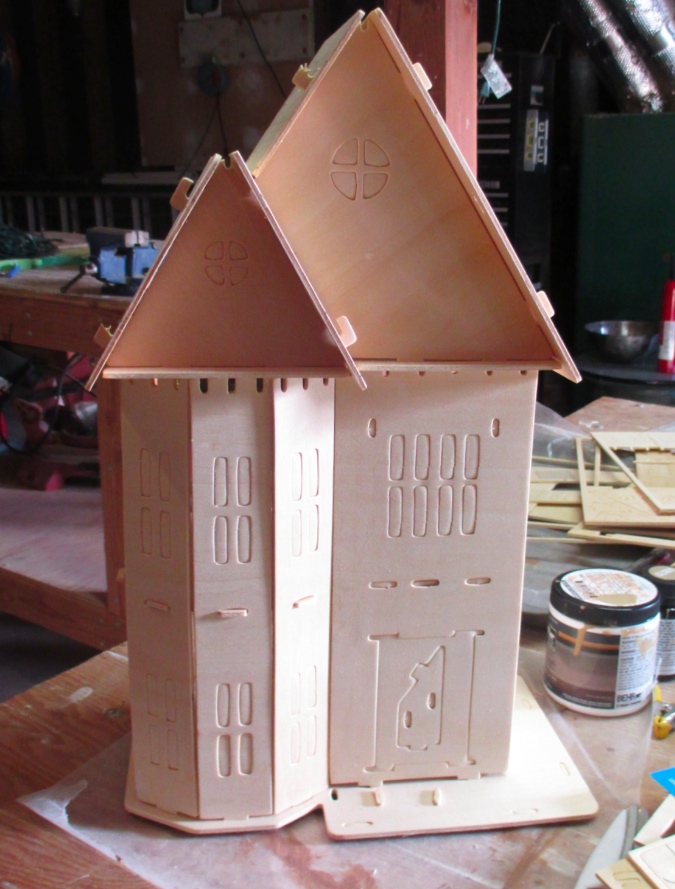
This house has a lot of tabs that look like this, which are supposed to slide into pieces that hold the parts in place (cuz it’s a “puzzle house,” get it?)
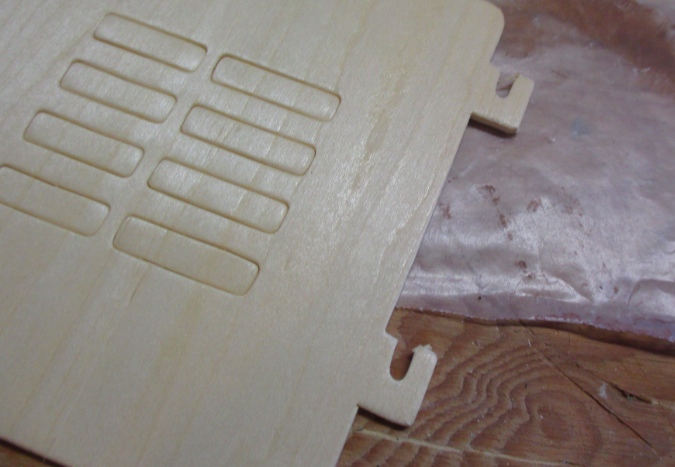
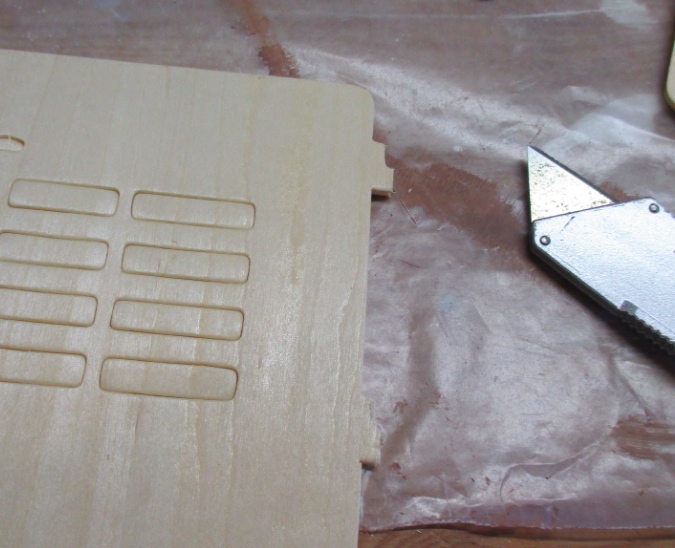
These tabs are hard to get into the slots and I broke some of them when I took apart the dry fit, so before gluing I decided to cut them down.
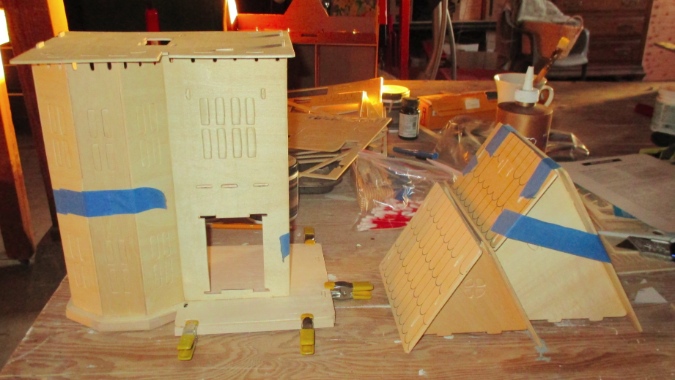
I assembled the main body of the house, using a ton of glue in the seams. It dries clear and will be covered with paint, anyway.
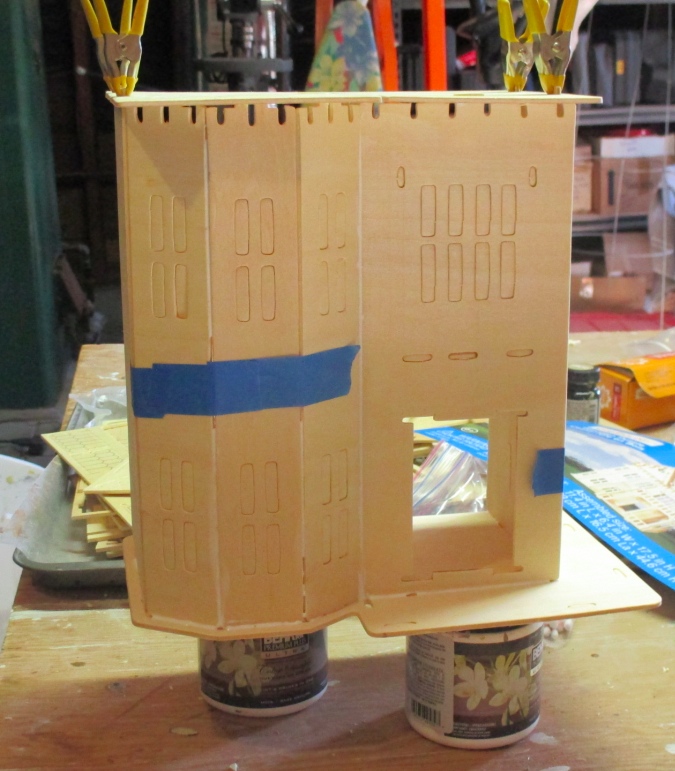
Then I flipped the house over and added strip wood to the foundation. This wasn’t totally necessary because the house doesn’t have a gap under the porch like the other style, but I had the wood left over and thought it would look nice. I still need to clean up the corners a bit before painting.
Finally, I assembled the top. I inserted the wall pieces into the floor for stability while the glue dried, but only glued the wall and ceiling pieces, so the top can be removed for easier painting. I decided to leave off the dormer and the chimney to keep the house a bit simpler and more gingerbread-like.
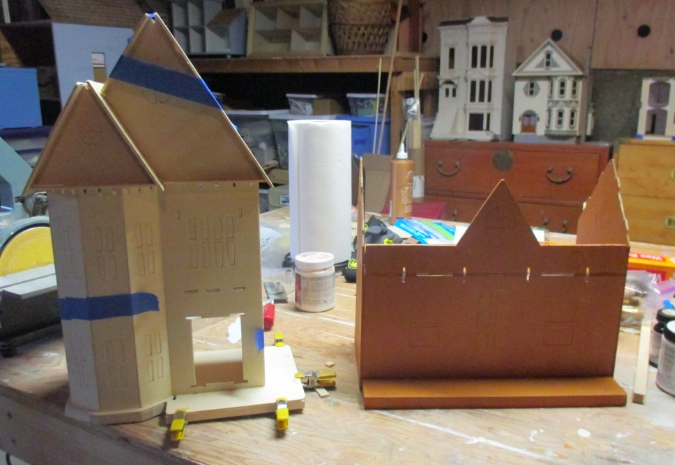
Here’s where I’ve paused for now. The Spiced Gingerbread doesn’t look quite so orange now that it’s dried, but I had a hard time getting a photo that shows the color accurately.
 Emily is a freelance writer, miniaturist, and adventure game enthusiast.


What an awesome project! I’ll bet you and your mom will create some special memories!
I am baking the real thing today!!
What a great idea! I bet they will look beautiful.