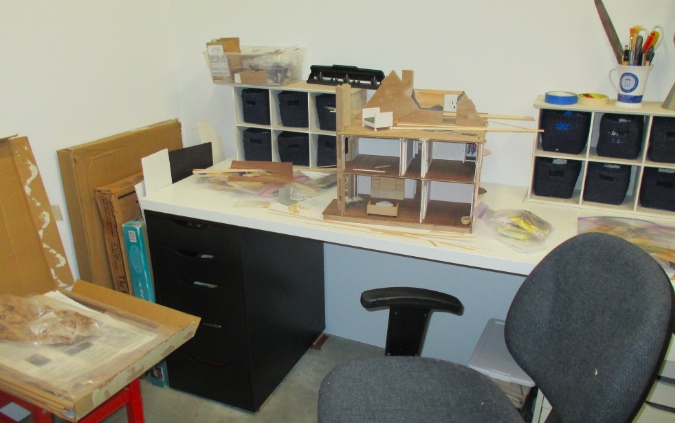
With my new workshop complete, I can get back to work on the Victorianna. (Yay!) This house (and all the others) got packed up in September for my move to San Francisco, so it’s been a while.
When I left off I was working on the upstairs bedrooms. I want to finish the little girl’s room with the bay window, and also to get siding to the front of the house (I already did the back), so the next logical step is the bay window / tower.
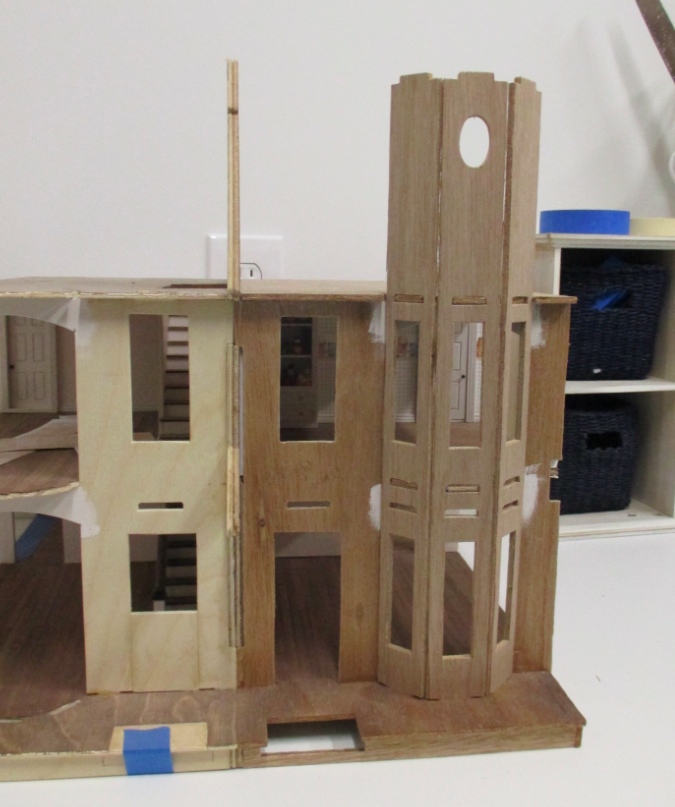
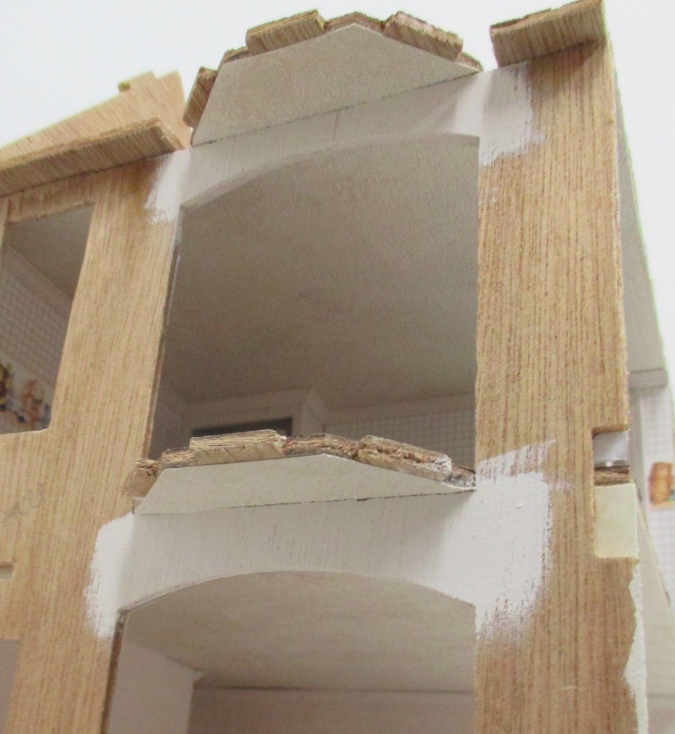
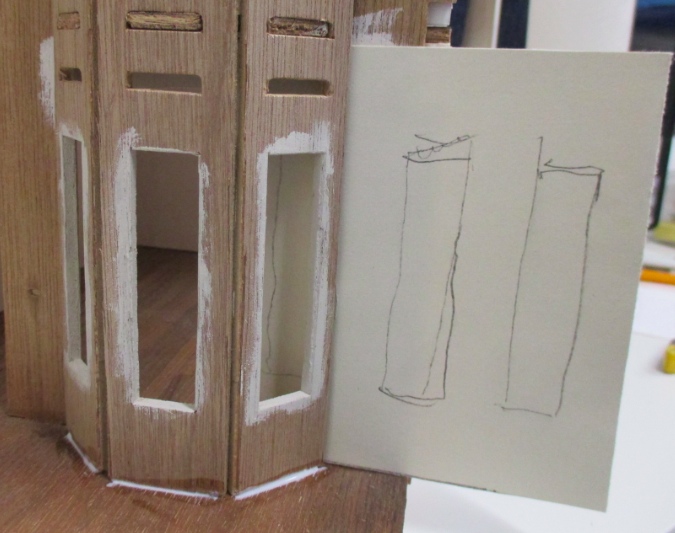
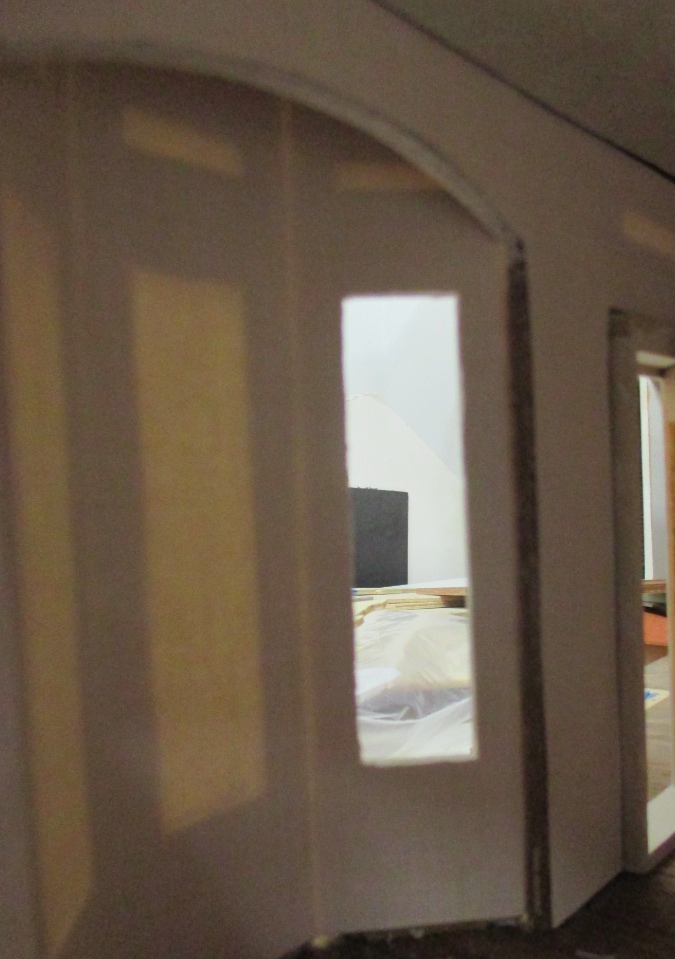
I’ll probably bash the tower on the left side of the house, so for now I’m just doing the one on the right side to figure it out. (I stopped following the instructions long ago!) Here’s how it looks in dry fit.
My big quandary was how to do this in a way that wouldn’t be too hard to get my hands in to deal with wallpaper and trim. The tower pieces have gaps between them, so it would be best to wallpaper after assembly, but I had visions of making a huge mess trying to slide a piece of glue-covered wallpaper up behind the arch.
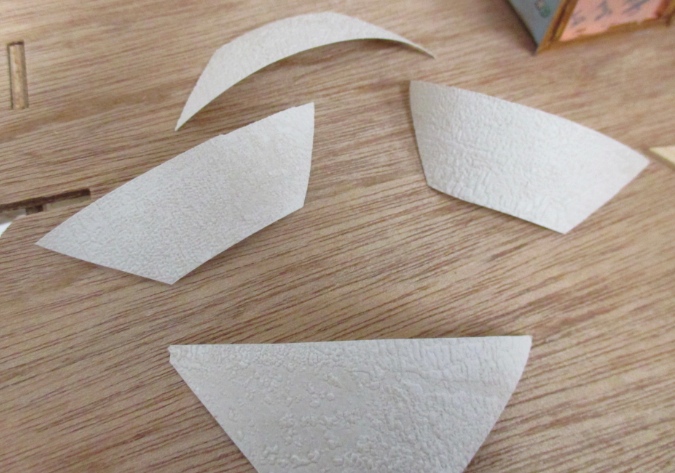
First things first. I cut out pieces of ceiling paper for the four bay windows from leftover scraps. (Remember: never throw anything away!) The ceiling paper I use is off a roll of textured, real life wallpaper that I bought at Lowe’s more than a decade ago and will probably last me the rest of my life.
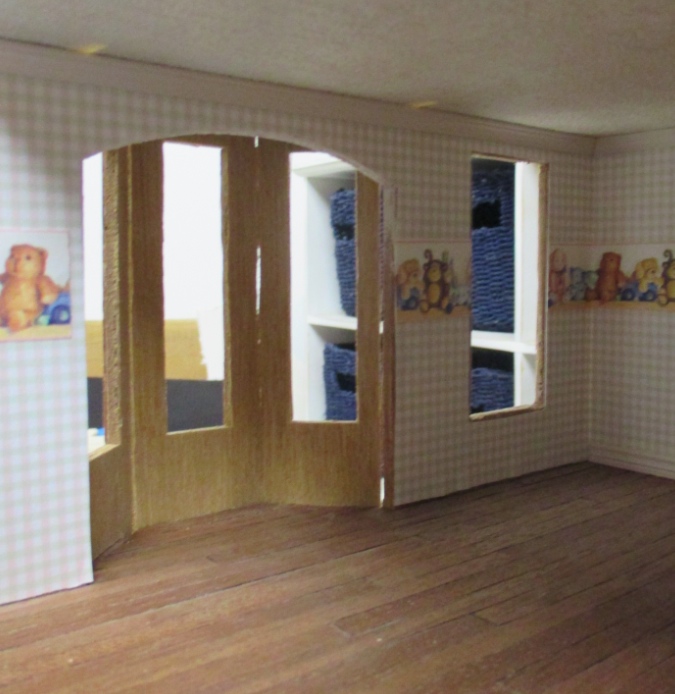
I glued these in. You only see the ceilings if you go looking for them, but now they’re taken care of. I had previously painted the backs of the arches — they’re very hard to see through the windows, so I decided not to bother with wallpaper here.
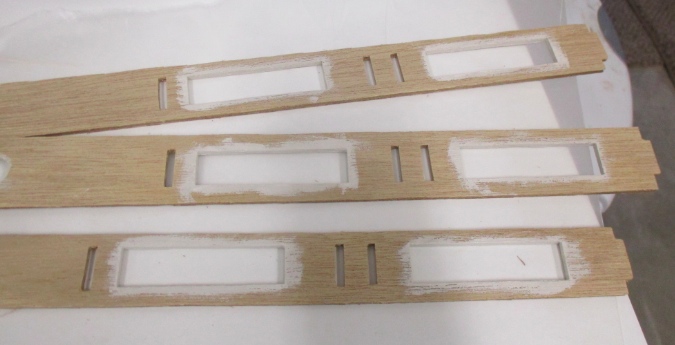
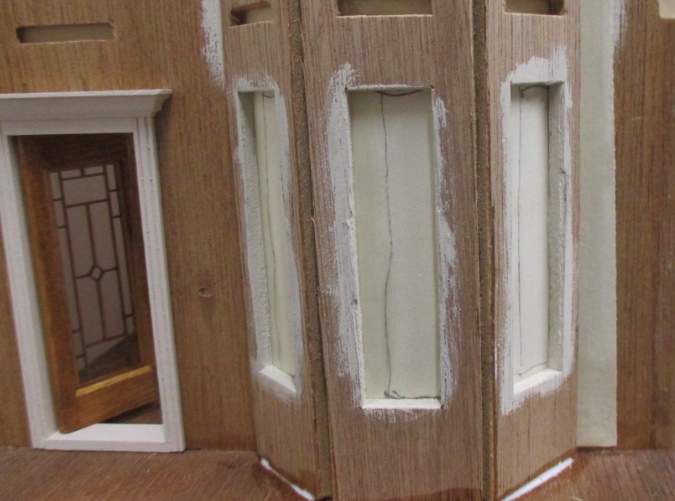
Before gluing in the tower pieces, I painted around the inside edges of the windows with my Tuscan Beige trim color. I will probably add wood filler and another coat of paint once I get the interior trim glued in, but for now this is enough.
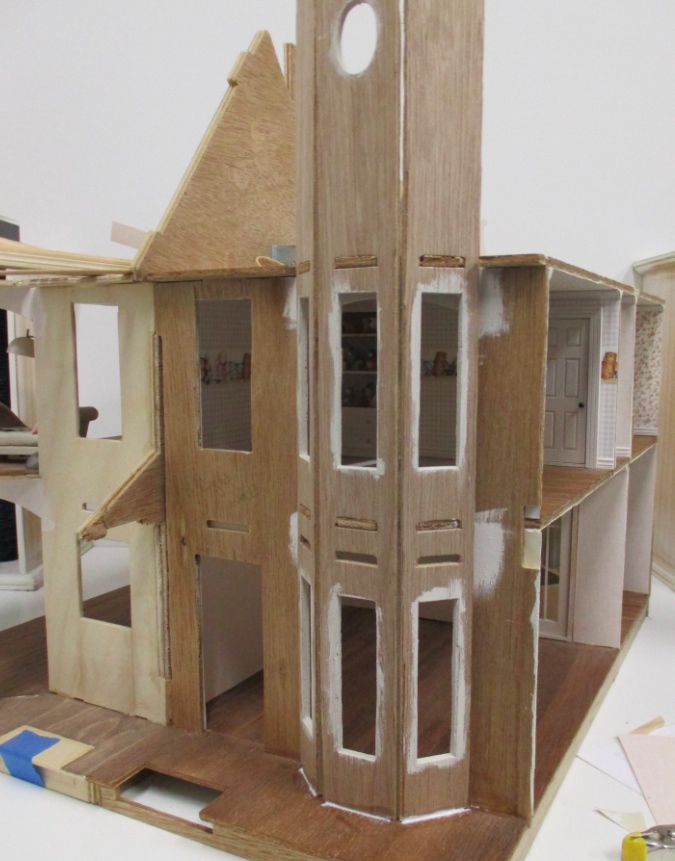
I glued them in with tacky glue, especially where the bottom meets the porch and over the tabs on the third floor. I didn’t want to glop on too much glue on the inside of the first and second floors because I already put in the hardwoods there, but the tabs and slots fit together nicely so I think this will hold okay.
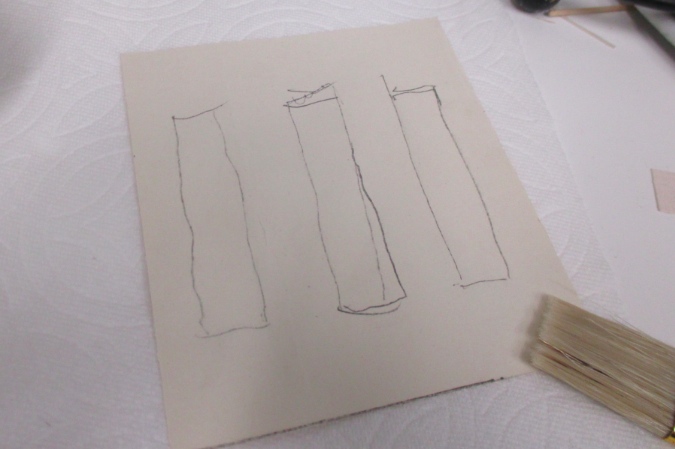
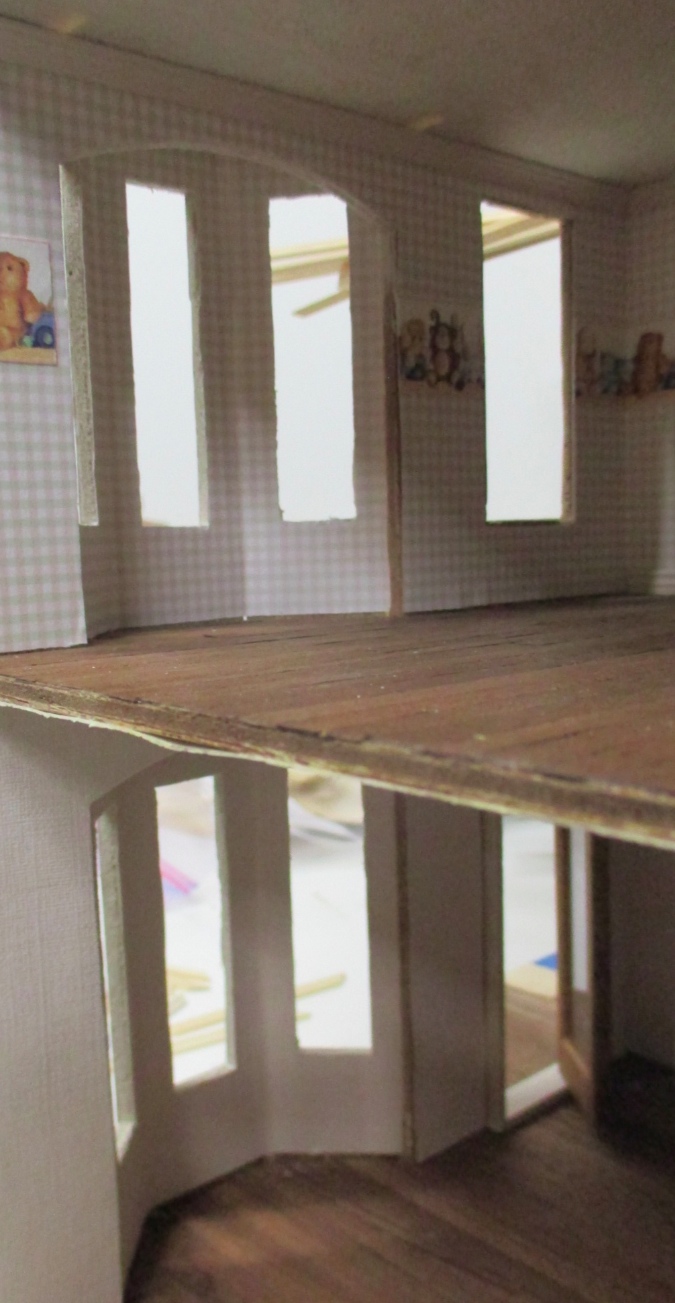
Now for the wallpaper. I used the outside of the tower as a guide to the cut paper, since it’s much more accessible than the inside. I then put a flashlight inside the house so I could see where the windows are and marked those with pencil.
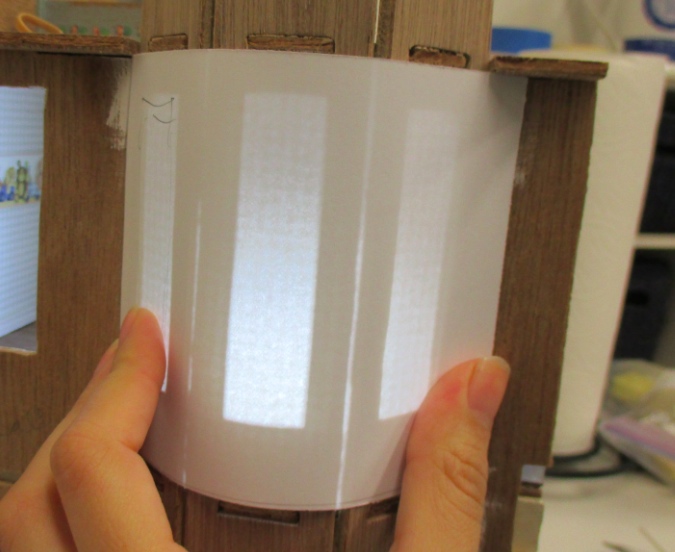
Here’s the trick I came up with for getting the wallpaper in place: rather than going through the front and potentially making a mess with glue, I realized I could slide the paper in through the gaps between the tower walls and main wall. (Might as well put those gaps to good use!)
I applied wallpaper mucilage, keeping it out of the window area because I thought I might want dry spots to put my fingers on as I worked the paper into position.
Then I slid the glue-covered paper in. Somehow my window marks were way off. I had to slide the brush in between the paper and the wood to add some more glue.
On the inside, I worked the paper over as far as it needed to go and then carefully pressed it into the wall with my fingers.
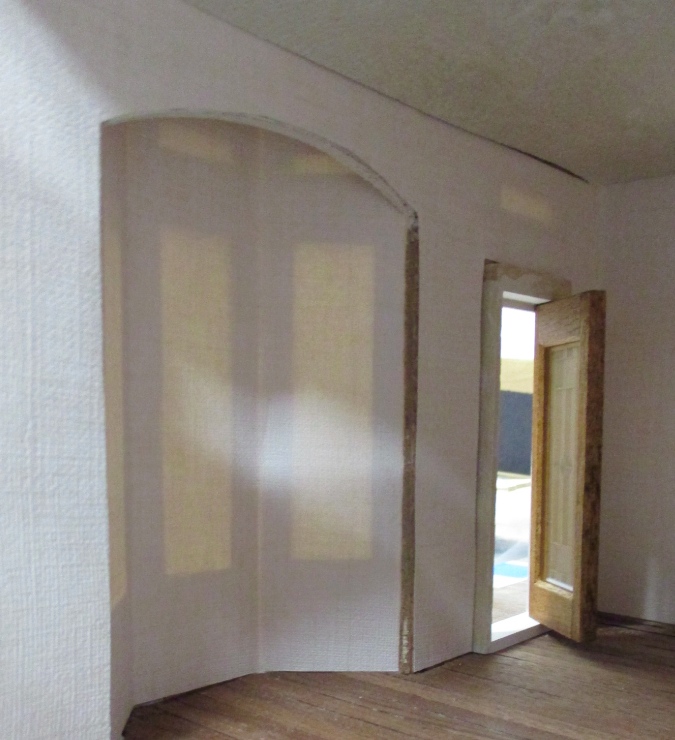
I let this dry for a bit, then cut out the window holes with an Xacto knife. There are some jagged edges but I plan to add wood filler and a coat of paint once I have the interior trim in, so I think the jaggedies will get hidden in that process.
The window openings upstairs aren’t quite as neat. This paper’s thicker and it didn’t cut as easily. (Probably didn’t help that the blade was getting mucked up with glue…) But it’s still a lot neater than if I’d tried to glue in the paper with the window holes already cut, since this gave me more paper to hold onto as I moved it into position.
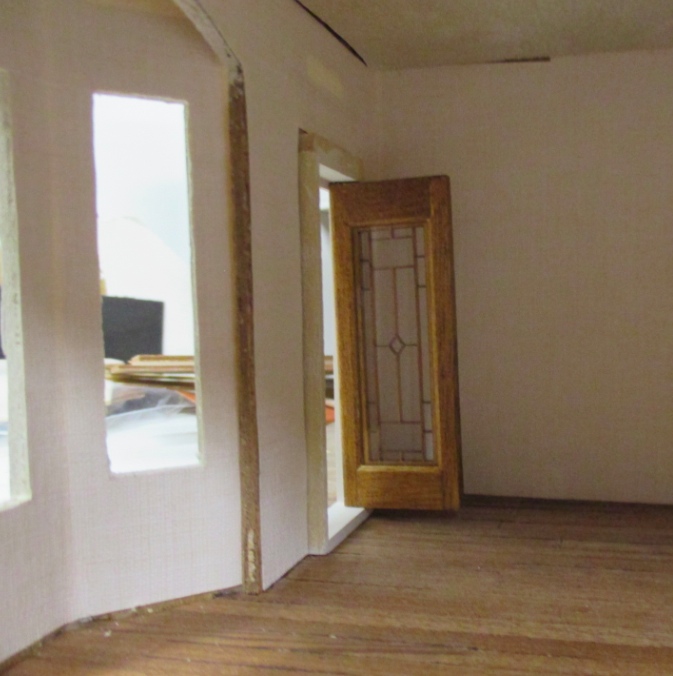
You might have noticed my snazzy front door. I put this together back in July but never posted about it. It’s a Victorian glazed door from Houseworks, with a decorative mullion added in.
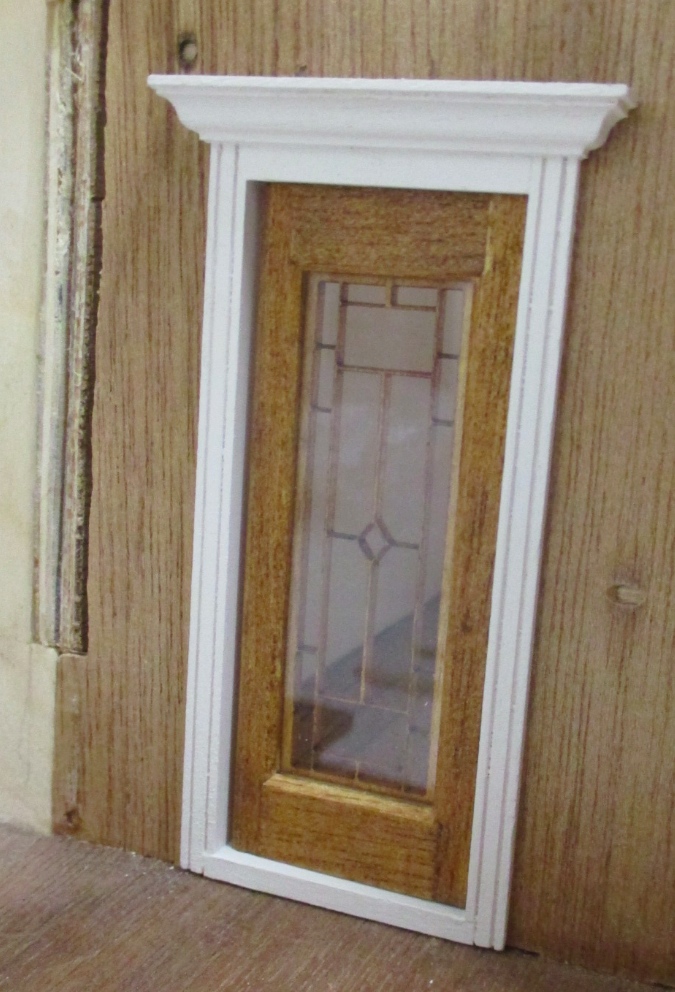
Normally the door swings the other way, which would have had it opening into the room. I disassembled it and made new holes on the other side so it would open this way instead.
Coming up next time: trim!
 Emily is a freelance writer, miniaturist, and adventure game enthusiast.


You even made the checkered wallpaper pattern match! Nice job!
Part of the reason your window marks were off is because the outside radius of the corners is larger than the inside corners due to the thickness of the wood. As you realized when you installed the paper, you don’t need those marks at all if you cut the openings after the paper is installed. Good thing you did not cut them out first!