I have always loved the Westville’s shutters, but it didn’t occur to me until this weekend how much work goes into them. So far I’ve spent about five hours sanding, wood filling, and painting, and could conceivably spend another five hours before they’re all done. Luckily a re-watch of My So-Called Life (for the umpteenth time) is making the work a bit more bearable.
Each shutter has two pieces: a plain back piece and a decorative front piece. I’m painting my fronts white to match the house, and the backs pale blue. When the shutter is assembled, the blue shows through. Altogether I have sixteen shutters, which makes thirty-two pieces to prepare, plus some window trim that I hadn’t done yet. (There are normally eighteen but I made a change to the porch window, so that one will now be shutter-less.)
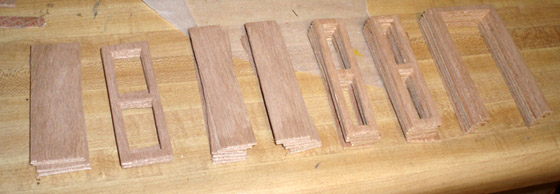
Since the plywood tends to be a bit splintery, each piece needs to be sanded. Then I apply watered-down wood filler to the exposed edges and the surface of the wood to fill in the grain a bit and blend in imperfections. Once that has dried, I sand it again to make it smooth. The picture below shows the pieces after the wood filler dried, but before re-sanding.

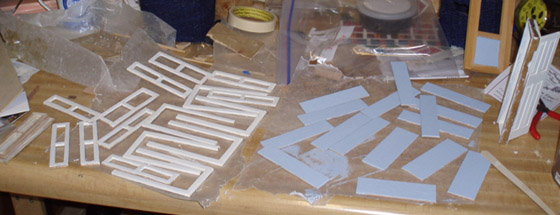
Then, finally, it’s time to paint. This afternoon I got a first coat on most of the pieces before calling it a day. When all’s said and done they’ll need at least two coats, maybe three, probably with some more sanding in between. Then I’ll glue the white fronts onto the blue backs, and spread wood filler on the glued-together outer edges to make them nice and smooth, then sand the edges, then paint them…
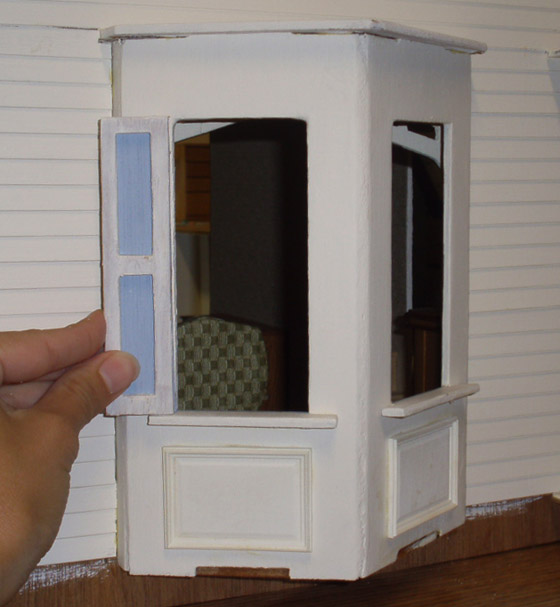
Here’s an idea of how the finished shutters will look.
After this experience, I’m even more eager to try out one of Greenleaf’s new laser cut half scale houses! (Rumor has it there’s no sanding or wood filling required…)
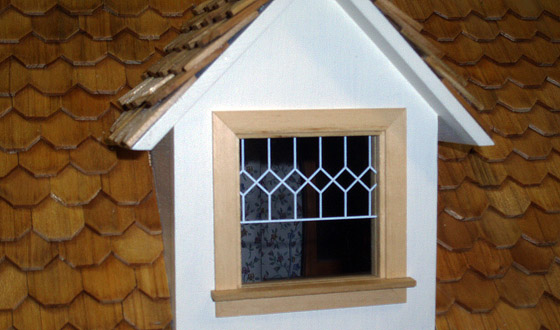
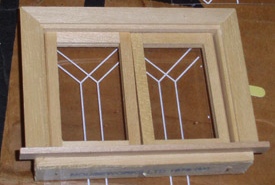
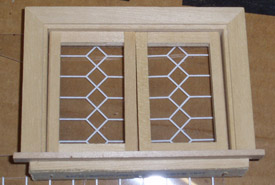
While I was digging through the Westville box to find all the shutter pieces, I pulled out the plastic window inserts and did some playing. My Westville has two Houseworks windows that came with clear plastic inserts: a casement window in the kitchen and a dormer window in the bedroom. The rest windows that came with the house have a design on the plastic and I wanted to use leftover plastic pieces (from the porch window, small rectangular windows, and front door that I’m not using) to make the Houseworks windows look more like the others.
As luck would have it, the porch window and the dormer window are exactly the same width, so I’ll be able to use the plastic intended for the porch window in the dormer. (The window trim hasn’t been painted yet; it will be white like the rest of the windows.)
Here are two options for the casement window. I haven’t decided yet if I’ll do one of these or just keep the plain inserts that came with it.
 Emily is a freelance writer, miniaturist, and adventure game enthusiast.


RE: Laser cut 1/2 scale wood.
That’s exactly what I’m wrestling with! Punching out the parts is the easy part; but any finish applied before filling and sanding (repeat several times) just raises the grain, requiring more sanding and painting to get a smooth finish.
I’m going to try the watered-down wood filler scraped off with a credit card or similar. Still a lot of work, but then what else do I have to do with my time? Yeah, right!