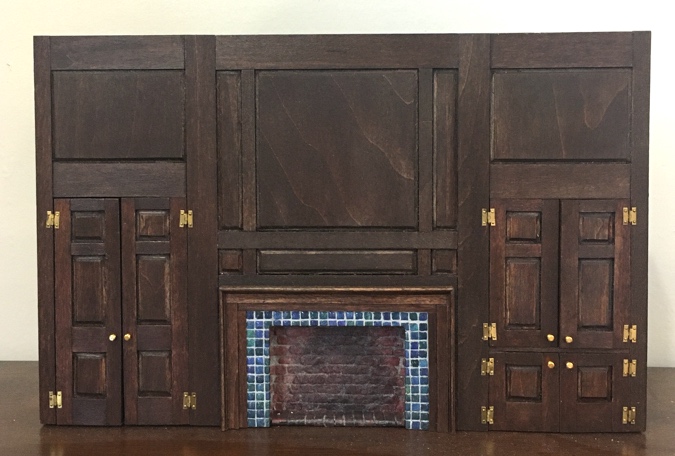
As I mentioned at the end of my last post, I was mostly happy with how the Cassidy Creations Federal fireplace wall turned out, but there were three things I wanted to fix: add more doorknobs so each cabinet door has one, straighten the hinge on the bottom left small door, and add bricks to the floor of the fireplace.

Adding another set of doorknobs was easy. Fixing the hinge, not so much. When I hinged these the first time, I hadn’t glued the front facade to the back piece yet, so the door was flat on the desk. This time, the door ended up pushed slightly farther back than the piece it’s hinged to, which can cause the hinges to twist a little and the nails on both the top and bottom hinges to pop out after several openings and closings.
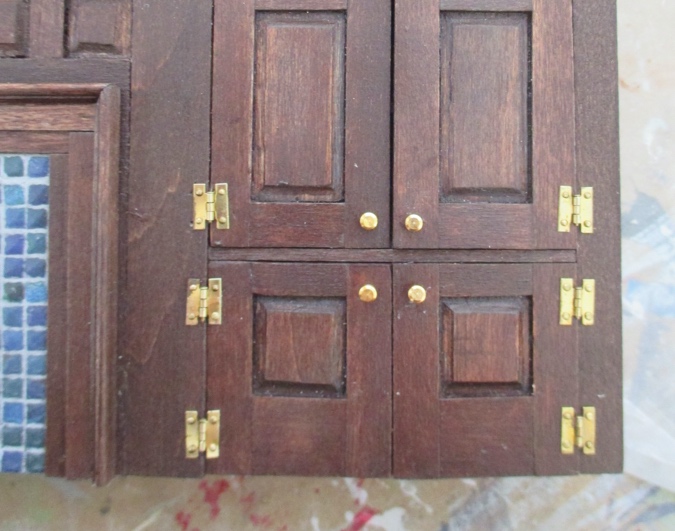
I tried putting a dot of glue on the tips of the nails before pushing them in, but it didn’t seem to matter. If they come loose, they can be pushed back in, but I imagine the holes are getting a little bigger each time, and eventually the nails won’t want to stay. Also, popped-out mails will be hard to fix if the fireplace wall is permanently installed in a house. I’ll just have to remember not to open and close that door too much…
Of course, the bricks would have been much easier to do before everything was glued together. To reduce the chances of getting paint on the wood, I painted a 3/8″ wide piece of egg carton material before cutting it into individual bricks.
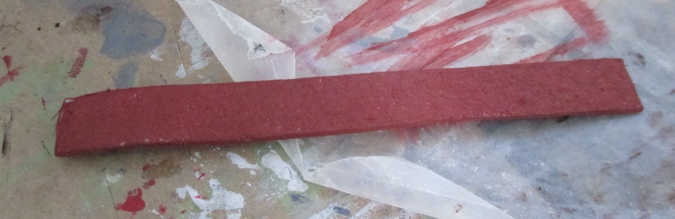
You can’t really see it in this picture, but I scored the back side of the egg carton piece about 1/16″ from the edge and folded it over. That edge will cover the front of the wood.

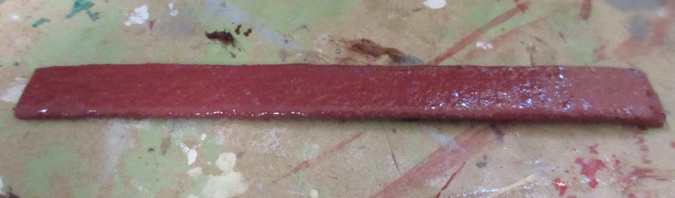
Then I coated it with matte sealer.
When the sealer was dry, I cut 1/8″ bricks and glued them in. Rather than try to wedge funny-shaped little pieces of brick into the corners that you’ll barely be able to see, I cut larger triangular pieces to fit there.
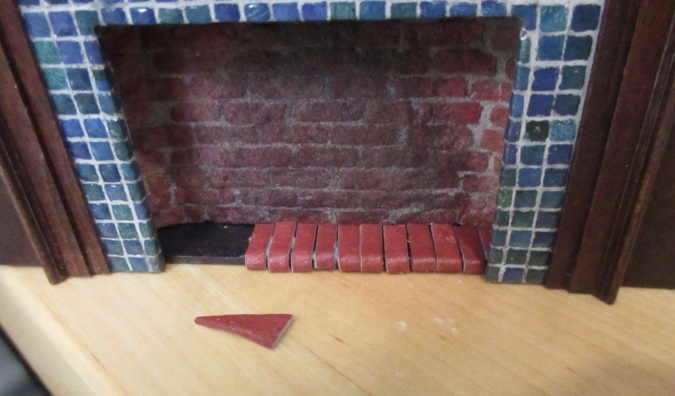
Here’s how it looks with all the bricks glued in. Normally I would have snipped the corners off each brick to make them look more bricklike, but I didn’t bother this time since they’re all the way at the back.
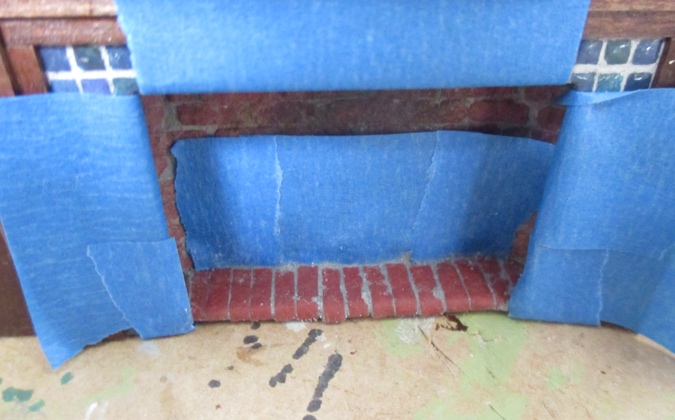
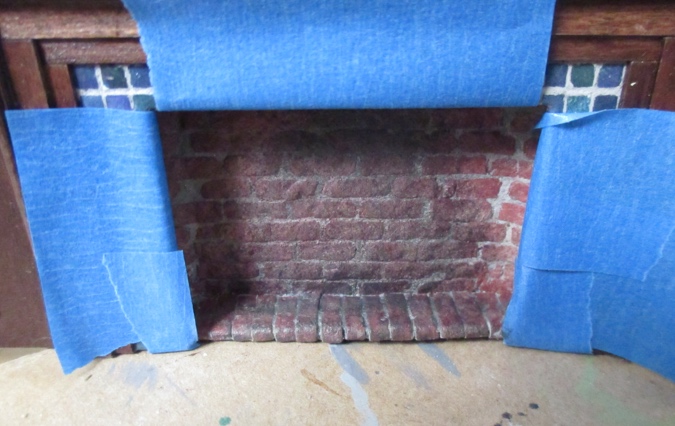
Next I masked around the opening and applied mortar.

I dabbed off the extra mortar with a wet paper towel.
After the damp bricks dried, I applied another coat of matte sealer.
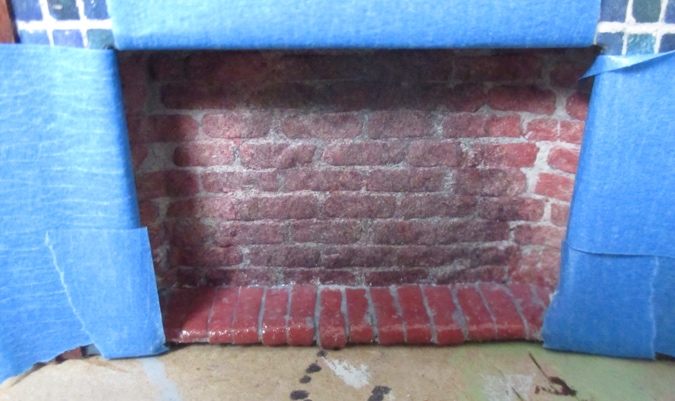
Next I added brown and gray accents with a dry brush.
And then black. The “dry brush” was actually damp, since I rinsed it between colors, and I also didn’t wait for each paint color to dry before moving on to the next one, so by the time I got to the black it was more like applying a wash. It looks nice and sooty.
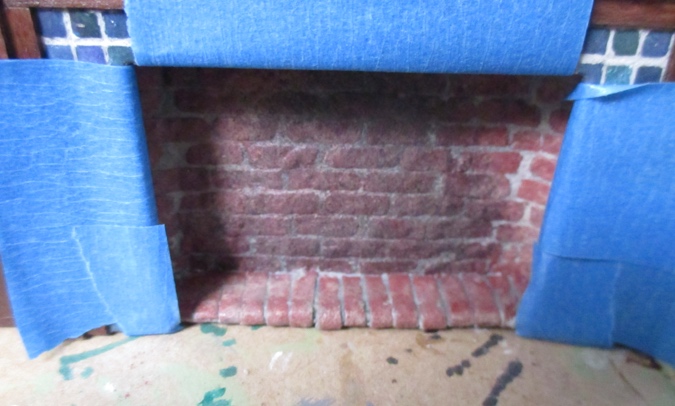
Then matte sealer again, and I did the back part of the fireplace too because I couldn’t remember if I’d done that originally.
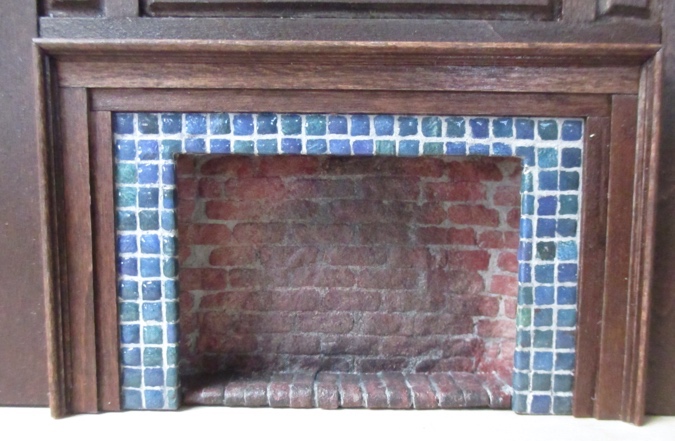
Voila! The bricks went much more smoothly than I thought they would, to be honest. I was expecting to get paint and mortar all over everything.
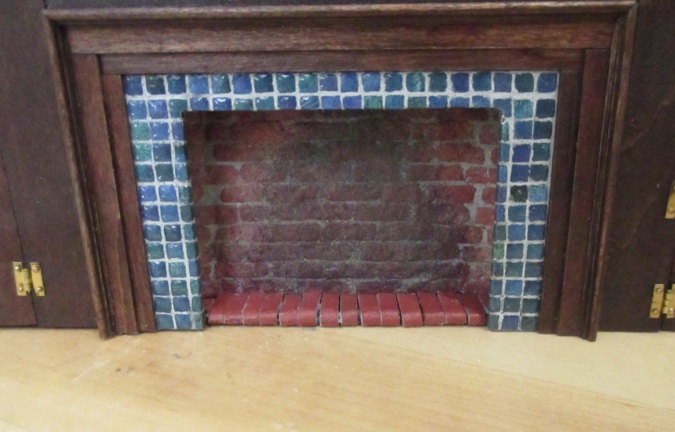
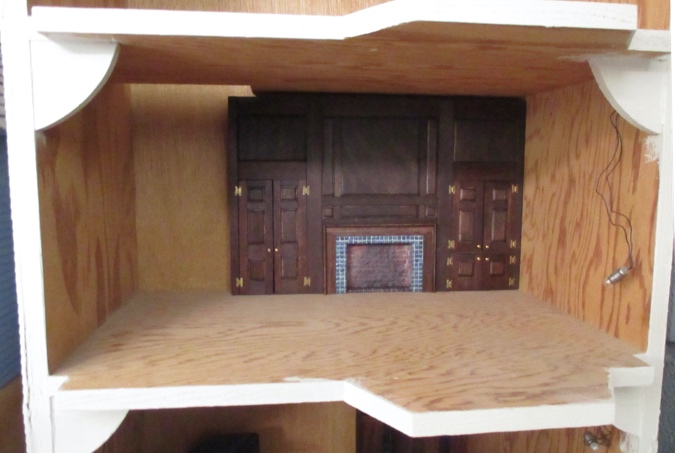
And here it is inside the Little Belle one more time. I like the finished piece a lot, I’m just not sure it matches the vision I have for this house.
A couple of people commented on my last post, suggesting I do something to the fireplace to make it look more Victorian. I actually spent a long time staring at it before I glued on the fireplace trim pieces, thinking about how I could do that, but I didn’t come up with a good solution. This kit would have been easier to bash if it came with a picture of the finished fireplace wall, but all I had to go with was a line drawing and a pile of unlabeled pieces. It was hard enough to put it together the right way!
That said, now that I have put it together, I’m thinking of scratch building a shorter version that will actually fit inside the Mansard Victorian, where I’d planned to use it in the first place. Stay tuned…
 Emily is a freelance writer, miniaturist, and adventure game enthusiast.


I Ike reading your posts as you are an inspiration to me because you show me how to fix things and keep on going. I get stuck on my miniatures and I’m glad that I can be inspired.
I have to keep reminding myself of the scale you’re creating with. Incredible!
I’m currently making this kit and found your posts helpful. I just started it and separated all the sub-assembly pieces into their own bags and built all of the doors first. I don’t have a house with tall enough ceilings so I’m going to see what I want to do before I go forward and build the three sub-assemblies for the main structure. Was this kit originally built to fit the Bauder Pine larger Colonial House? It’s quite tall for most standard houses.
I also wondered if it was built for a specific house, but I haven’t found an answer. I’ve never seen this fireplace in a dollhouse. (I’ve only seen one or two pics of it finished at all.) The easiest way to modify it would be to shorten the top. You’d have to modify the beveled panels but that seems doable.