Gorgeous weather today, and Rosy was very happy to lie in the dirt while I worked on the Victorianna.
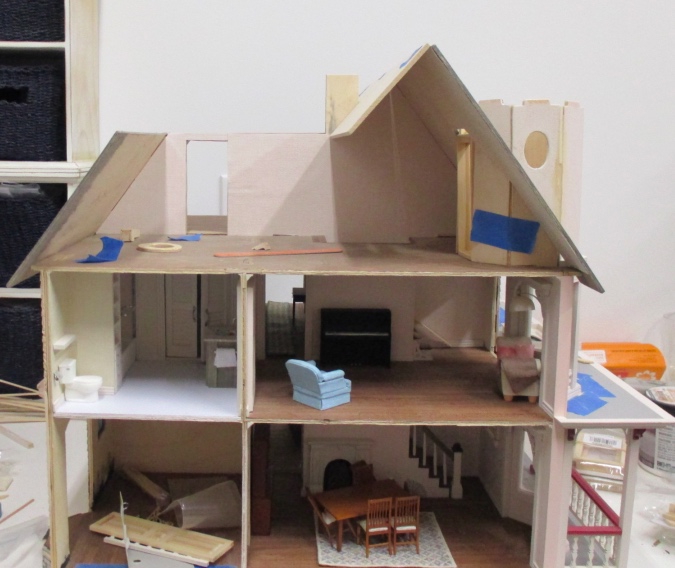
Having assembled the towers, I moved on to the small peaked roof. Normally the Victorianna’s top floor has two triangular sections, with the roof dipping down to floor level in between them.
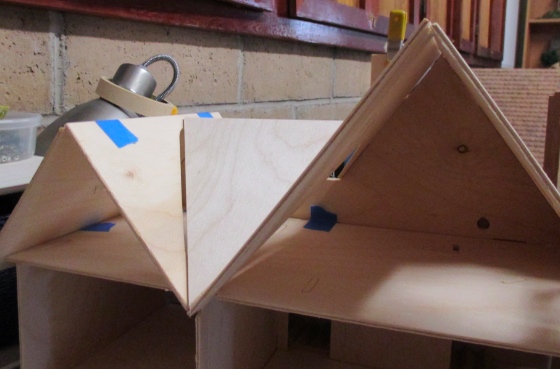
I added a piece to fill in the valley between the two peaks, so my Victorianna’s roof slopes slightly and then flattens out. It’s barely a 4-inch (8-foot) ceiling height, but it makes the room more usable.
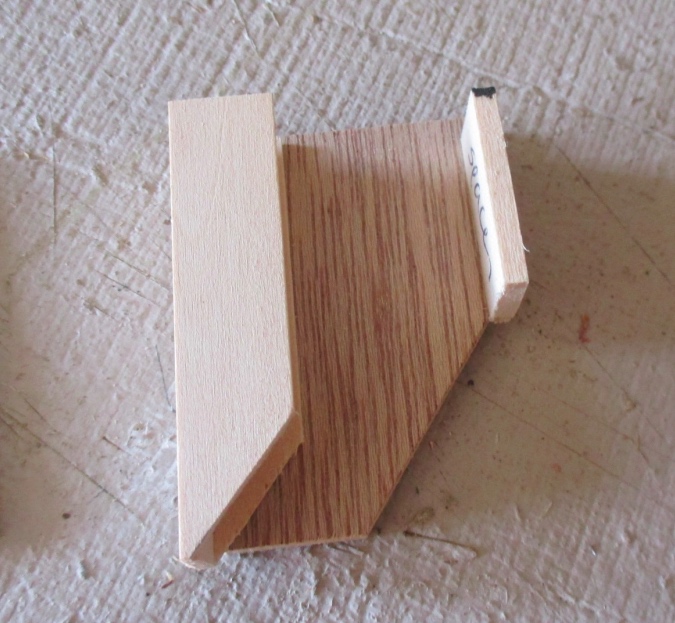
So I needed to create both the small sloped part of the roof and the flat part. The sloped part descends about 3″. I had a 3″ piece of basswood that I cut to the right width.
This needed to be notched to make room for the chimney.
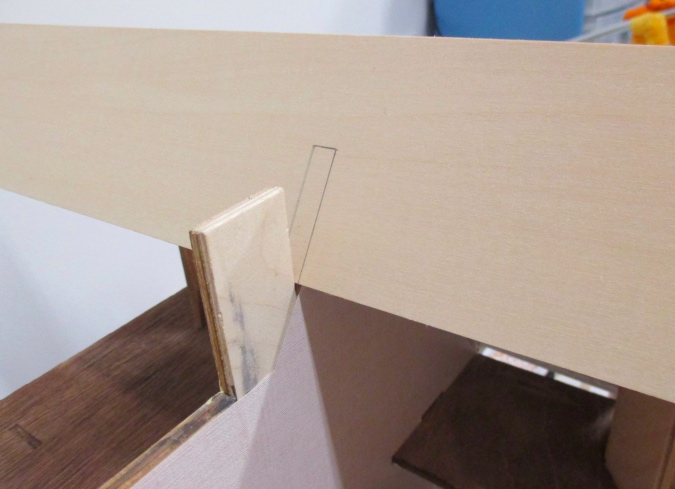
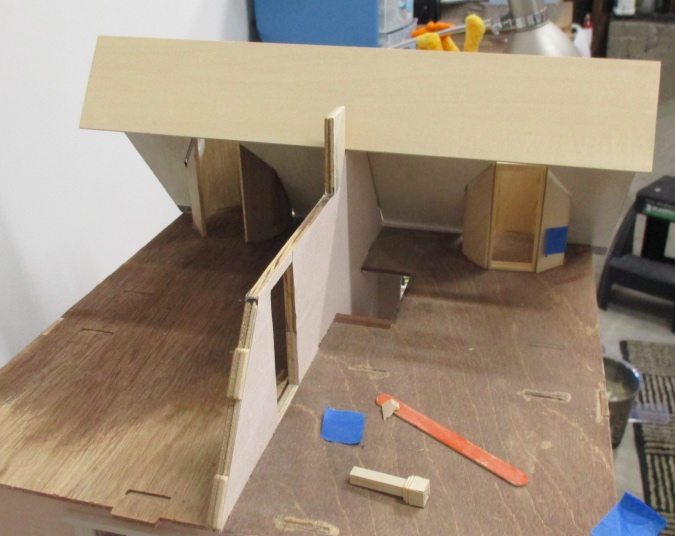
I haven’t made the flat part yet, but here’s an idea of the roofline.
The notch was easy to cut out with a utility knife.

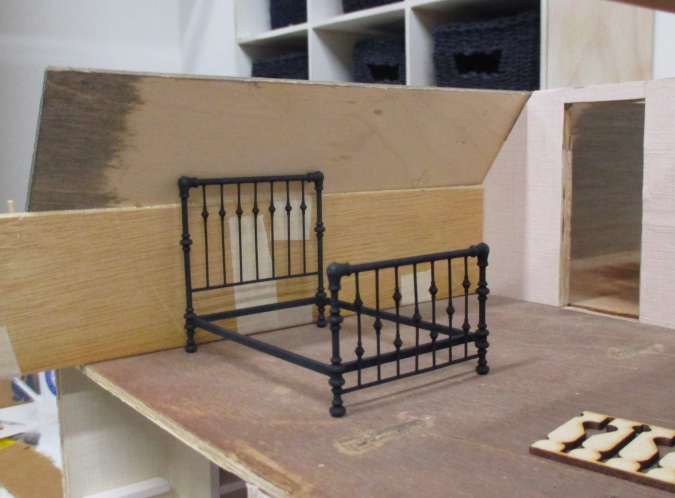
On this side I’ll add a wall so furniture can be placed here without a funny triangular gap behind it.
This is the “chimney front” out of one of the kits. It dips too deep into the room, so the bottom needs to be cut off.
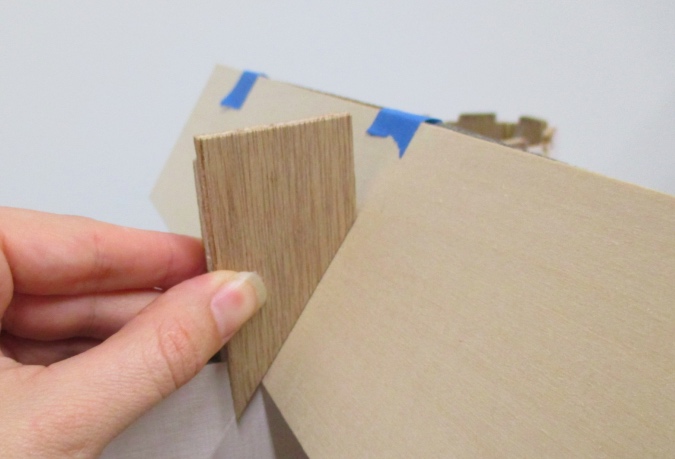
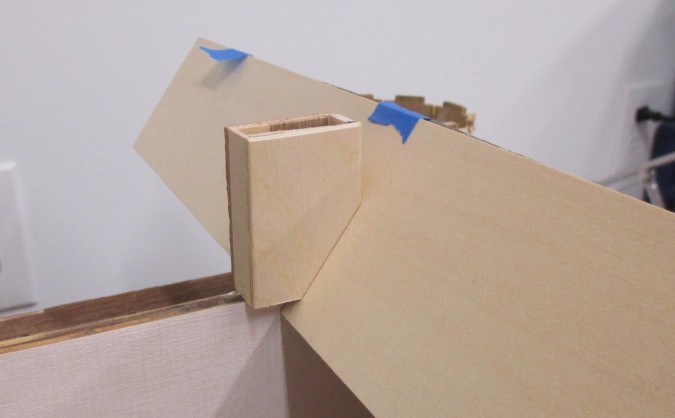
After cutting off the bottom of the chimney pieces from the two kits, I used 1:12 channel molding and a scrap of strip wood to create a little box that can slip over the chimney piece that’s sticking up. (The scrap is actually a spacer that came in a furniture kit. Never throw anything away!)
I’ll wait until later to glue the chimney piece on, there’s more to do with the roof first. Also, the bottom of the roof hangs down a little too far. I need to get Geoff’s help cutting off about 1/4″ with a power saw. The grain runs horizontally and I’m afraid if I do it with the utility knife I’ll end up with a wavy line.
To provide light and better be able to see the tower closet rooms and the areas next to them, I’ll add skylights to the sloped part of the roof. I stumbled across these 1:12 scale hinged windows on Miniatures.com. (They’re made by Houseworks, but were special for a previous year’s Creatin’ Contest building so I don’t know if they’re available anywhere else.) I’ll put the “good” side on the inside, so the windows are hinged at the top and swing out.
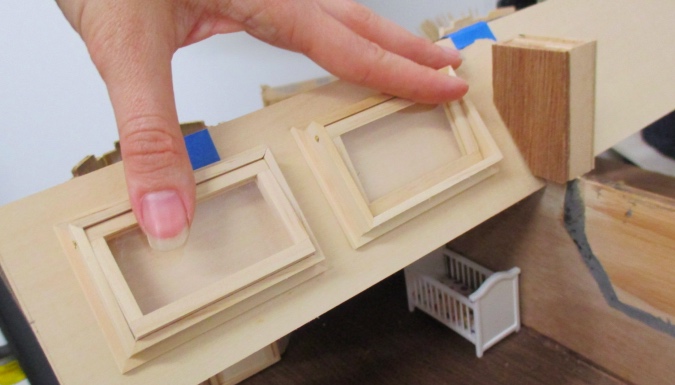
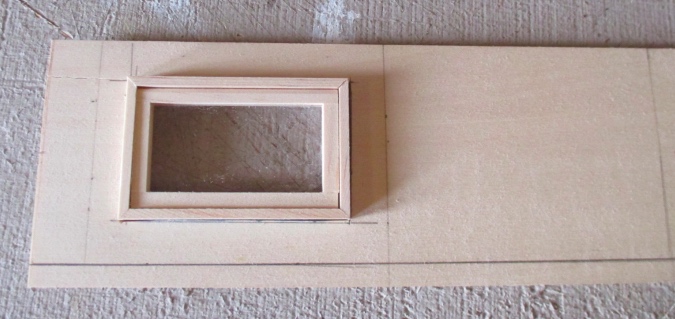
To figure out where to position these, I drew lines to show where the chimney will be and also where the edge of the house is (the roof overhangs the edge of the house by about 3/8″). I didn’t want a skylight sticking out beyond a wall of the house, even if that wall is invisible!
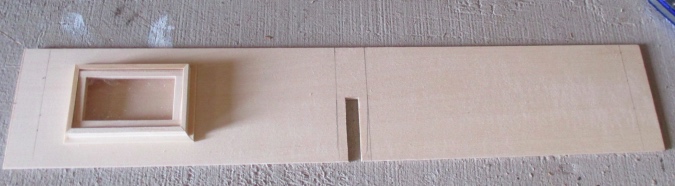
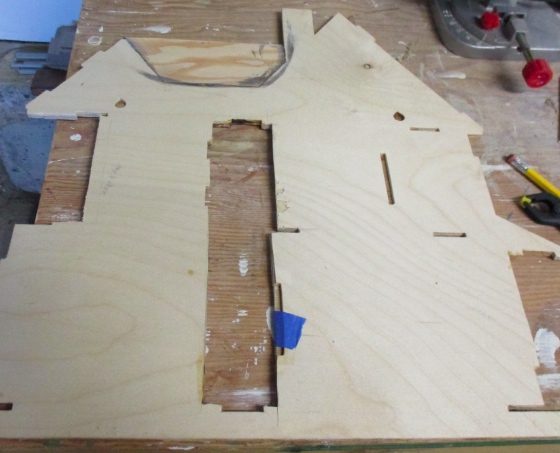
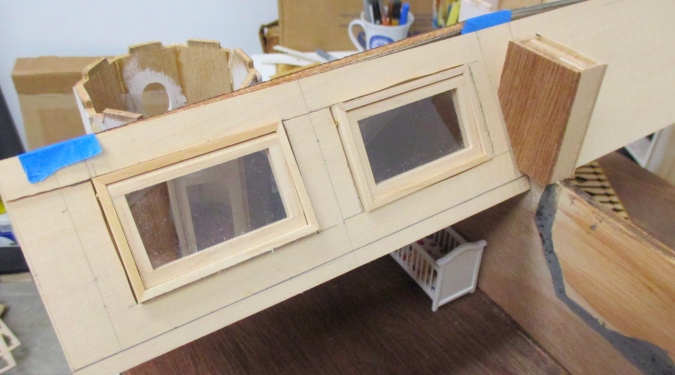
I found the center of the space to the left of the notch, and then centered a window between the eave line and the center line. (The line at the bottom is how much I think will need to be cut off.) I cut the hole with my utility knife. Unfortunately the wood split when I popped out the rectangle.
The same thing happened with the second window. I stopped at this point to glue the cracks before they get worse. I’ll cut the holes for the other two skylights tomorrow.
 Emily is a freelance writer, miniaturist, and adventure game enthusiast.


You might be able to prevent splits if you first drill a small hole at each corner of the area to be cut out.
I am loving the modifications, Emily! This is going to look fabulous! And that bed is awesome! Looking forward to seeing more.
Love to see that you are not afraid to change things to make the roof line and rooms under it much more practical and usable space. The addition of the ‘sky lights’ from re-purposed windows is a great idea and will certainly brighten up the spaces. Will watch to see what other great ideas you come up with as you work on this project…thanks so much for sharing. Cheers, Alayne