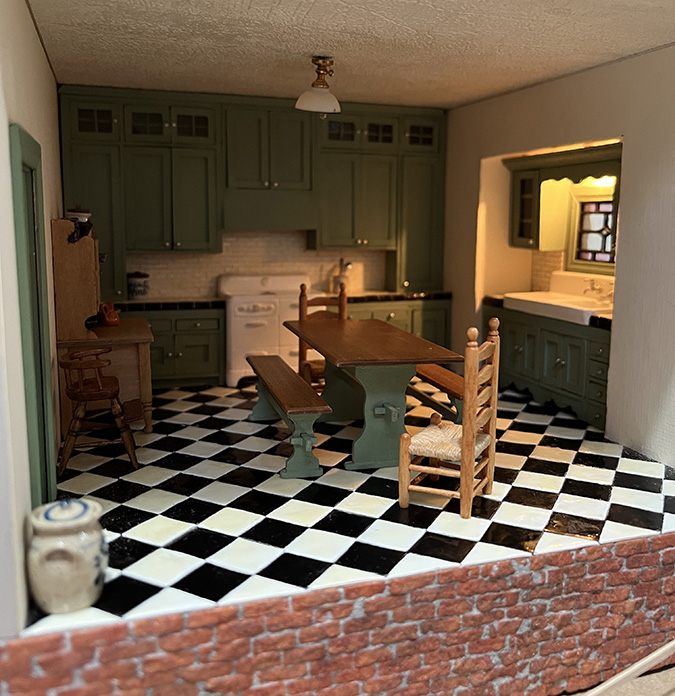
Back in August, I thought building a cabinet for the Mansard Victorian’s kitchen sink would be a quick diversion before I dove into finishing the nursery. Little did I know it would take me the rest of 2025 to finish. Daisy’s gift to me was spending three hours calm in her crate today while I (mostly) finished the project — it’s a Christmas miracle!
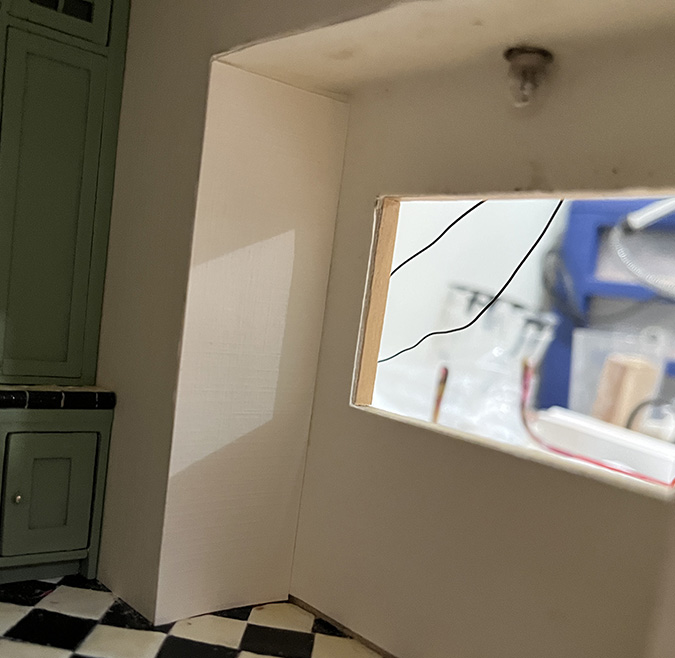
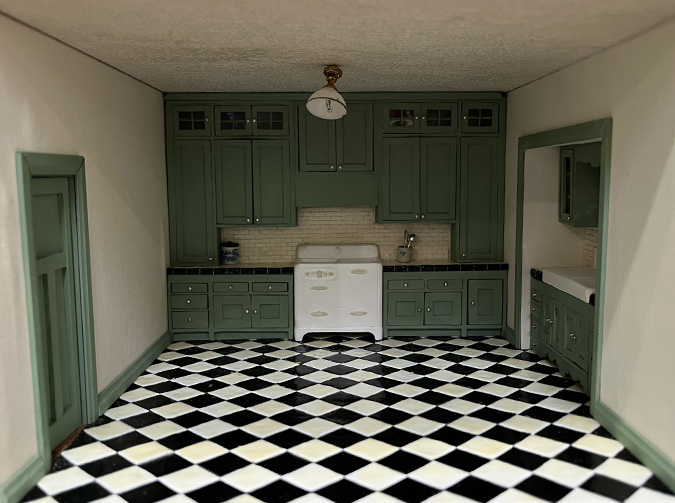
The first task on the to-do list was to hide the cracks of light showing above the upper cabinets.
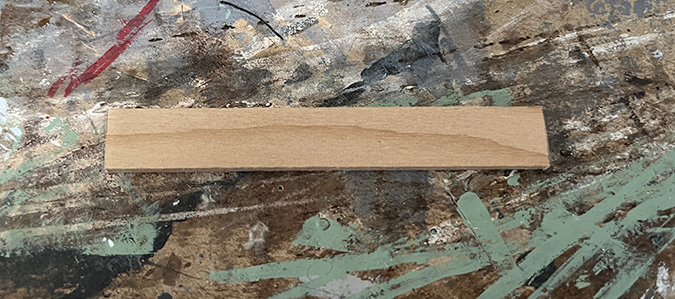
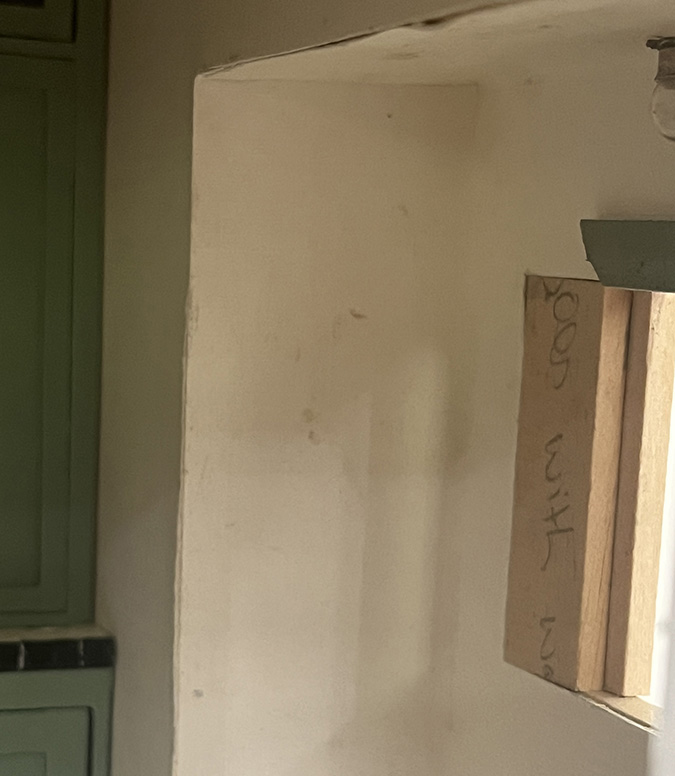
Since covering the top of the cabinet with crown molding hadn’t worked, I decided instead to build a fake ceiling in front of the cabinet. I found a piece of wood thick enough to cover the crack.
Like with the crown molding, you can see light over this. The opening isn’t square and because of how the bump-out is situated, I just couldn’t figure out why the wood wouldn’t fit flush with the ceiling.
But that’s okay, because now the crack will be hidden by the trim.
I covered the wood with a piece of the scrapbook paper I used on the walls, wrapping it around the end to make sure no bare wood would be visible.
The edge is a bit sloppy, but it’ll be covered up.
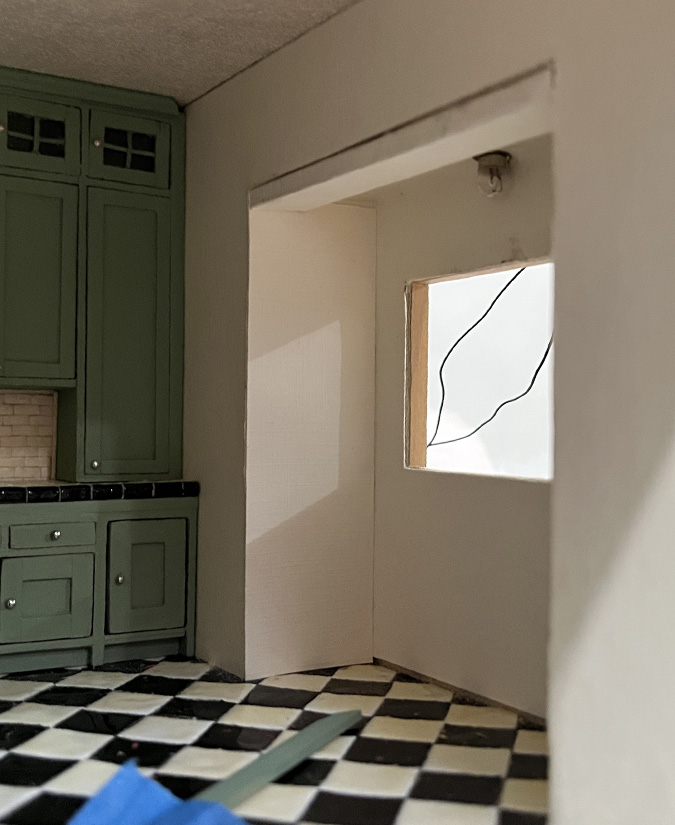
At this point I noticed the wall was looking pretty grimy. Sliding the cabinets in and out of the opening and using wax to hold in the uppers had taken a toll on the white paper.
Also, the paper doesn’t go all the way down to the floor. When I planned to use a standalone sink here, I’d expected to cover this with baseboard, but I didn’t think it would look good to put a baseboard in the tiny sliver of space in front of the cabinet.
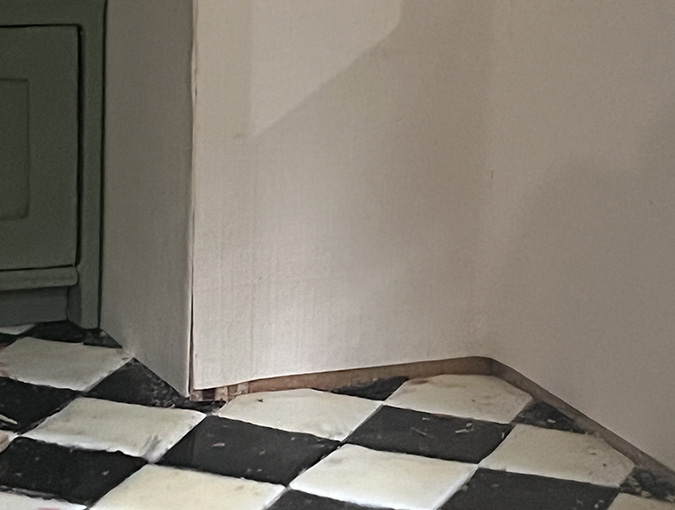
So I cut a new piece of paper to go on this wall, and glued it in.
Next I glued in the ceiling piece.
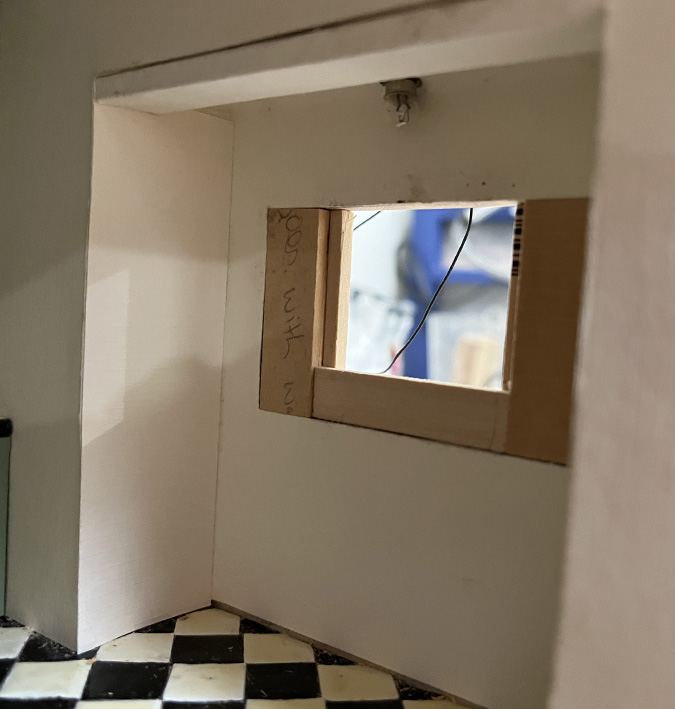
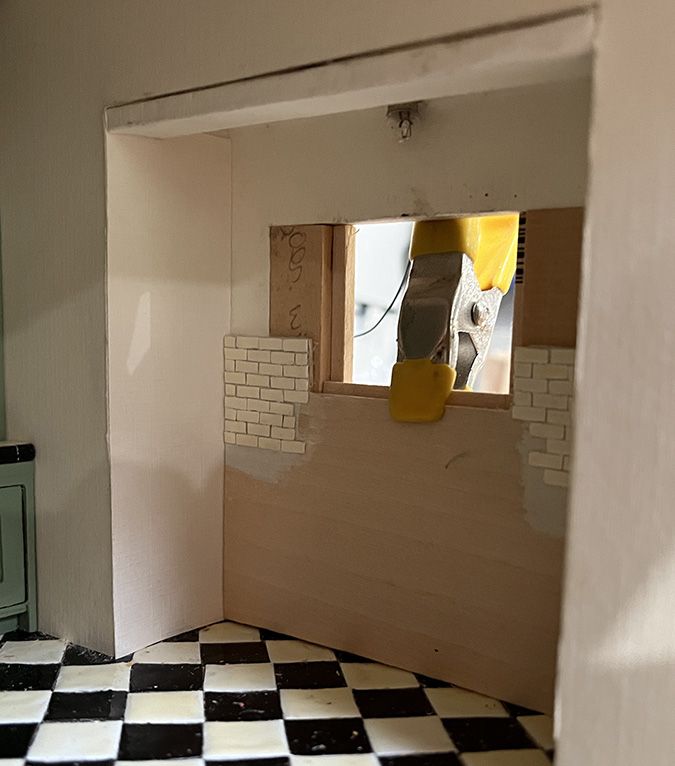
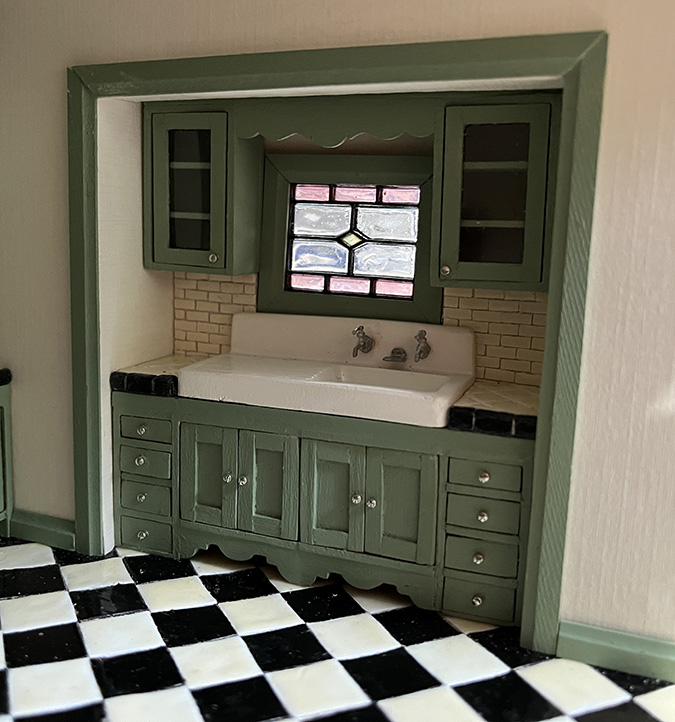
And then wood pieces I’d prepared to reduce the size of the window opening.
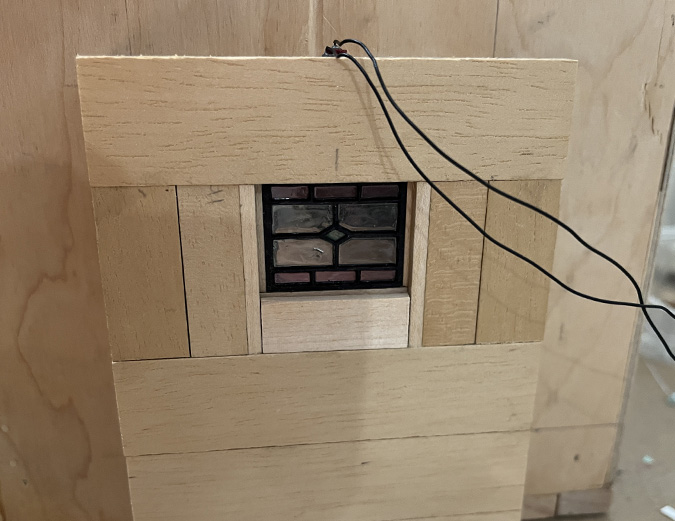
It looks like this on the outside. I’m planning to do egg carton bricks on the exterior, so this window will have bricks around it rather than casing. I’ll wait to glue in the window until I get to that point, since I’ll need to get in there with mortar and paint.
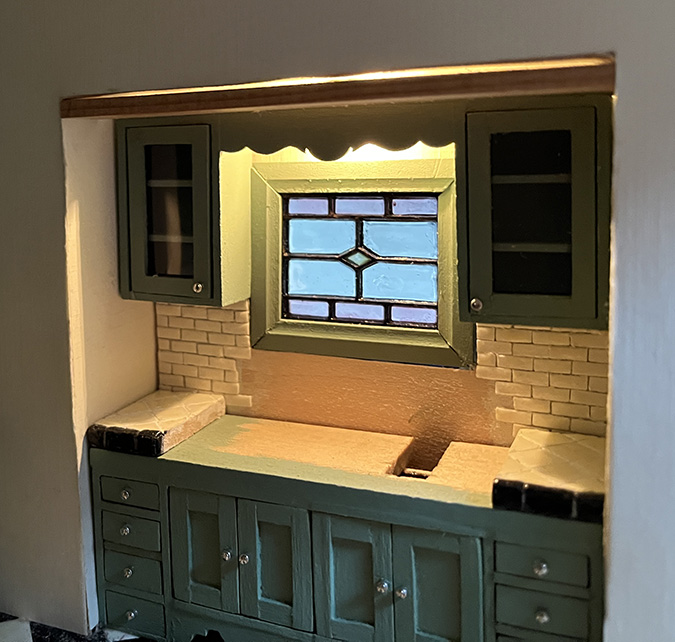
Next I glued in the backsplash piece.
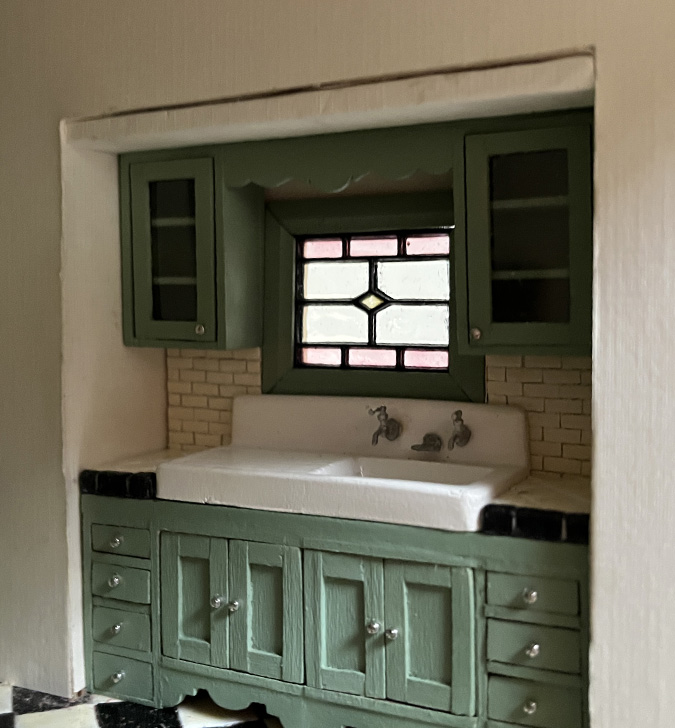
And then I added the trim around the opening. The upper cabinets and window are just sitting in place right now, so they’re a little crooked in these pictures.
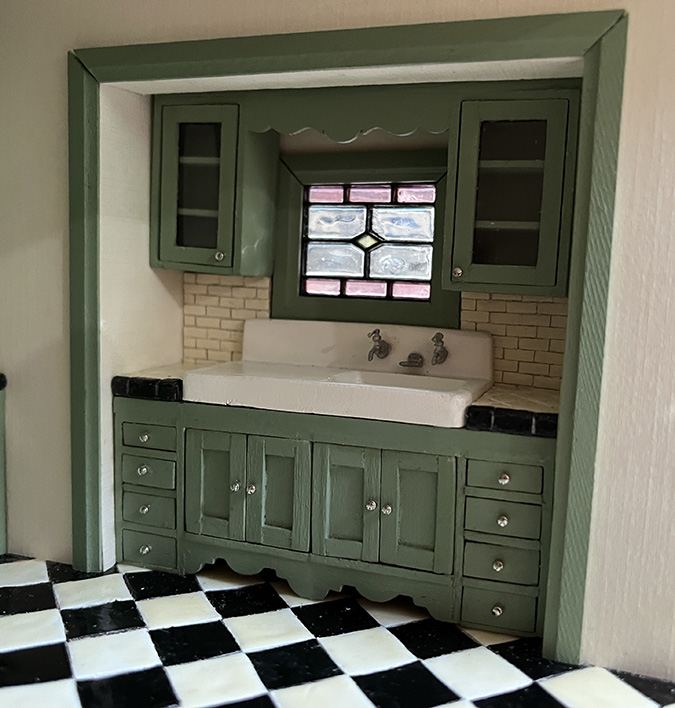
(To be honest, the cabinets are not square and will be a little crooked no matter what I do. I want to keep them removable and am trying to figure out where exactly to put the museum wax so they’ll “stick” to the wall in a way that looks okay.)
Next I filled the seams at the corners of the trim with watered down wood filler.
And then I painted them with a tiny chisel brush.
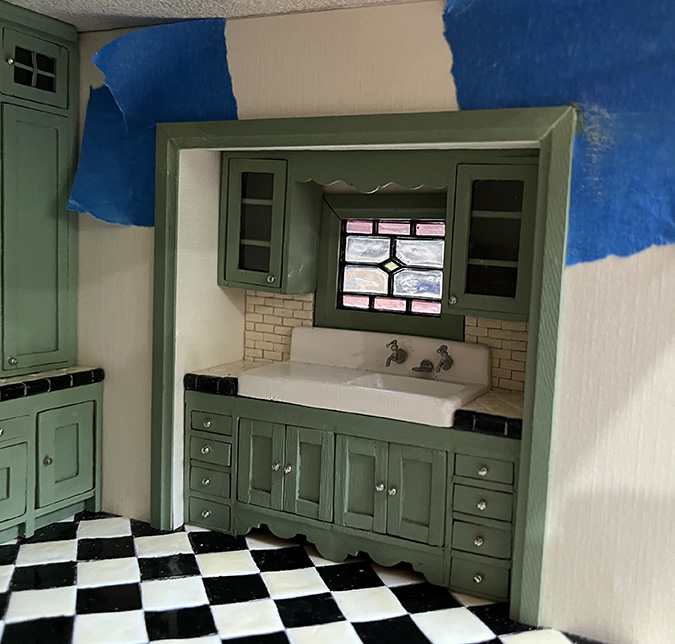
The corner on the right looks okay. The one on the left isn’t great. (It looked okay to me until I zoomed in on the photo!) I might do another round with the wood filler.
(Besides the fact that this area has taken months to finish, I’m also cranky because reaching into that space is so difficult, and then I can barely see what I’m doing. I have to keep reminding myself that the flaws I see up close aren’t as obvious when you look at the whole room.)
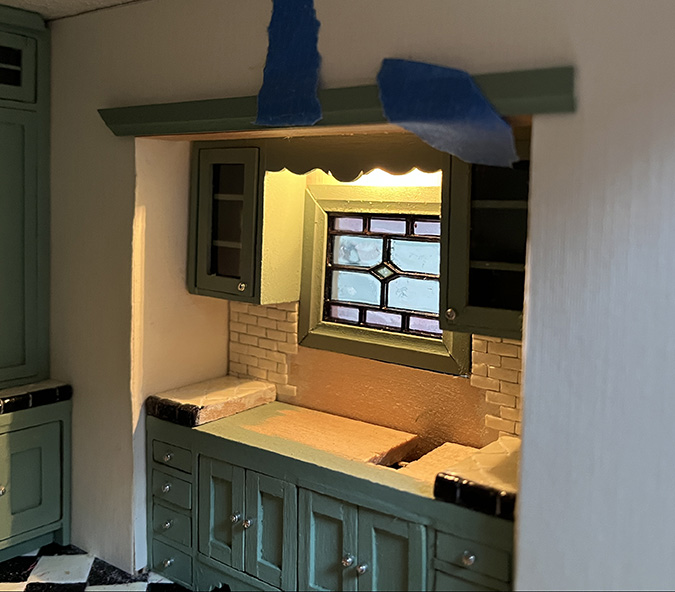
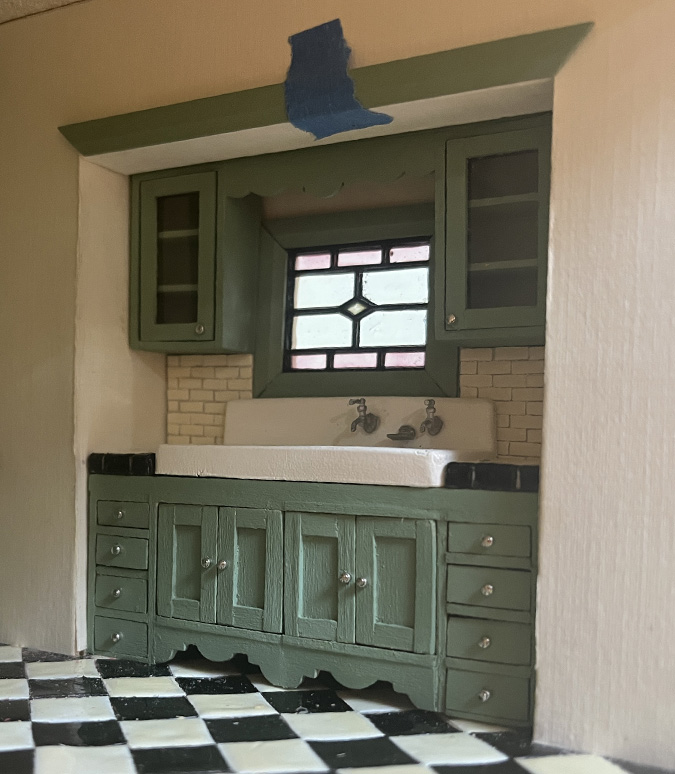
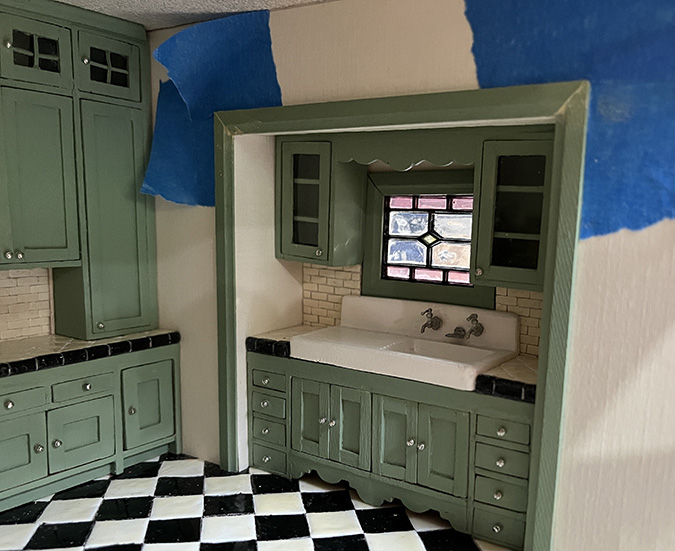
The last thing I did today was add the baseboards (not glued in yet). I still need to do the crown molding.
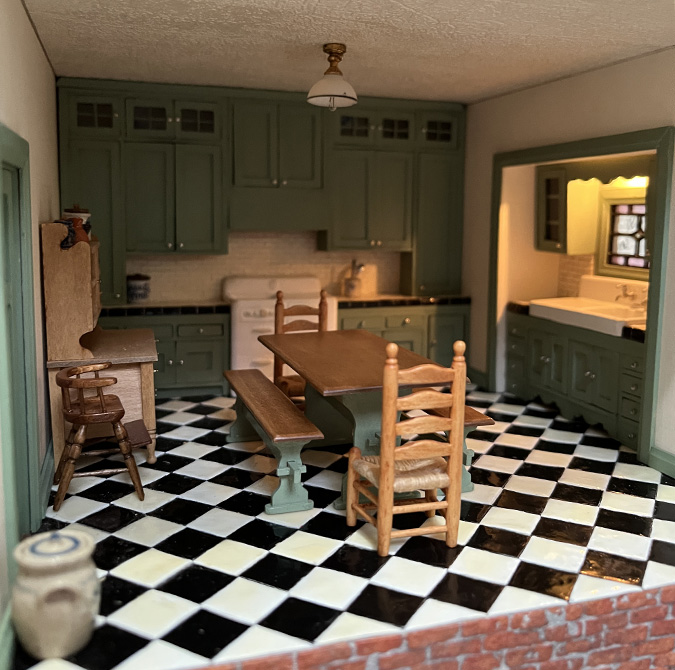
The fridge will go in the space next to the sink, but the resin one I had been using isn’t here right now because I sort of ruined it. Long story (which I may or may not tell at some point). I have a metal Cassidy Creations fridge kit waiting to be built when I work up the courage.
But not yet! Now I can finally get back to the nursery!
 Emily is a freelance writer, miniaturist, and adventure game enthusiast.


Merry Christmas! It looks beautiful. I love how it’s all coming together,
Thank you!
It’s looking great! Good work containing the light seepage! The smaller scales are so hard to make detailed… you are doing a wonderful job! Thanks for sharing your techniques and oopsies… we learn from you!
Happy Holidays!
Thanks Betsy!
I love how you did the kitchen. I love reading your how you do things to make make it all work. And especially how you tell how to fix all the problems we might face working on our own little kitchen. Please keep teaching us this way. Thank you Carolyn Sue
Thanks for reading, I’m glad you can learn from my mistakes. :)
So happy to get your update! You’re amazing, and the kitchen looks great!