So I have this problem. Whenever I see Cassidy Creations kits for a decent price, I buy them. Even if I already built that kit. Even if I already have extras of that kit.
Keeping them in boxes was becoming unwieldy, so I unpacked all of them into three drawers in this junky cabinet unit we pulled out of the kitchen before renovating. I also have a spreadsheet.
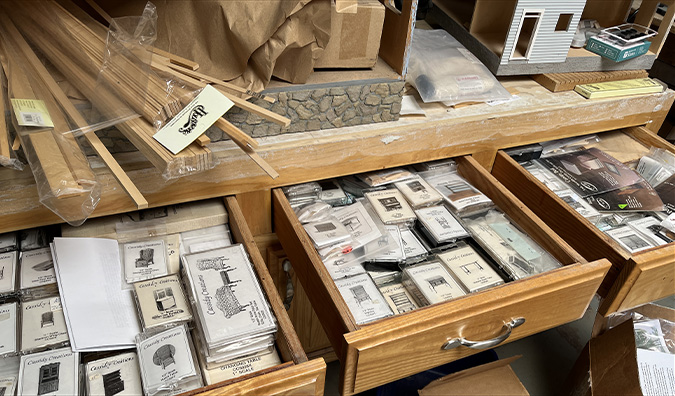
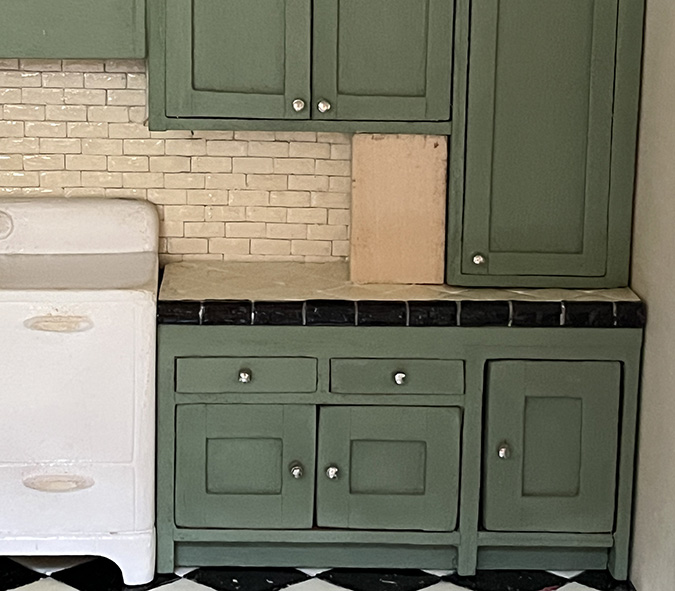
Back in 2023, when I started the Mansard Victorian’s kitchen cabinets, I used two kitchen cupboard kits that I had searched far and wide for. Since then I’ve accumulated two more. I plucked one out of the drawer to make cabinets to go over the sink.
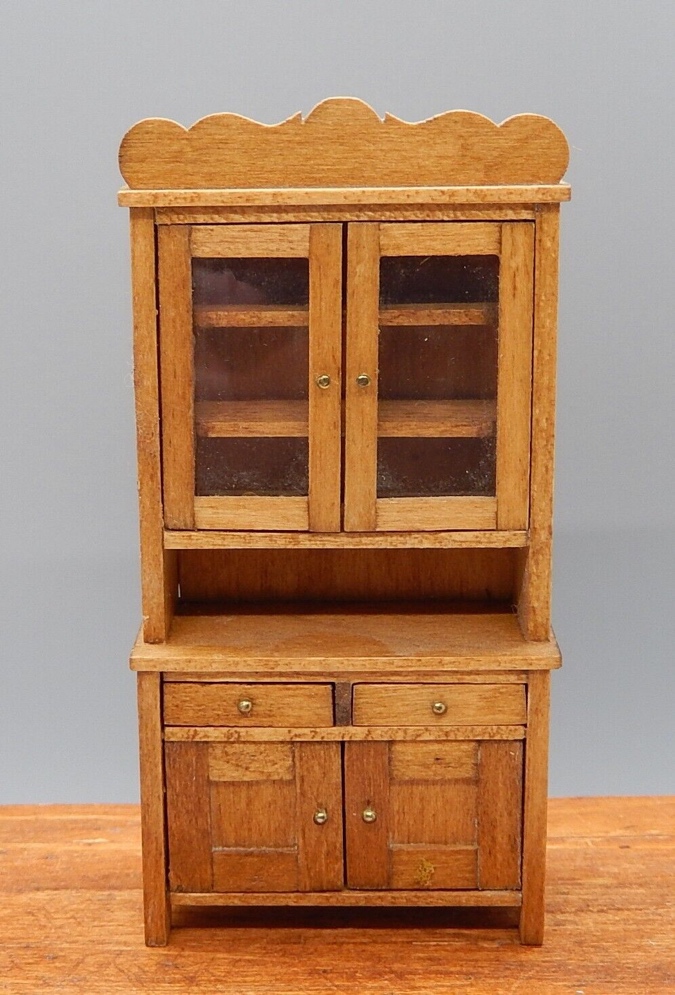
As a reminder, the cabinet is supposed to look like this. (Not my pic, I got it off an eBay auction.)
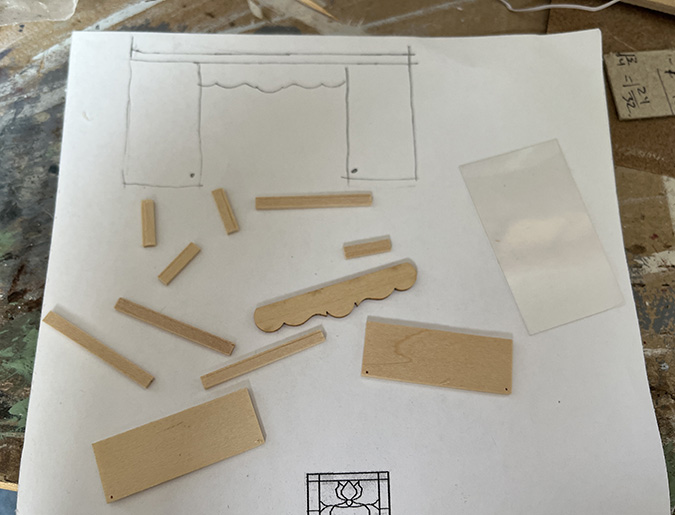
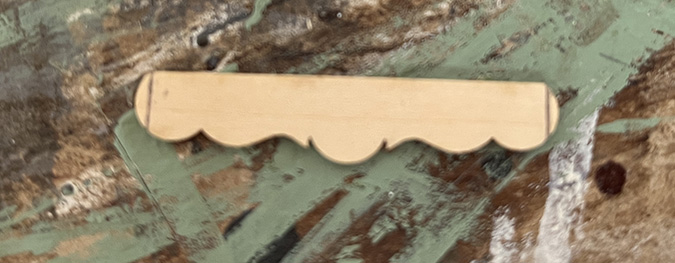
And here’s what I’m using from the kit — just the top and bottom pieces (with holes pre-drilled for pin-hinging), the “glass” cabinet door pieces, and the decorative trim, which will be flipped over to become a valance. Someday I can build the rest of the kit as a hutch without the doors.
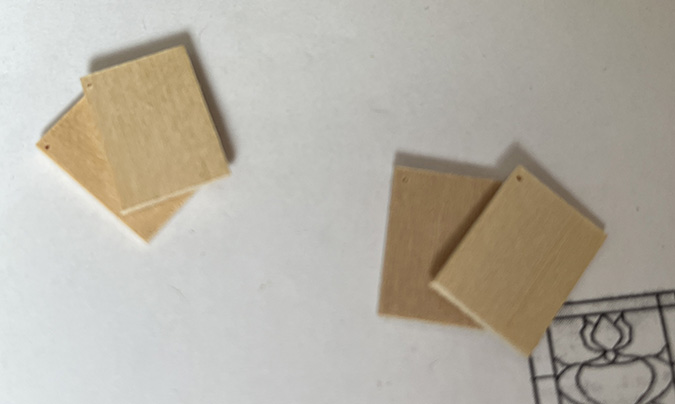
I started by painting the door pieces. These are routed on the inside to hold the plastic.
I glued them together with tacky glue and physically walked away to prevent myself from breaking them before they dried.
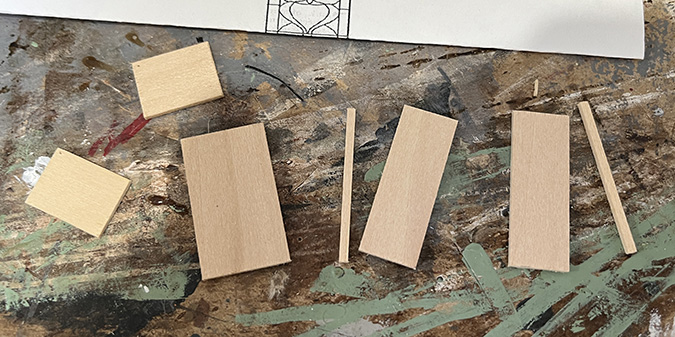
Next I cut the top and bottom pieces in half. These were 1.5″ originally, so each cabinet will be 3/4″ wide.
Then I cut the rest of the cabinet pieces. The back is a 3/4″ piece that’s the same height as the door. The sides are 1/2″ and slightly taller than the back and door, to accommodate the top and bottom of the cabinet. The original cabinet had slightly deeper sides, but I didn’t have any strip wood that size, so I also cut two skinny pieces to make up the difference.
I glued the top and bottom to the back, making sure to orient the holes for the pin hinges correctly.
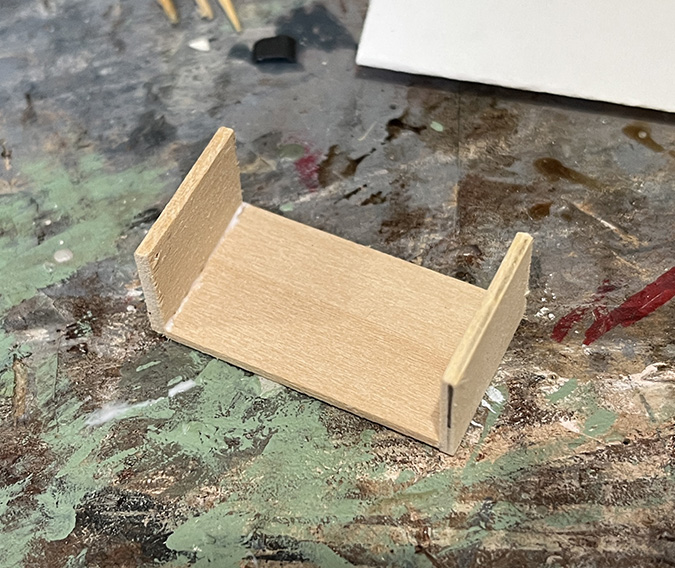
Next I glued on a skinny piece.
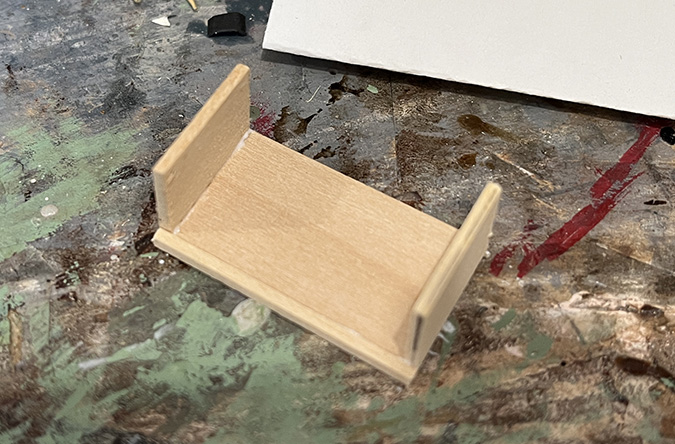
And then the side of the cabinet.
I repeated the process on the other side.
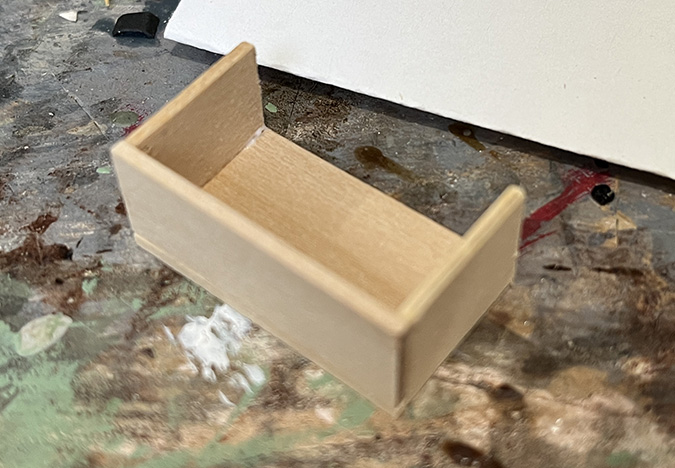
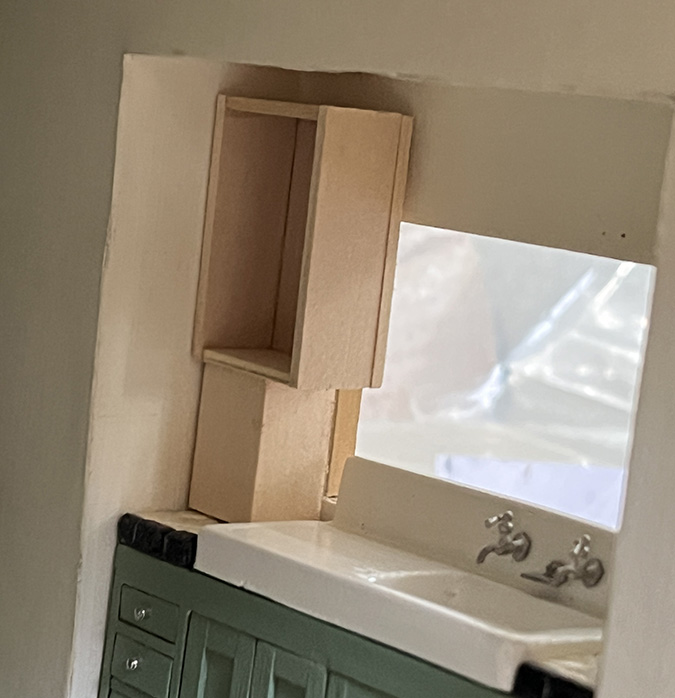
I wanted to see how this would look over the sink before making the next cabinet. I cut a spacer the size of the space between the counter and the upper cabinets on the back wall.
Here’s how it’ll look. I’ll fill the gap at the top with trim.
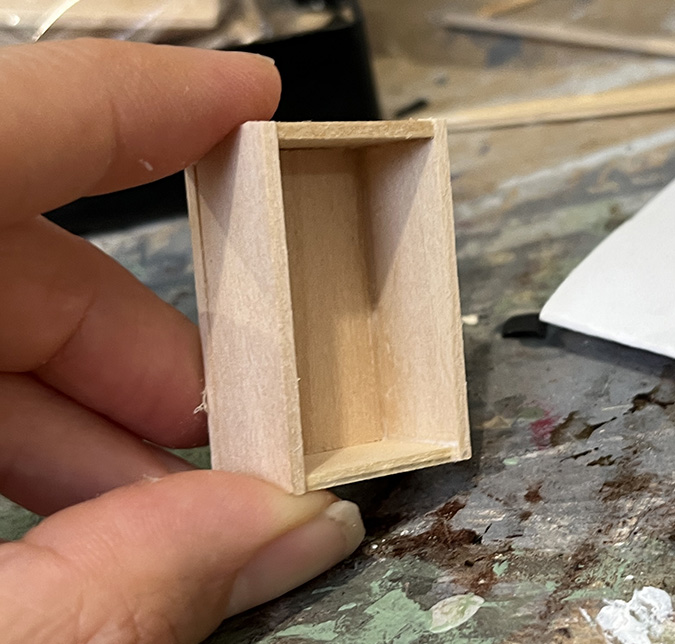
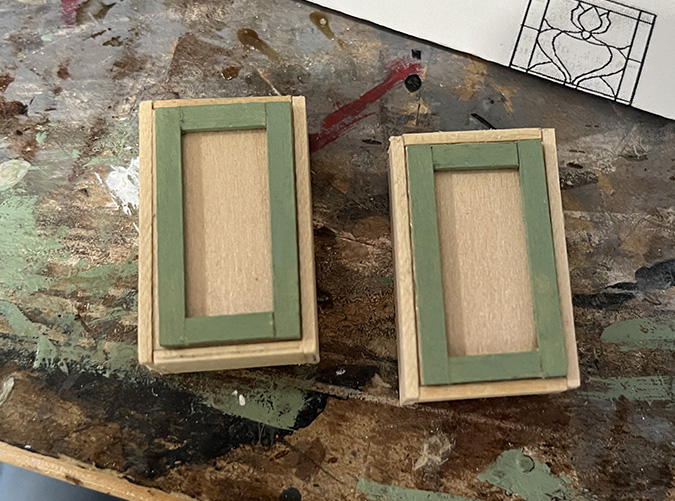
I made the second cabinet, and then got my nicely glued-together doors to see how they looked. And… they’re too wide.
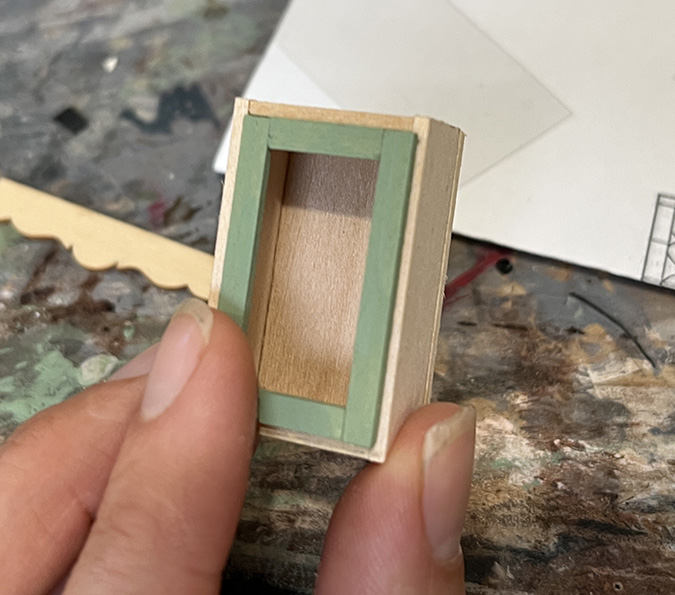
The doors also have pre-drilled holes. I didn’t want to sand that side because it would mess up the hinging, but I also didn’t want to sand a lot off the other side and make them uneven. It would be easier and neater to shorten the horizontal slats. So much for my nicely glued-together doors!
I wiggled off one side, set the door inside the cabinet with the loose piece on top, and drew a pencil line to show how much needed to be removed.
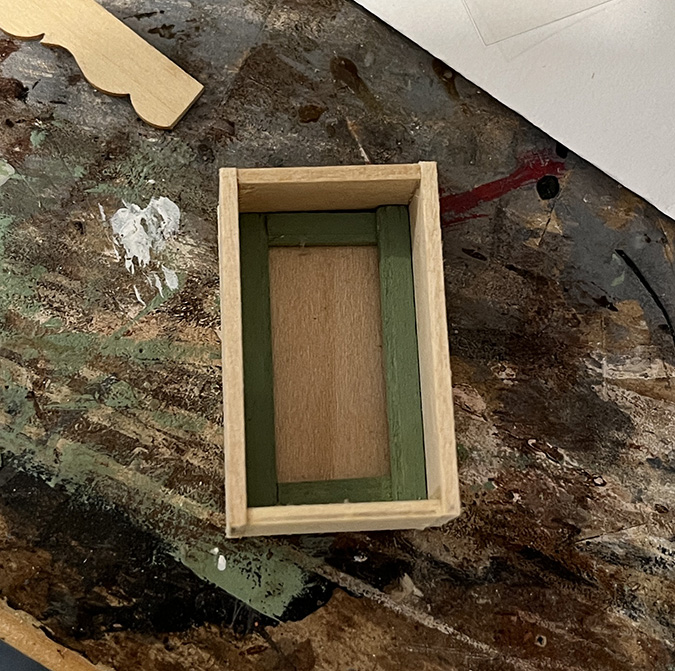
Yikes, that’s a lot! I’m glad I didn’t try to sand off that much wood.
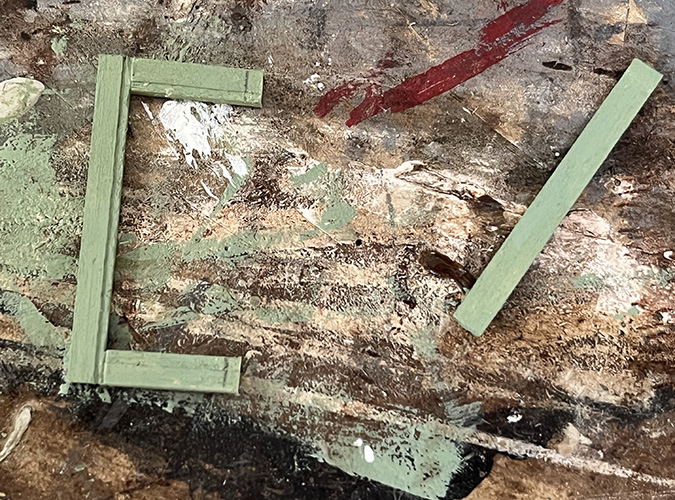
Rather than sanding, I used a utility knife to cut off the excess. Then I glued the doors back together.
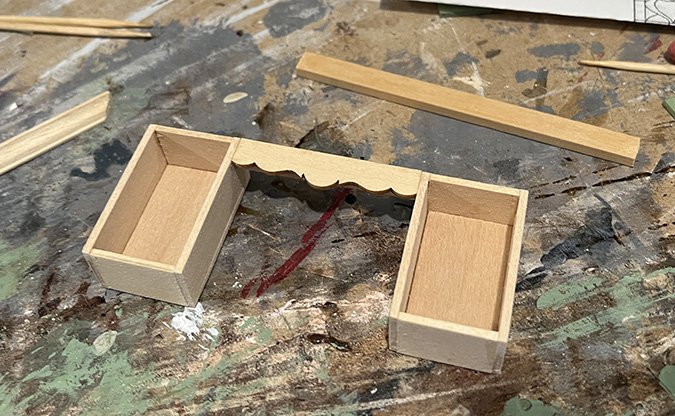
On to the valance. I started by sanding off the rounded sides, using the disc sander.
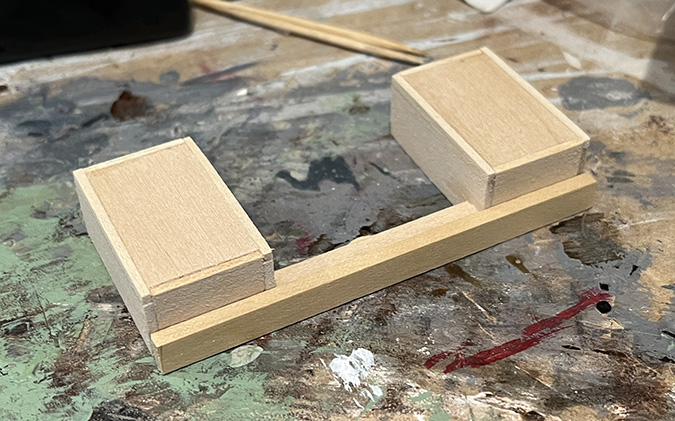
Next I cut a piece of strip wood the same width as the valance.

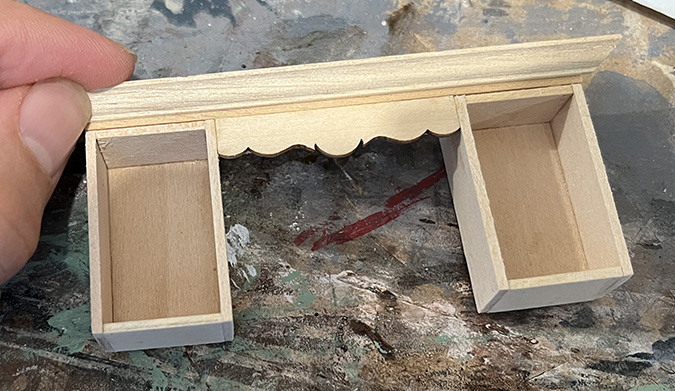
I glued this to the back to give the sides of the valance more surface area, and then I glued it in between the cabinets. (Not shown: I sanded the cabinets before doing this.)

Even with the support behind the valance, the assembly was twisty and the cabinets didn’t want to stay put. I added another strip of wood across the top.
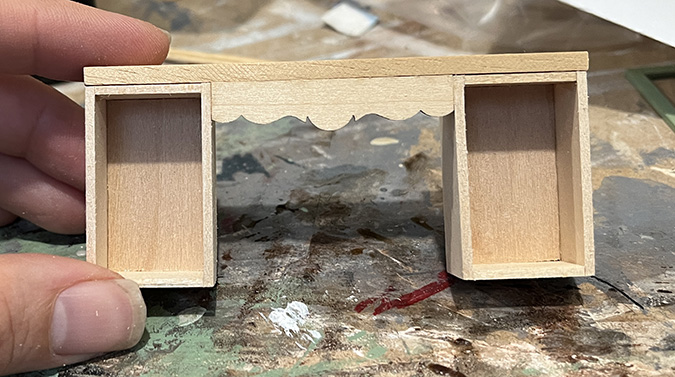
Here’s how that looks.
The bump-out isn’t square, so I purposefully used a piece shorter than the gap that needs to be filled up.

I’ll use a piece of crown molding to cover the rest of the gap.
At this point I realized I’d accidentally covered up my pin-hinging holes with that strip of wood. Oops. I pulled it off for now. While it was on there, the glue holding the valance to the cabinets had some time to dry, so it’s more stable now.
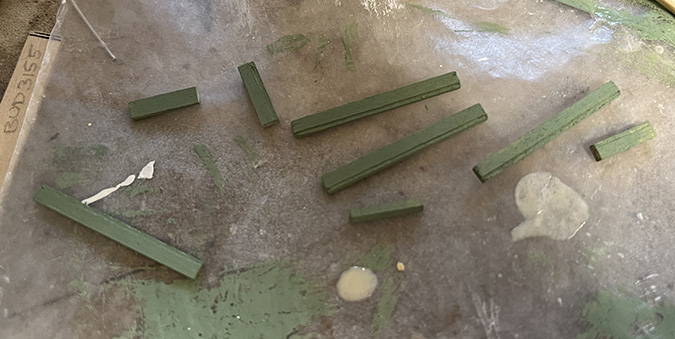
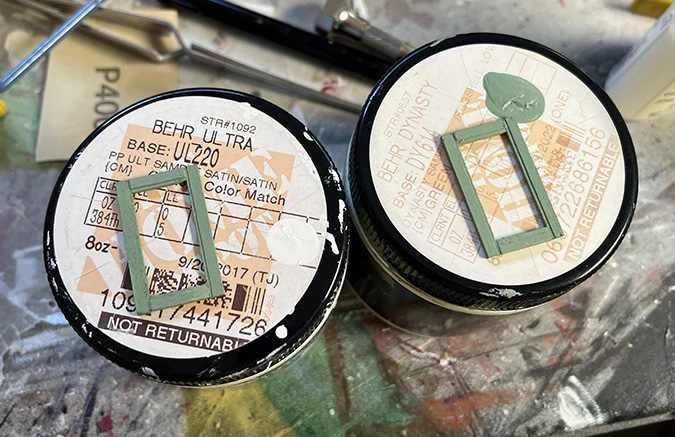
I painted the unit green, and will pick up here next time.

 Emily is a freelance writer, miniaturist, and adventure game enthusiast.


Nice work! I love how this is coming along. With all those kits, I think you’re going to have to get another house… or two! lol
Love to watch the kitchen build as it progresses…all the time and effort you are putting in will be well worth it for a detailed finished result.
I always think of you when I see Cassidy Creations kits on eBay. I love your back stock!
The kitchen is coming along nicely. The color reminds me of the Tootsie Toy green.
love how all this is coming together!