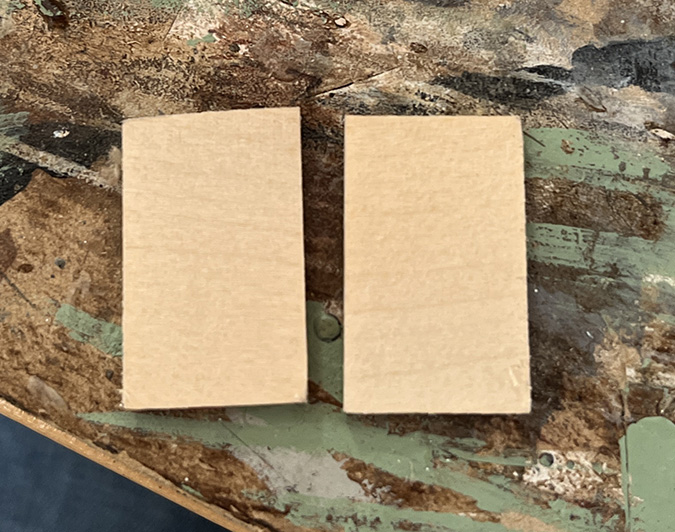
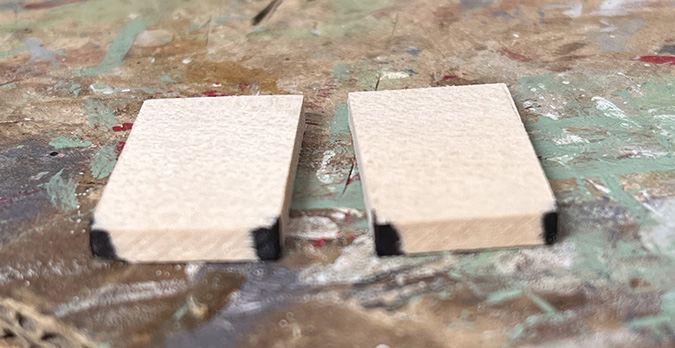
The last step for the kitbashed sink cabinet is to add the countertop. I started by cutting 3/16″ x 1″ strip wood to fit on the left and right of the sink.
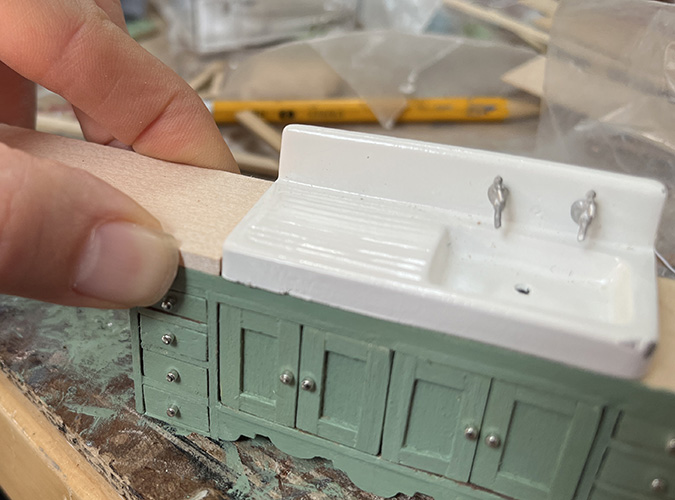
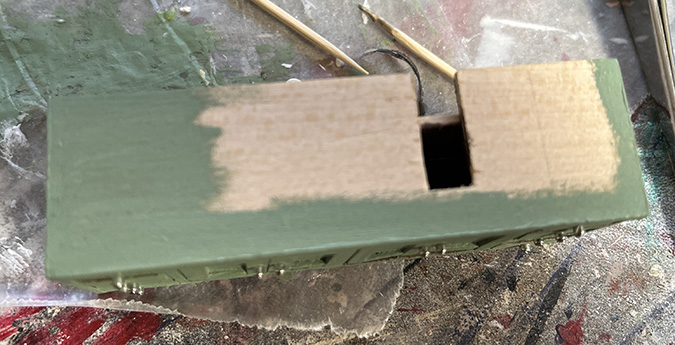
When I put these in the nook to see how they fit, the piece on the left skewed so the right corner is sticking out. The back left corner must not be square.
I used the disc sander to sand the back edge at an angle.
That works. It’s not quite flush with the wall at the back, but I’ll hide that when I add the backsplash (if it’s even noticeable).
I colored the corners with a black Sharpie in case they’re visible.
Then I started adding scrapbook paper tiles, the same way I did for the other countertops. These are 1/4″ squares cut with a punch. The black ones on the front are folded over the edge.
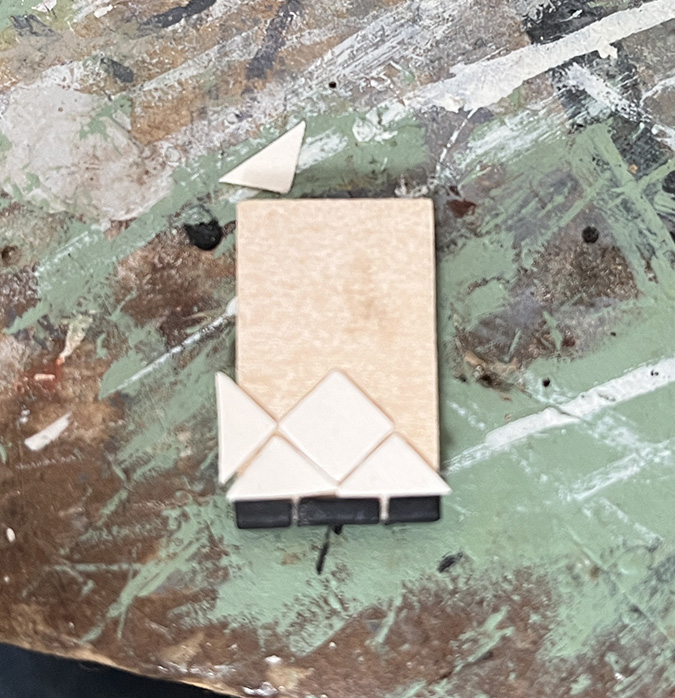
I thought it would look good to center the white tiles (as shown above), but this would have required cutting almost every tile to fit. Too fiddly.
Instead I laid them out so there are half and full tiles at the edge that meets up with the sink. No picture of this because it came out fuzzy, but I made the little triangles by gluing the tiles on whole, and then trimming the edges with nail scissors.
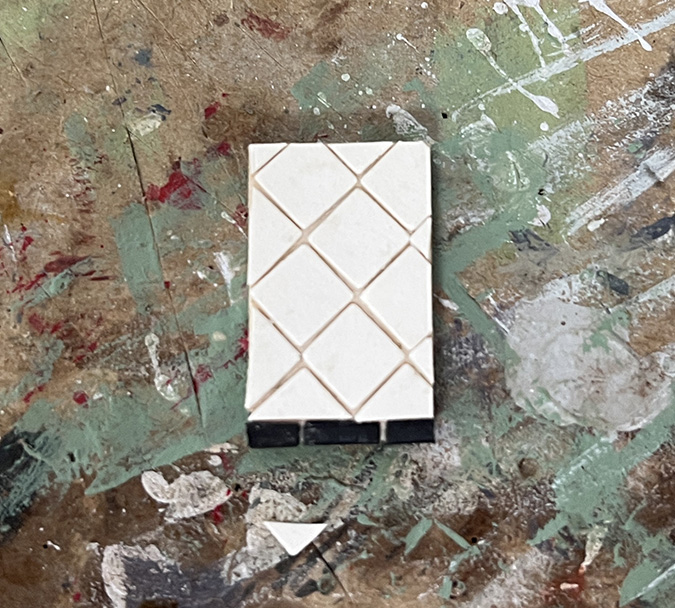
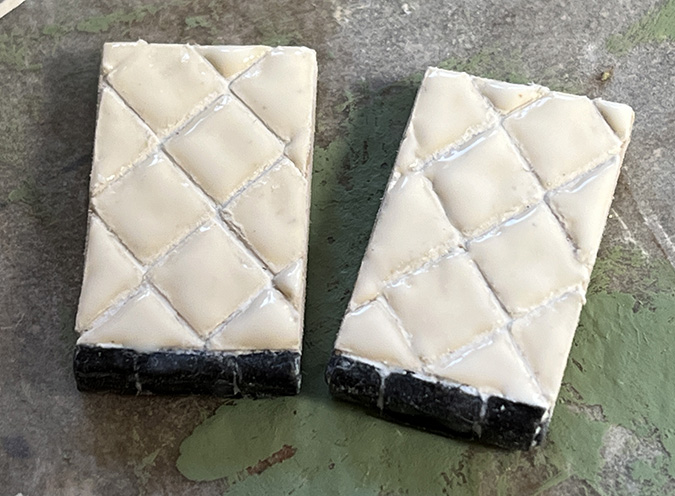
Here’s how they look on both sides. If I had used slightly taller basswood for the countertop, it would have lined up with the edge of the sink, but I wanted the counter height to match the other cabinets.
(Alternatively I could have used a thinner piece under the sink, so the sink would be sit little lower and would have looked more like an apron sink, but that didn’t occur to me until just now. D’oh.)
Next I painted the tiles with Crystal Clear Gallery Glass, let them dry, and then added while grout. Again the pics came out blurry, so I’ll spare you, but you can see that process in the previous countertop post.
After grouting, the edges of the black tiles peeled up, so I glued those down again.
Then I added Cameo Ivory Gallery Glass to the white tiles and Charcoal Black to the black tiles.
I’d noticed that a tiny bit of the wood was visible under the corners of the countertop, due to the sink’s curved corners, so I painted over it for good measure. Had too much paint on the brush so I painted more than I needed to.
And I fixed the chipped sink. A few people had suggested leaving the chip for a “lived-in look.” I don’t disagree that a dollhouse should look lived-in, but this particular chip was too big and out of scale.
I found a white paint on my shelf that was very close and dabbed it over the chipped area with a toothpick and a chisel brush. It’s not completely hidden but I’m satisfied.
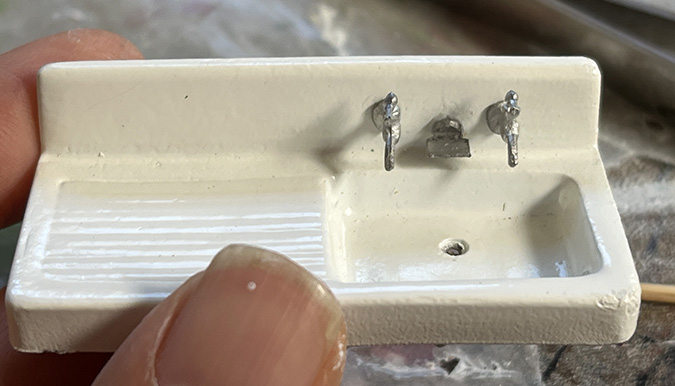
When I assembled this sink I thought it didn’t have the soap holder, but later I found it in the box and have been holding on to it all this time. (It’s amazing it didn’t get lost!) I attached it with Super Glue and tweezers. I still need to add a bar of soap.
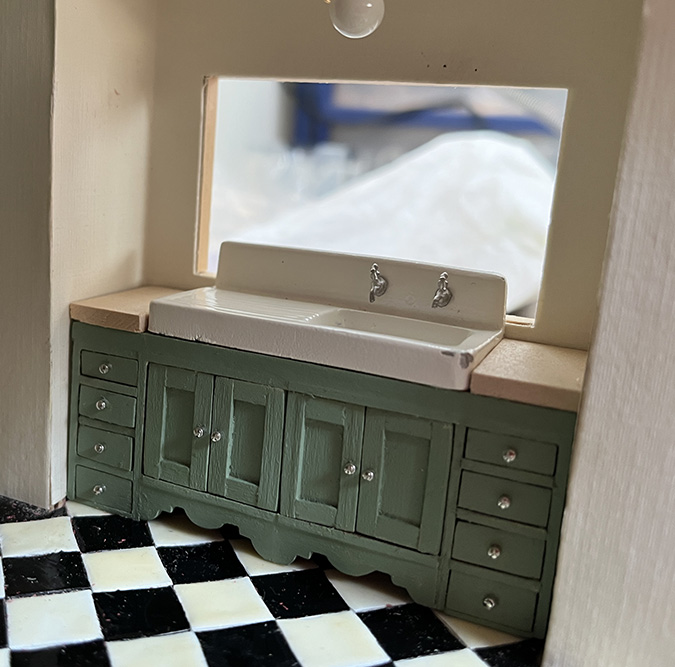
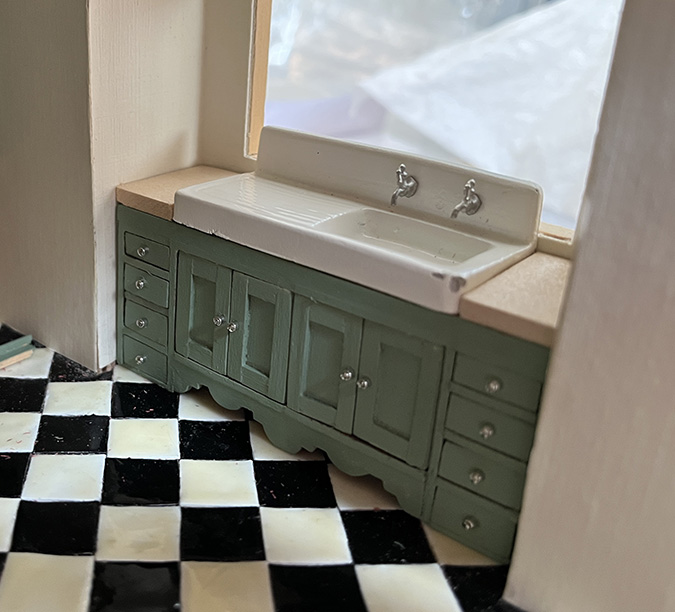
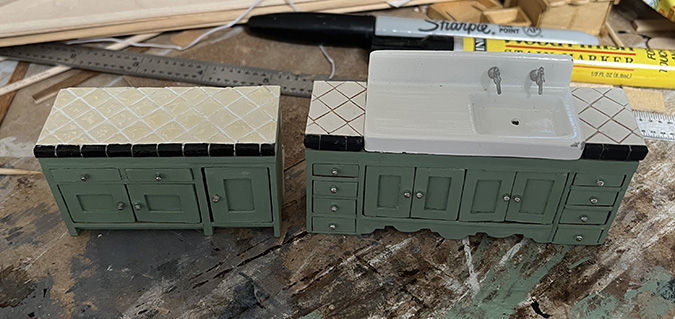
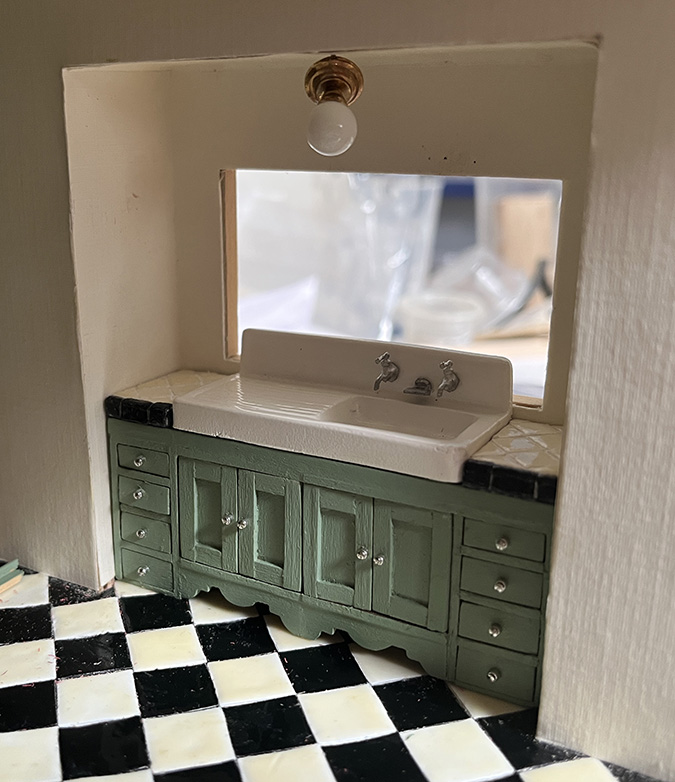
So that’s a wrap on the kitbashed sink cabinet. Here’s how it looks in place.
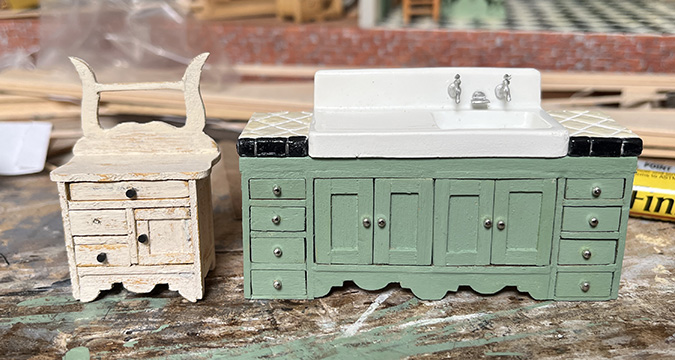
For reference, here it is next to one of the washstands kits built the right way (but missing a knob). I’m planning to use the leftover pieces of the kits I bashed to make a pair of nightstands, so stay tuned for that, one of these days.
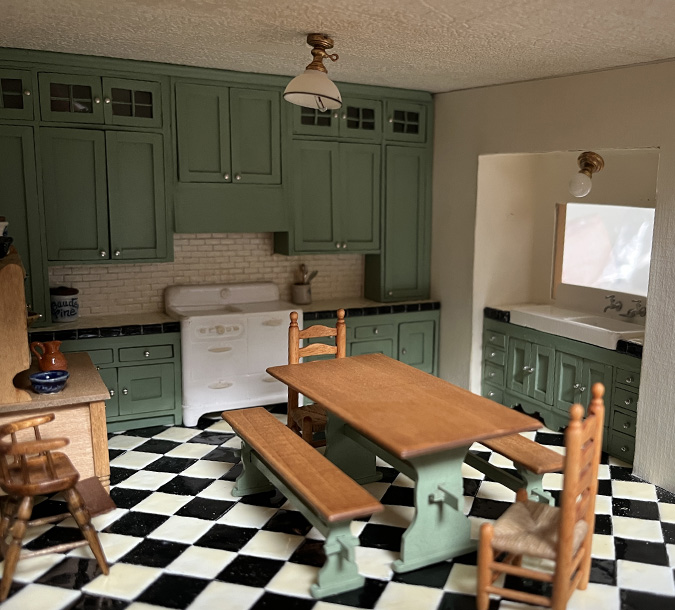
And here’s the wide shot. Next up will be building upper cabinets, making the backsplash, and reducing the size of the window.
 Emily is a freelance writer, miniaturist, and adventure game enthusiast.


While I was in the “keep the chip” camp…I do agree: the repair is quite satisfying. Nice work!
I love how the tiles came out – so realistic! Beautiful kitchen!
I do like how you repaired the sink with some touch up paint so it still has that slight not quite perfect look. I really enjoy watching & reading about your progress!