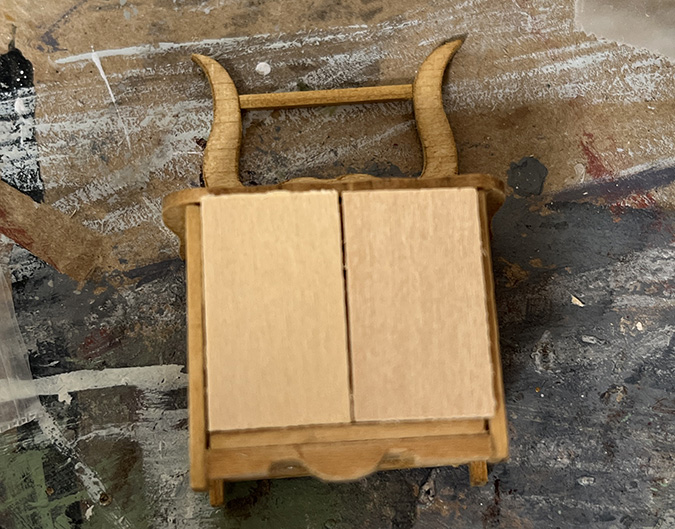
Back in 2023, I bashed several Cassidy Creations kits into kitchen cabinets for the Mansard Victorian. The lowers and uppers are made from two kitchen cupboard kits, a changing table, and a wardrobe, with a sea captain’s chest for the hood.

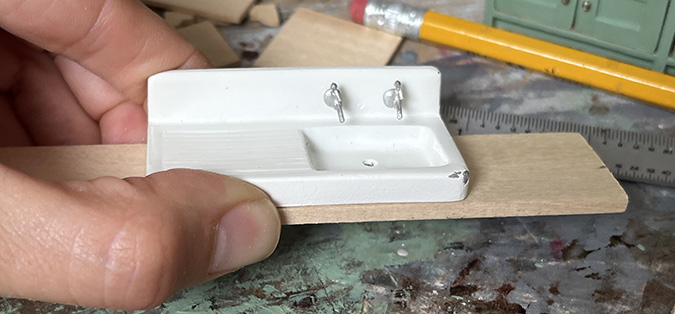
I have a Cassidy Creations sink in the bump-out.
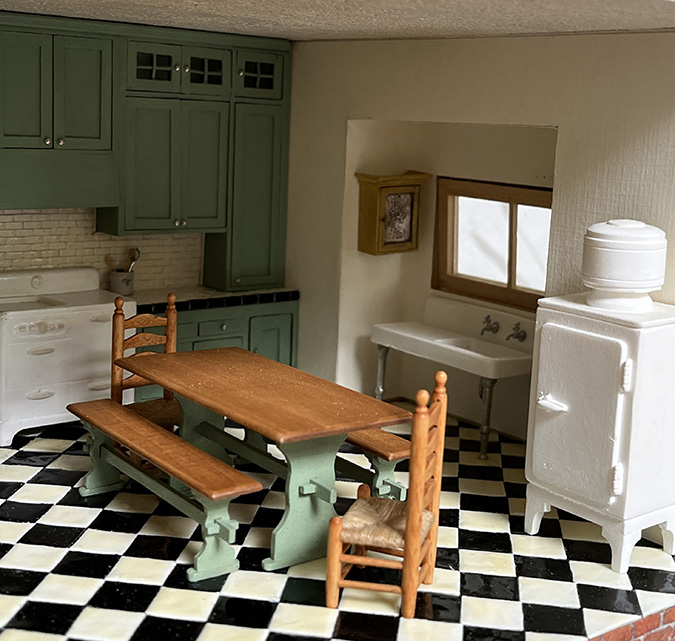
I’m getting ready to hook up electrical in the nursery upstairs, which means I need to install the lights down here — one in the center of the kitchen ceiling, and one in the bump-out. As I was getting ready to do that, I started staring at that window, which I made by pulling the trim off a Palladian window and turning it sideways.
Now that the room is all put together, that window looks too big. I have some ideas for replacing it with a smaller one, and it will be best to do that before the light is installed.
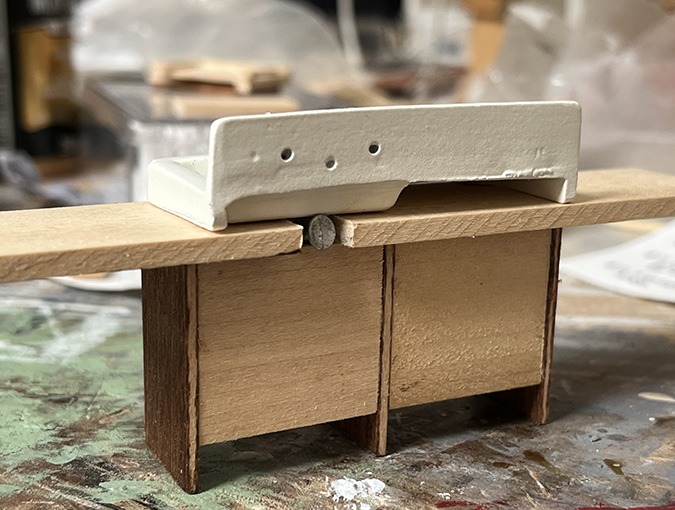
In addition, one of the sink legs had never glued in well and was wobbly. The metal sink leans against the wall, and over time the wobbly leg became more and more off-kilter under its weight. The legs had also dug into the floor tiles they were sitting on (which is made from scrapbook paper coated with Gallery Glass paint) and damaged them.
I was able to replace the damaged tiles, but I didn’t want to have it happen again, and I still couldn’t get that wobbly leg firmly glued on anyway. I decided to ditch the legs and build a cabinet for the sink.
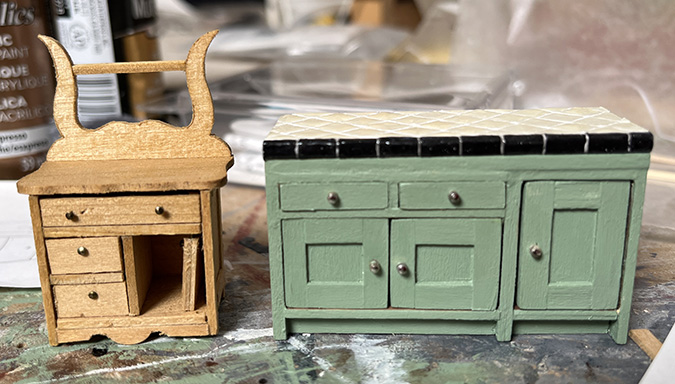
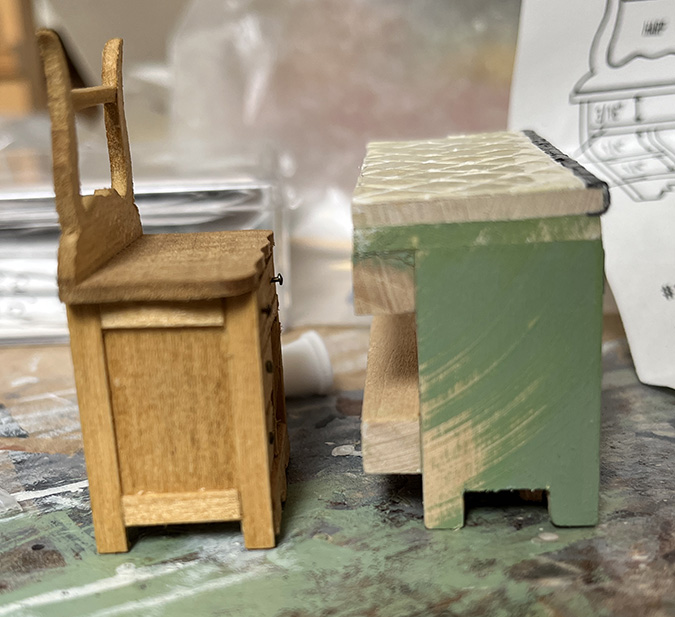
I looked through my Cassidy Creations stash for ideas. This is a Golden Oak Washstand that I got already assembled (with mangled bottom trim).
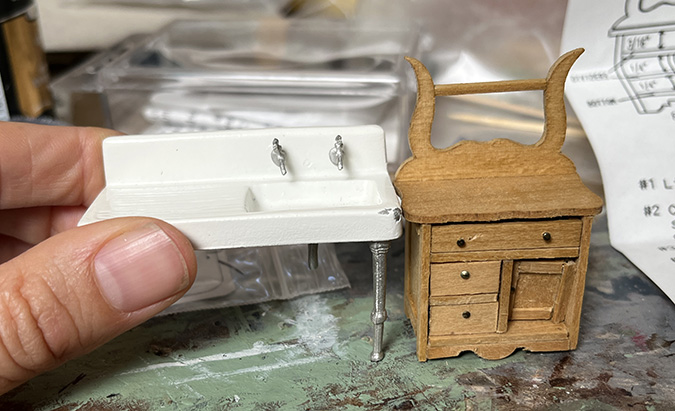
I have another one of these in the Puzzle House (with intact bottom trim).
The sink is 2 1/4″ wide and the washstand is 1 3/16″, so two washstands will fit perfectly. The washstand is taller than the sink, but that won’t matter with the sink legs removed.
(While I was messing with this, I dropped the sink and the paint on the corner chipped, so that’s going to need a touch-up. Bah.)
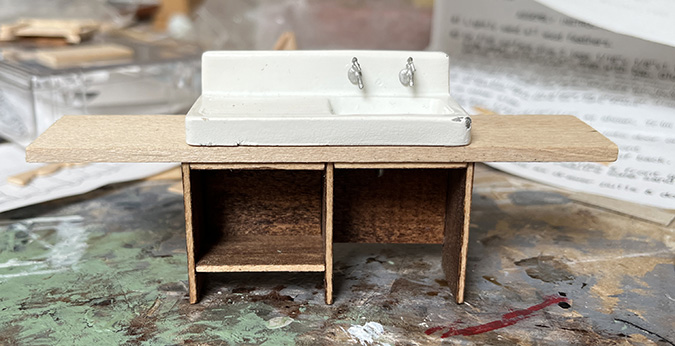
Here’s how the washstand looks compared to the lower kitchen cabinets.
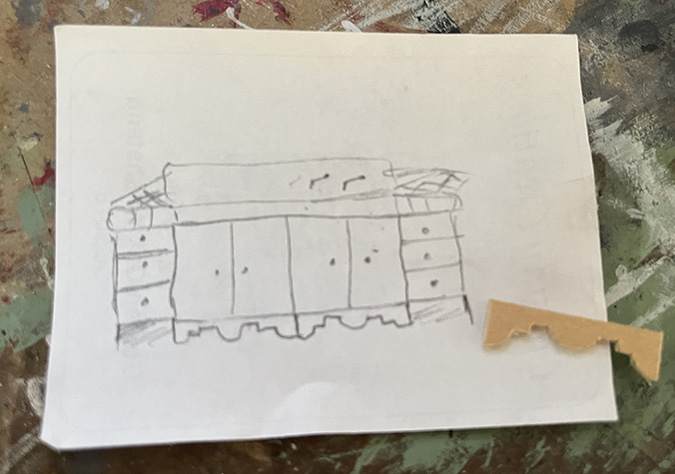
My plan is to use two washstands side by side, each with two tall doors instead of the drawers and smaller door. I’ll then build skinny side units for the drawers. I’ll use the decorative bottom trim underneath the sink cabinets.
I had one washstand kit already and found a second one on eBay (shown on the left below). I noticed before buying it that it had the older Cassidy Creations font, but didn’t notice that the photos are different. Importantly, the older one has different trim at the bottom.
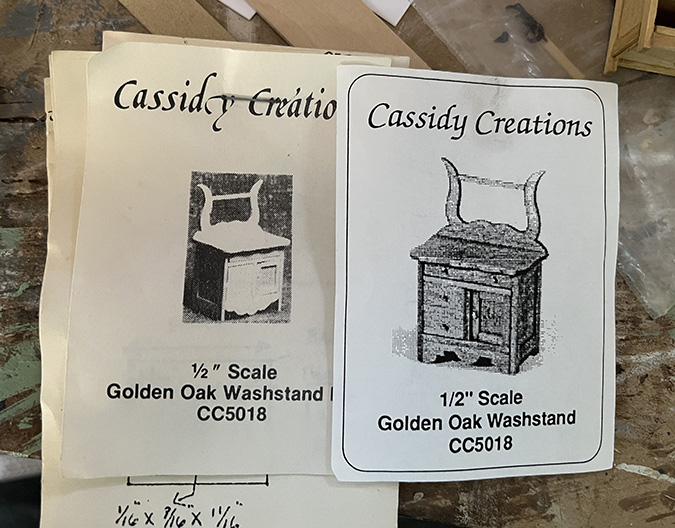
Before the eBay kit arrived, I started playing around with the one I had, and that’s when I realized the differences in the photos. In spite of the older photo and the directions referencing the older style, the eBay kit did contain the newer style of trim. Thank you, dollhouse gods, for looking out for me.
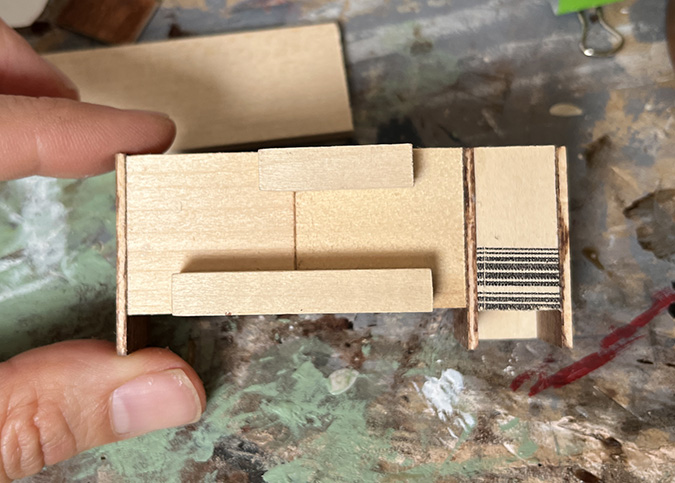
The sides of the washstand are made from a thin rectangular piece with two legs that get attached to the sides.
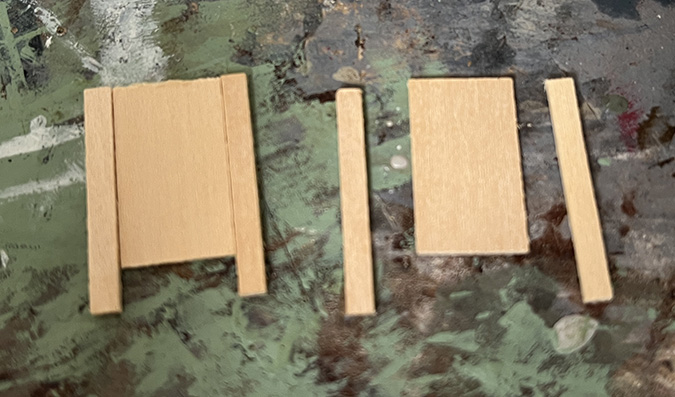
I’ll repurpose those pieces into doors.
When I built the lowers, I added a 1″ x 1/8″ countertop and an additional 1″ x 1/8″ piece of basswood under the countertop, to bring it up to an appropriate height. From the side view, you can see that the washstand is almost the same height as the original cabinet.
So I can make my sink cabinet the same height as the other lowers by once again adding two pieces of 1″ x 1/8″ basswood. The sink will sit on the bottom piece. Then I’ll add countertop pieces on each side of the sink, making the countertop level with the sink.
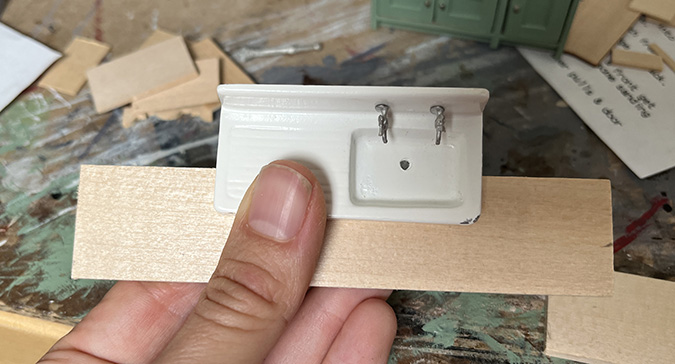
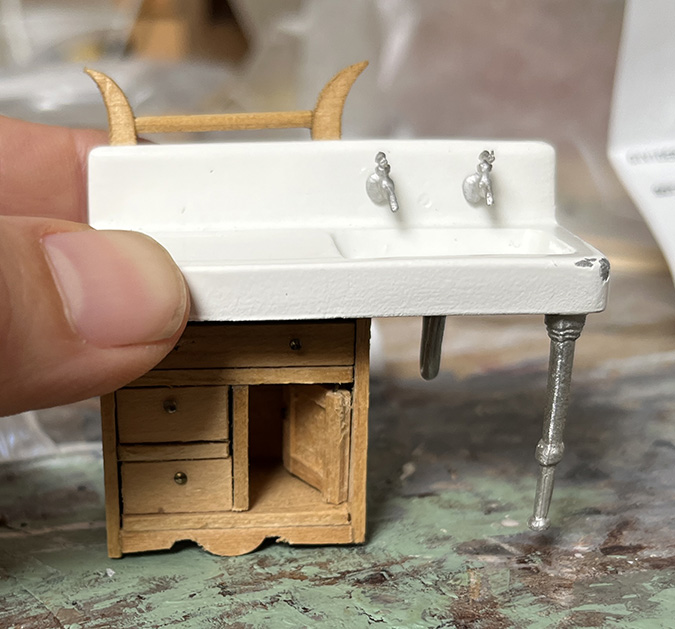
The sink has a drainpipe hanging down underneath. I could have removed this, but I like the detail.
I cut a notch in the basswood to accommodate the pipe.
The sink is conveniently 1″ deep, so it fits perfectly.
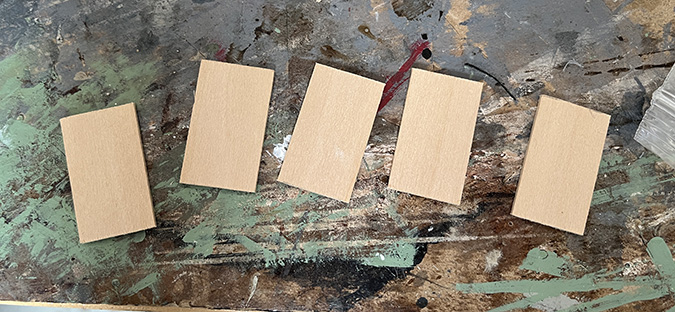
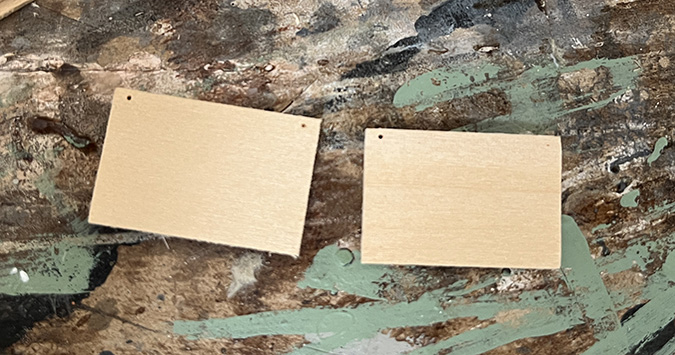
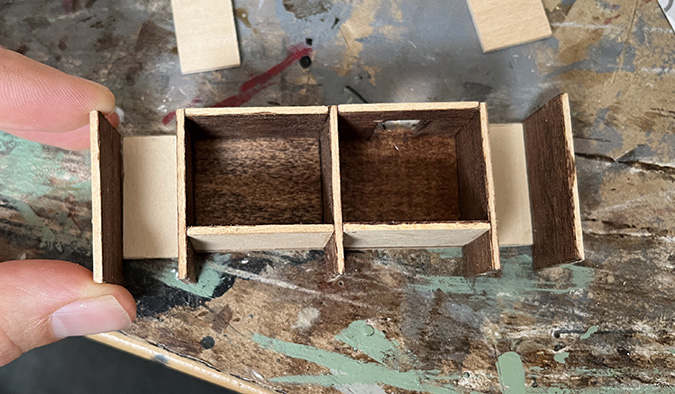
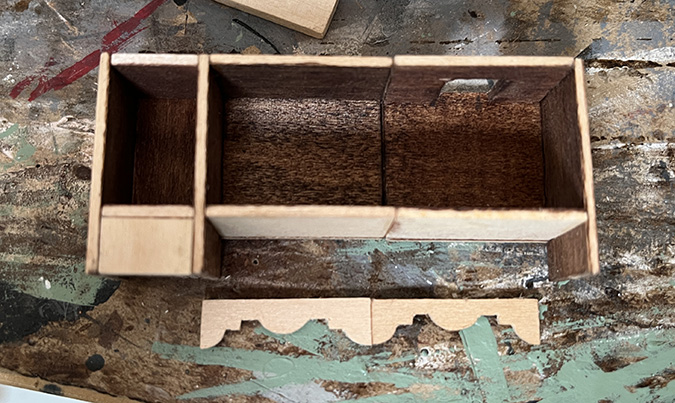
By now my second kit had arrived and I was ready to assemble my cabinets. I cut five new pieces from 3/4″ x 1/16″ basswood to be the sides of each cabinet.
The pieces above and below the door each have one pre-drilled hole for pin hinging. Since I’m going to have two doors, I need holes in both corners. I stacked the pieces on top of each other and poked through the existing holes with the pilot punch tool, to mark where the new ones should go.
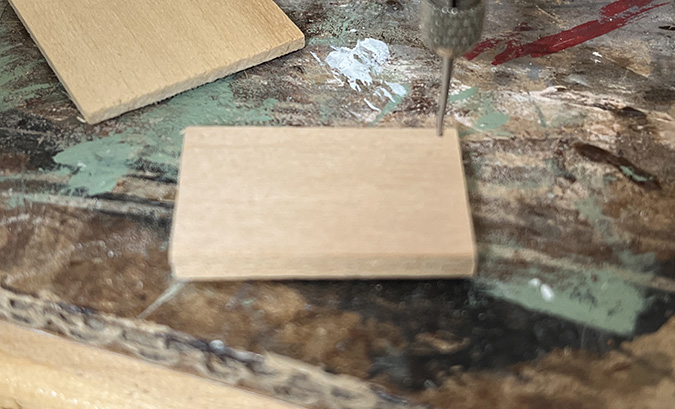
Then I drilled them with my micro-drill. The piece on the right hasn’t been drilled yet but you can see the poke mark in the corner.
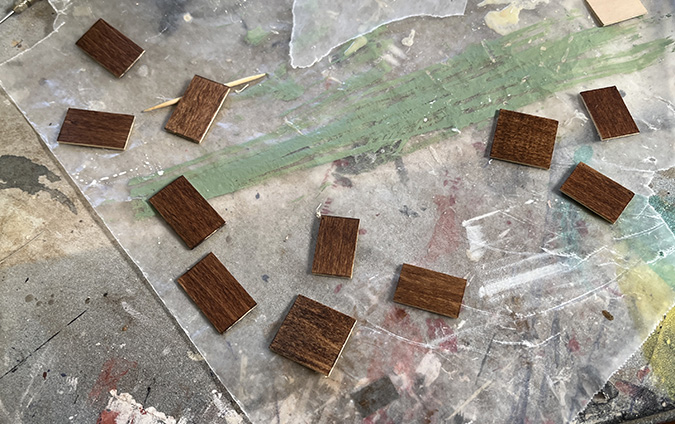
Next I stained the interior pieces with a Minwax Red Oak stain pen. Right now I’m just working on the two cabinets under the sink, not the drawer units on the sides.
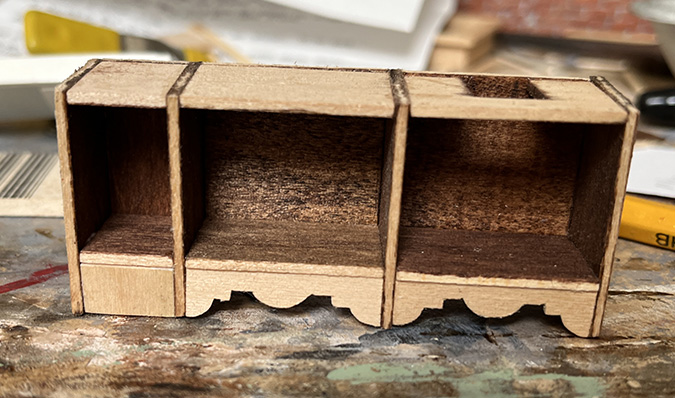
I built the left side first. The bottom trim covers up the holes for pin-hinging, so I’ll wait to glue that in until later.
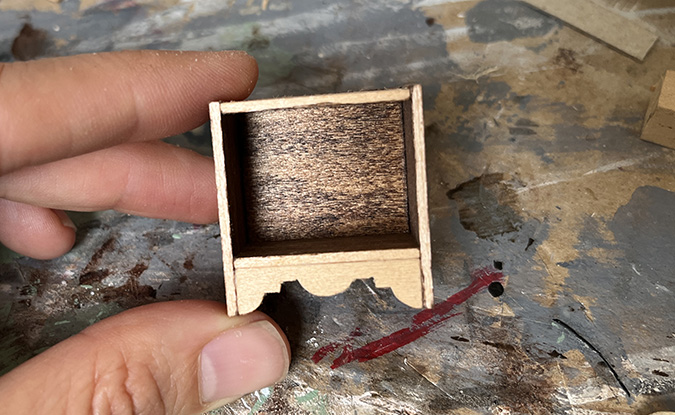
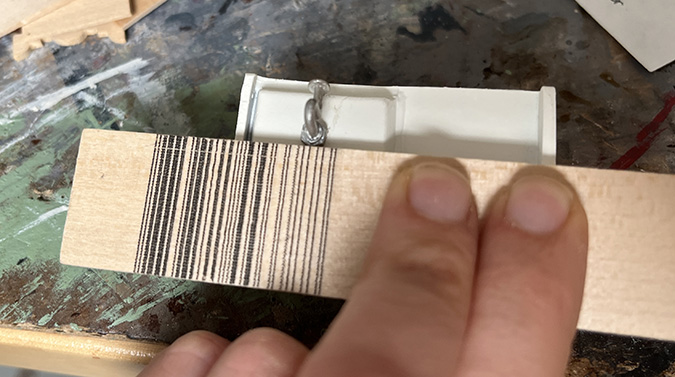
On the right side, the top piece needs a slot to accommodate the drainpipe.
I mocked this up on a piece of paper first, so I wouldn’t mess it up.
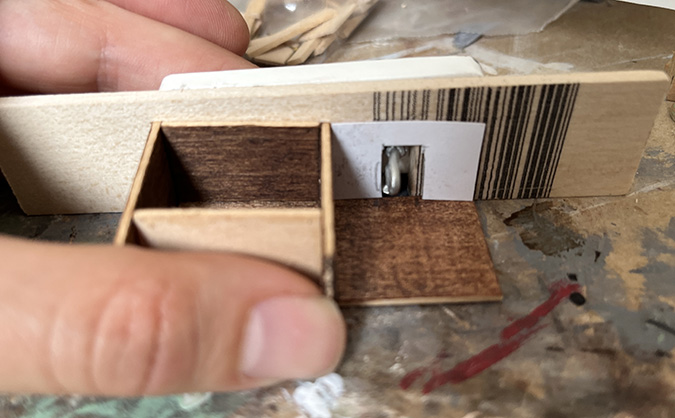
Oops, it got messed up anyway.
Super glue to the rescue!
Here’s how the pipe looks inside the cabinet.
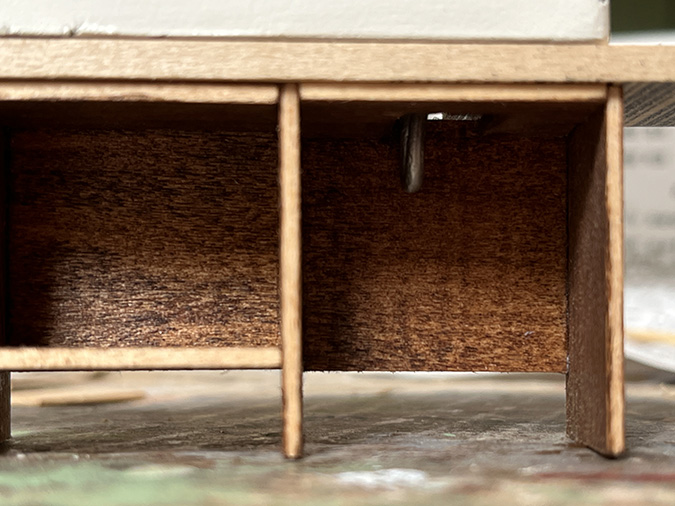
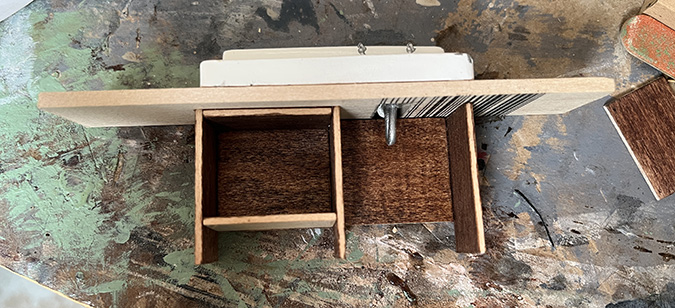
And here’s the back. You won’t be able to tell that it isn’t actually touching the wall.
And the front. The basswood strip is bigger than it needs to be. I’ll cut it down once I know the exact width of the cabinet.
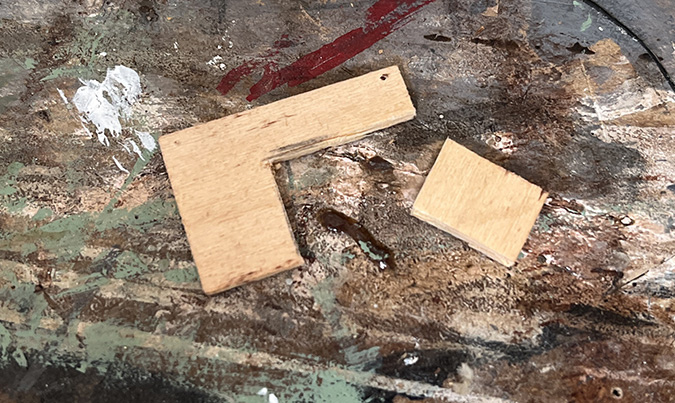
I cut backs for the side units from 1/2″ x 1/16″ basswood.
The top and bottom pieces of the side unit are made from the divider that’s supposed to go between the two drawers, and the divider that’s supposed to go between the drawers and the door (cut down). The bottom piece is cut from a scrap of 1/2″ x 1/16″ basswood.
Before building the other side unit, I put the cabinet in the bump-out to check the width, and we have a problem. I thought I’d planned this correctly, but I only have enough space to add the back piece, not the side piece.
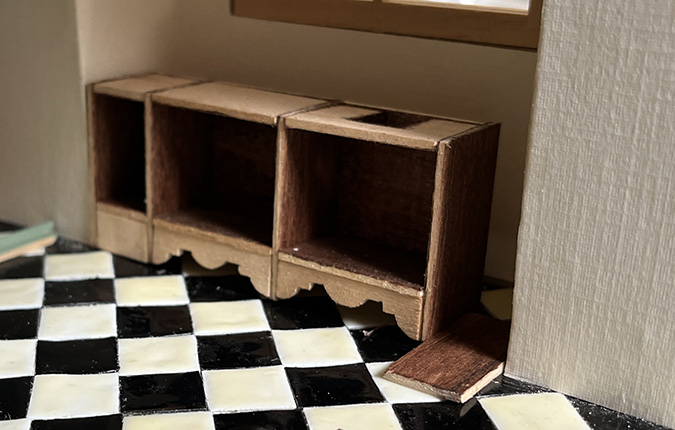
(In my defense, this probably happened because the bump-out isn’t square. Then again, I’m the one who made it that way, so that’s a bad defense.)
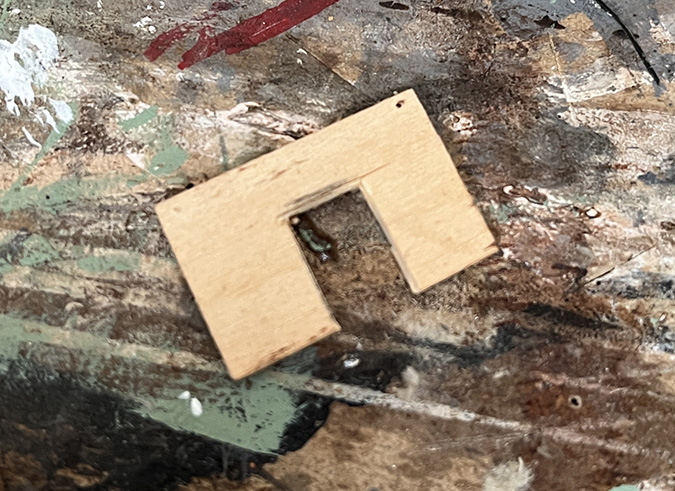
That side piece does need to be there, but I can get rid of the divider in the middle. I carefully popped the tops and bottoms off the center divider and reglued them to each other. I hope the seams won’t be glaring.
I added a couple of 1/4″ x 1/4″ scraps to the back to reinforce this seam. The countertop overhangs the cabinet by 1/4″, so I was planning to add spacers here anyway.
That’s better!

You can’t see the cabinet head-on, so I didn’t know until I saw the picture above that there *is* a crack of space there. I tried squeezing in one more side piece just to see if it would fit. It does, but it’s very tight — so tight I almost couldn’t get the cabinet back out!
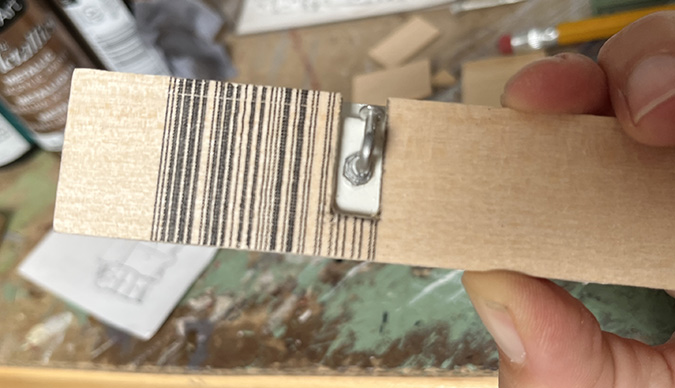
In fact, I seem to have marked up the wallpaper trying to get the too-tight cabinet back out of the bump-out (those black smudges weren’t there before). There’s a bar code on that side that must have rubbed off when I was trying to slide it out. D’oh.

The marks mostly came off with an eraser, and I think the little bit that didn’t will be covered by the (theoretical) upper cabinet. Worst case, I can cover it with a new strip of wallpaper.
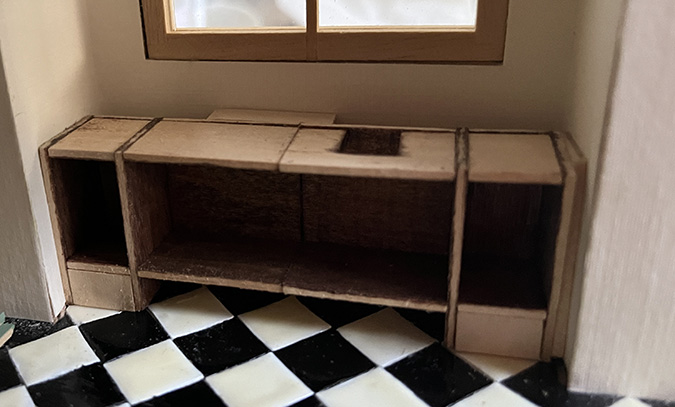
This is as far as I’ve gotten. More soon!
 Emily is a freelance writer, miniaturist, and adventure game enthusiast.


I love how this is coming along!
Thank you!
I had the same issue with this sink & wobbly legs. I used the recommended metal glue, but one still ended up crooked. I really like your idea of putting the sink onto a cabinet. Not sure if I can pull it off, but I will be on the lookout. And the little chip on your sink makes it look authentic, but I understand about wanting it to look a certain way too. Your ideas always inspire me to create more! Thanks for sharing these updates.
Oddly enough, I have another of these sinks that I bought finished as an artist’s sink, and the same leg is crooked. On the one I’m using in the Mansard, the nub on the leg didn’t fit well into the hole. I wonder if this is a widespread problem.
I’m happy you’re back to working on this kitchen. I really enjoyed the post where you decided not to use the border on the backsplash.
Loving the progress on the sink cabinet…just an idea: since the sink is now a bit higher, could you add a shelf above the window and a valance of some sort below the shelf, so the window “appears” smaller without needing renovations involving spakling or putty? (Putty and I have an inconsistent relationship, sometimes she smooths things over nicely, and paints up like a pro, other times the passive-aggressive choas that ensues is clearly not her fault, since she was only “trying to be helpful.”) A valance that goes all the way to the ceiling could work too, perhaps? But you’ve likely already worked out a policy for window treatments throughout ????.
Great minds think alike! I’m planning something like this that will let me reduce the size of the window without having to redo the wallpaper. Stay tuned. :)
I love seeing your post because it makes me think of if I make an error I can fix it just like you do if I think about how to do it.
Good, I’m glad! I didn’t originally set out to show off my mistakes, but people keep telling me it’s helpful so now I lean into it. :)