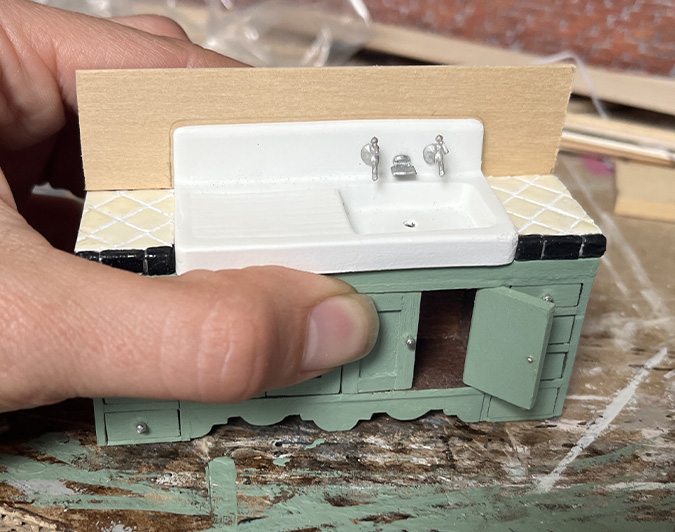
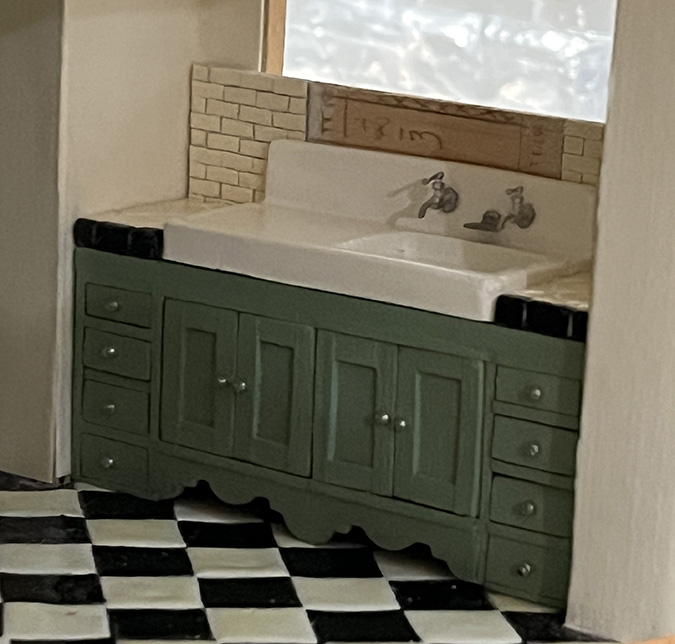
I’ve slowly been making progress on the cabinets around the sink. It’s been frustrating, hence the very long delay in getting this post up.
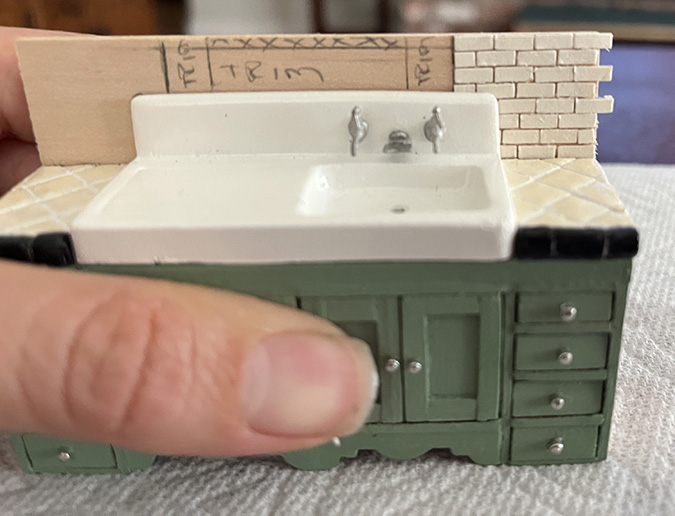
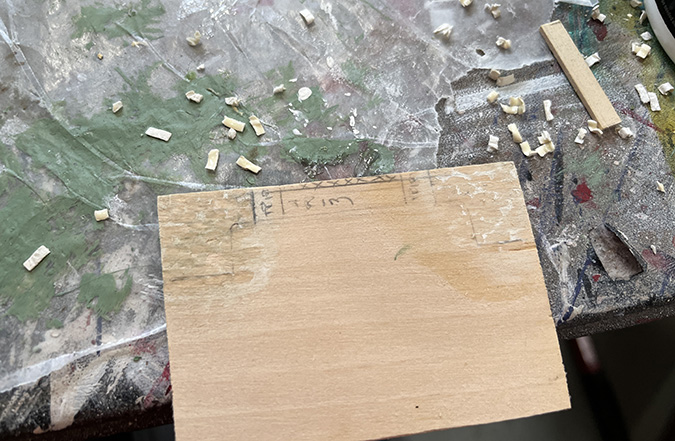
Since the bump-out is hard to see and reach into, I decided to glue the backsplash tiles onto a piece of wood that “stands up” behind the cabinet — this way I don’t have to worry about trying to glue in two separate backsplash pieces in exactly the right spot to make them level.
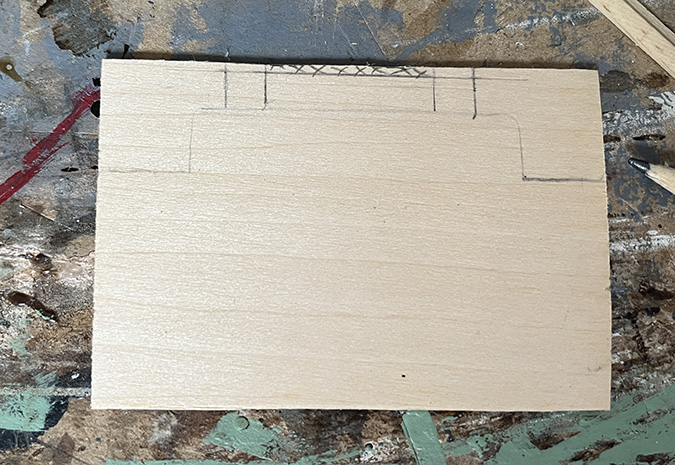
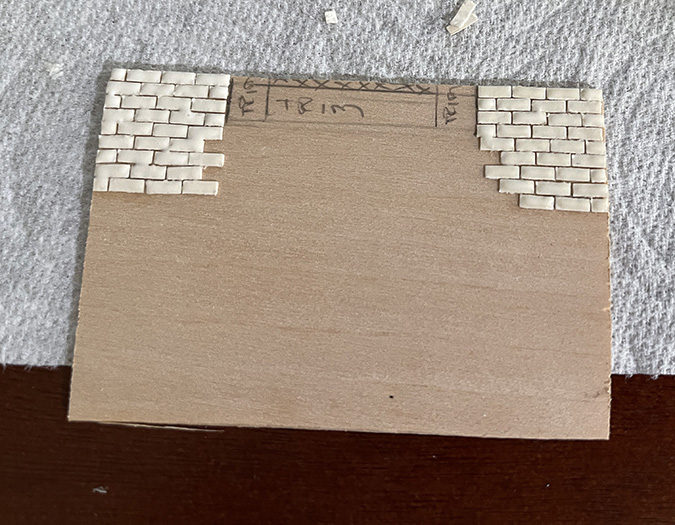
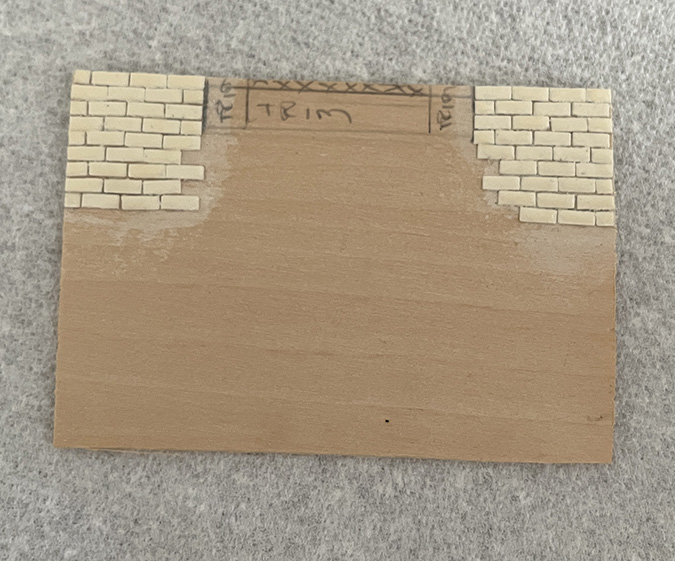
I started by tracing around the top of the sink.
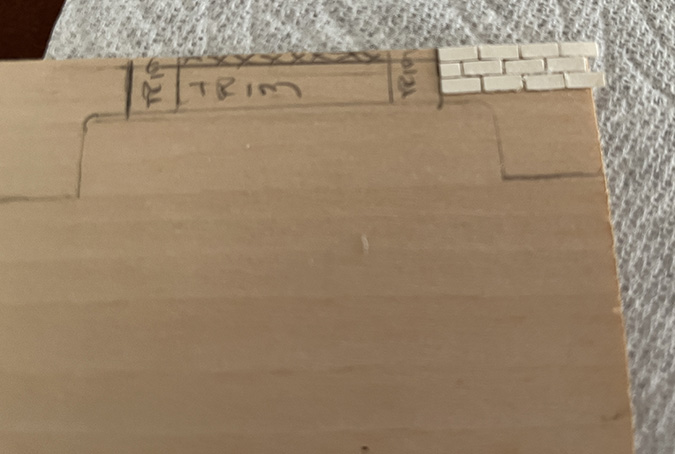
Then I drew lines to indicate where the window trim would go.
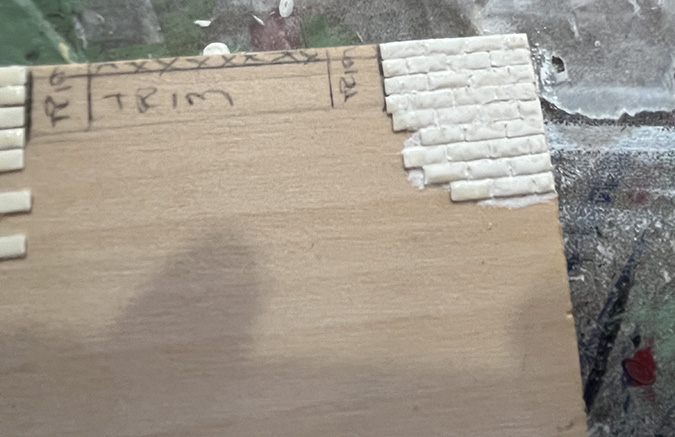
Here’s what I ended up with. I thought it would be easier to glue the trim to this piece of wood than to the wall. The XXX part is a sliver that will need to be cut out above the bottom piece of trim.
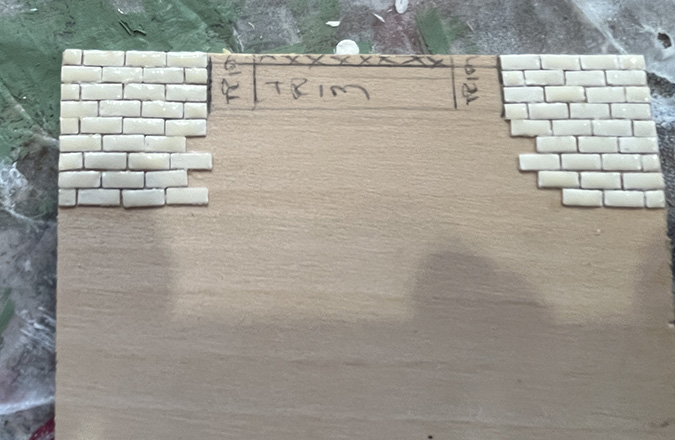
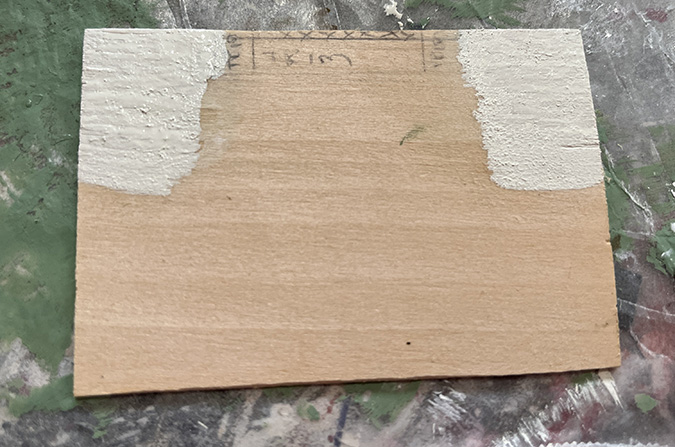
I started at the top edge so I wouldn’t end up with slivers under the cabinets. These tiles are made from scrapbook paper cut with a 1/4″ x 1/8″ punch (read more about it here).
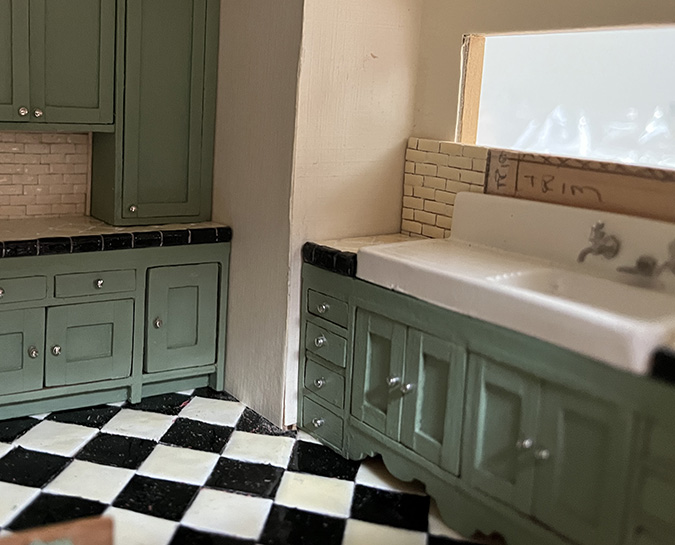
Since this piece of wood goes behind the cabinet and sink, the tiles run behind the sink corner and the countertop, so there’s a neat transition.
And here are both sides finished. I trimmed the tiles hanging over the edges with nail scissors.

Next I coated the tiles with Cameo Ivory Gallery Glass paint.
Here’s how it looked once the paint dried. Something I didn’t do this time, that I should have done, was paint the wood with grout-colored paint before gluing down the tiles. I figured I didn’t need to since the tiles are right up against each other, but you can see the wood at the seams.
I tried adding watered-down paint, and then another coat of Gallery Glass.
It didn’t really work.
Eh? These look worse to me than the backsplash over the other cabinets.
Maybe I was being too picky, but I didn’t like it. Time to start over.
Paint first.
Then tiles.

Then the Gallery Glass. Honestly I’m not sure this looks better? But whatever, it’s done now.
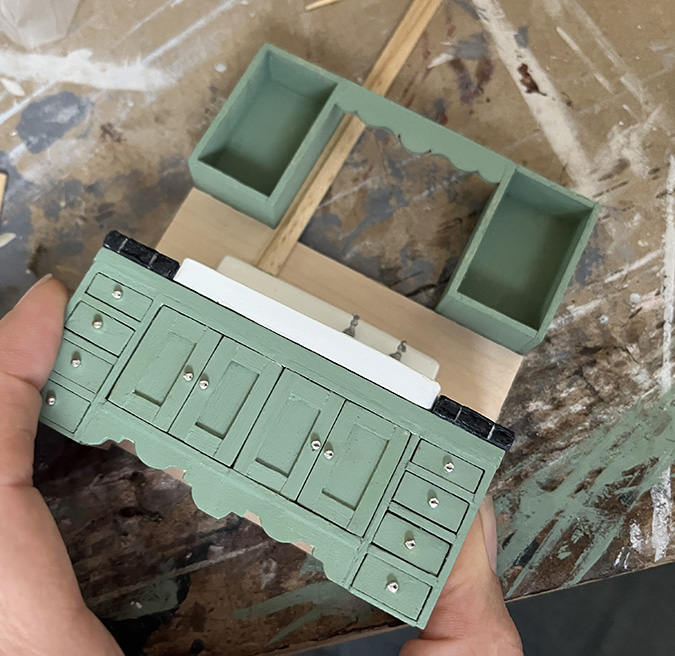
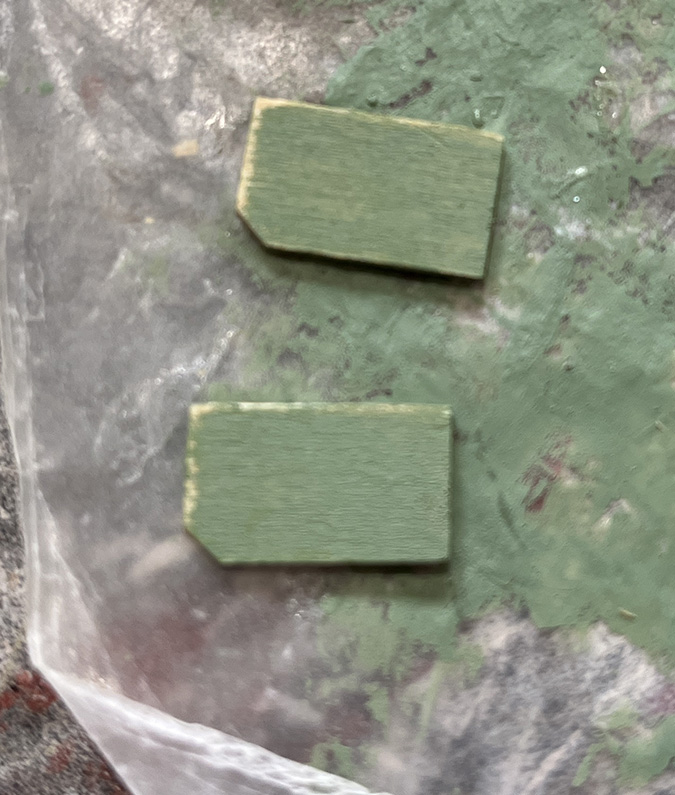
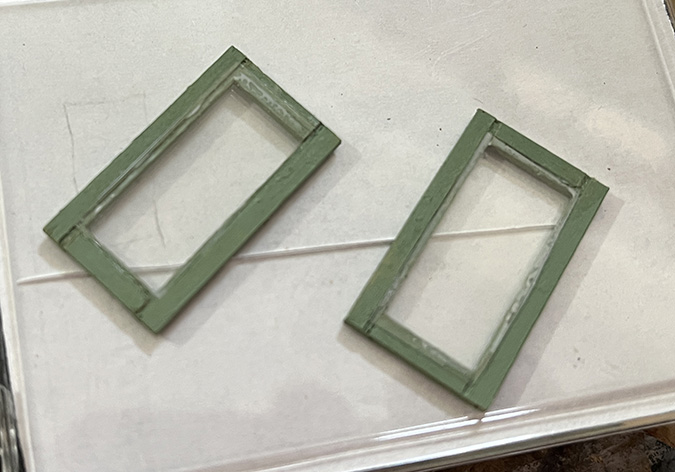
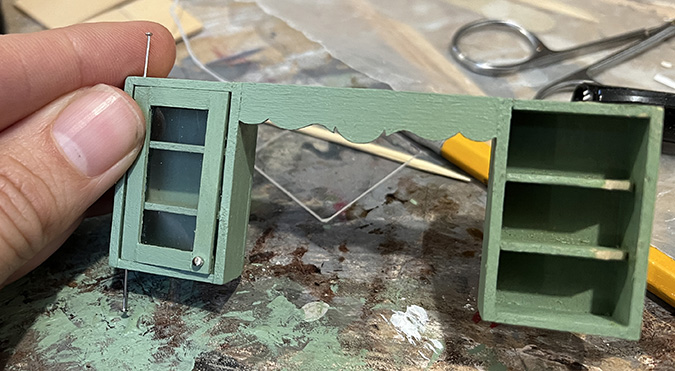
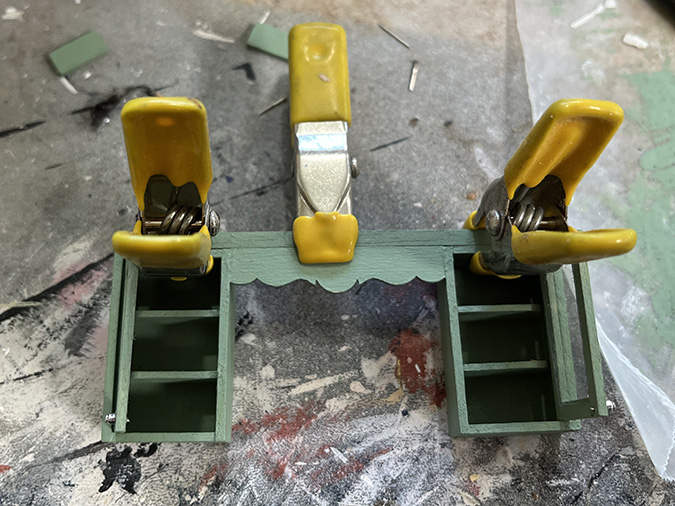
Back to the uppers. I cut four pieces of wood to use as shelves, the correct depth for the doors to fit perfectly in the cabinets.
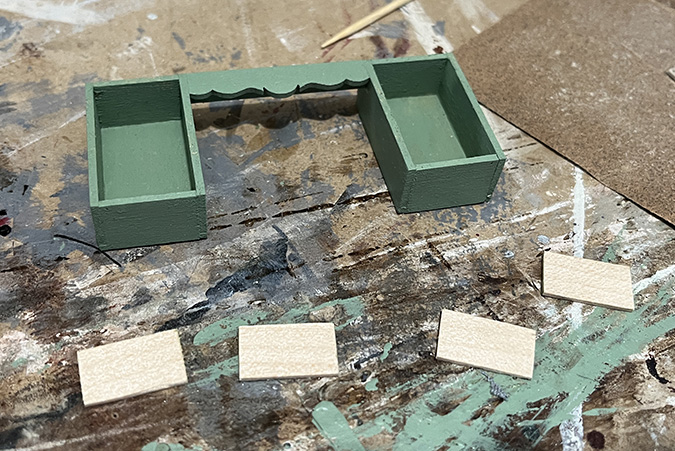
I painted them, sanded, and cut off the corners on the hinge side to allow the doors to swing. They’ll get another coat of paint once they’re glued in.
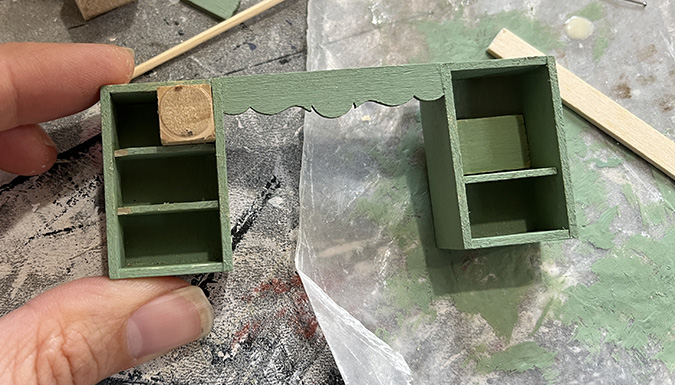
Then I glued them in, using a spacer to space them evenly.
Next I glued the plastic into the doors. Not shown: the delicate door frames fell apart during this process, and again when I added the knobs. There were a few rounds of re-gluing.
When I went to hinge the first door, I found it wouldn’t close completely. Turns out the shelves were the correct depth for the doors to sit in the cabinet, but the pre-drilled hinge holes cause the door to sit slightly *inside* the cabinet, so they bumped the shelves. So then I had to remove the shelves and sand them.
Finally, here are the hinged doors. They still don’t quite close all the way but I was tired of messing with it.

I glued the trim piece to the top.
And here’s how it looks in the bump-out. I hope I’ll be able to squish the crown molding up closer to the ceiling when I glue it, to get rid of that dark shadow above it. I’ll try, anyway. The bump-out isn’t square and it’s making everything difficult.

I think the door on the left looks okay, but I’m not happy with the slightly open door on the right. It makes that side of the cabinet look all out of whack. I haven’t decided yet if I should remove the shelves again and sand them some more, or leave it be.
Sorry for the short and somewhat annoyed tone of this post! I had to get it out there so I could move on.
 Emily is a freelance writer, miniaturist, and adventure game enthusiast.


I love how precise your work is. Could you leave that door ajar, as if someone was getting something out of the cabinet?
I thought of that, but I ended up fixing it yesterday. It wasn’t hard, I was just being grumpy!
Happy to see the update! Your work and skills are amazing!
Thanks Kathleen!
The effort and hard work that you put into doing these miniature projects is to be admired. The end result is lovely! It will be rewarding and fun to style the kitchen once all the building is completed…enjoy the process!
Thank you!