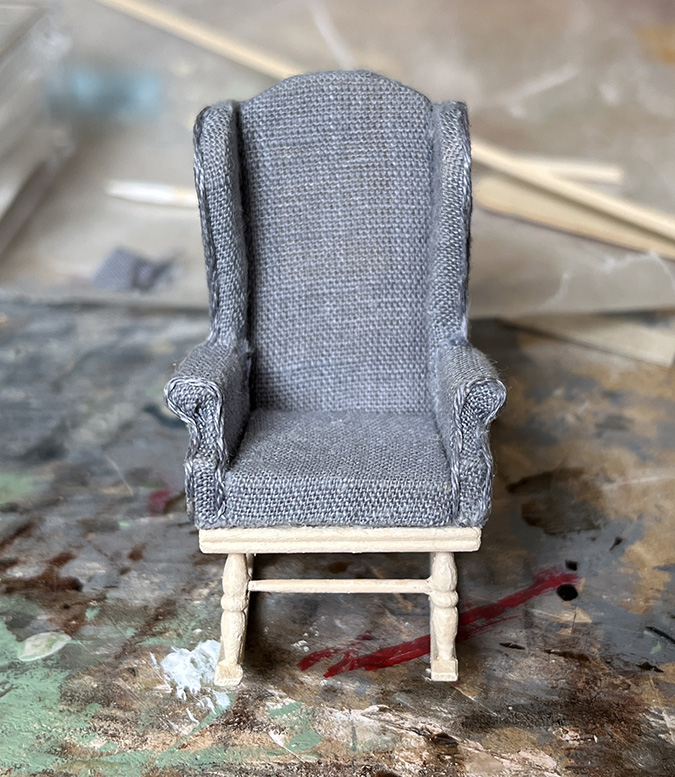
I posted a picture of my rocking chair on the Half Scale Miniatures Facebook group and got a suggestion to spread out the legs more so the chair wouldn’t look top-heavy. This hadn’t occurred to me, but it seems obvious in hindsight.

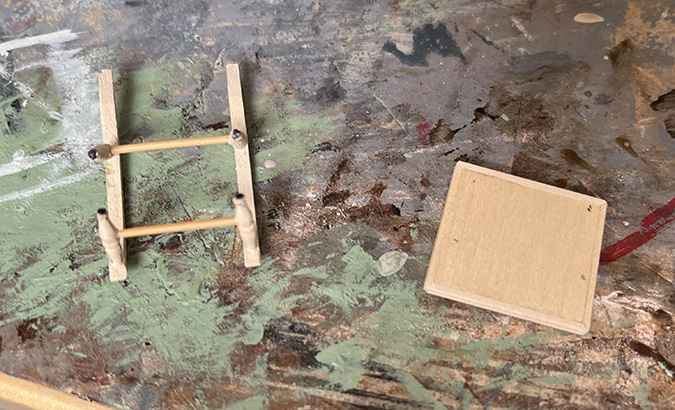
I wiggled the legs off and removed the stretcher bars, to replace them with longer ones. Unfortunately this means losing the turned piece at the front, which I liked.
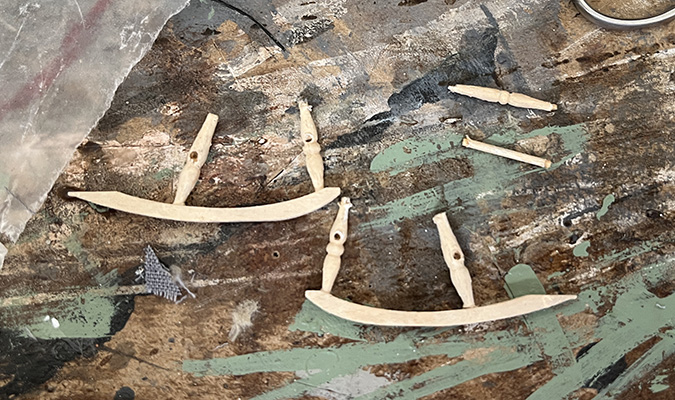
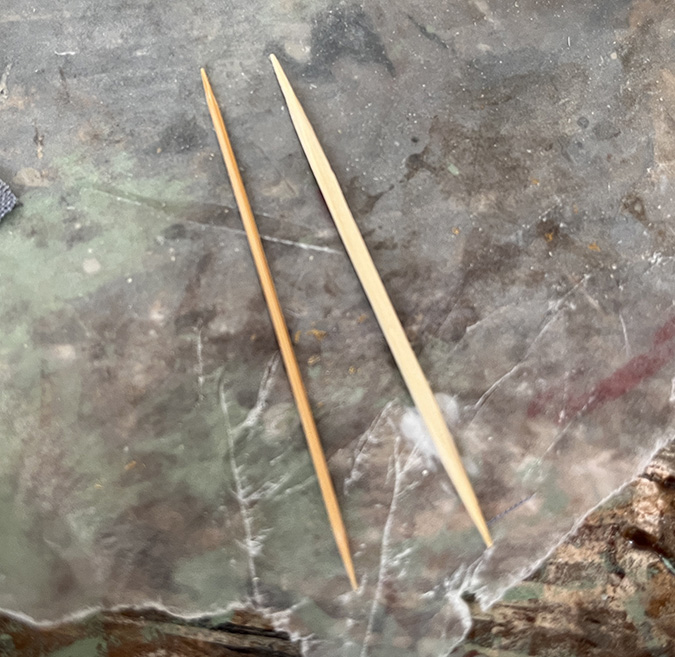
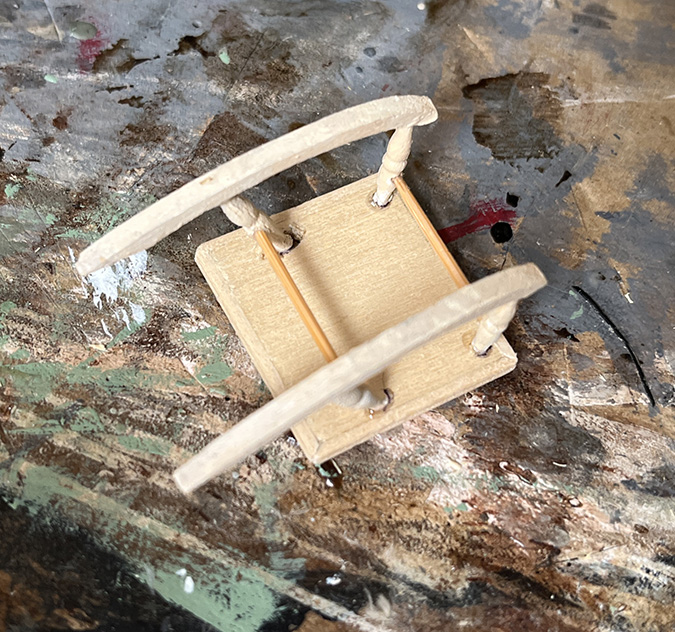
I looked around in my stash and didn’t find any turned pieces that would work, so I ended up using a very skinny toothpick (shown here next to a regular toothpick). I bought these on Amazon several years ago and have been hoarding them.
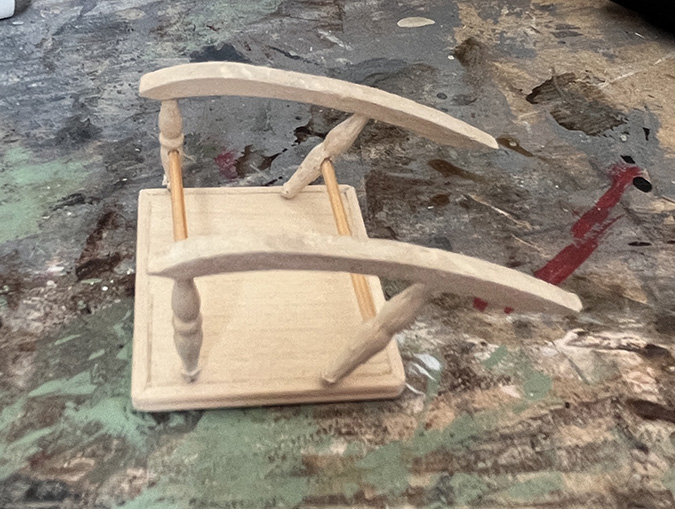
The skinny toothpick fits into the holes in the legs. I had to taper them for the front legs since the original stretcher bar was tapered and the holes were a little smaller. Also, as you can see here, one of the back legs has come unglued.
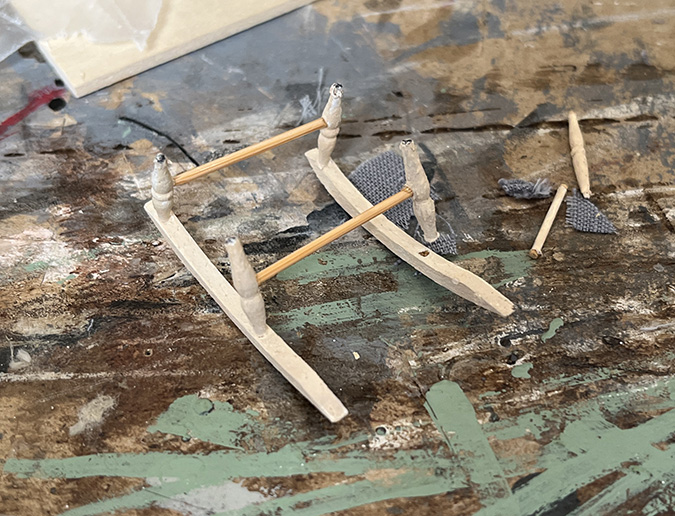
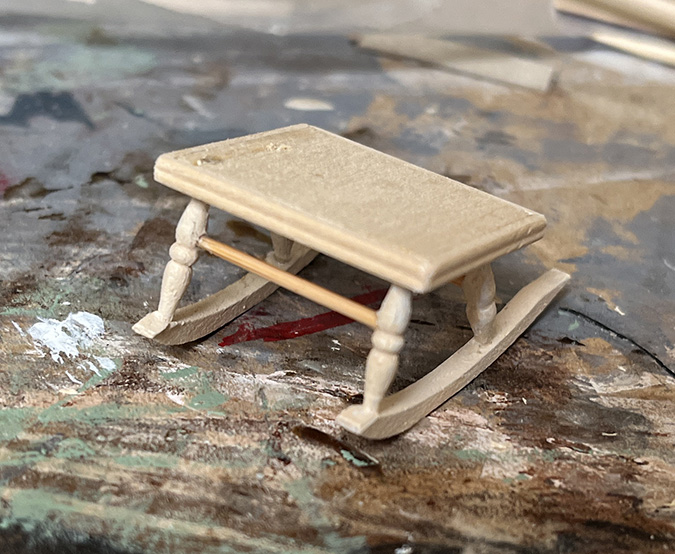
Even without the turned piece, this is going to look better.
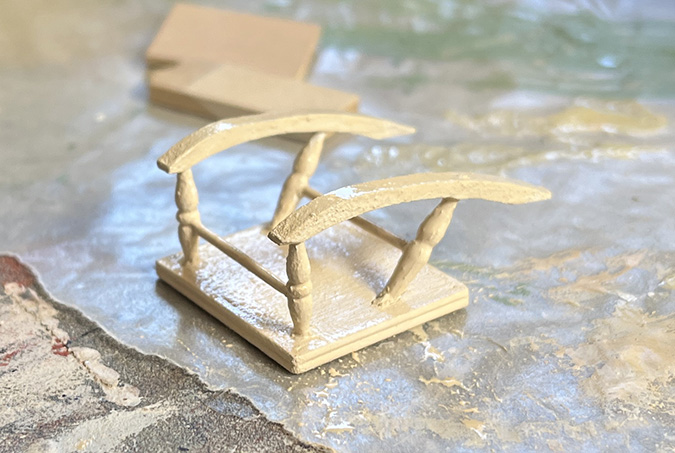
The bottom of the chair is covered with fabric now and I didn’t want to try drilling into it to attach the legs. Instead I decided to make a wooden base similar to the one on the JBM inspiration chair. I started with a piece of basswood slightly smaller than the base of the chair.
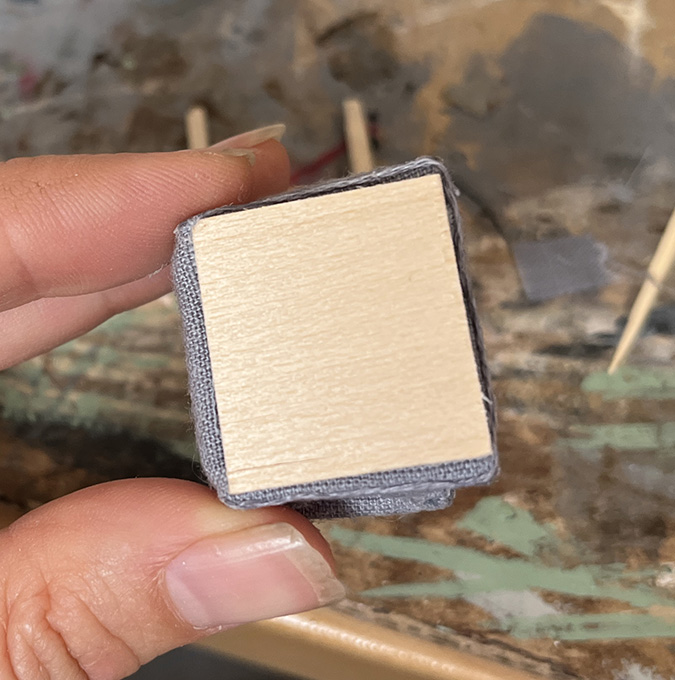
(It seems glaring in that picture, but when I was doing this, I forgot that the sides of the chair base are angled, so the chair is slightly narrower at the back than the front. This will come up again later.)
I added double bead around the sides, to dress it up a little.

So far, so good.
When I put the legs on the base, they were too close to the edges. I removed the toothpick pieces and shortened them. I was also having a hard time with the leg that had come unglued from the rocker. I glued it back on a few times but it kept popping off.
I did the Sharpie trick again to figure out where to drill holes for the legs.
I used generous dots of super glue to glue these in.
With that loose leg super-glued into the base, I was finally able to glue it to the rocker and have it stay put.
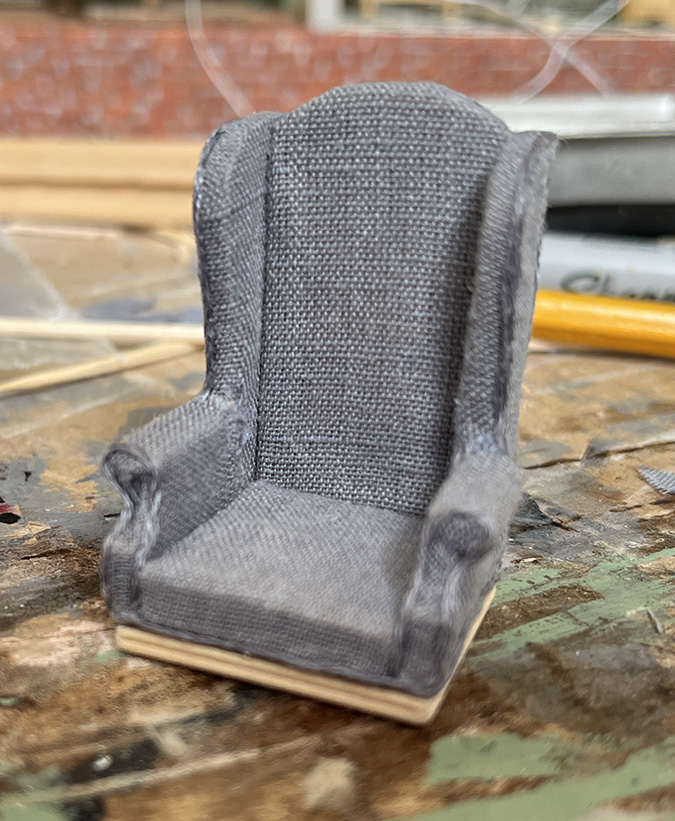
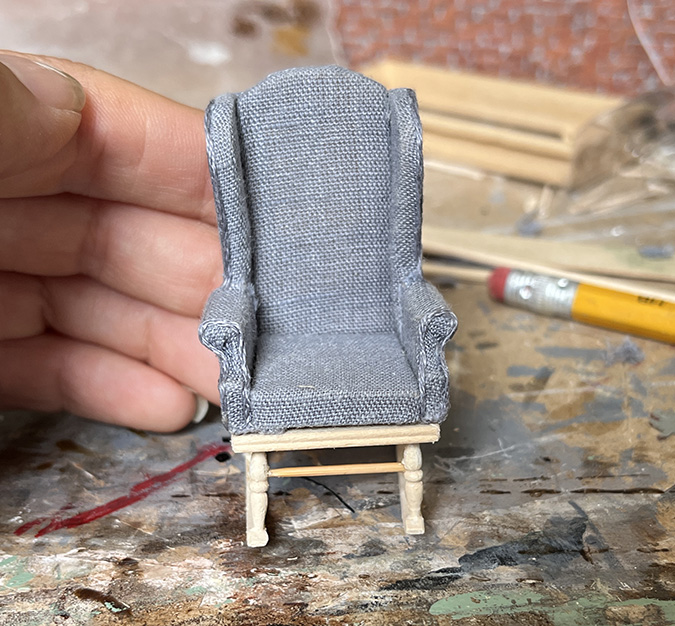
Here’s how it’ll look. I pulled the piping off the bottom of the chair so I could redo it to cover the seam with the new base.
Next I painted the base.
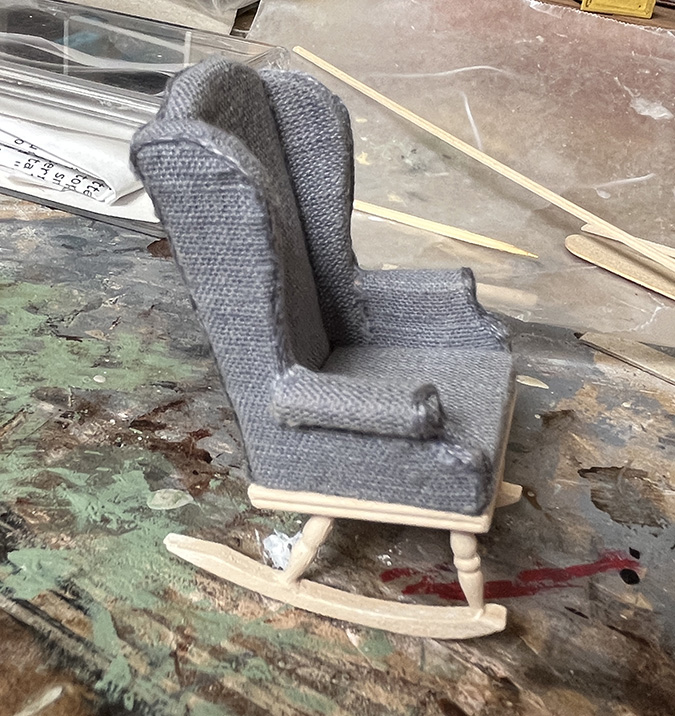
Looking good from the front!
And this is the moment I remembered the base of the chair is angled. From the side, you can see that the front corner hangs off the base slightly. Oh well. I’m not taking it apart again.
The bottom of the chair was lumpy from the fabric folded over the edges. To make sure that gap got covered, I used all six strands of embroidery floss this time.
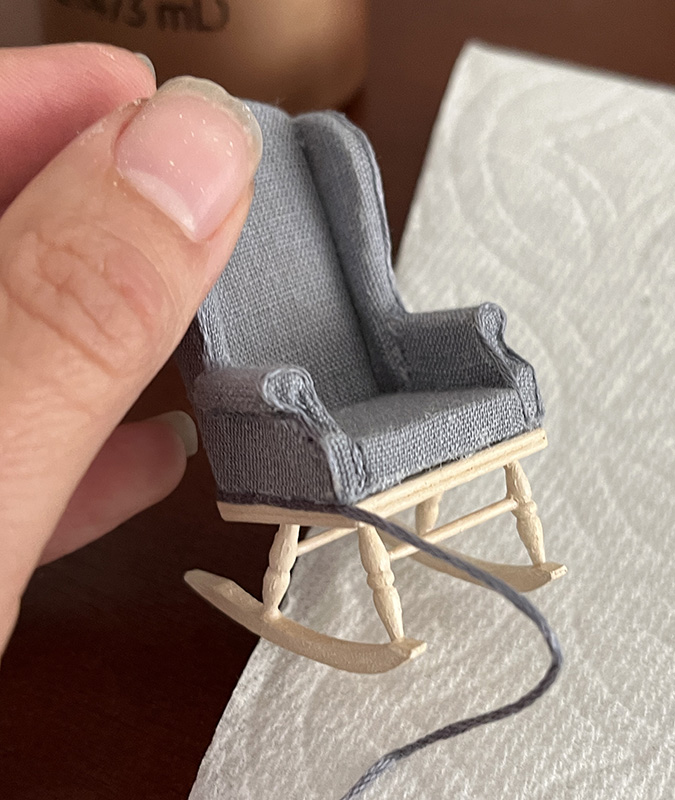
This floss (DMC 414) is off the same bobbin I used yesterday, but it looks darker? The piece I used yesterday was a leftover piece that had already been cut, so it’s possible it came from a different skein, from a different dye lot. I noticed this as I was gluing it on but thought it would be okay.
It sort of bothers me now, but of course now the glue is dry. When I removed the original piping from the bottom of the chair, it caused the fabric to fray. If that piece did come from a different dye lot, I would have to redo all the piping to make it match, and pulling it all off is too risky.
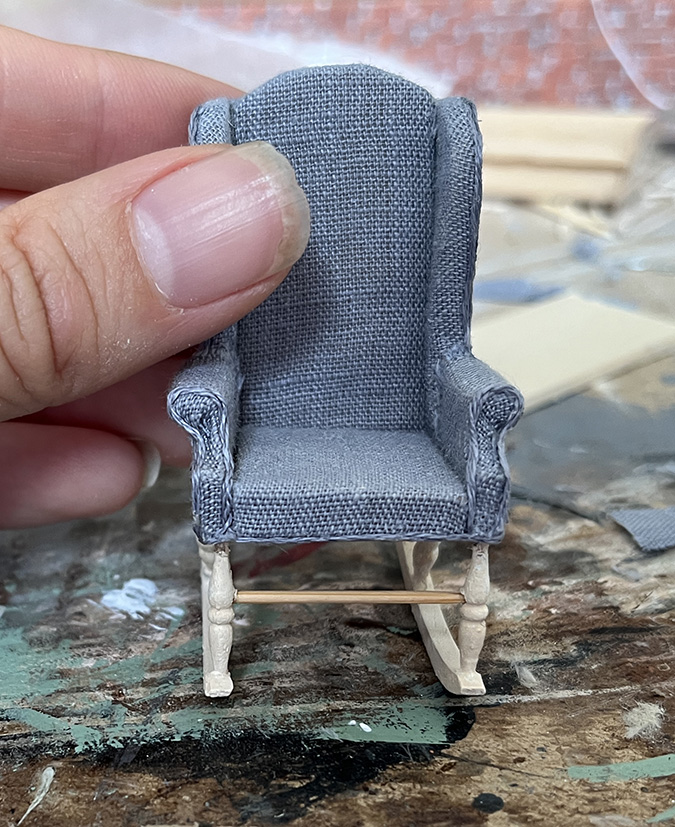
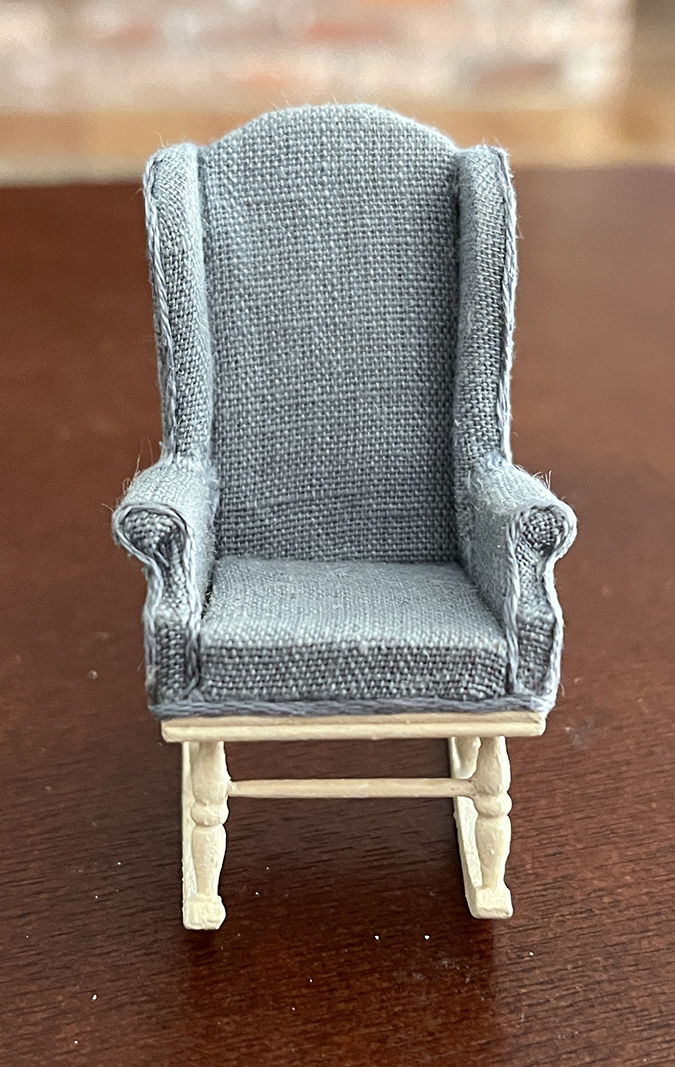
Anyway, here’s the finished chair.

The grain of the fabric on the back and the seat is not quite straight, which is especially glaring where the back and the seat meet. The pillow I’m going to cross stitch should help. (Also, I have to remind myself that these pictures are much bigger than the actual chair, and no one will ever look at it as close-up as I was while I was making it.)
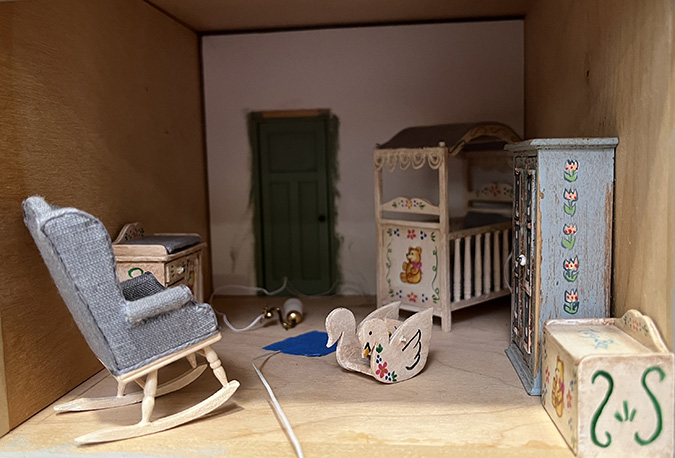
Here it is in the nursery. I’m glad I fixed it!
 Emily is a freelance writer, miniaturist, and adventure game enthusiast.


As always, your work is great! We are always our worst critics, so don’t worry about the fabric not being quite straight. No one will even notice.
Thank you!
Beautifully done! I’m always in awe of your skills and creativity! Thank you for sharing.
Wow – it really looks great and perfect in the nursery.
Well done!!!!!!! Looks mighty comfortable to me.
The rocking chair is the perfect addition to the nursery and looks great with the changes you made to it! Always your work is inspirational!
This looks so much more balanced. Worth the redo! I love it!