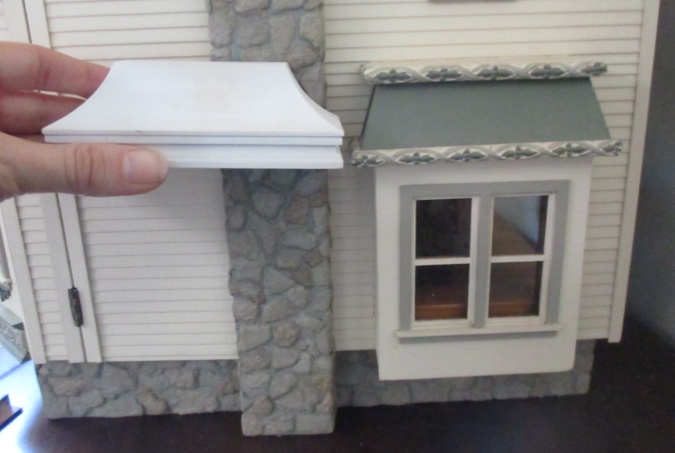
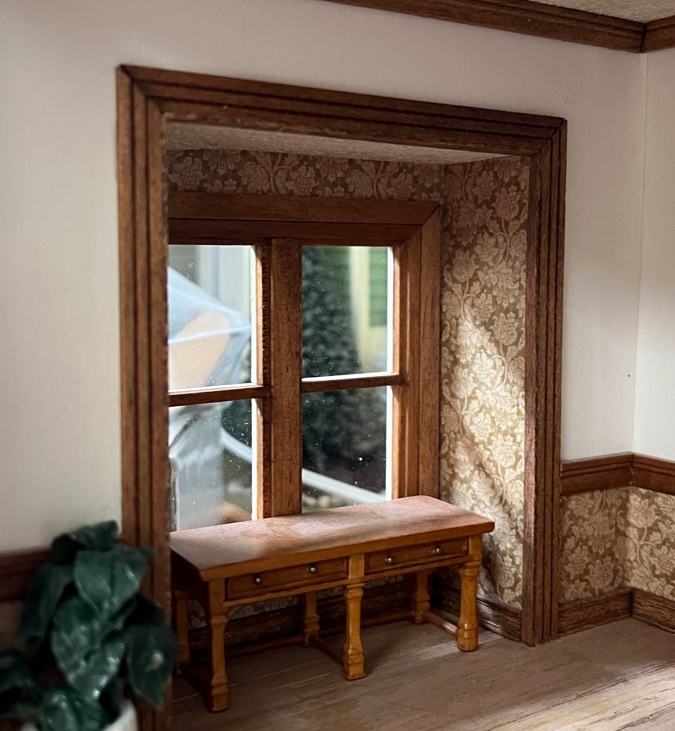
I’m adding a bump-out to the Mansard Victorian’s kitchen. It will be similar to this one on the Queen Anne Rowhouse, but with a Lawbre French Canopy for a Mansard-style roof.
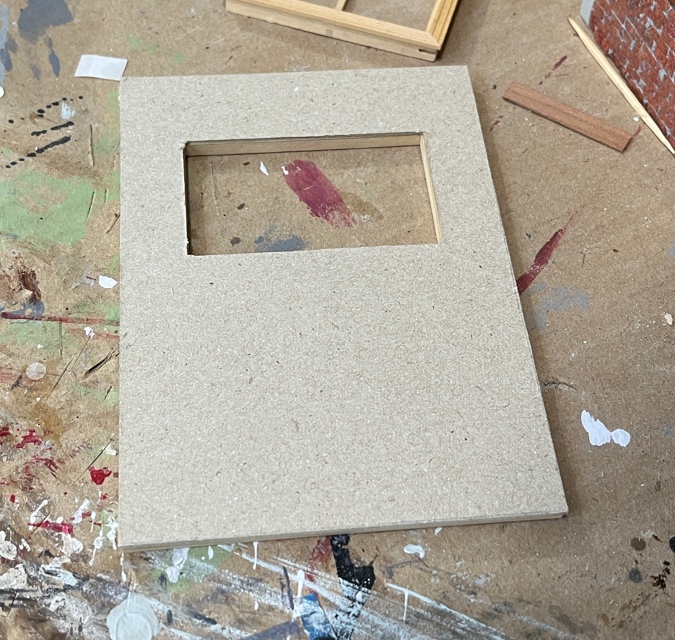
I previously cut a hole in the kitchen wall. (Well, Geoff cut it, but I told him where!) The Cassidy Creations sink will sit inside the bump-out.
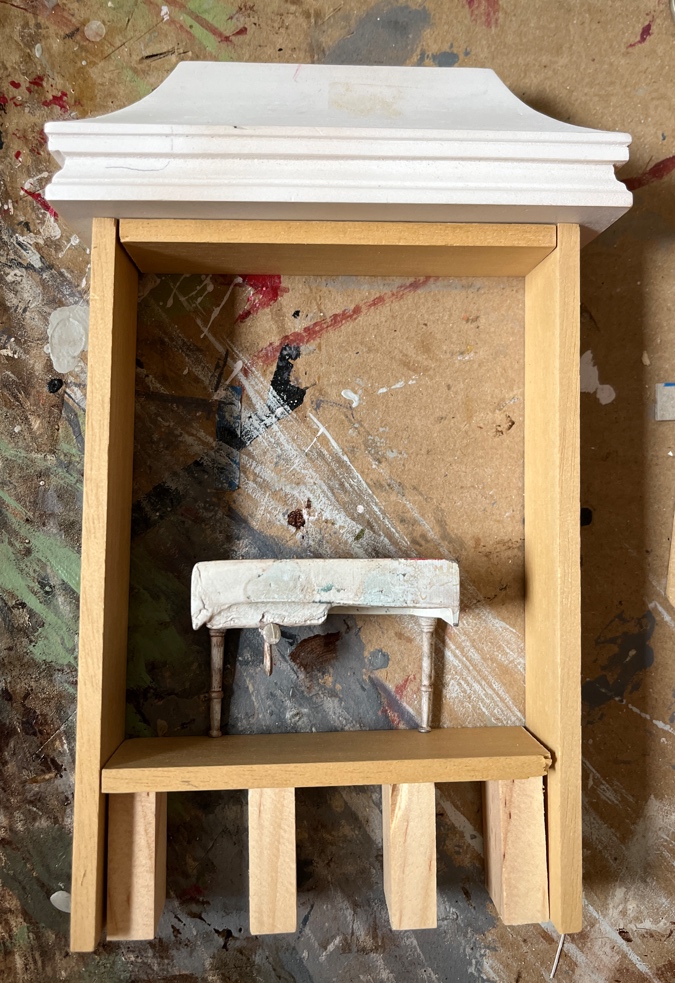
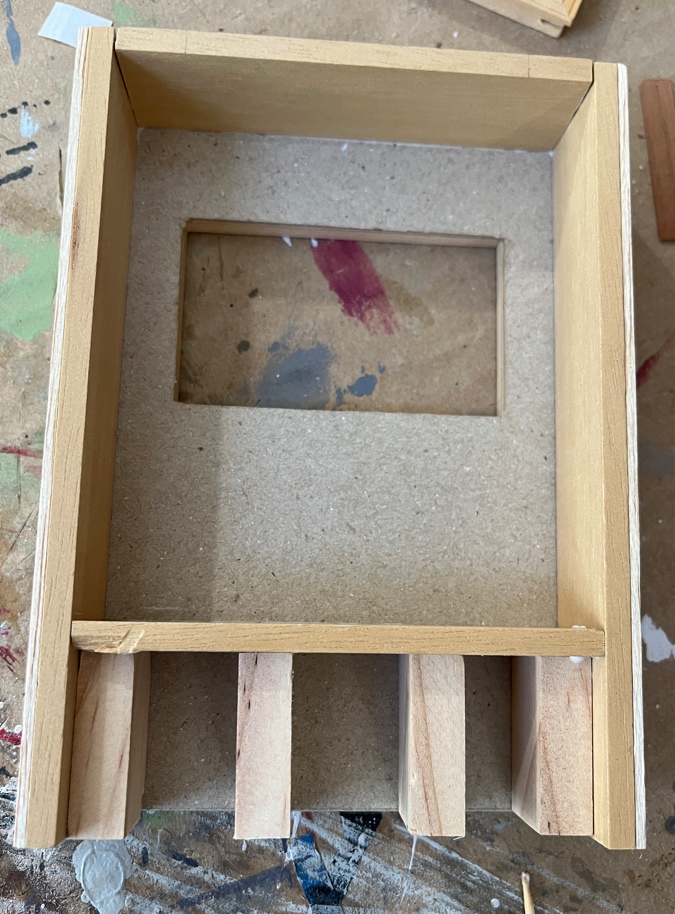
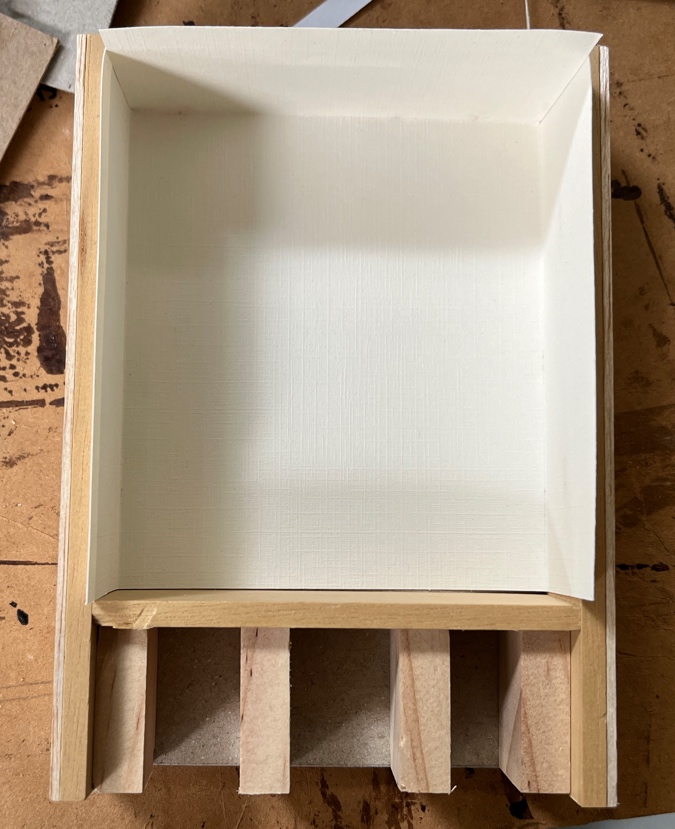
I built a frame for the addition out of strip wood. This is another Cassidy Creations sink (from the studio in the Artist’s Cottage) that I set inside to figure out window placement.
Here’s one window option. This is a Majestic Mansions Atherton window that I bought because it has the same mullions as the Gothic windows I’m using on the rest of the house, but it’s way too big. I thought I could cut the bottom off to make it shorter, but it just didn’t feel right. (This is also a pricey window to cut up!)
Here’s another window out of my stash. This is two Grandt line single windows pieced together. It came with the Debbie Young Craftsman vignette, but I didn’t use it there. It’s better than the last one, but it still doesn’t clear the top of the sink.
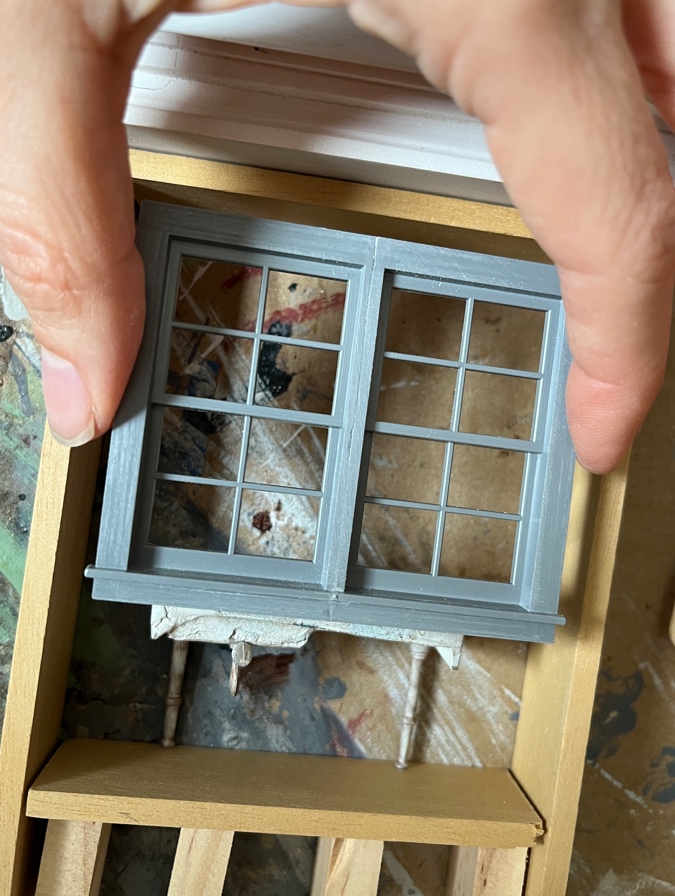
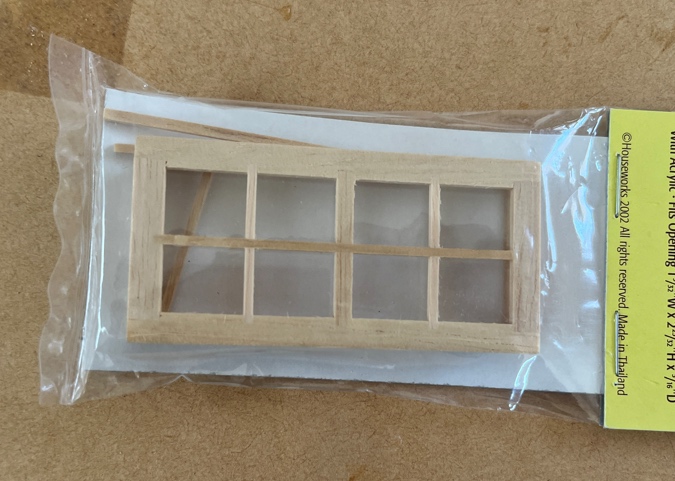
I started looking at Houseworks windows, and almost went with an 8-light window turned sideways. But the proportions didn’t feel right — it looks like a vertical window turned horizontally — and no other windows on this house are divided into panes like this.
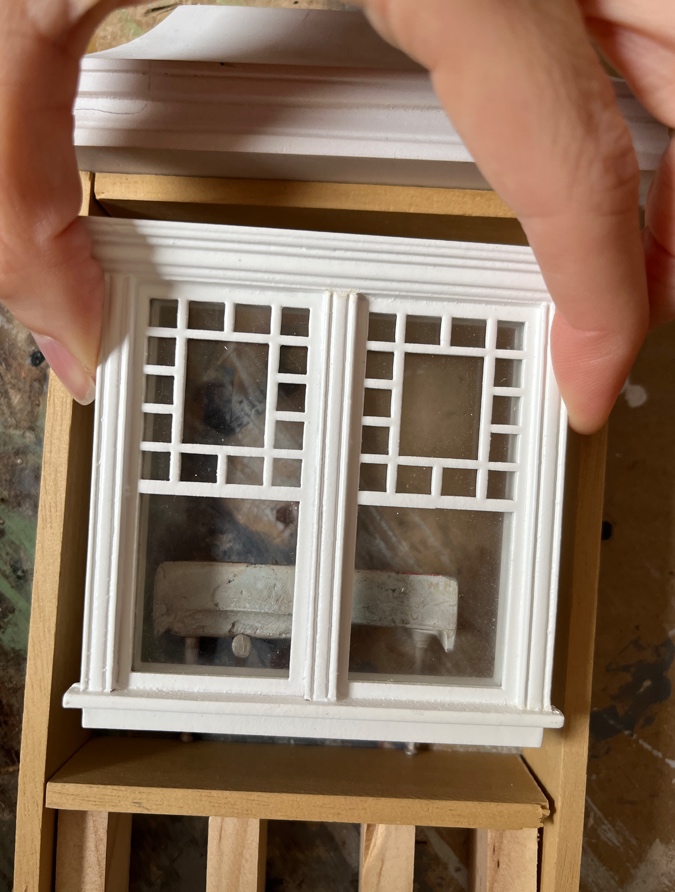
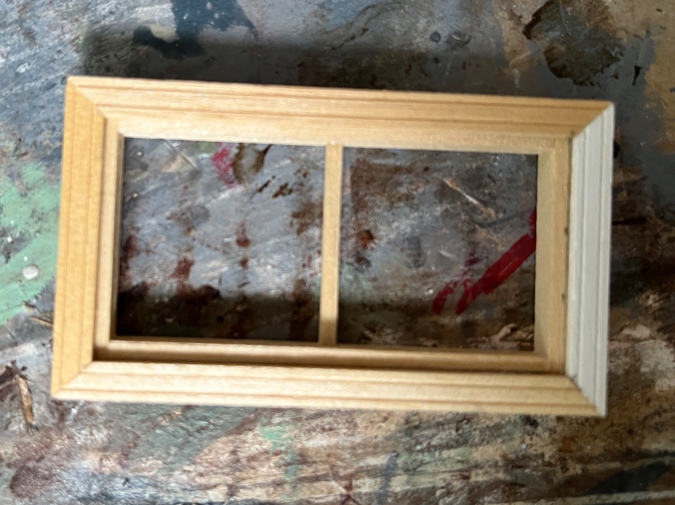
I continued pawing through my stash until I found this Palladian window that I’d removed the top from to make door trim for the Victorianna. The Palladian window is slightly wider than the standard windows, so it looks better turned on its side.
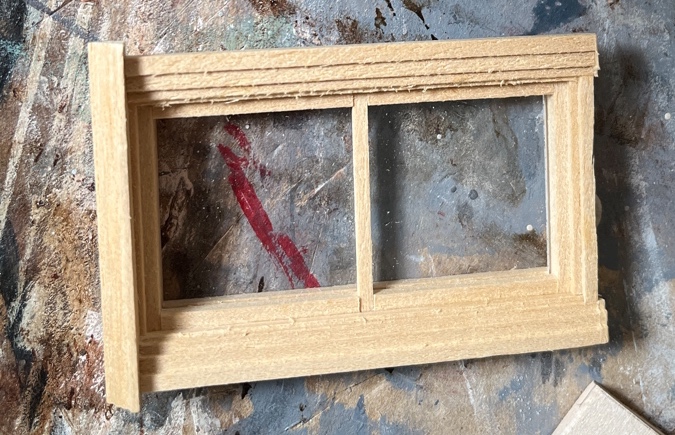
I popped off the sill and shaved off the side trim with a utility knife, then sanded it flat on the disc sander. Then I measured 1/8″ out from the window and drew pencil lines.
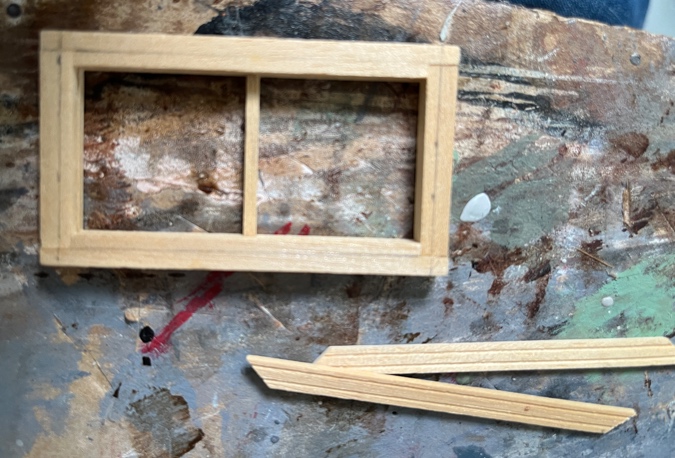
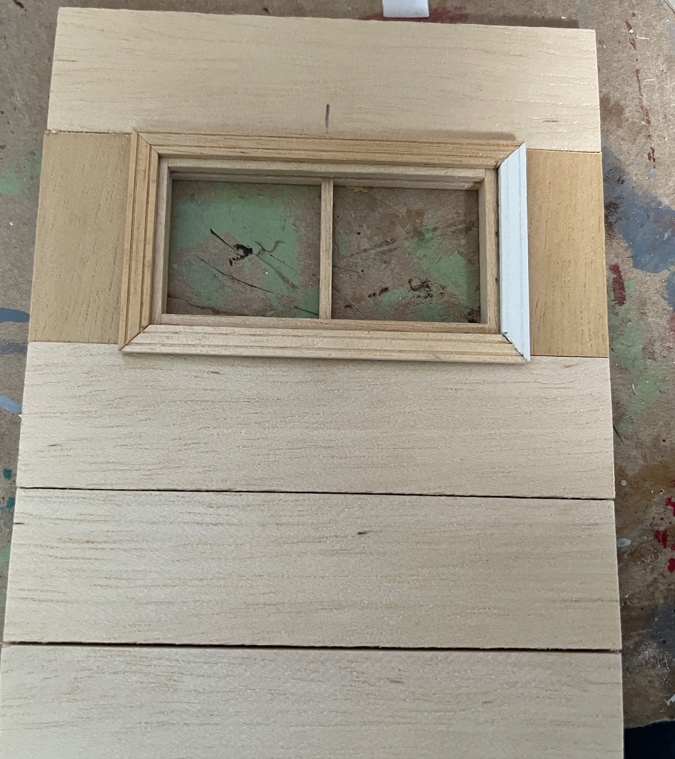
I glued on trim over the pencil lines. This is the thin trim that comes with older Houseworks doors; it’s about 3/16″ wide. The Houseworks window/door casing you can buy separately is 1/4″ wide, which seemed too chunky.
Next I laid out 1″ pieces of strip wood to position the window over the sink.
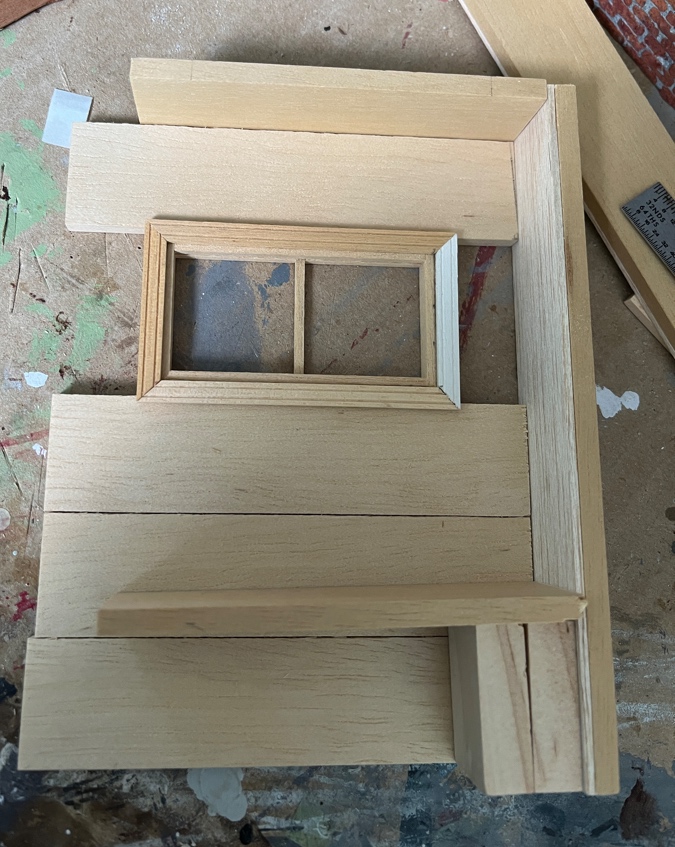
(Not shown: I had previously glued pieces of balsa onto the side pieces to make them a little wider. I did this when I was playing around with the Grandt line window, before ultimately vetoing that one.)
I centered the window and added side pieces to box it in.
After gluing the pieces together, I lay the assembly on a piece of cardboard and traced it.
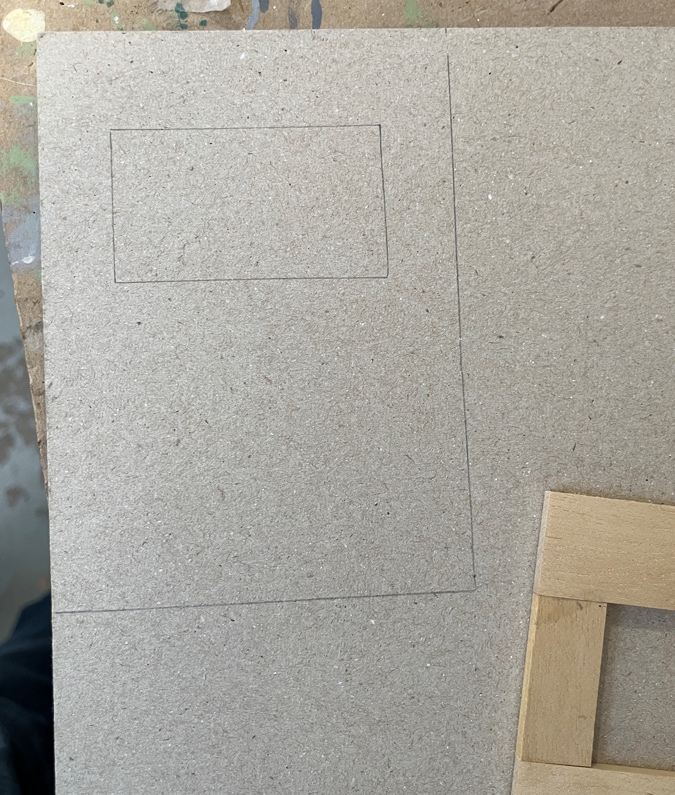
I glued the cardboard over one side of the wall. This will be the interior, and the cardboard will prevent the seams between the wood pieces from showing under the wallpaper. On the exterior, the seams will be covered by the bricks.
I glued the rest of the addition pieces together.
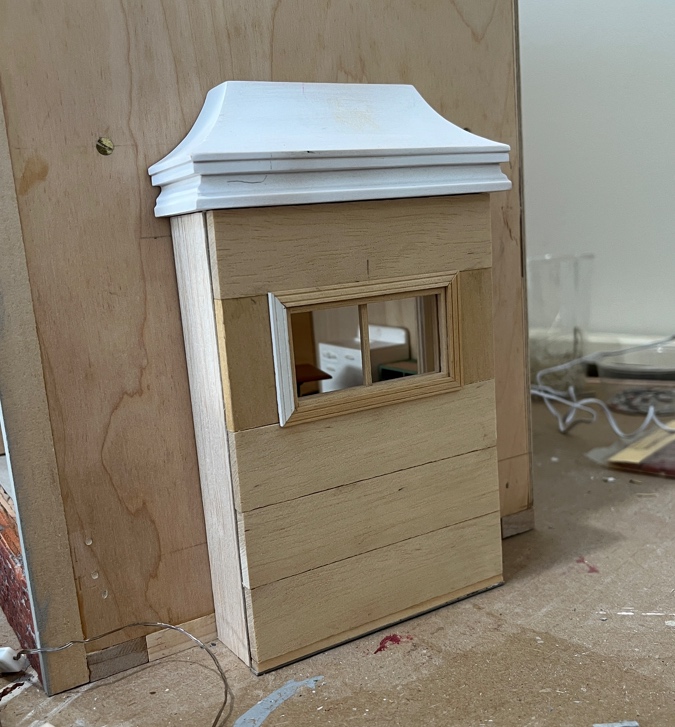
Here’s how it looks.
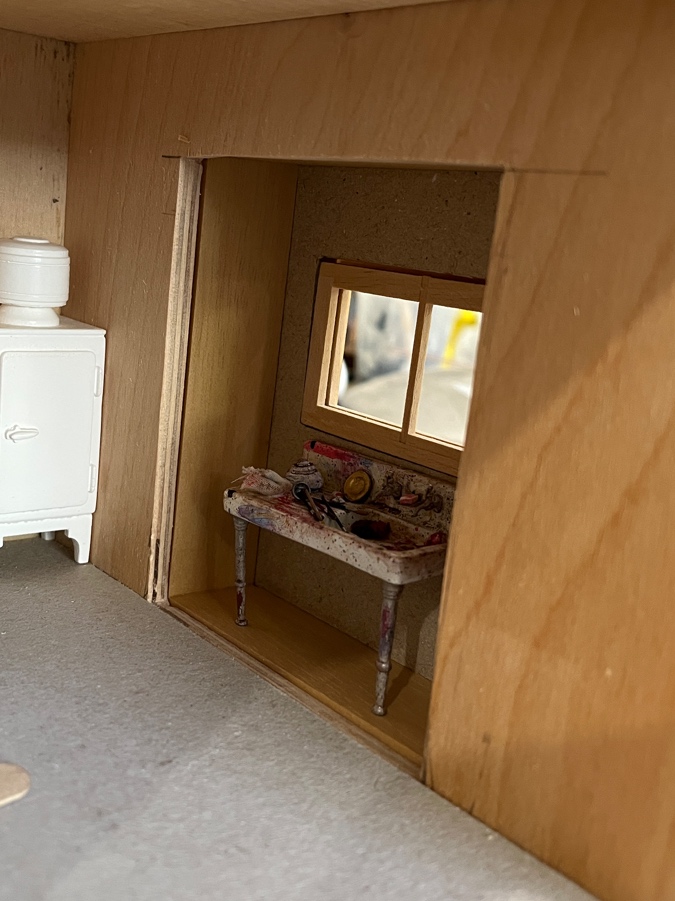
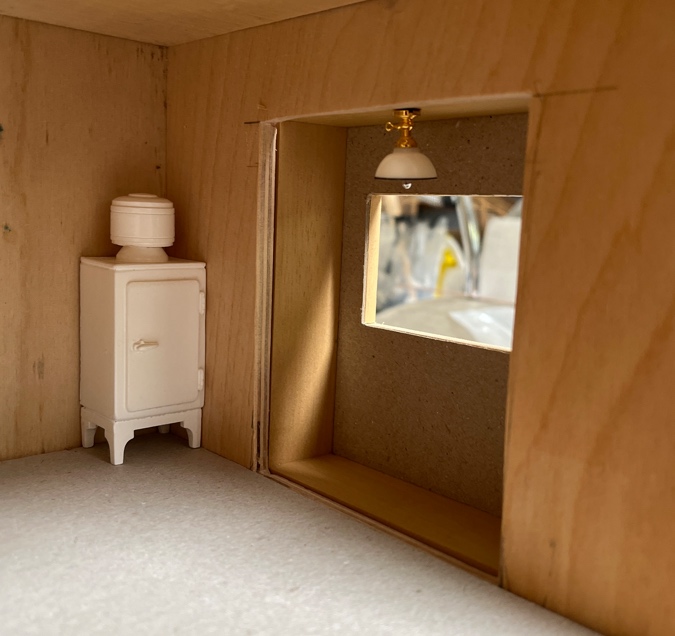
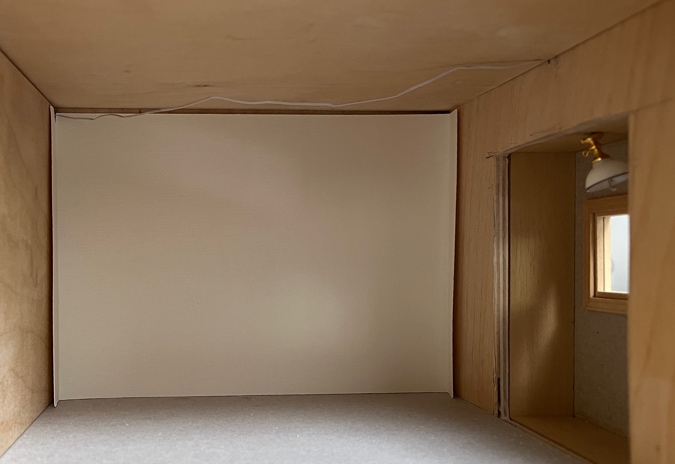
And from the inside. Even with the window, it’s shadowy. It needs a light.
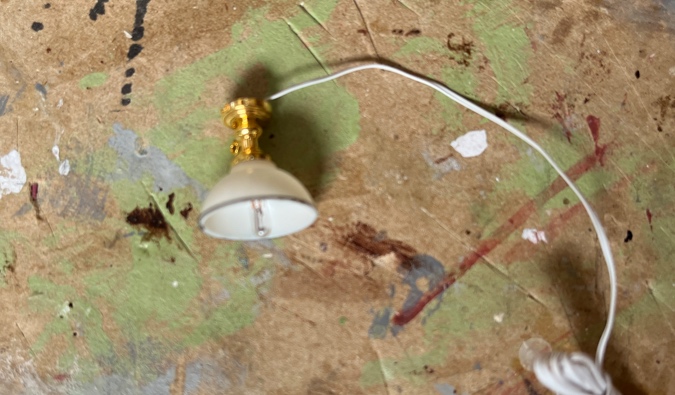
I cobbled this light together — it’s the shade from a hanging lamp that broke in the Gull Bay and the base from a Houseworks table lamp.
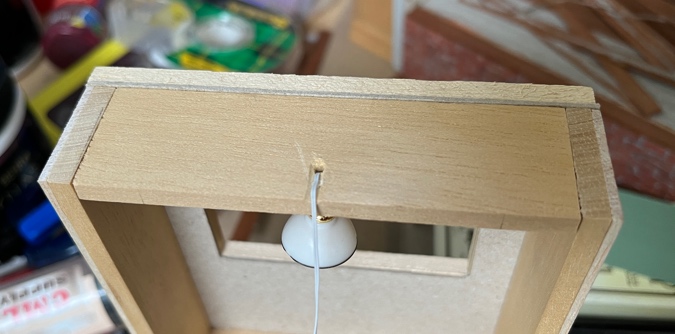
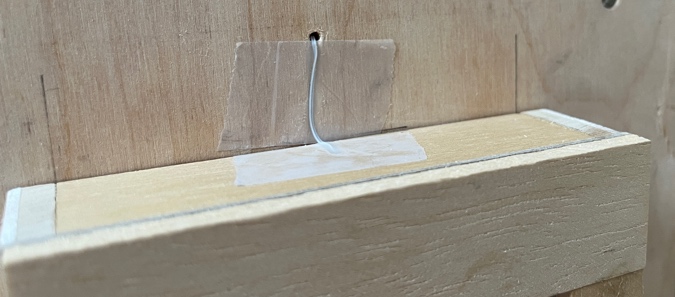
I drilled a hole in the ceiling of the bump-out, for the wire to pass through.
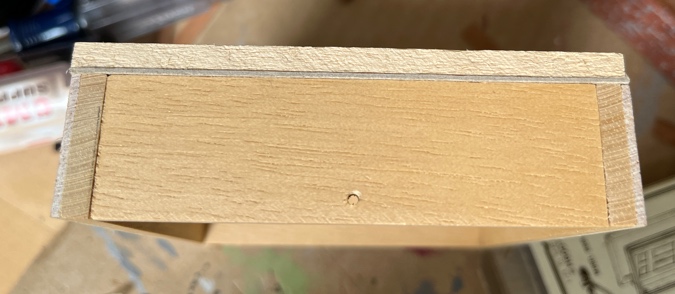
Here’s how that looks.
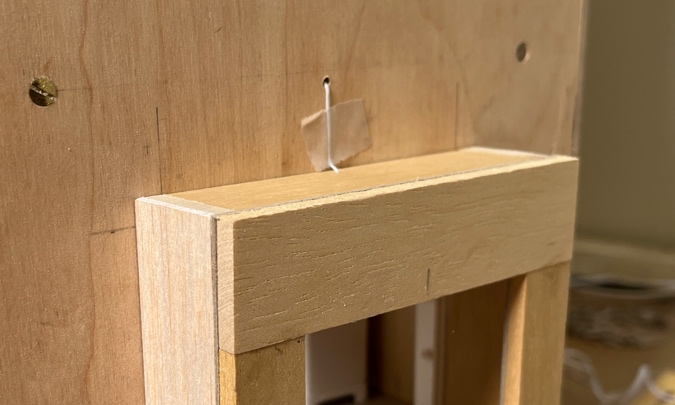
The wire goes up through the top of the bump-out, and then back into the kitchen through a second hole that’s positioned right under the ceiling.
Moving on to wallpaper, I’m using a textured off-white scrapbook paper in the kitchen. I cut a piece to fit inside the addition, with enough extra on the sides and top to cover the walls and ceiling. I scored and folded these, and cut the top corners at an angle so they’ll fold over neatly.
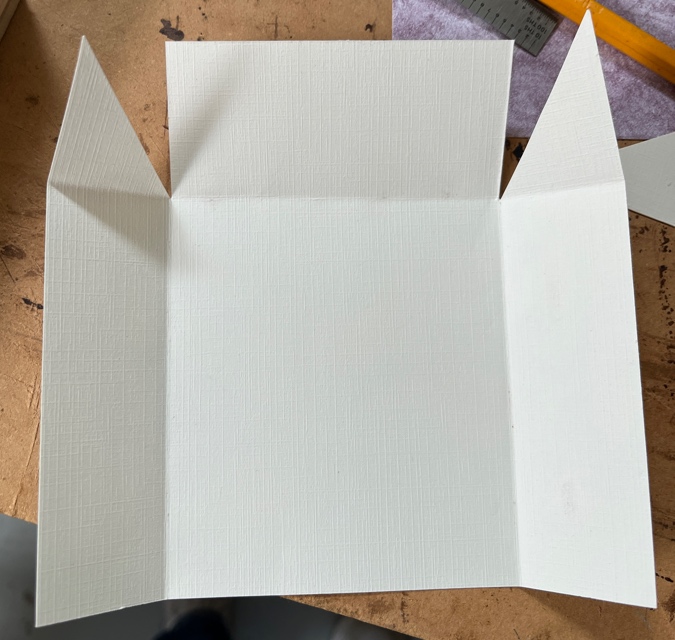
The excess paper sticking out at the edges will cover the 1/4″ thickness of the opening.
I was trying to do the wallpaper so I wouldn’t have to add trim around the opening. What I should have done here was left more paper on the sides so I could wrap it around to the kitchen walls. But because this paper is thick and stiff, I think it would have looked messy. I decided instead to cut the paper so it’s flush with the opening.
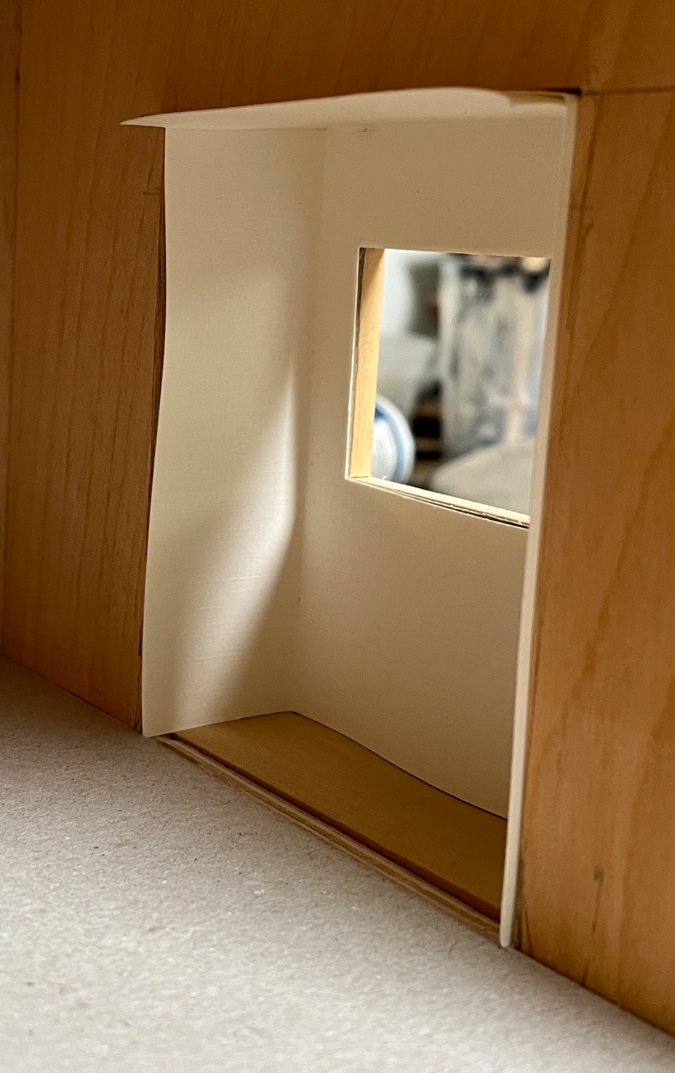
Unfortunately now you can see the seams.
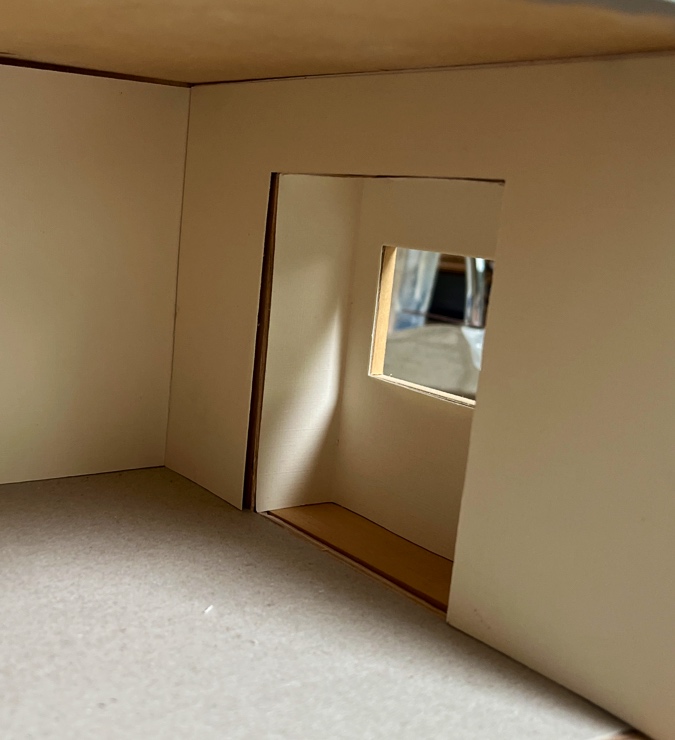
It’s okay. I’ll add trim like I did in the Queen Anne Rowhouse, and it’ll look fine.
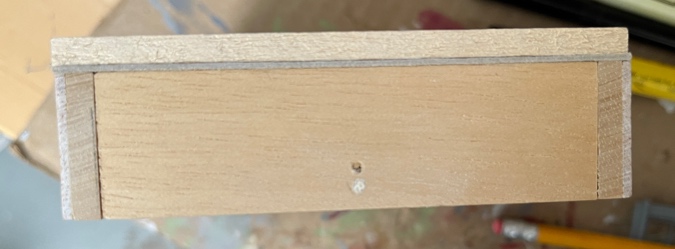
I had drilled the hole for the light very close to the edge of the addition. Now that I know I’ll need to add trim, that hole is in the wrong place. I drilled a new one farther in, and filled the first one with a piece of a toothpick.
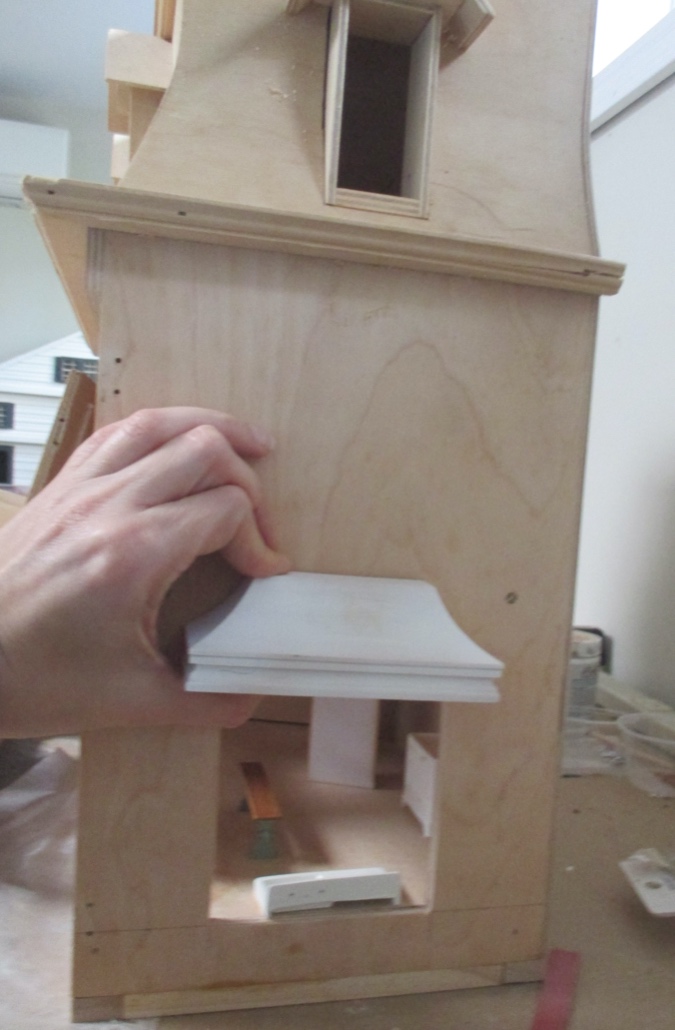
The French canopy roof will sit on top of the wire. I used one of Geoff’s metal files to make grooves in the wood.
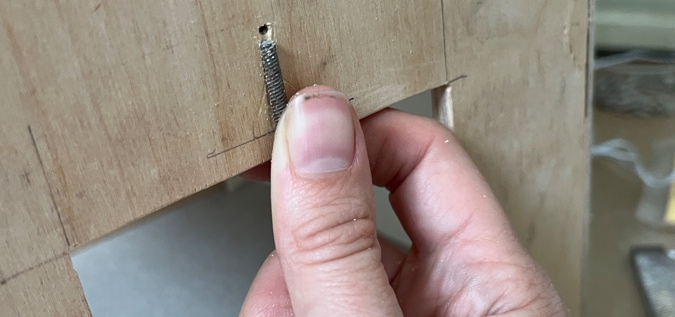
With the wire nestled in the groves, the canopy will be able to sit flat on top of it.
I haven’t glued in the interior kitchen wall yet. I sanded off the back corner using the disc sander. The stairway is on the other side of this wall.
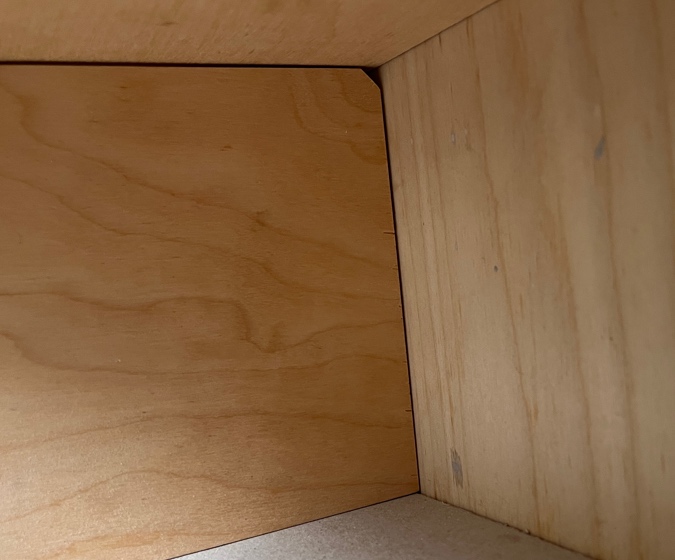
This way I can stretch the wire across the kitchen ceiling and plug it into an outlet under the stairs.
That’s all for now. More kitchen lighting coming soon!
 Emily is a freelance writer, miniaturist, and adventure game enthusiast.


That window is going to look perfect. Beautiful work as always. I really admire how you electrify your houses. I have a hard time planning out the builds, never mind adding lights!
That’s going to be so gorgeous! I love seeing your process and the changes you make along the way.
That little sink looks amazing! What fun!
What a great way to add some square “inches” to a tiny kitchen.