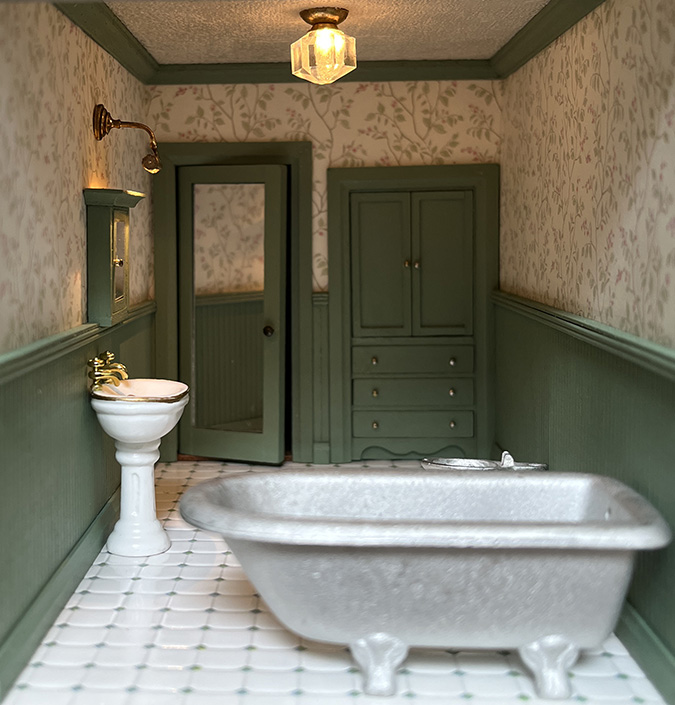
With the Mansard Victorian’s bathroom finally finished, I can now move on to the rooms on either side of it: a bedroom on the left and a nursery on the right. I started with the nursery because the electrical will be a little less complicated. (But only a little.)
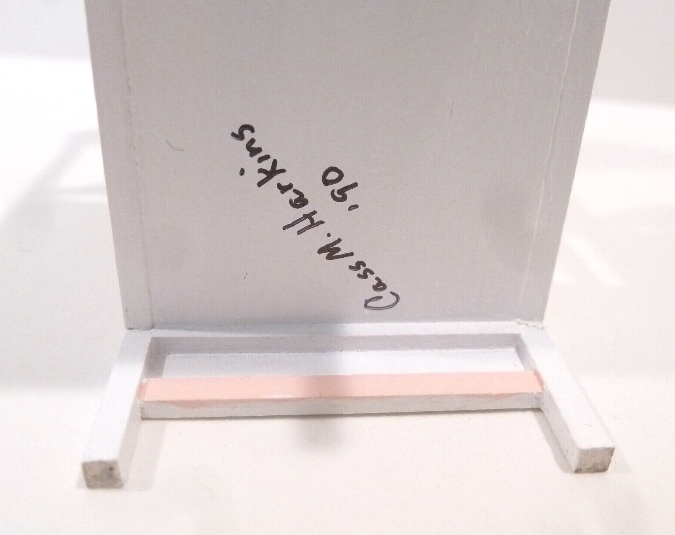
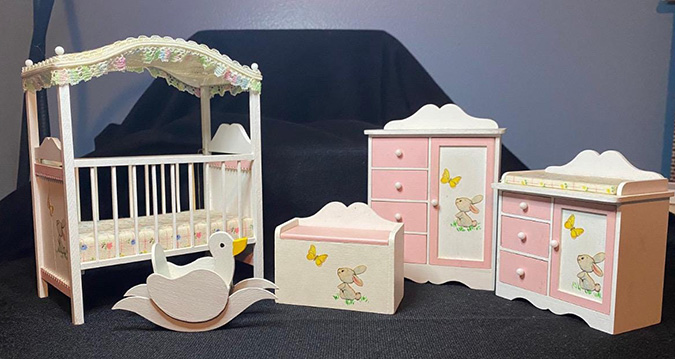
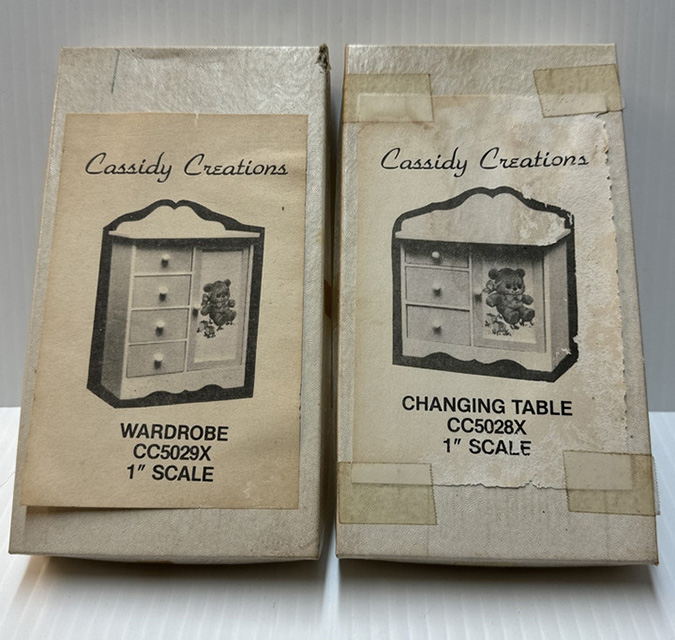
I originally bought an assembled Cassidy Creations nursery to use in this room. This set was finished by Cass Harkins, who used to cut the Cassidy Creations kits for Bauder-Pine. (No relation to the “Cassidy” of Cassidy Creations — that was Bob Cassidy, Pat Bauder’s uncle.)
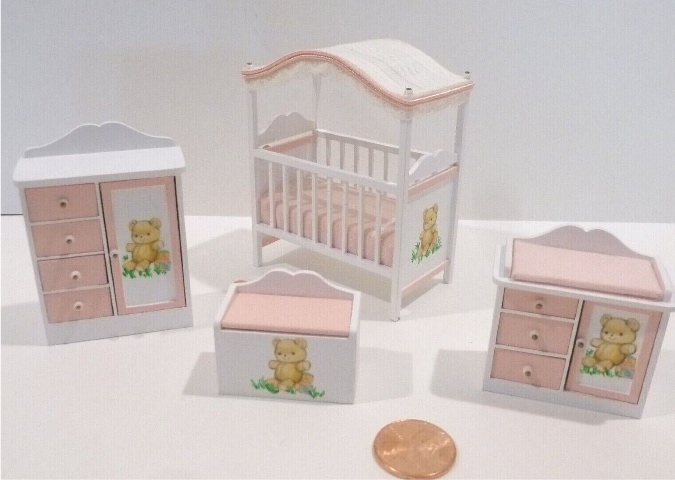
This post has more info about the nursery I bought, as well as photos of other pink sets made by Cass.
More recently, I’ve come across photos of two sets in other colors. This one is from Worthpoint.
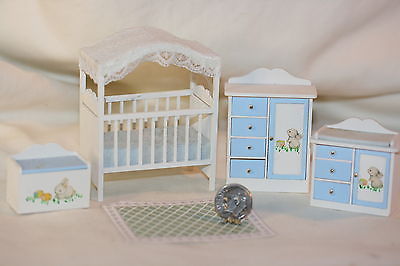
And this one was posted by Lisa M. Mtz Heitman, owner of the ISO, For Sale & Chit Chat Dollhouse Group on Facebook.
According to Cathy Miller-Vaughan, the current owner of Bauder-Pine, the little animals on these pieces are cut from wrapping paper.
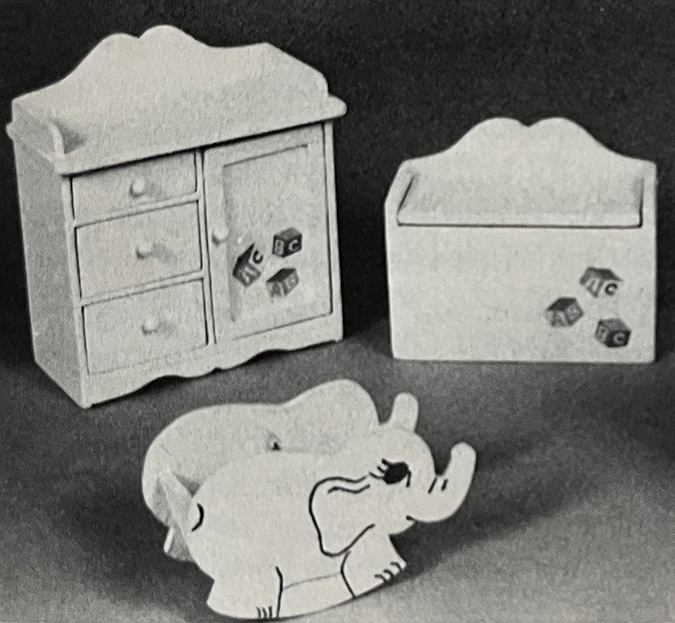
The February 1984 issue of Nutshell News has an article about a 1:12 scale version of the Cassidy Creations nursery. I knew Cassidy Creations sold a firescreen kit in 1:12, but I’d never seen anything else in that scale.
Here’s what Cathy had to say about it:
The one inch scale nursery set was one of a few pieces that were offered way back in the 80’s, I think. Pat and Mary [Pat Bauder’s original business partner, before she teamed up with Frank Moroz] started in one inch scale in the late 70’s, early 80’s. I’m not sure why Pat eventually moved down to half inch.
Here are a few pics Cathy sent me of the 1:12 nursery. These were also assembled by Cass Harkins, but signed with just her initials. Even without a scale reference, you can tell these are beefier than the half scale versions.
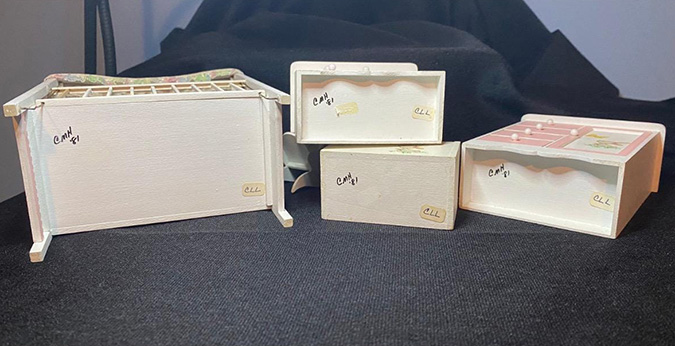
A picture in the Nutshell News article shows an elephant rather than a duck. Also, the article mentions that the front of the crib slides down in the 1:12 version. (It doesn’t in the half scale version.)
I have an eBay search set up for “Cassidy Creations,” and I had received several notifications about nursery pieces that I ignored because I didn’t need more nursery kits. One day I looked closer and realized they were the 1:12 version! (Yes, I bought them. I have a problem.)
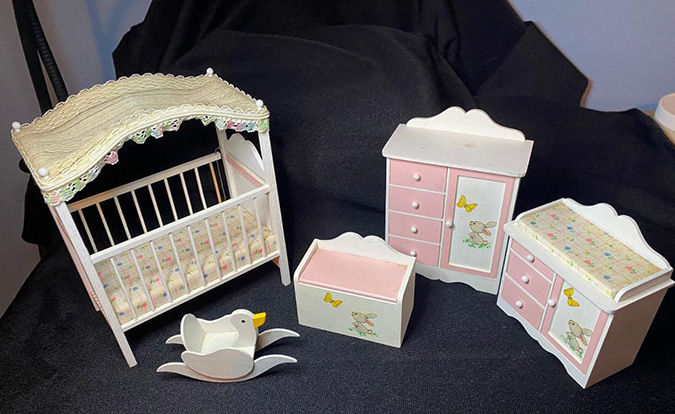
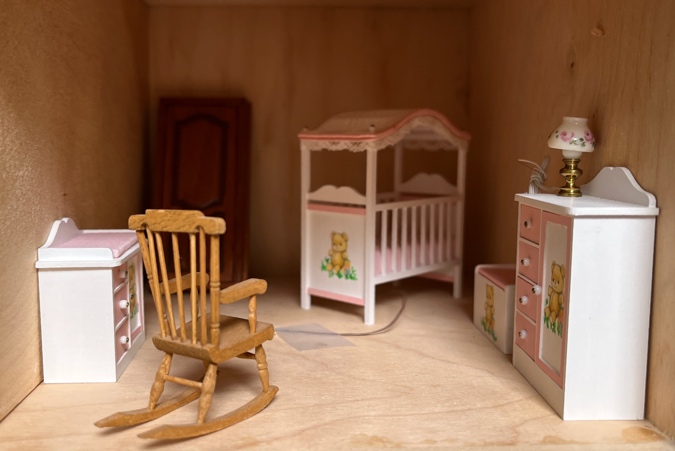
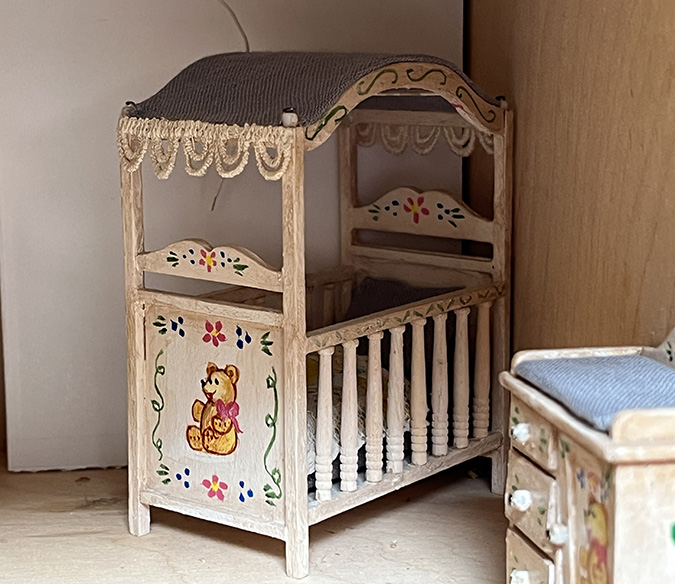
Okay, back to the Mansard Victorian. I do love the pink nursery set, but I had two little complaints: it didn’t come with the swan, and the colors feel too bright compared to the other colors I’m using in this house.
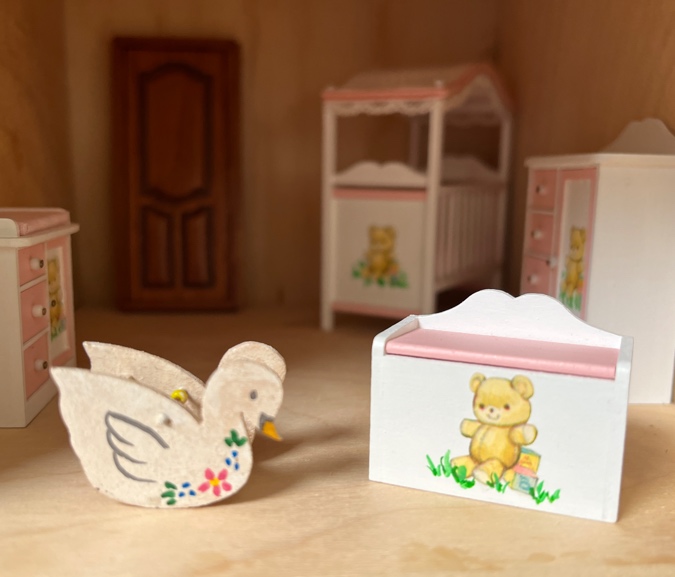
During one of my late-night “scour the internet for miniatures I don’t need” sessions, I came across a hand-painted nursery set at Miniature Cottage that was being sold as individual pieces.
I bought the swan… but the color didn’t really go with the rest of my Cass Harkins set.
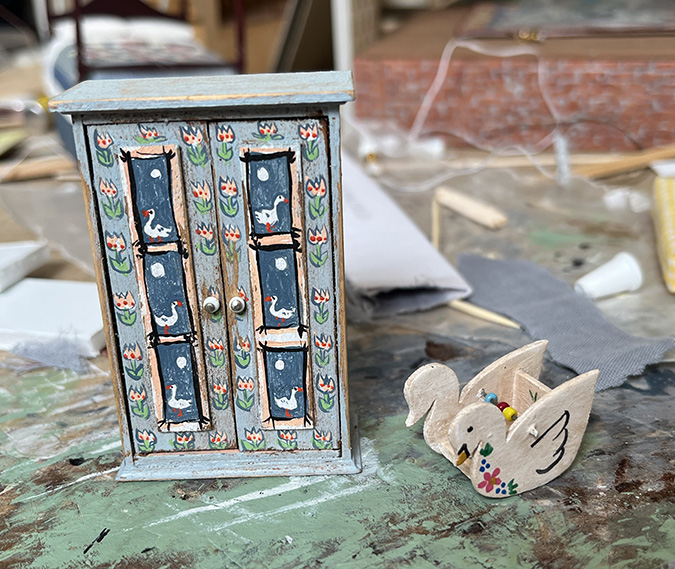
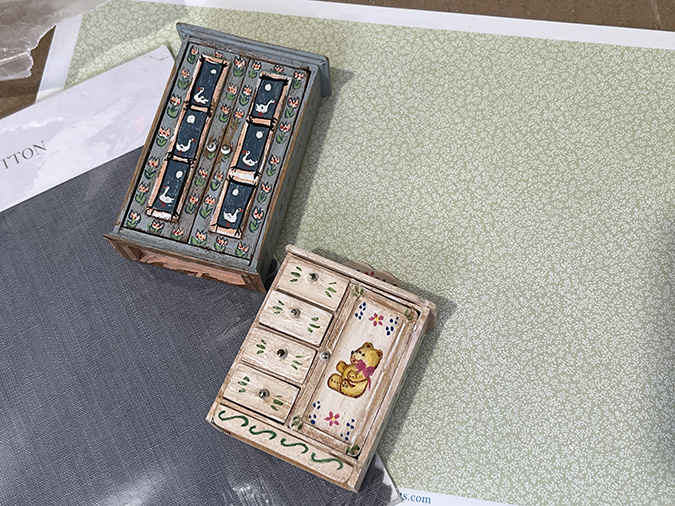
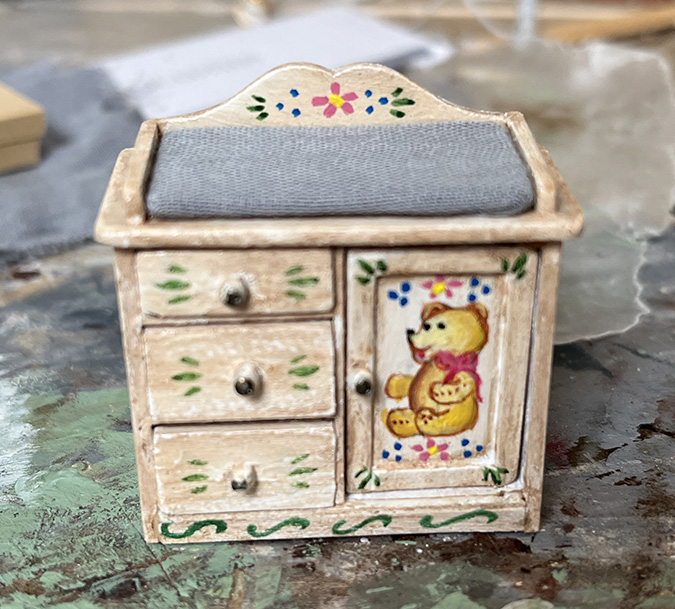
But it does kind of go with this wardrobe, painted by Cheryl Hollis, which has a swan motif.
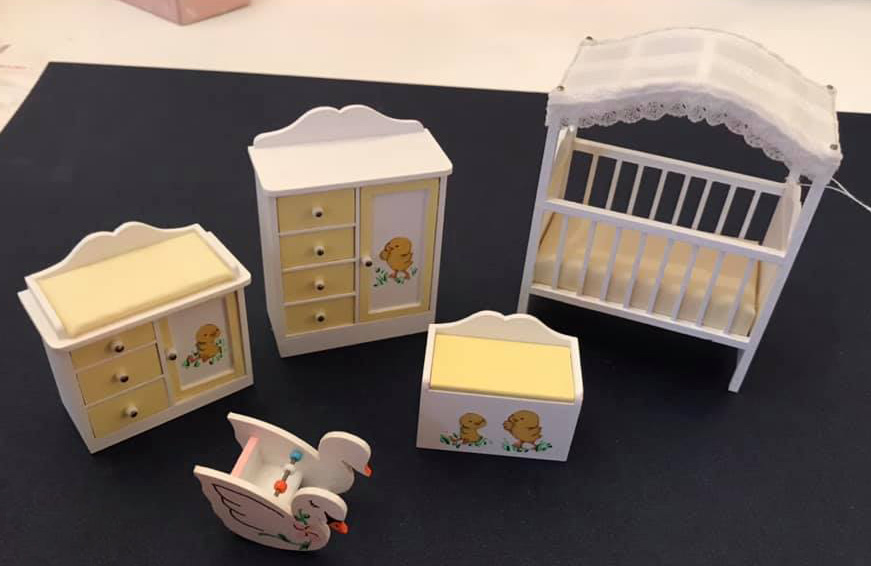
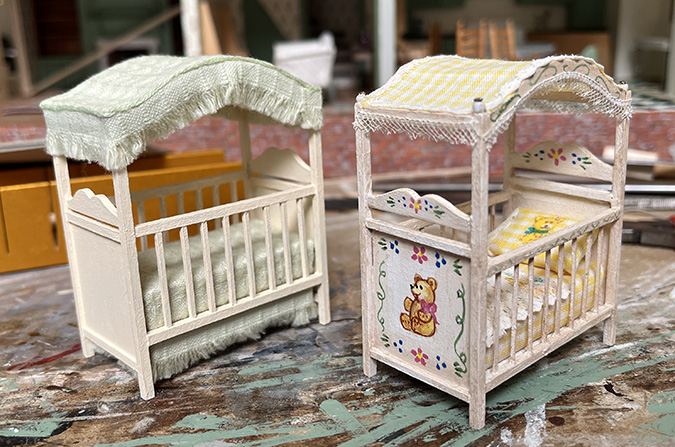
Anyway, you probably already know how this ends — I bought the rest of the set. I’ll use these pieces in the Mansard Victorian, and hold onto the Cass Harkins set for a different house (maybe the Bauder-Pine Puritan).
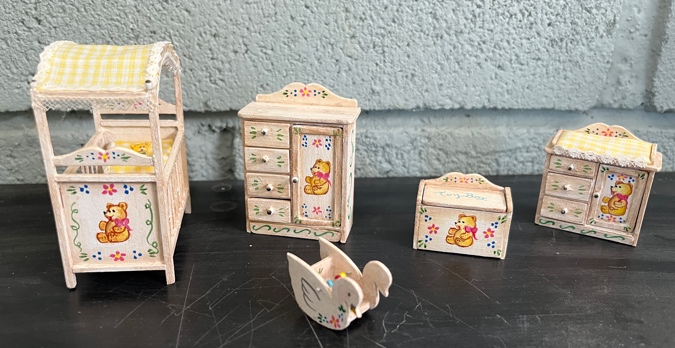
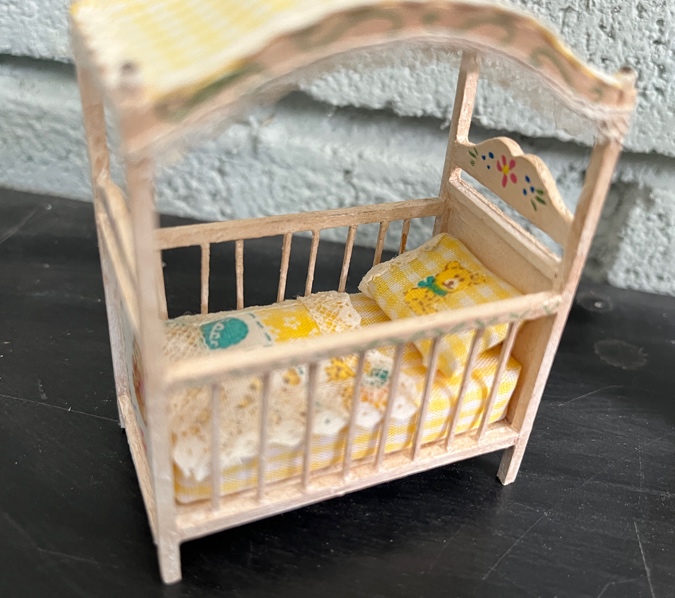
I love the paint job, but I admit I’m not a fan of the bright yellow fabric.
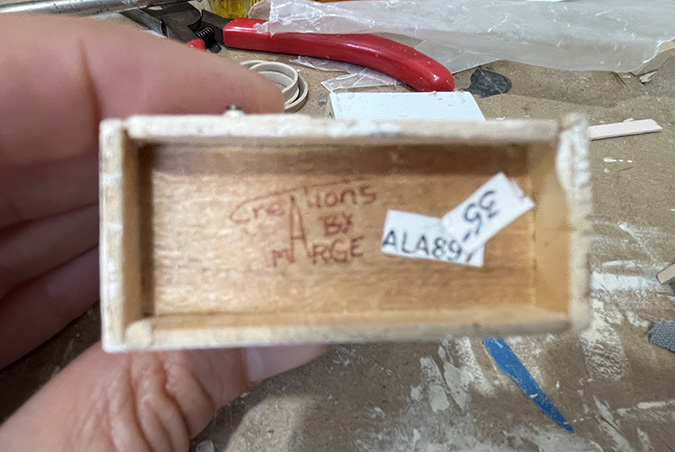
The pieces are signed “Creations by Marge.” I haven’t been able to find out anything about Marge — please post in the comments if you know who she is.
To get started on the nursery room, first I needed to choose wallpaper. I wanted something that would complement the green trim and the wallpaper in the other rooms.
Here are a few I pulled out.
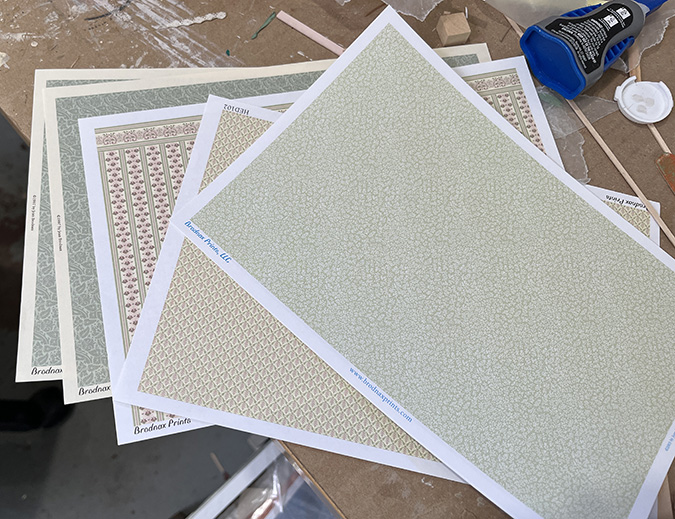
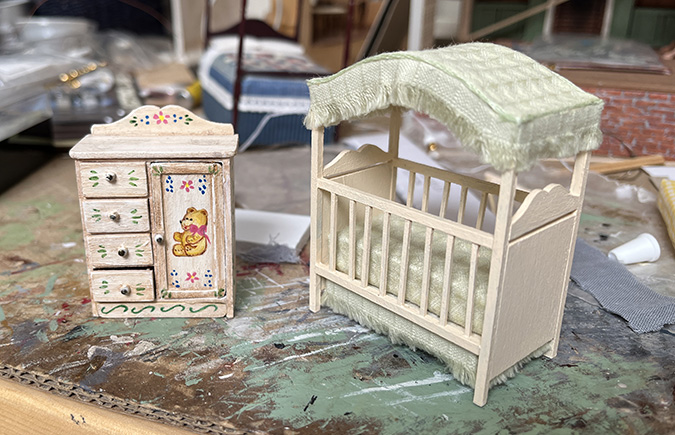
The paint on the teddy bear pieces goes well with all of these, but the yellow fabric not so much. I have a Cassidy Creations crib that I made myself, with green fabric. I pulled it out to satisfy my curiosity.
Hey, this looks nice!
I thought about using the green crib with the rest of the teddy bear furniture, but I didn’t want to break up the set. Since I didn’t like the yellow fabric anyway, I decided to replace it. What could go wrong?
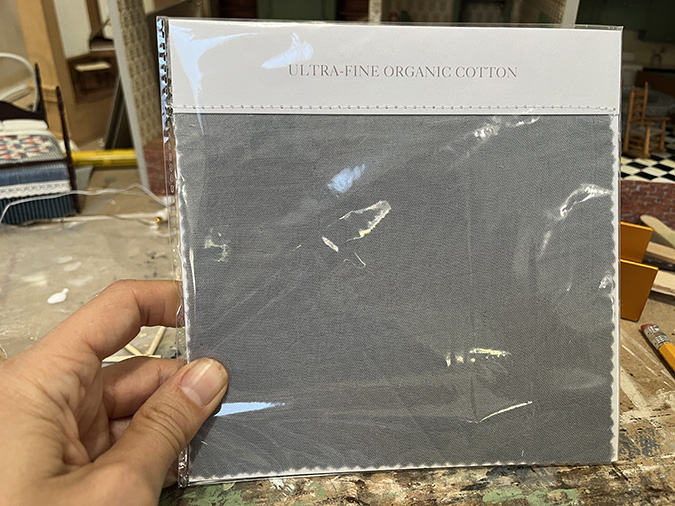
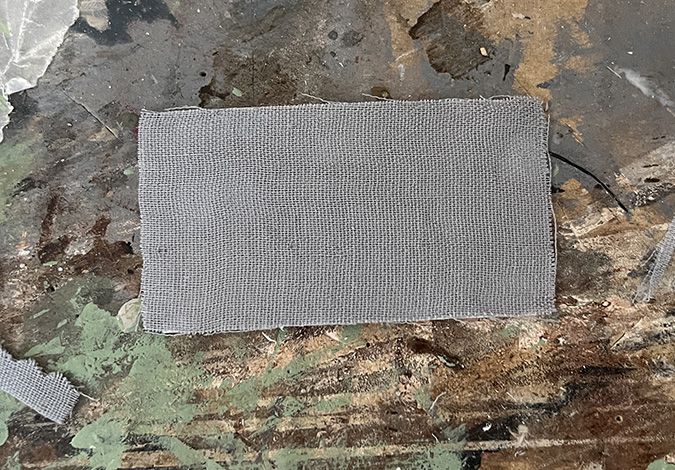
I looked through my stash for fabric that would tie everything together and found two blue Restoration Hardware swatches that looked good.
(Full disclosure: This is not the swatch I ended up using, but a slightly darker one. I failed to take a picture before I cut up the lighter one.)
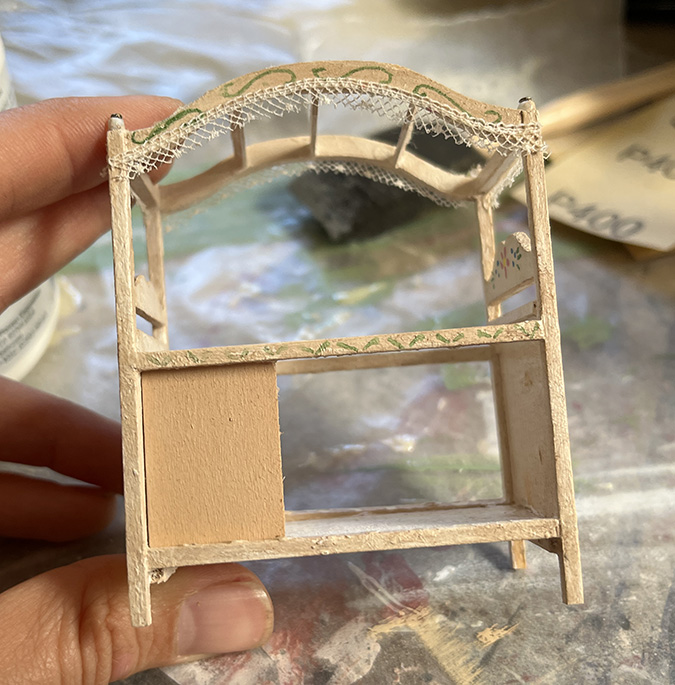
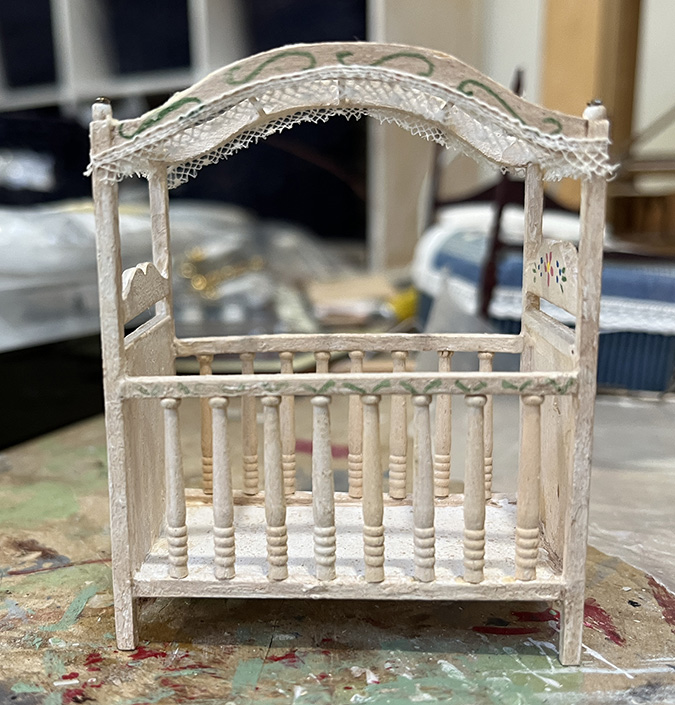
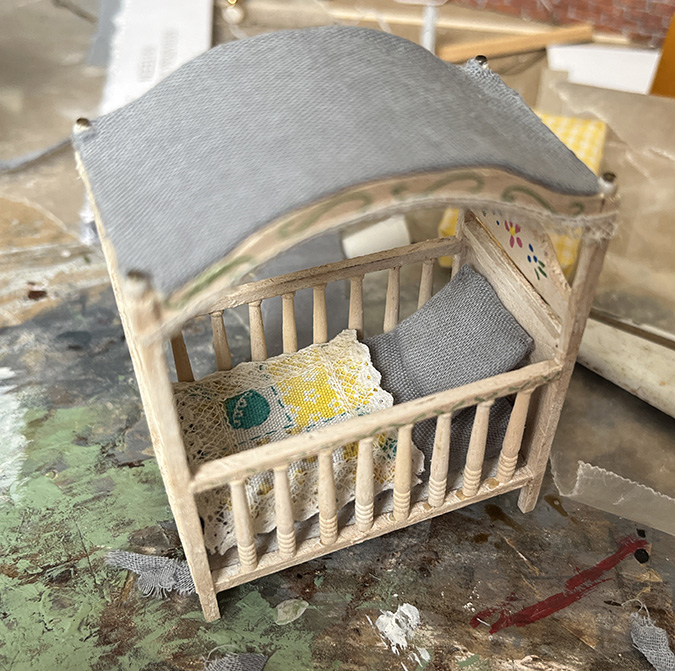
The canopy cover and changing table pad were easy to remove. The mattress and pillow were not — they were firmly glued in. I broke three of the slats trying to get the mattress out, and a few others were loose.
These slats are much skinnier and more delicate than the ones in the kit I assembled, and several of them were crooked. Removing all of them and replacing them seemed preferable to trying to fix the broken ones.
I have another Cassidy Creations crib kit in my stash and could have pilfered the slats from that, but I remembered how hard it was to glue them in straight when I built my crib. I went looking in my stash for preassembled railing pieces that I thought could work. (I last used these on the Craftsman Bungalow’s porch.)
This is railing exactly the right height but there isn’t a good way to install it, since the crib already has a top and bottom rail. Hopefully I’ll remember this if I ever build another Cassidy Creations crib.

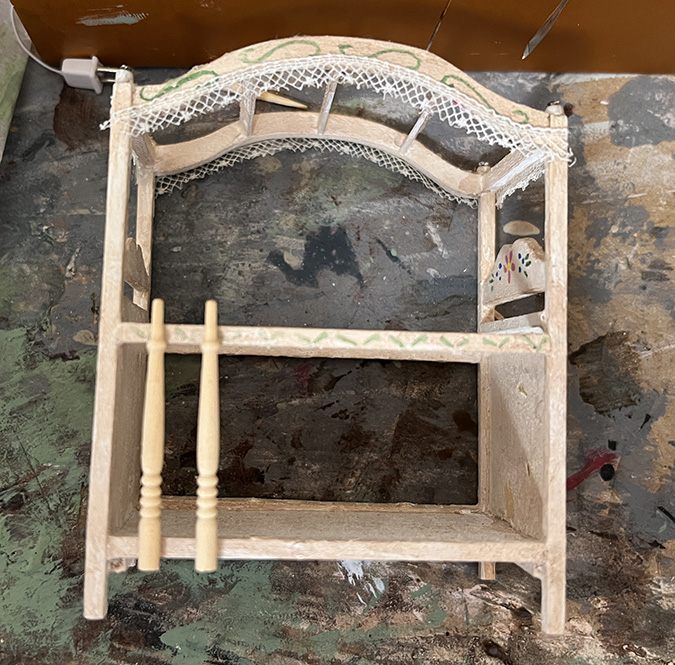
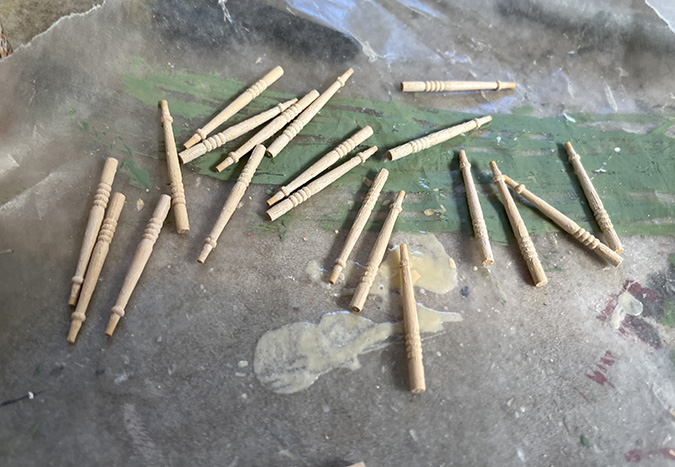
While I was looking for the railing pieces, I found some 1:24 spindles. These seemed like they’d be sturdy, easier to glue in straight than the ones that come in the kit.
The finish has a mottled look, probably achieved with washes. I pulled out a tan paint (Behr Butterscotch Amber) and an off-white paint (Behr Delicate Lace) that seemed complementary.
Here’s the tan by itself. It “goes,” but it’s obviously darker.
Here it is with a wash of the off-white applied on top. That’s closer, but still too dark.
Then I tried the off-white first, with a tan wash on top. We have a winner!
I painted the spindles, including a few extras in case I cut any too short.
In the end I didn’t even need the extras. I cut each of these a little too long, and then sanded the bottom with an emery board to get a tight fit. Then I glued them in with tacky glue.
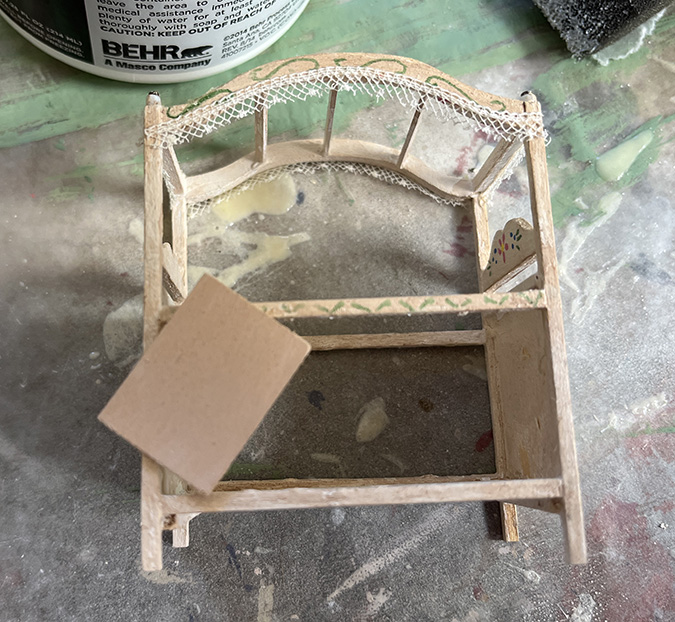
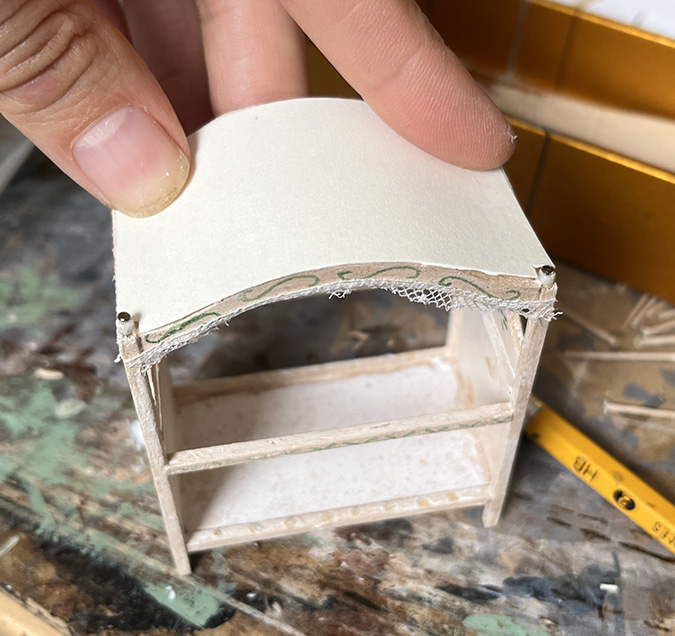
The pin-and-bead knobs at the tops of the posts are supposed to be inserted through the canopy fabric, but they were glued in tight. I cut a piece of stiff scrapbook paper with notches at the corners to accommodate the knobs.
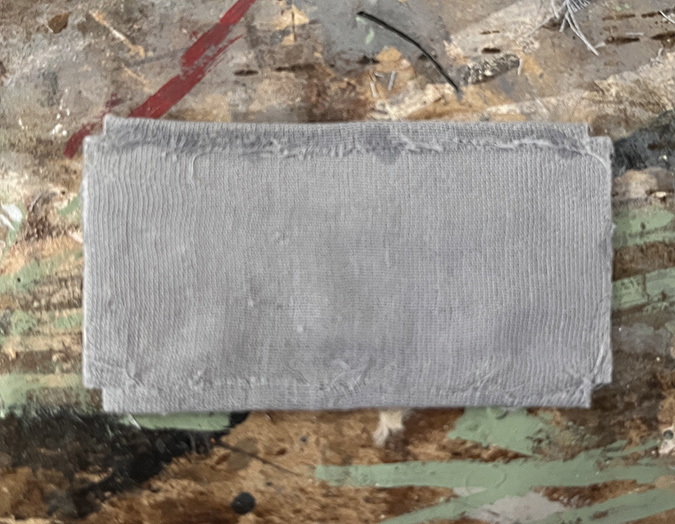
This is the lighter swatch I used (here on the Restoration Hardware website). These swatches are great for mini projects, and free!
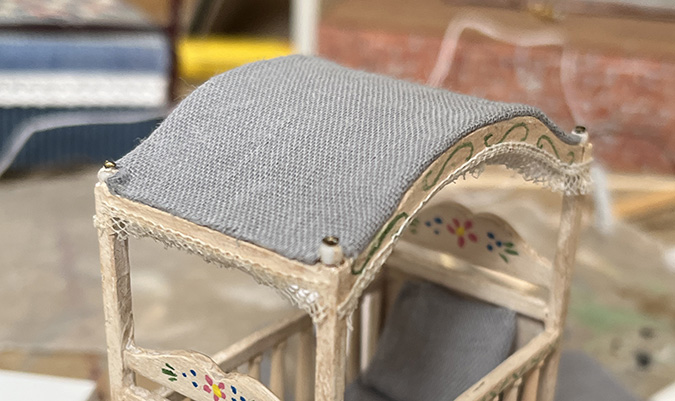
I started by covering the bottom (visible from the underside of the canopy).
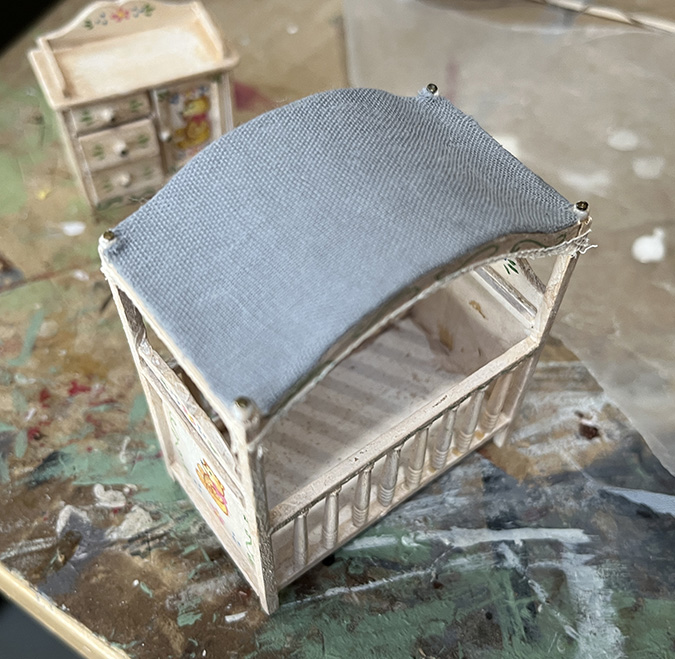
Then I glued a piece on the top that was slightly too large, wrapping the fabric around the long sides, and cut out the notches. The seams will be covered by the canopy frame.
I intended to wrap the fabric around the short sides as well, but I accidentally glued the fabric on too close to one edge and didn’t have enough fabric to wrap around. So instead I cut off the fabric right up against the paper.
Here’s how it looks.
For the mattress, I attempted to glue fabric over the existing mattress.
Looks very lumpy, and it didn’t fit well because the fabric folded over the edges made the mattress a little too big for the crib. I didn’t take a picture of it in the crib, because I wanted to pull it out and remove the fabric before the glue dried.
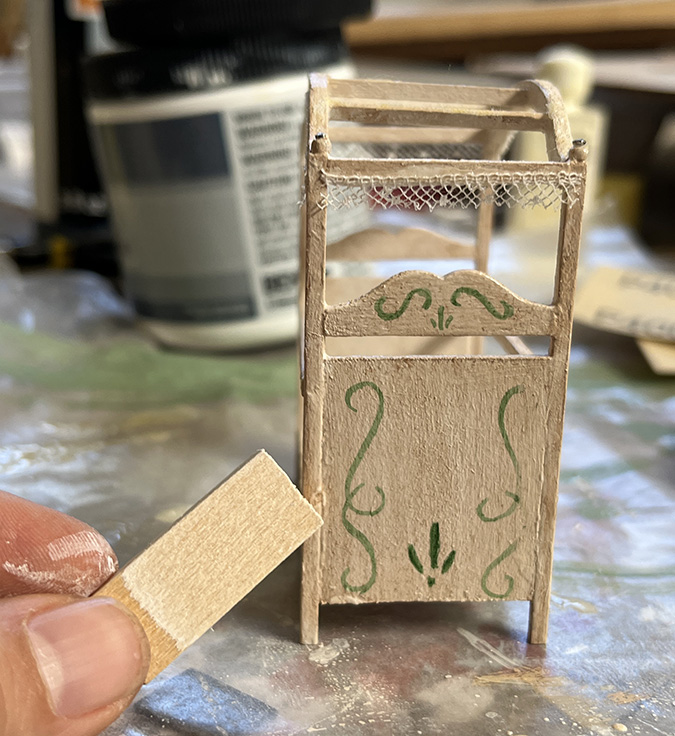
Instead I made a block from strip wood. I didn’t have anything thick enough, so I glued two pieces of 1″ x 3/16″ wood together.
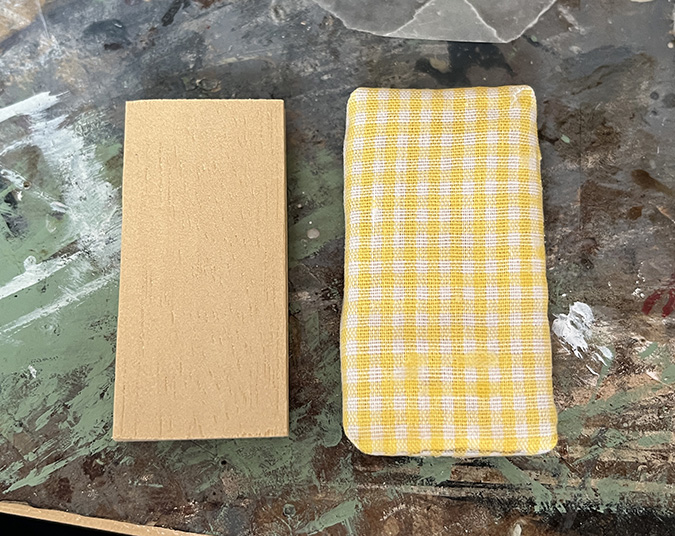
That’s neater. The “grain” is little crooked, but you won’t be able to see that.
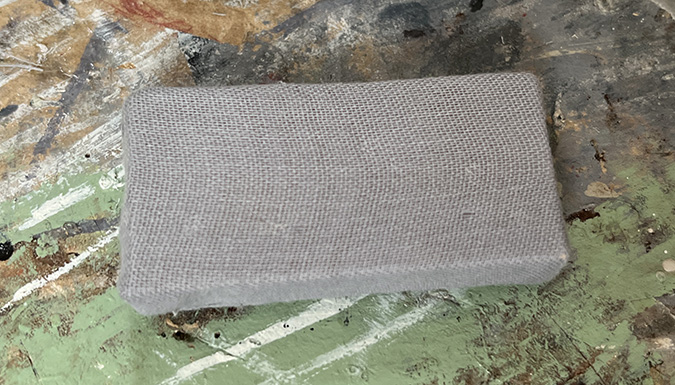
Nice!
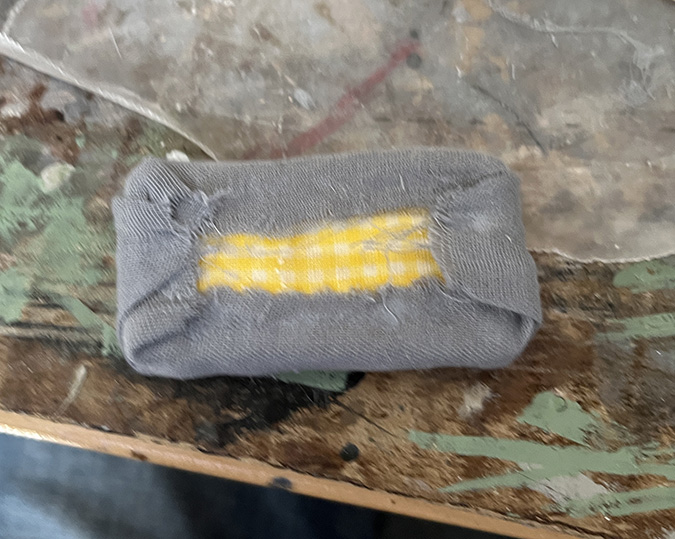
I wouldn’t have bothered with a pillow (don’t want the baby to suffocate), but unfortunately when I removed the yellow pillow, a little paint came off with it.
Nope, still hate the yellow.

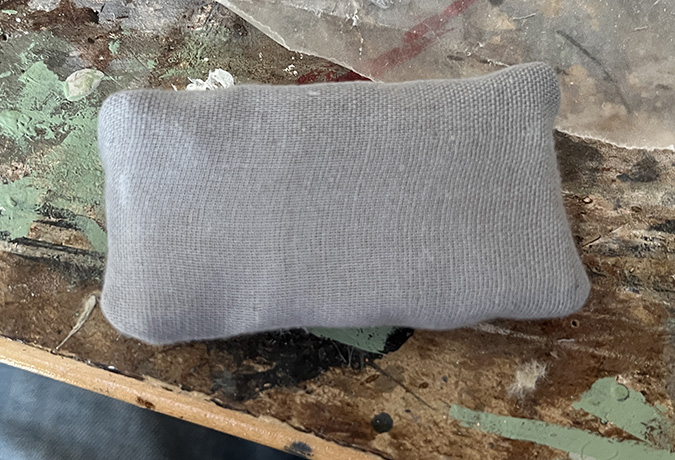
This pillow had a pillowcase glued over a little white pillow. I cut off the pillowcase and covered the pillow with my fabric. One corner is wonky, but I didn’t have enough fabric to redo it, so my pillow isn’t perfect. With the crib tucked in the corner of the room, this will be good enough.
I like the idea of the little blanket, but still can’t stand the yellow, so I’m not going to use it. Maybe I’ll cross stitch something to go here instead.
I had just enough swatch fabric left to cover a piece of cardboard for the changing table.
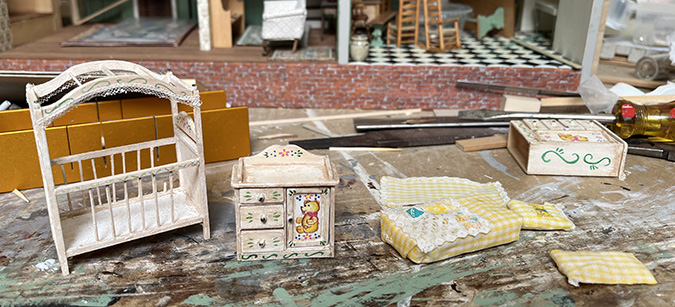
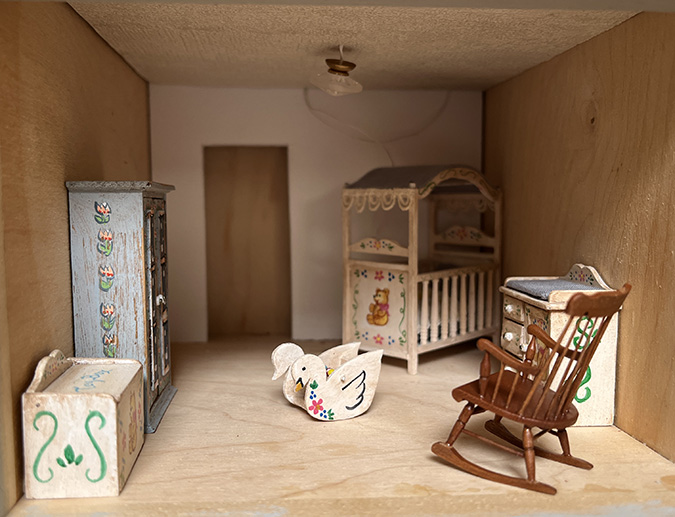
Here’s all the furniture laid out in the room. I really don’t need both of those wardrobes in here.
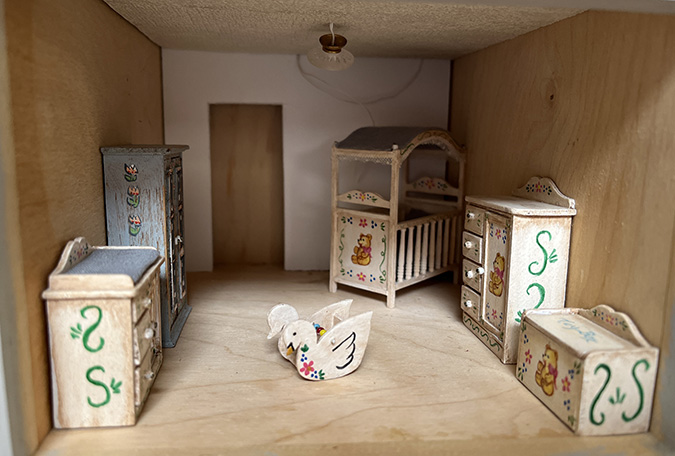
The teddy bear wardrobe looks okay with my other crib, so I’ll probably use these together in my puzzle house. (If it’ll fit under the peaked roof, that is… looking at the pictures in that linked post, I’m not sure if it will.)
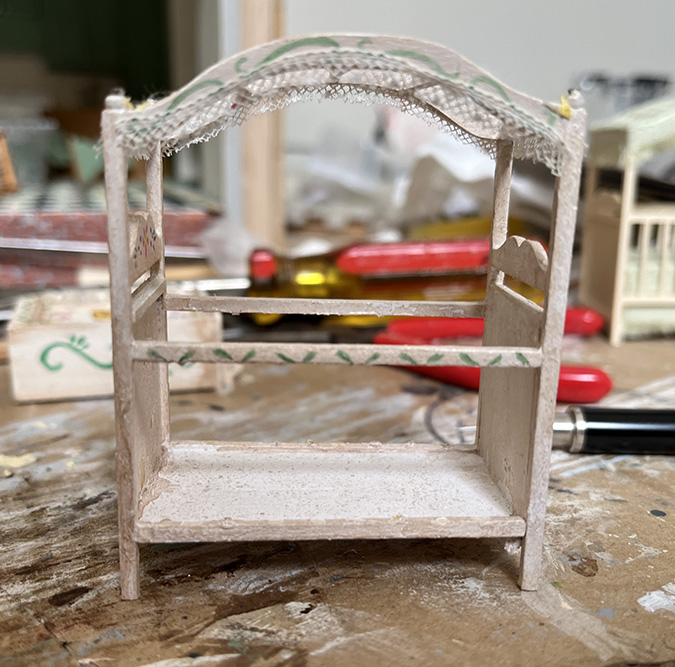
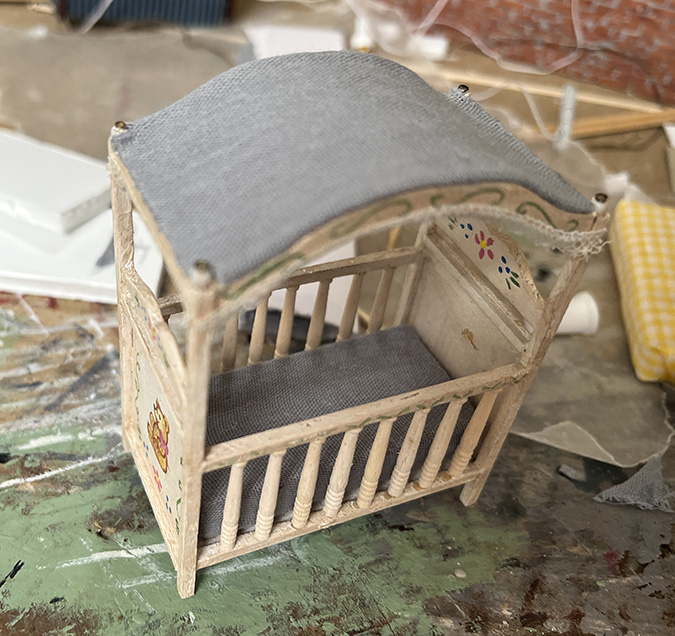
The front edge of the canopy, where I didn’t fold over the fabric, looked a little ragged and you could see a bit of the white edge of the paper showing through. I also wasn’t in love with the lace glued on top of the canopy frame.
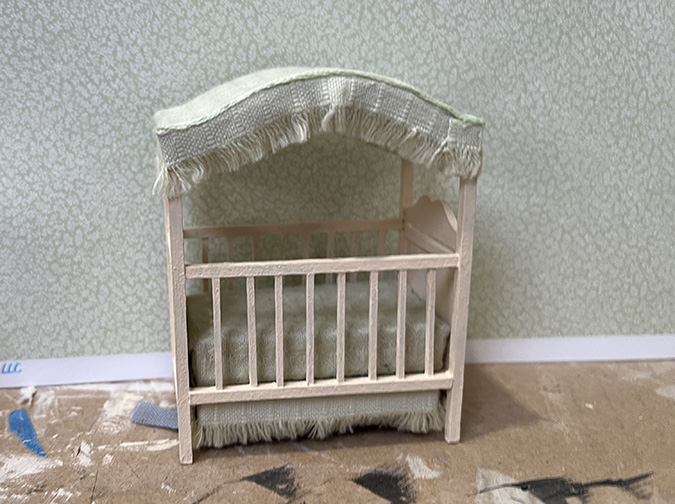
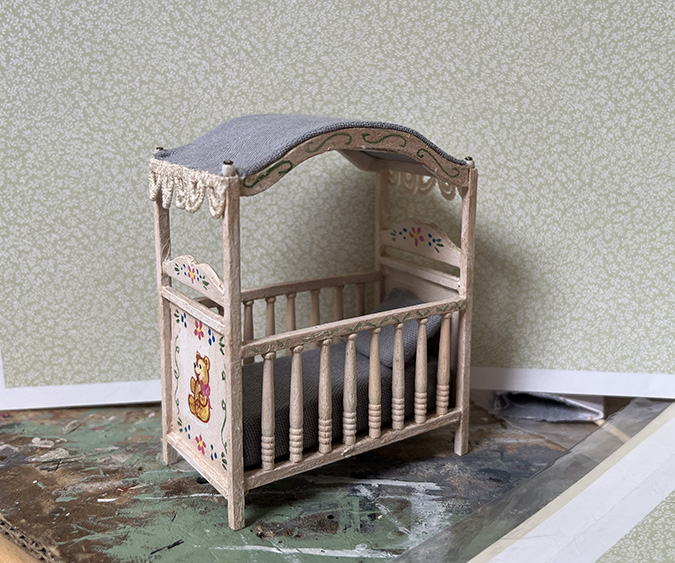
I pulled off the lace and added some bunting-like trim that I found in my stash. It covers up the messy edge and I think it’s cute.
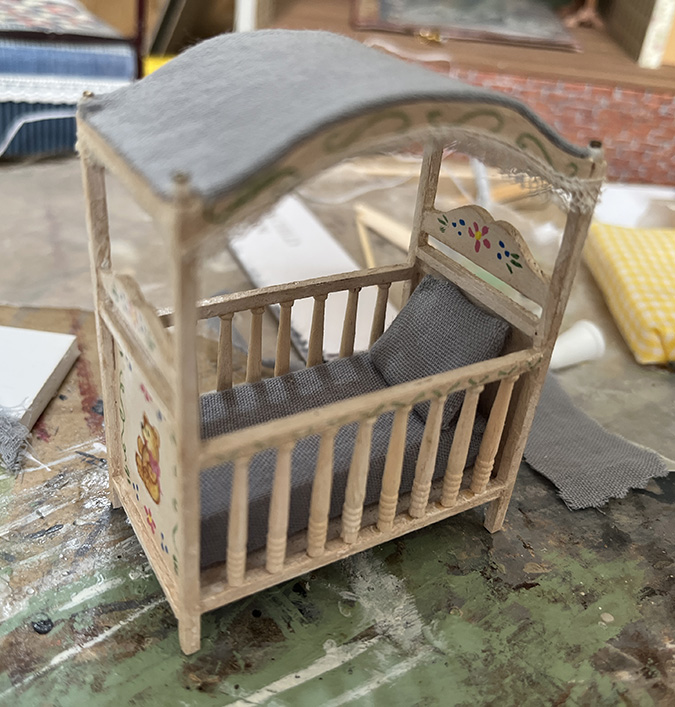
So here’s how the room will be laid out. I can’t decide if the William Clinger rocking chair is a good fit for this room. Maybe if I add a cushion? I could always order another free swatch.
And here’s how the newly finished crib looks with the wallpaper I’m going to use. Much better than the yellow would have been.
 Emily is a freelance writer, miniaturist, and adventure game enthusiast.


As usual..your attention to detail is impeccable! Love it. I am also doing a nursery right now. I have been searching for a half scale rocking chair..and it has been a challange..I really want a white one too..but Ithink yours looks good..but agree a cushion would tie it in more.
The one in the picture with the pink set is made by Shenandoah, and I see them turn up on eBay now and then. It could be painted. But it doesn’t look too comfortable for nursing a baby!
Those are some beautiful nursery sets. You did wonderful work with this one. If you order more fabric, maybe you could make a seat cushion and a back cushion for the rocker? Looks fantastic!
Thank you! That’s a good idea.
I like the fabric change too. Not a fan of that yellow either! Certainly enjoying watching your progress with each room. Thanks for taking us along! Your blog always gives me great ideas too.
I’m excited to see how this room comes together, and what you will choose for the floor…Thanks so much for sharing all your research also.
Thanks for the update! It’s a joy to see your wonderful “finds” and how you use them. I’m in awe of your creative skills!