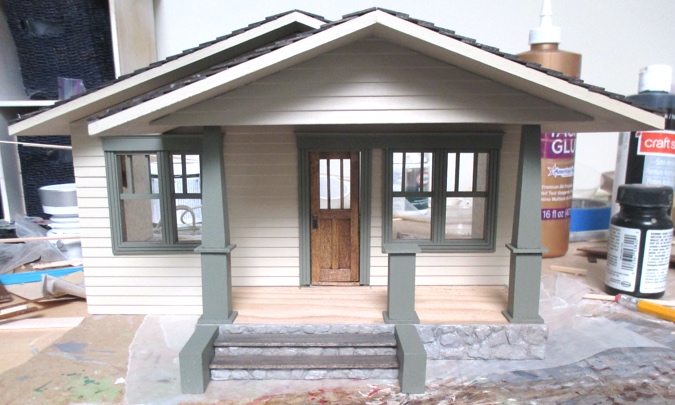
Back in June, I started the porch on the Craftsman bungalow vignette. Then I realized I should finish the interior windows and paneling before attaching the porch, while I could still easily put the vignette face-down on the table.
Here’s where I left off.
I positioned the porch so there would be the same amount of space between the posts and the corners of the porch roof. I drew pencil lines at the outer edges of the door trim to make sure I lined it up correctly when gluing.
The directions just said to glue the porch to the front of the house, without any tips for how to do that. The porch is made from a solid block of wood. I didn’t have high hopes that regular glue would hold it, but gave it a try.
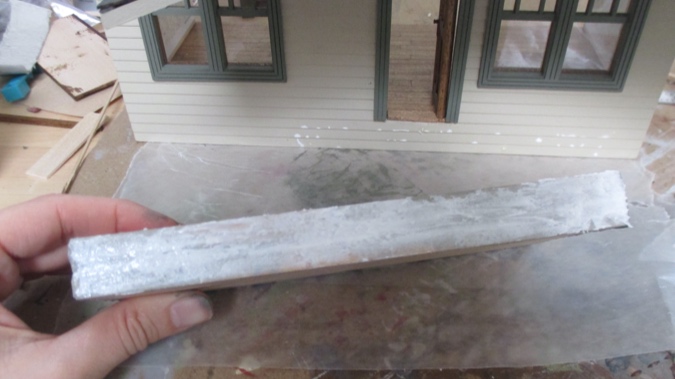
As predicted, that didn’t work. Because the porch is being attached to siding rather than a flat surface, the glue didn’t have much to adhere to. I could have gotten out the big clamps and clamped it into position to dry, but I just didn’t have a good feeling about the glue holding, so I wiped it off while it was still wet and asked Geoff for help.
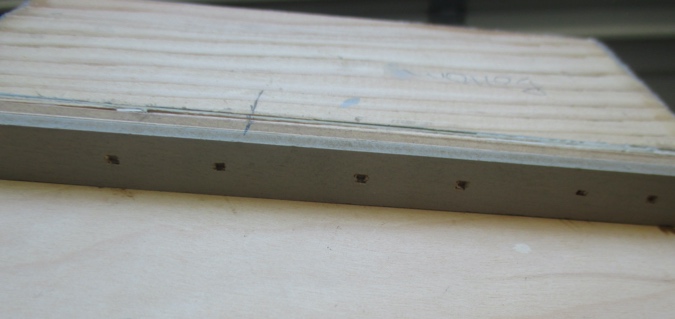
My initial thought was to nail the porch to the house through the bottom of the foundation. Geoff held the nail gun in there and found that it would fit, with the nails going in at an angle.
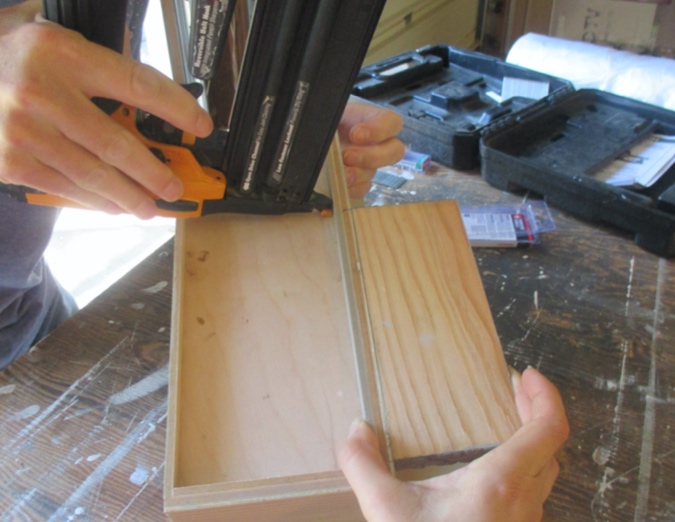
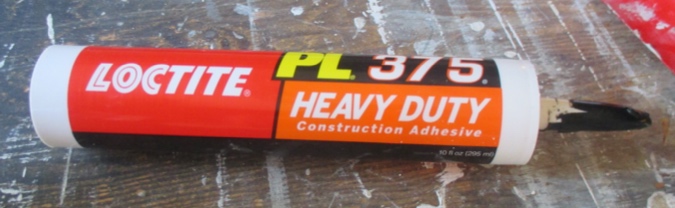
Because he likes to over-engineer things (in a good way), he suggested using construction adhesive in addition to nails.
We turned the house upside down on the workbench. I used the lines I’d drawn around the door to position the porch, held it in place while flipping the house over, and then drew a line on the bottom that extended from the porch to the underside of the foundation. This way, when it came time to glue, I just had to match up the two lines.
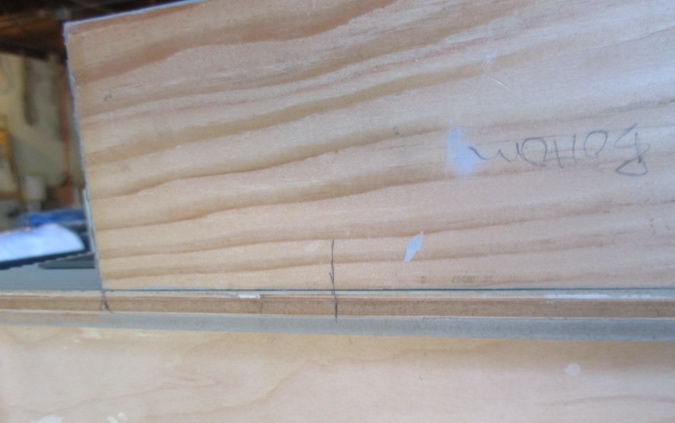
(I also labeled the bottom of the porch “bottom” because attaching it upside down totally seemed like something I would do.)
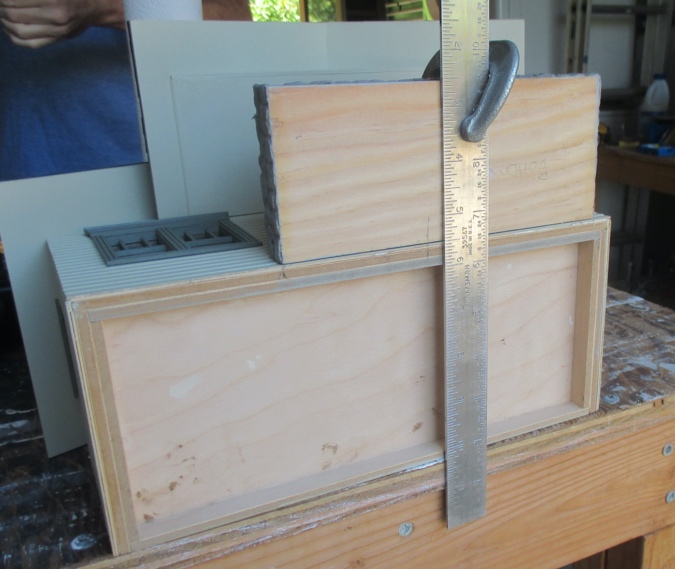
To make sure the bottom of the porch was flush with the bottom of the foundation, Geoff clamped a metal straight edge to the porch to use as a guide.
He squirted on the construction adhesive.
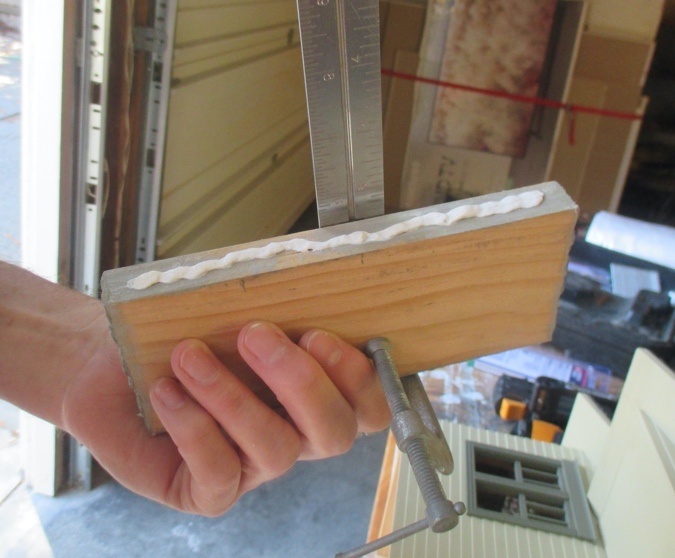
And then clamped the porch in place.

We let it sit for a few minutes, and then he shot in some nails. He did the outer edges first, and then removed the clamp and did the center. It probably didn’t need that many nails, but see above re: over-engineering. (I’m not complaining!)
Once the porch was nailed in, we turned the house right side up again.
Two of the nails had broken through the top of the porch. (Oops, fuzzy picture, sorry.) The porch floor will be covered up by a wood sheet, but the nail nubs stuck out too much.
Geoff clipped off as much as he could with some tool that clips things. (Wire cutters? Pliers? Something in that family.) But there were still nubs poking out.
I had the idea to tighten a clamp over them, which pushed them back into the wood. It worked!
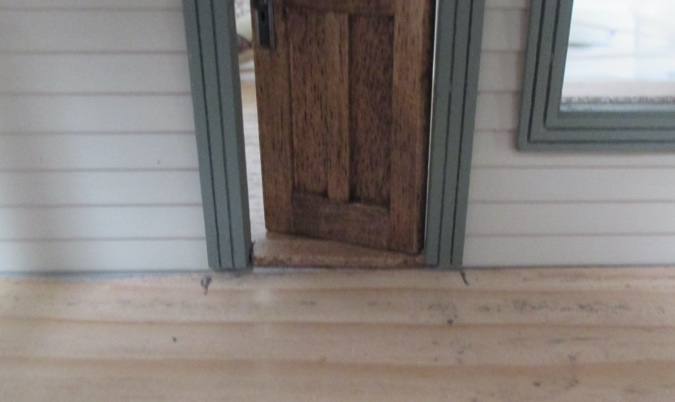
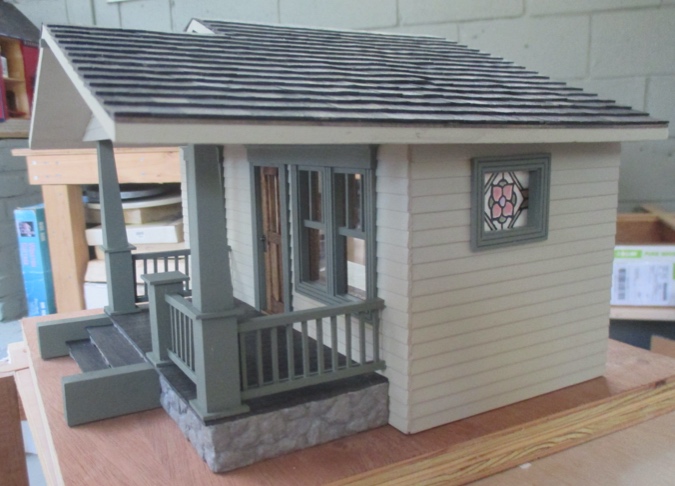
Next I glued on the flooring.

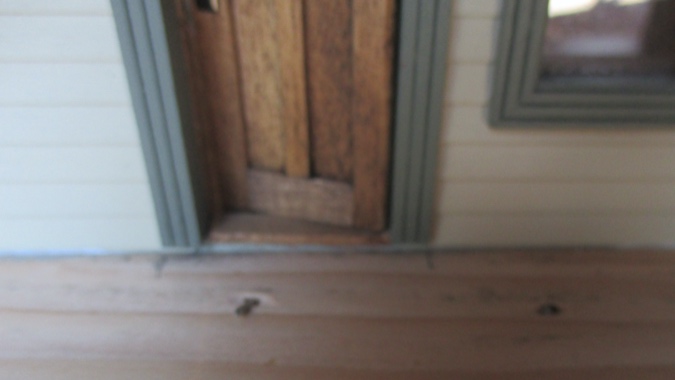
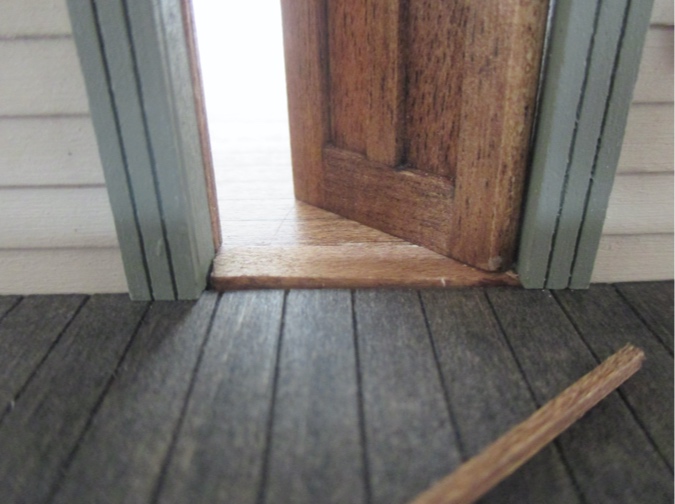
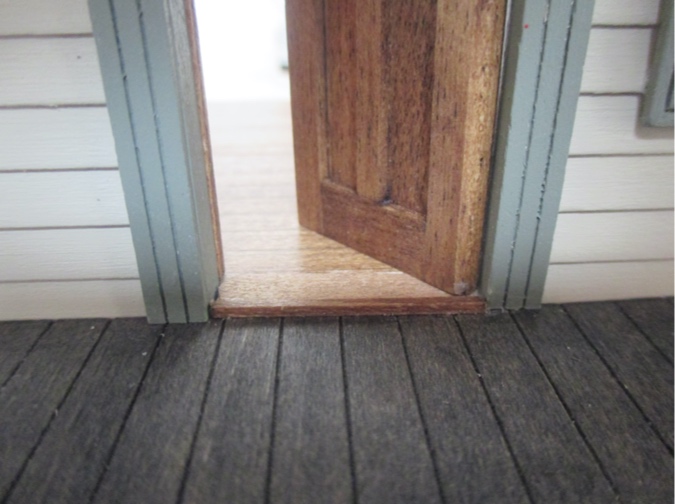
While that was drying, I glued in the piece of 1/16″ x 1/16″ strip wood I’d prepared to hide the uneven door threshold. The little piece has been sitting on top of a paint container for the past two months. I’m proud of myself for not losing it.
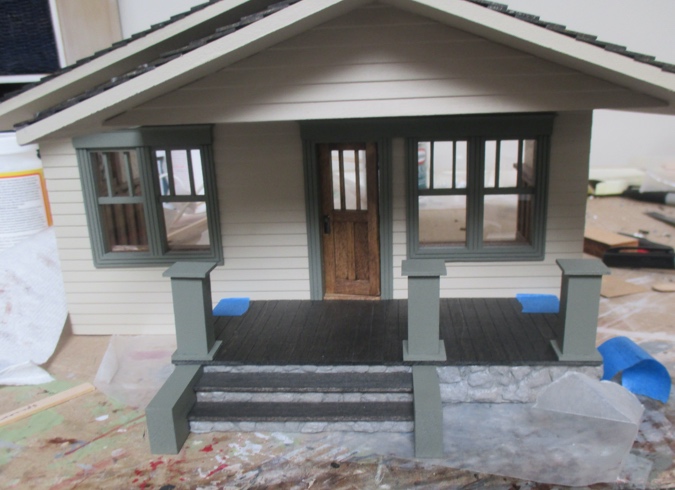
And then I glued the stairs and bottoms of the porch posts in place.
(The threshold looks crooked again in this picture — it’s just because the door is slightly open. Optical illusion, I promise!)
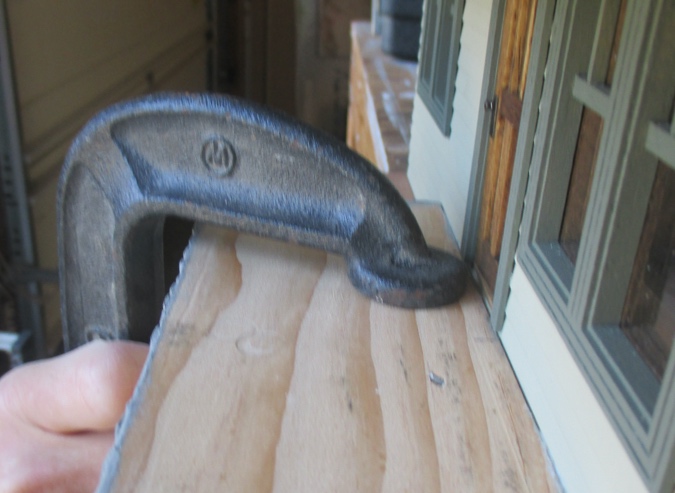
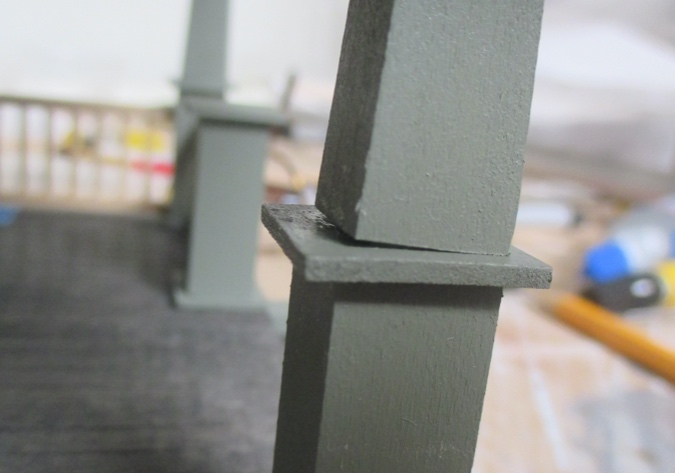
The tops of the posts had to be sanded to fit. I used the disc sander, with a scrap of wood underneath to help keep the angled post flat against the sander.

Here they are in place. My porch roof must be a little crooked because the post on the left needed more sanded off than the one on the right.
And apparently even with the scrap of wood, the post didn’t get sanded straight, because it looks like this.
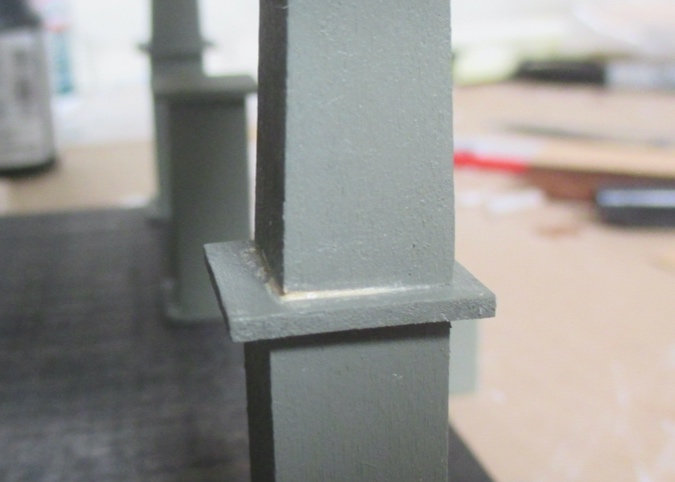
I added wood filler to the gap, spreading it with a toothpick
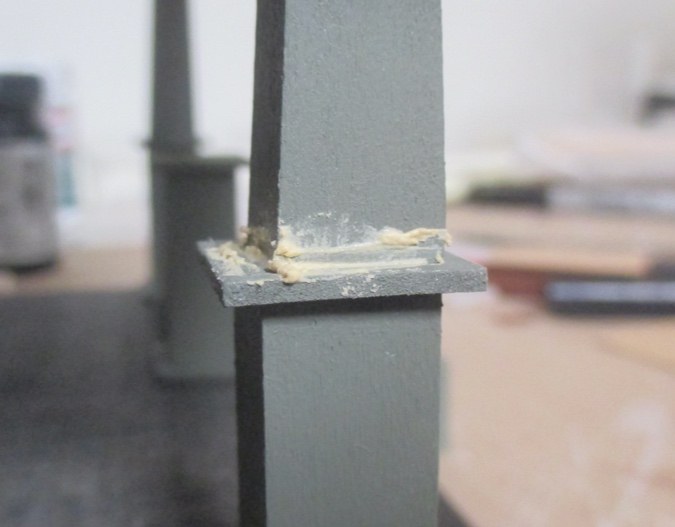
And then I wiped off the excess with a damp paper towel. Once that’s painted, you’ll never know.
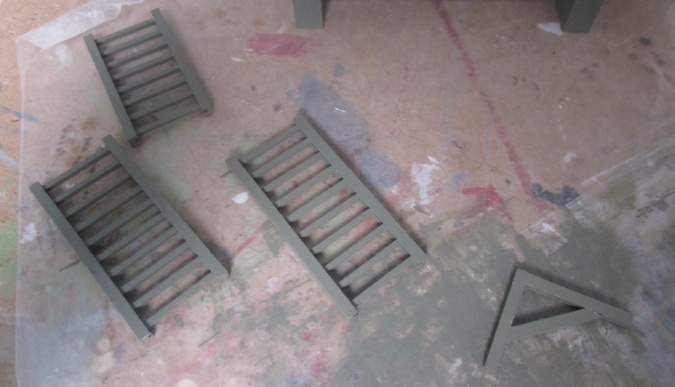
On to the porch railing. The kit came with these pieces to assemble the railing.
I don’t like putting railings together and I just wasn’t in the mood. I wanted to replace the railing with something more interesting and Craftsmany, like this one in my Victorianna.
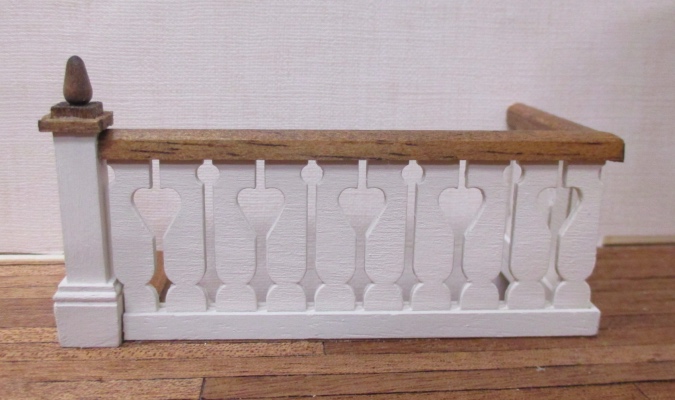
Unfortunately the company that made that railing (Heritage Laserworks) has gone out of business, and I couldn’t find anything else like it in half scale. If anyone knows of something comparable, let me know in the comments.
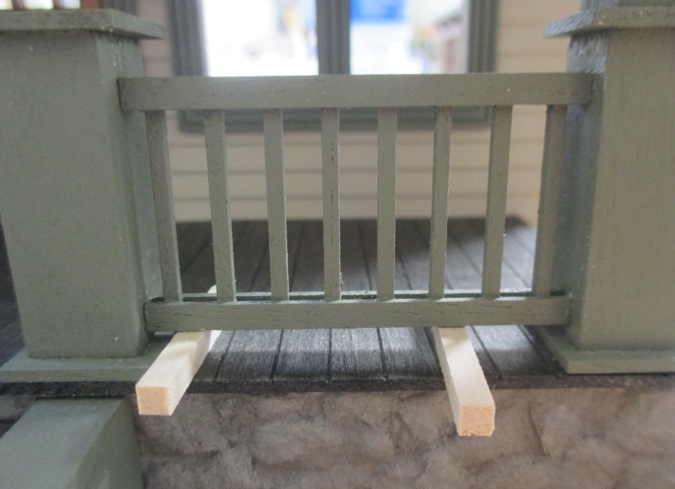
Instead, I found some pre-assembled railing segments in my stash. They’re very similar to what I would have ended up with if I’d built the kit railings, but already assembled. Once again, being a pack rat pays off.
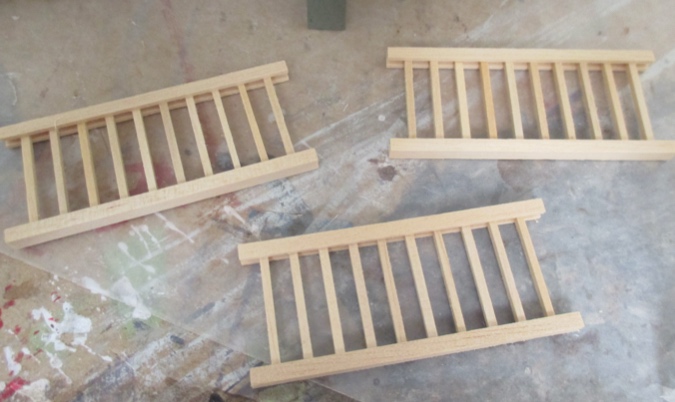
The segments were slightly too large.

Easily fixed!
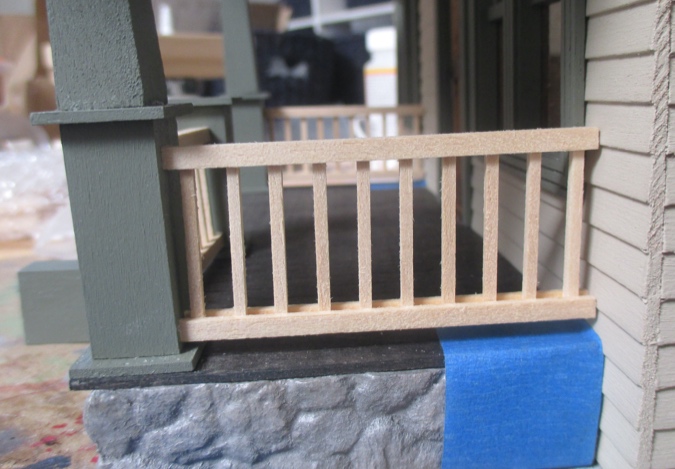
I’m so glad I had these. The house probably would have sat unfinished for another year just because I didn’t feel like putting those railings together.
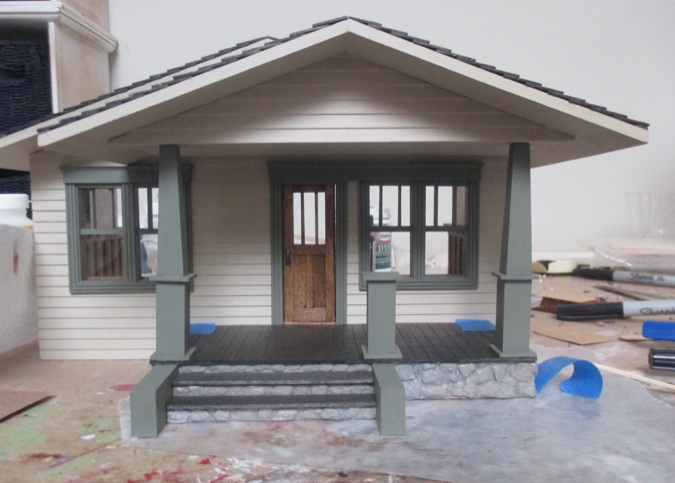
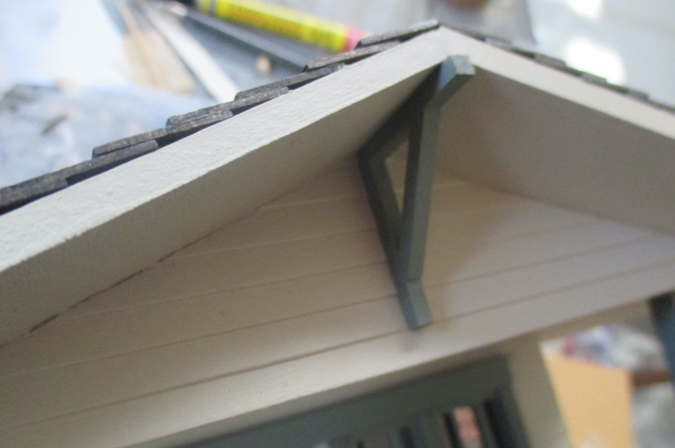
Craftsman houses often have angled corbels under the eaves. I used some of the unused railing pieces to make one.
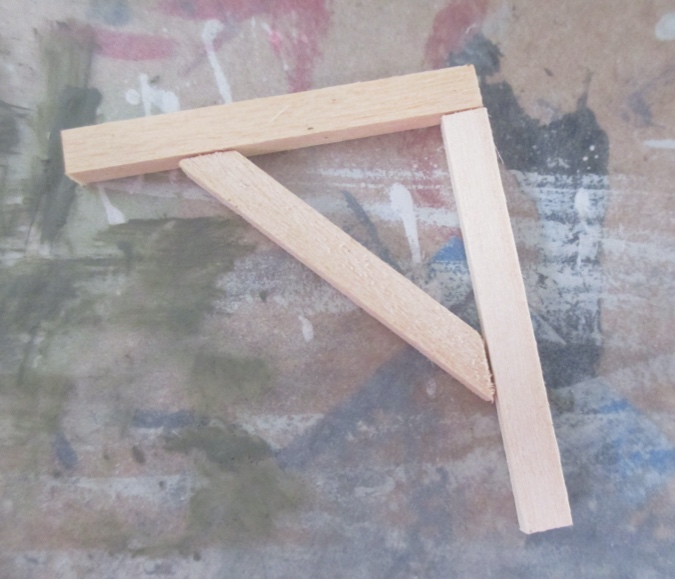
It’ll go here, under the peak.
I painted this and the railing pieces with my Mossy Green trim color.
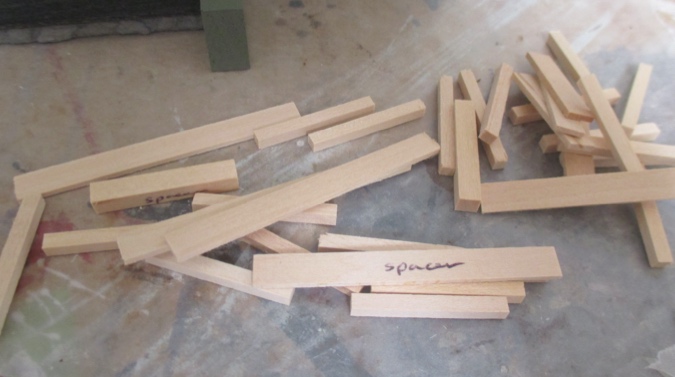
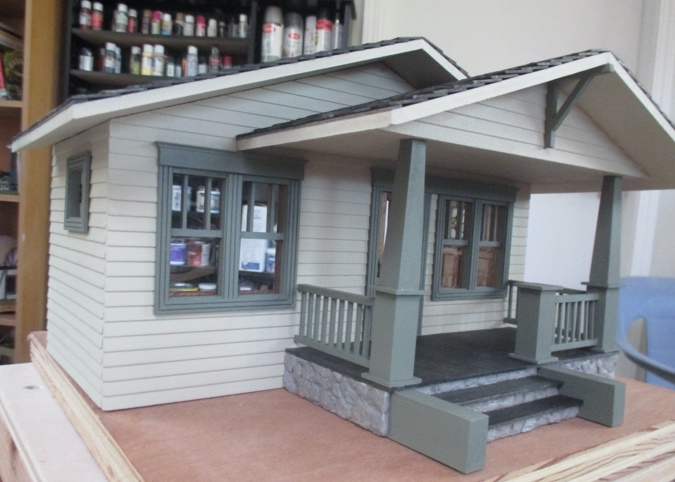
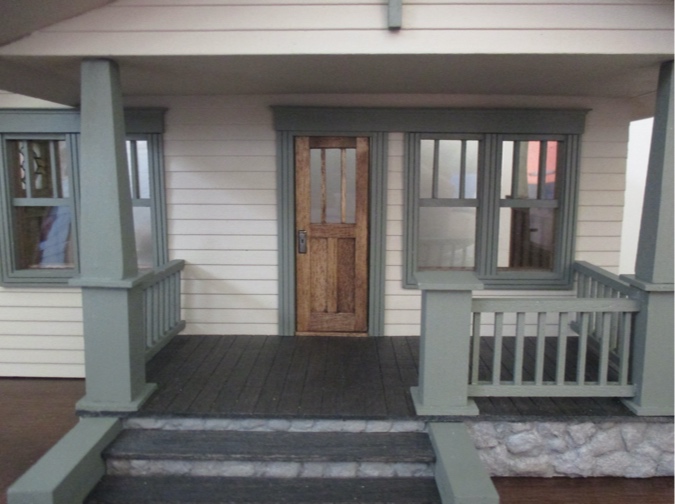
One dry, I glued in the railings, this time using extra railing pieces underneath as spacers.
And I glued in the corbel.
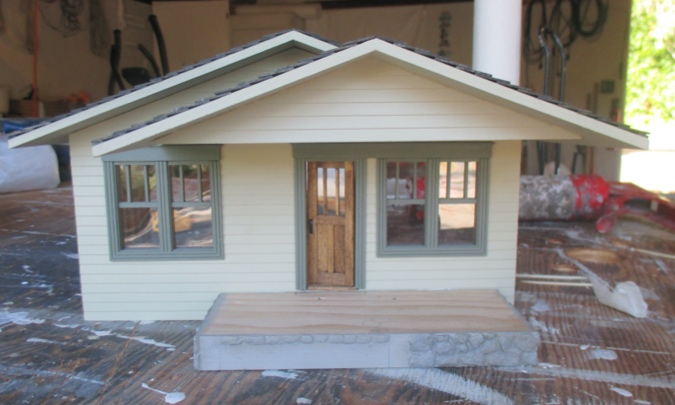
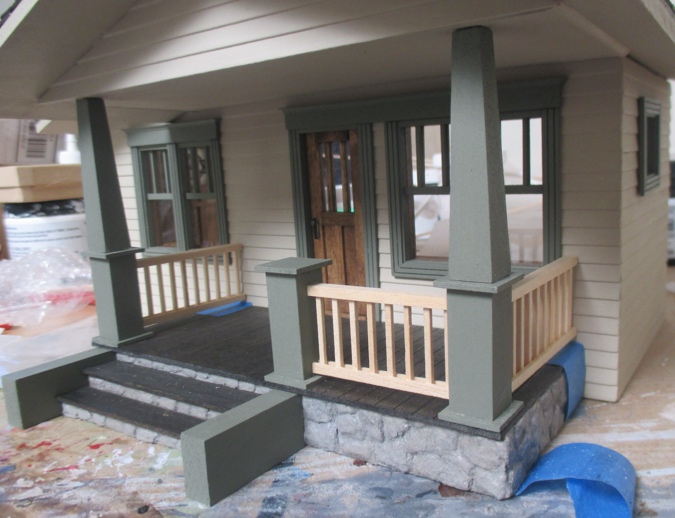
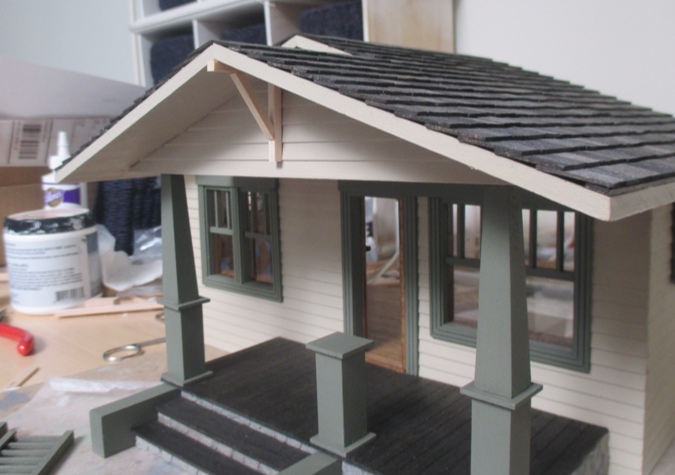
All done! I just have a little trim left to do, and then this house will be finished.
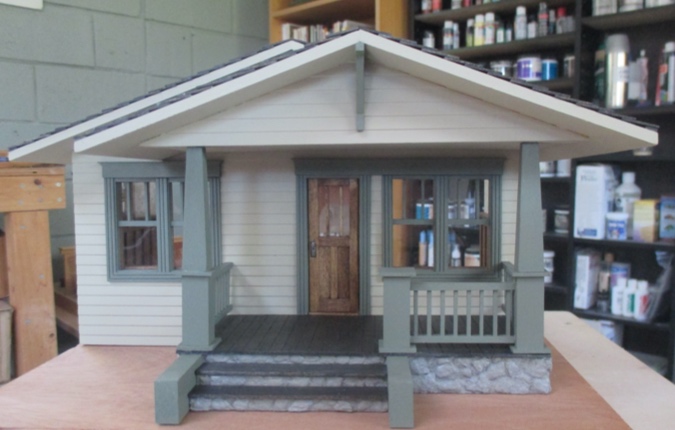
I love this cozy porch. I’ll put a plant or something to the left of the door, to balance it out.
 Emily is a freelance writer, miniaturist, and adventure game enthusiast.


An attractive half-scale bungalow…the porch adds such a finishing cozy look to the exterior. Well done!
It looks great! I love the color.
I like your solutions whenever something comes up. It helps when I’m stuck. Your half-scale bungalow turned out perfect.
Love how this came out! Laser Dollhouse Designs makes a Craftsman bungalow, with interesting railings. I’m not sure if you can purchase them separately from the kit but it might be worth a look.
That is so darned cute! I love the green color.
How about a mail slot next to the front door? That’s where ours is …