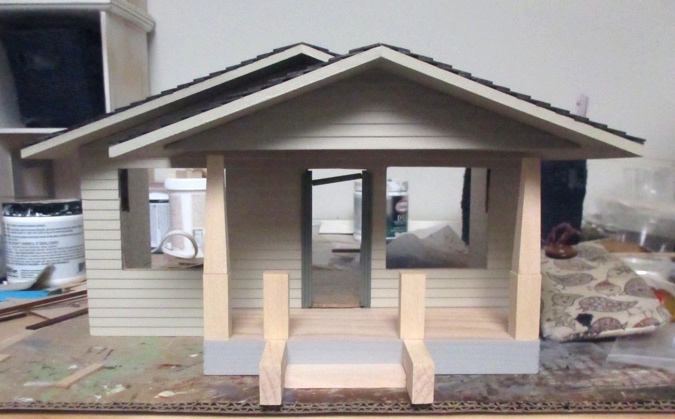
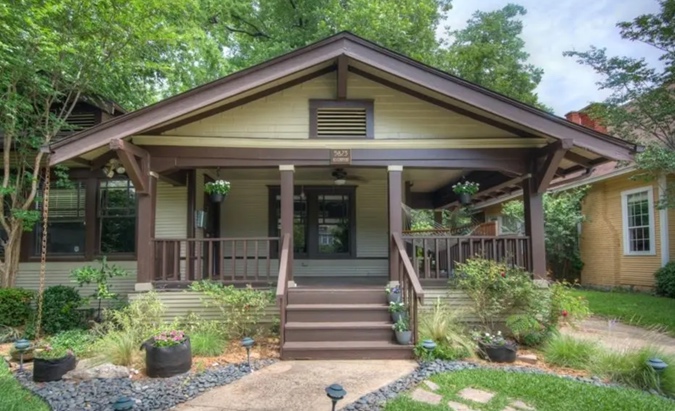
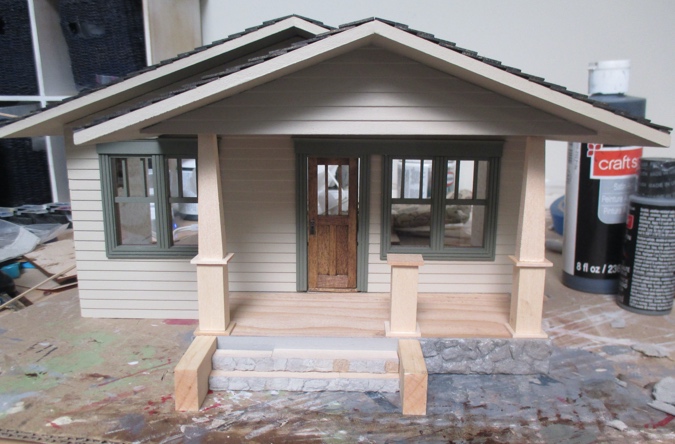
The Craftsman bungalow vignette came with a 7″ x 3″ x 3/4″ block of wood to use as the porch. It also came with precut railing pieces, which I lay between the posts to see how they’re supposed to be spaced. Centering the porch on the door would look like this.
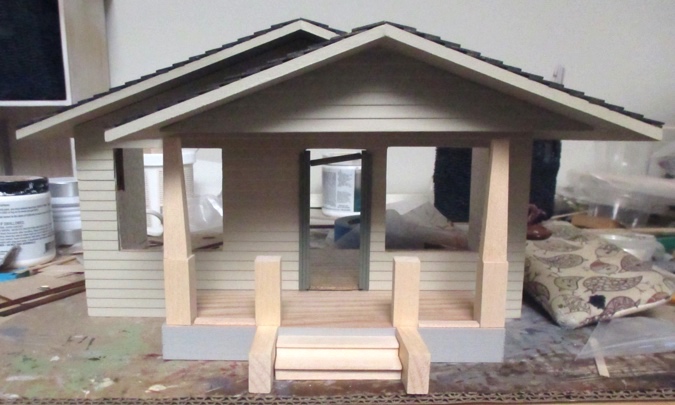
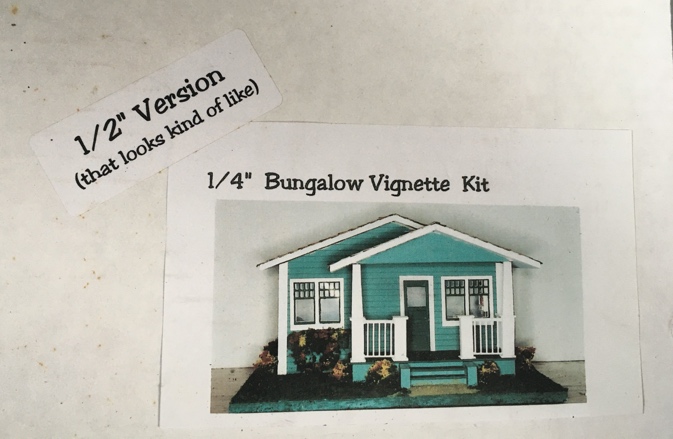
This kit is a 1:24 version of a 1:48 kit, that was produced in a limited quantity. The picture on the box is of the 1:48 version. There, the porch is centered on the door and the porch posts land at the outer corners of the porch roof.
But on the 1:24 kit, centering the porch on the door results in the posts being significantly off-center at the top. That just looks weird.
I thought about making the porch bigger so the posts would line up with the corners, but the proportions are nice and I didn’t necessarily want a bigger porch. So I played around with configurations.
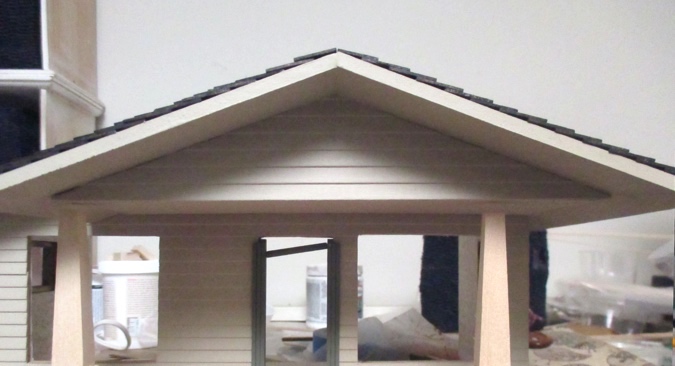
Here’s how it would look with the porch centered on the roof, and the posts and railing centered on the porch. This is a nonstarter for me. The door is off just enough to look like a mistake.
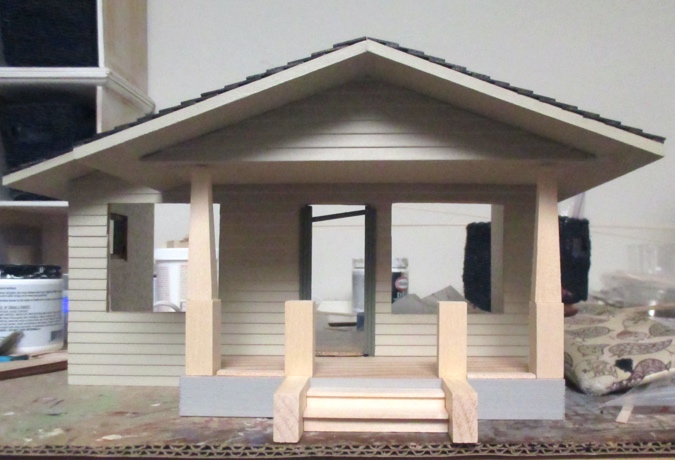
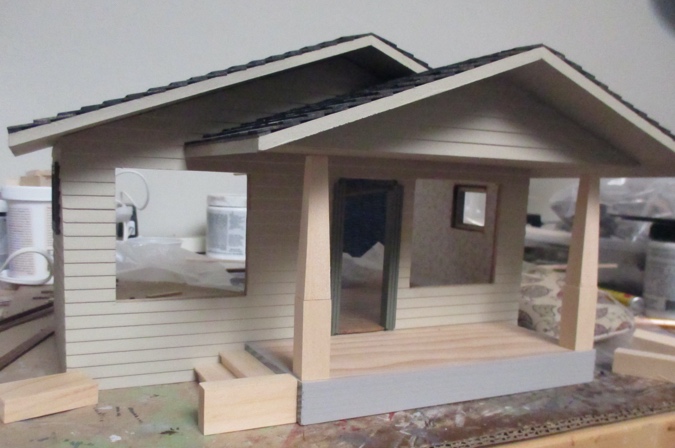
Here’s how it looks with the porch centered on the porch roof and the stairs lined up with the door. This is okay, but it leaves a very skinny railing area to the left of the stairs. The two thick post bases so close to each other are overwhelming.
I thought about moving the stairs to the side of the porch, but didn’t like the idea of the railing stretching all the way across the front and cutting off the view of the door. Seems less welcoming.
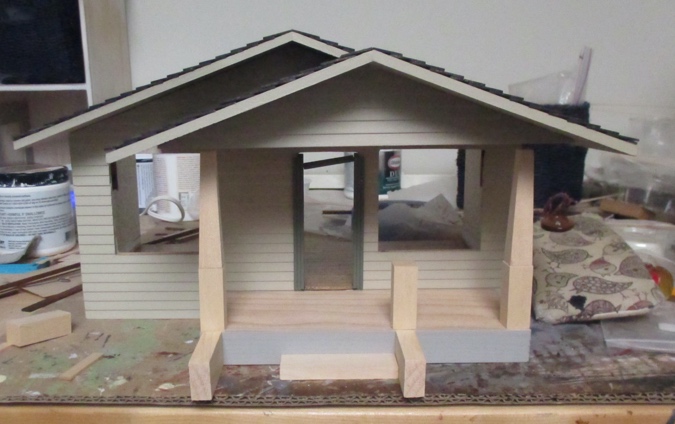
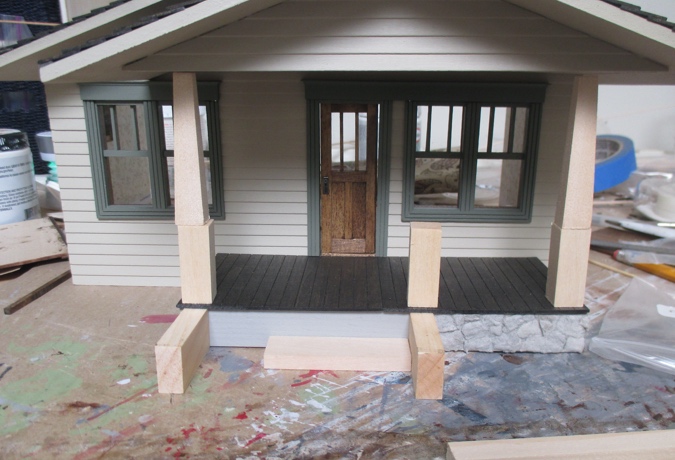
So I decided to go with this layout, which has wider steps to incorporate the door as well as the area to its left. This eliminates the skinny railing and its post that was too close to the corner post. The door isn’t centered on the stairs, but the wider staircase will make it look more balanced. I can put a plant or a bench next to the door to fill up that space.
I envisioned the porch pillars having stone bases, but that seemed like it would be very heavy on top of a wooden porch floor. (If they were real pillars with real stone, I mean.)
While googling, I discovered that real-life Craftsman bungalows that have wooden posts sitting on stone or brick bases, those bases go all the way down to the ground and tie in to the foundation.
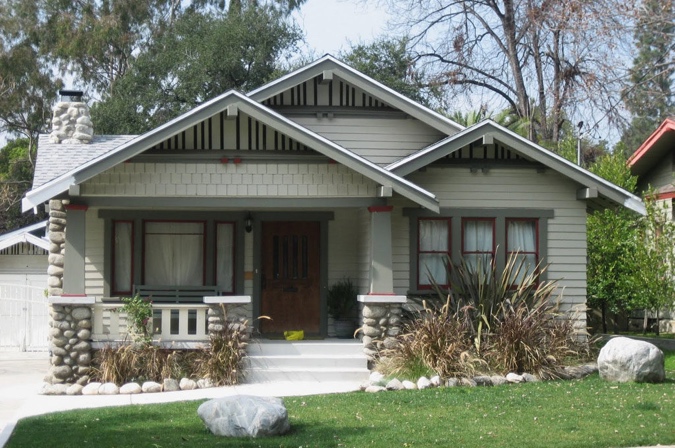
(Source)
When the posts sit entirely on top of the porch, they’re wood (although this seems to be less common). Sometimes the porch has a half wall instead of a railing, and the tops of the pillars sit on top of the wall.
(Source)
I thought about bashing to give the appearance of that the bases are integrated into the foundation, but in the interest of not over-complicating things (ha!), I decided to assemble the posts as designed and only use stone for the porch foundation.
I’m a big fan of egg carton stones — they’re easy to do, the price is right, and they come out looking realistic. I’ve posted about egg carton stone several times, so I won’t go into too much detail, but the first steps are to paint the surface gray, and then glue on ripped up pieces of egg carton.
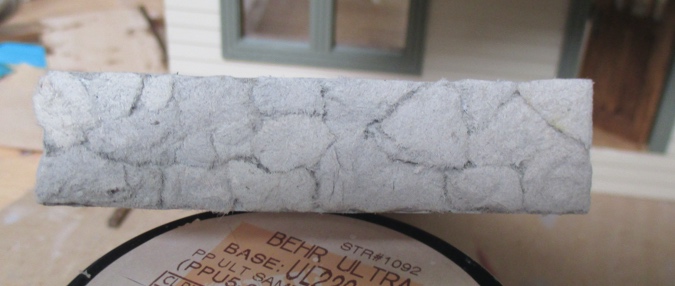
Next, dip the tip of a coarse paintbrush in paint, remove most of the paint by dabbing it on a paper towel, and then dab the brush on the stones. (This is called a dry brush technique.) I used a few shades of gray, as well as brown and lavender.
Finally, paint over the stones with matte varnish. I have two different bottles of matte varnish, and one makes the egg cartons look fuzzy, but I can never remember which one. I did that this time and wasn’t happy with it, so after taking this picture I went over it with the other matte varnish.
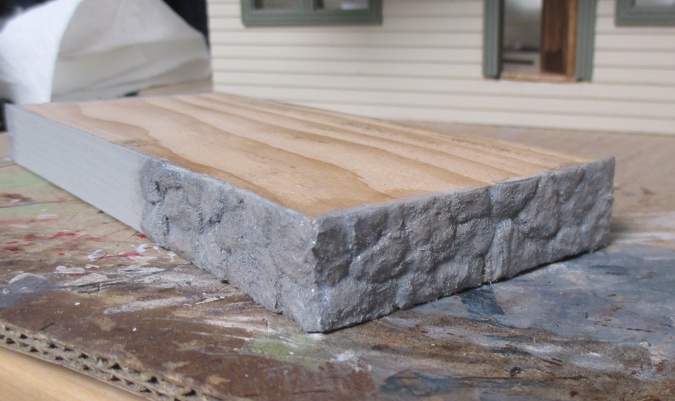
(Of course, I always forget to make a note of which of the bottles I don’t like. I think the bad one is Delta Ceramcoat, but it’s also an old bottle, so it’s possible it’s just no good.)
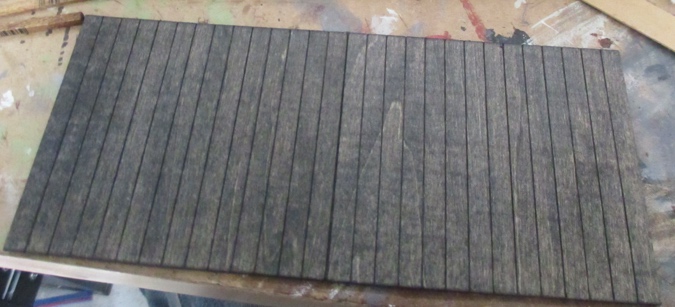
Not wanting to add another color to the house, I stained the porch flooring Minwax Ebony, same as the shingles. I’ll wait to glue this on until after the porch is attached to the house. It fits very snugly under the door trim, and I don’t want to accidentally lift up the front of the house by attaching it to a porch that’s a few millimeters too tall.
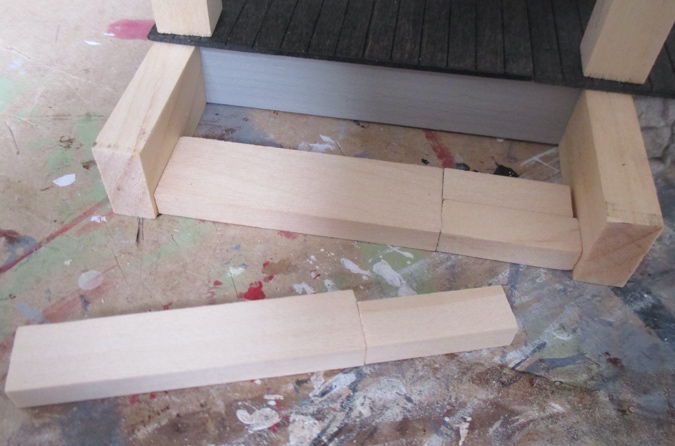
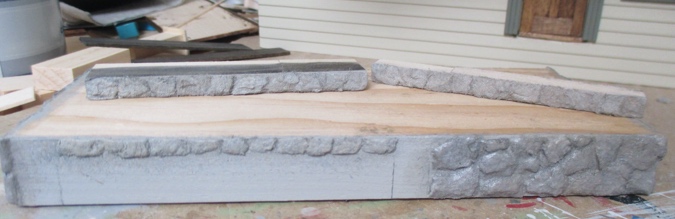
Since I changed the porch layout, the stair pieces that came in the kit weren’t wide enough.
I added pieces of strip wood to make up the difference. I didn’t have strip wood that was the right depth, but you won’t be able to tell when the stairs are assembled.
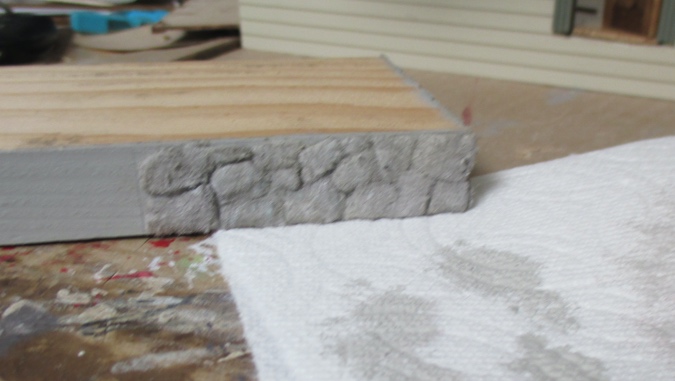
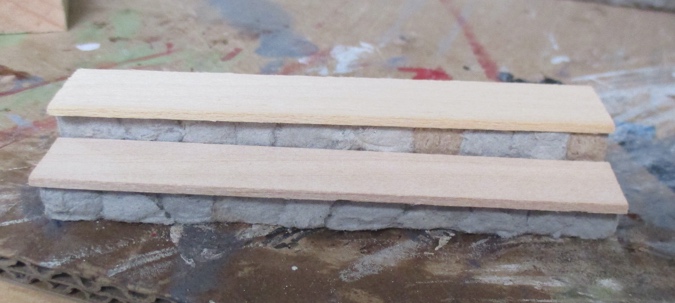
Next I added egg carton stone to the fronts of the stairs. In this picture you can see the difference between the raw egg cartons on the steps, and the stones on the foundation that have been dry-brushed with paint and sealed with matte varnish.
I cut new treads to go on top of the stairs.
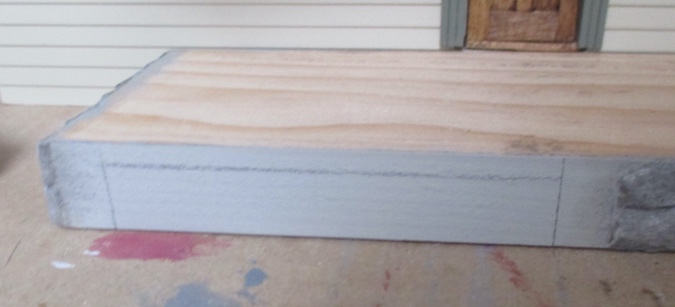
Then I put the stair pieces up against the porch and drew a pencil line over the top tread.
This shows me where to add stones to form the top step.
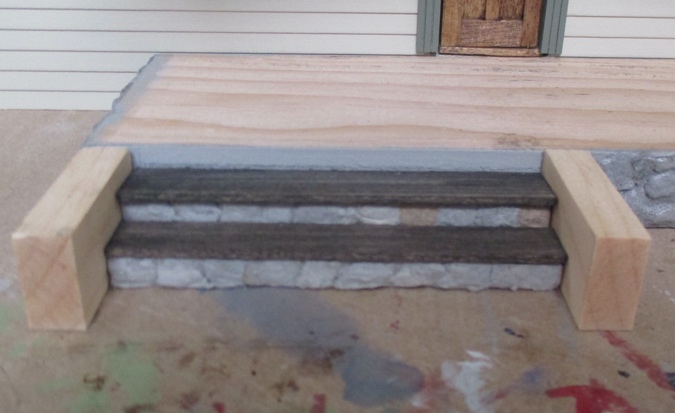
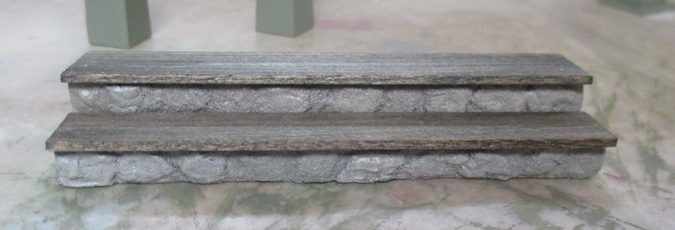
Here’s how the steps look with the stones added and dry-brushed, but before the matte varnish. I stained the top of the bottom step since the depth of the stones above it prevent the tread from sitting flush against them. This way you won’t see spots of raw wood when you look down at the step.
I added matte varnish and then glued the stair pieces together.
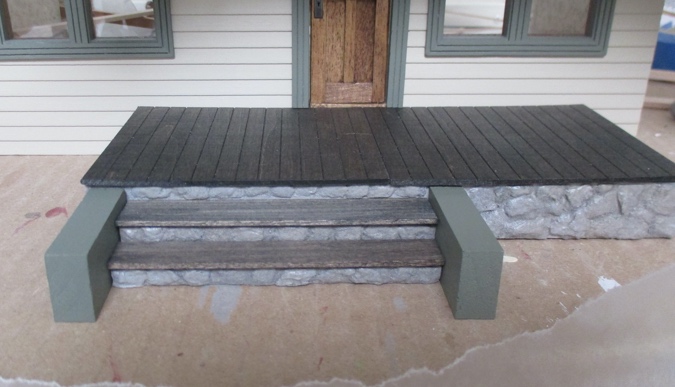
Here’s how they look in place. I noticed in this picture that the treads are not as dark black as the porch flooring. They’re the same stain color, but I stained the treads with a stain pen and the flooring with stain out of a can. I’ll touch up the treads next time I work on the house.
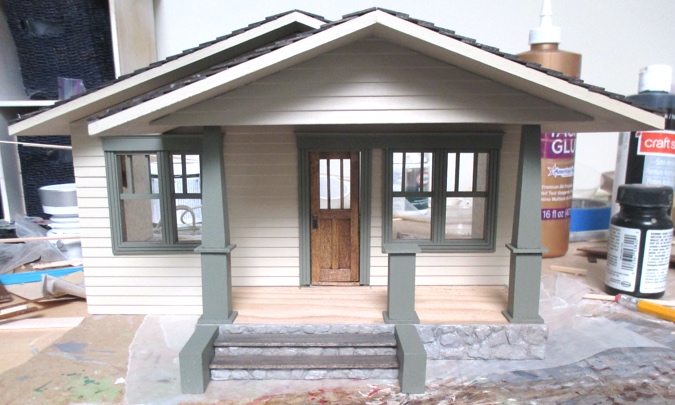
I was all set to glue the porch to the house, but decided I should finish the interior window trim while I’m still able to tip the house forward to reach in. So here’s where I left off.
 Emily is a freelance writer, miniaturist, and adventure game enthusiast.


Looking really good. This is such a cool kit. It’ll look great with period touches inside. :)
Looks great!