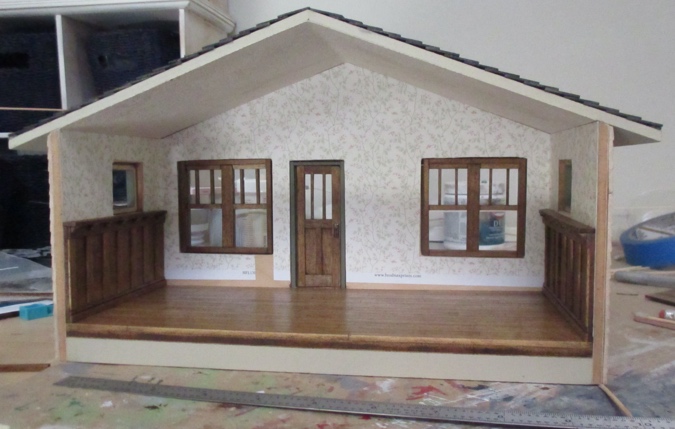
Now that the windows and door are glued in along the front wall of the bungalow, I can add paneling. (If you need to get caught up, this post shows how I created the paneling for the side walls.)
Because the paneling on this wall is broken up by the window and door trim, I took care of that trim first. I’m using plain 1/4″ x 1/16″ basswood for the trim, with Craftsman style headers that match the front of the house.
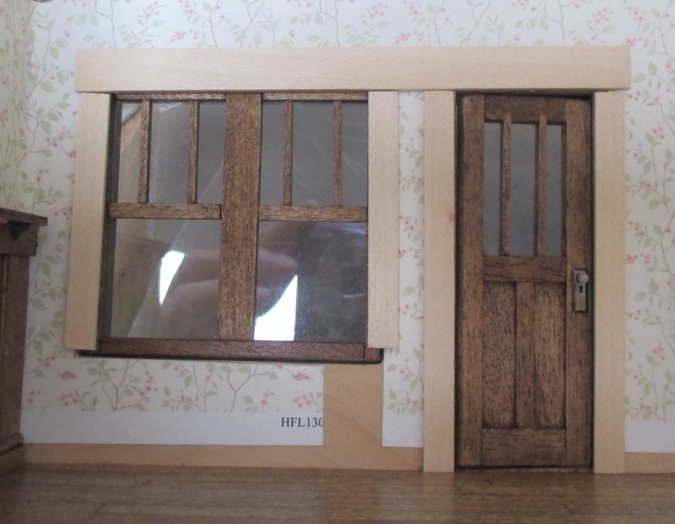
When I painted the door frame, I painted the inside edges knowing they would get covered up by trim. The frame isn’t quite flush with the wall, as opposed to the windows, which are flush thanks to the basswood strips I added before gluing them in.
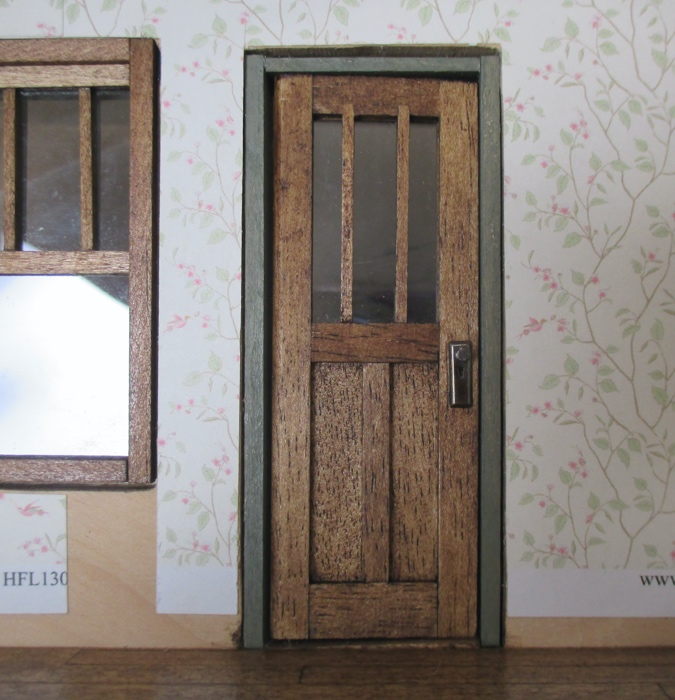
I rectified this by gluing 1/32″ thick basswood in over the green trim. I didn’t have any that was the right width, so I cut these pieces down with a utility knife, and then glued them in with the cut edge facing the wall so the door trim will meet up with a clean edge.
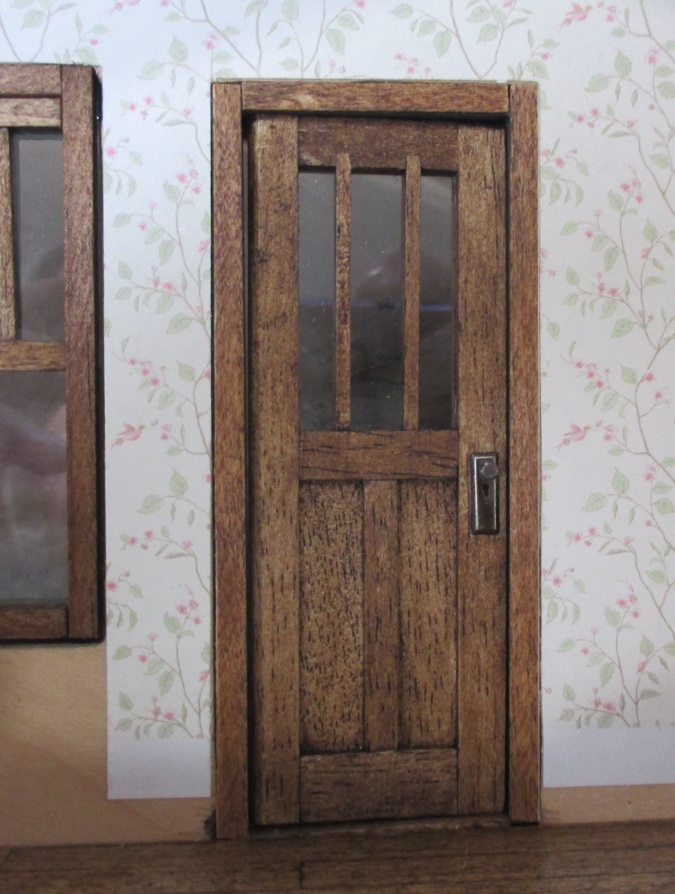
The top of the window is slightly higher than the top of the door. I glued the door’s side trim pieces in first, so I could ensure the bottom of the header lined up with the bottom of the door frame.
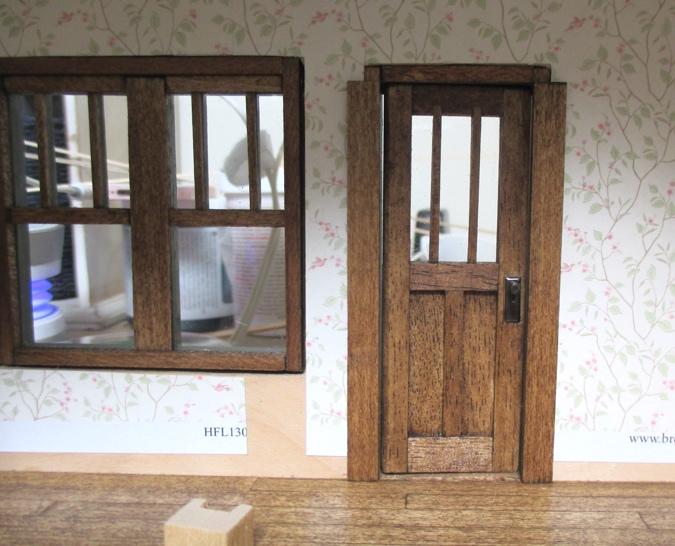
I glued in the header next.
And then the window side trim pieces.
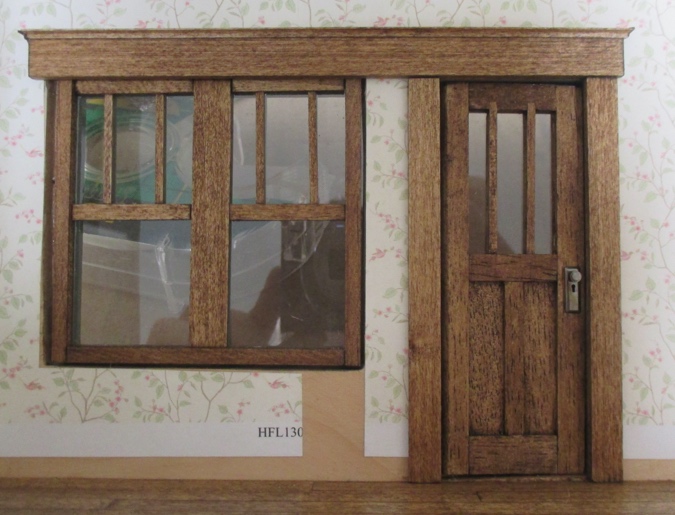
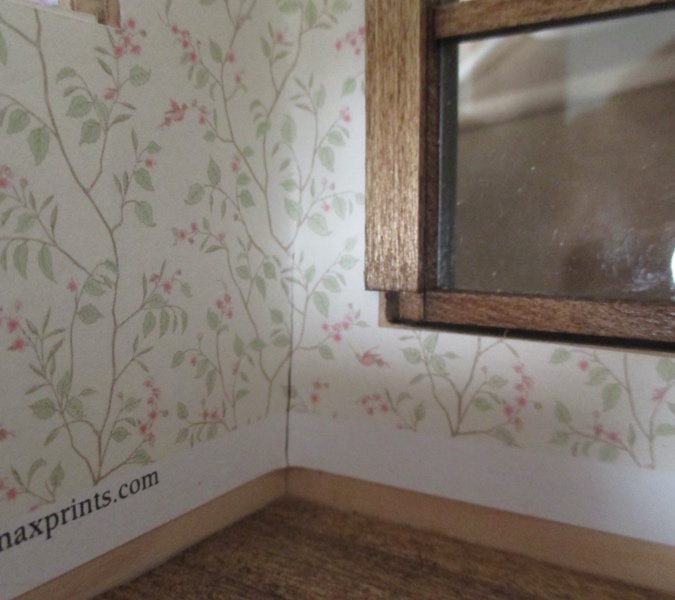
Now I can create the paneling around the window. I cut a piece of wood to go between the window and the corner, but it didn’t want to sit flat in there.
The wallpaper is stretched too tight around the corner (notice how the fold doesn’t line up with the corner at the bottom). This interfered with the fit of the two pieces in the corner.
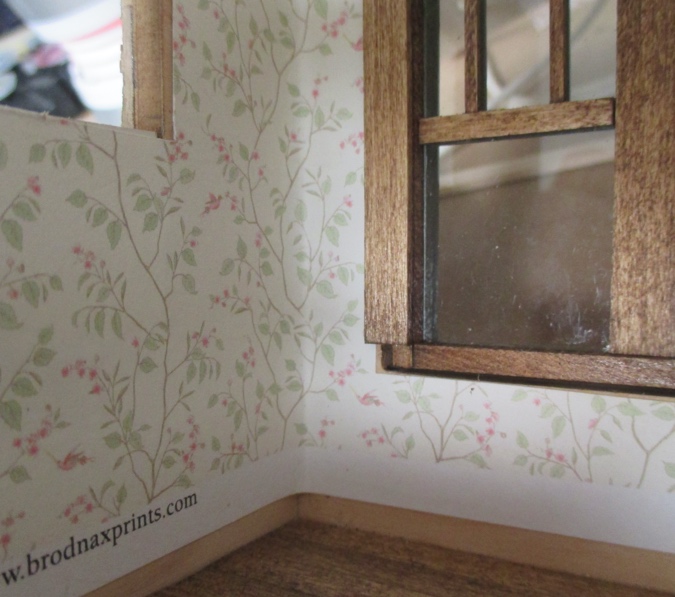
I sliced the corner of the wallpaper with an Xacto knife to fix this.
My original thought was to use separate pieces of wood around the window, with the vertical pieces of the paneling hiding the seams. But that would have resulted in odd spacing for the paneling.
I had a piece of 2″ basswood left over from when I made the side panels.
This was the last piece I had that was large enough to use in this space, and I didn’t have high hopes that I’d be able to cut it neatly without messing it up, but nothing to lose in trying.
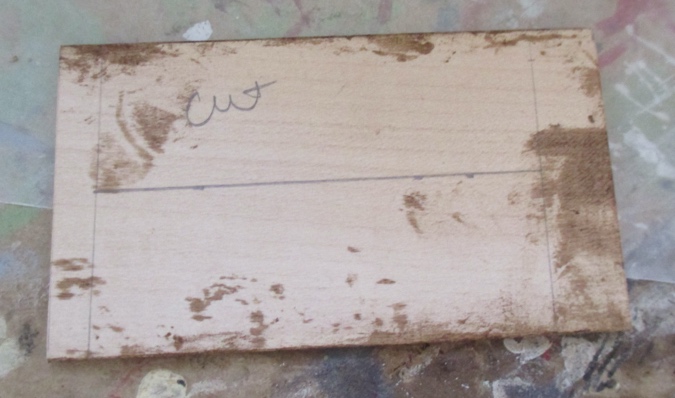
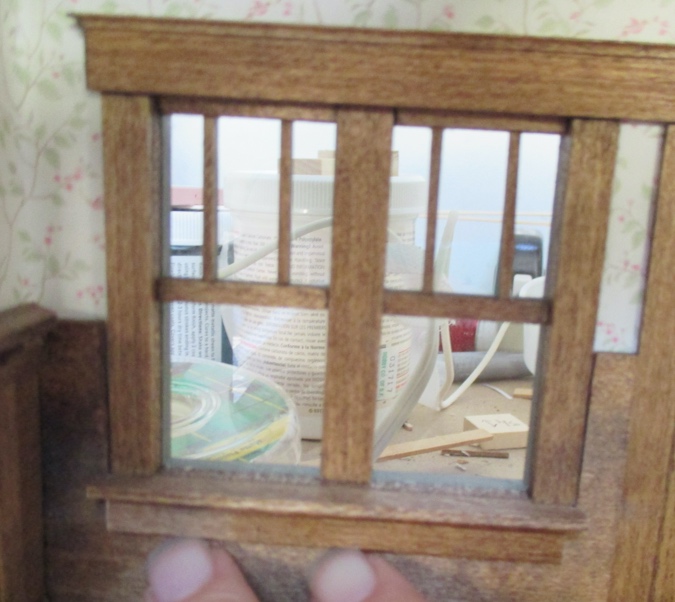
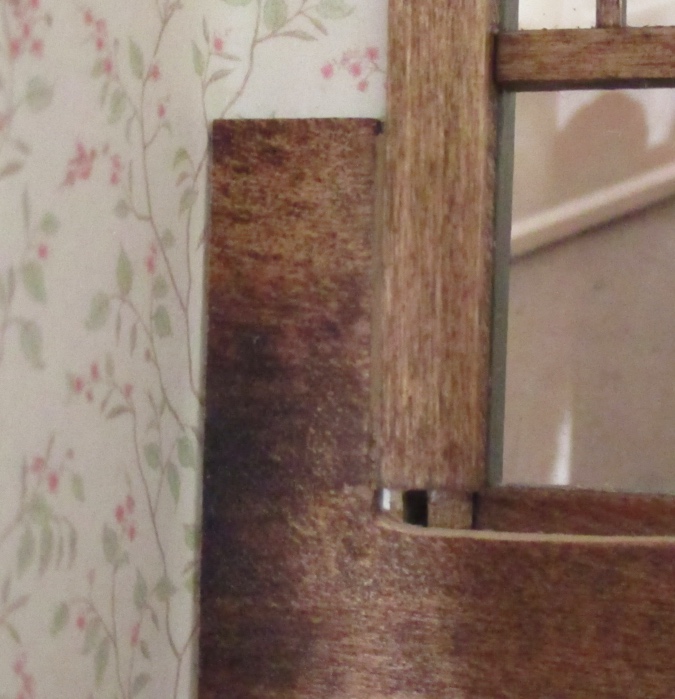
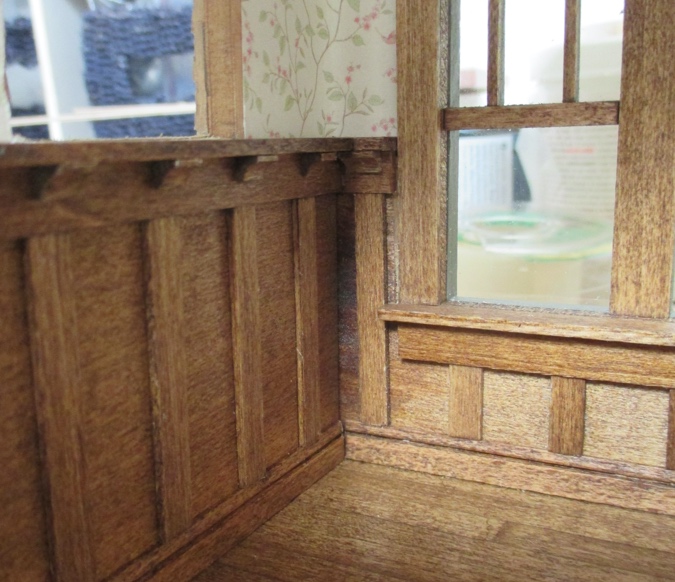
It actually worked! The wood didn’t split and the fit around the window trim is pretty good. After taking this picture I cut a bit more off at the bottom to make room for the window sill.
To make the sill, I cut a piece of 1/4″ x 1/16″ basswood slightly wider than the window and notched the ends so they can extend over the paneling.

Another piece of 1/4″ x 1/16″ will go underneath.
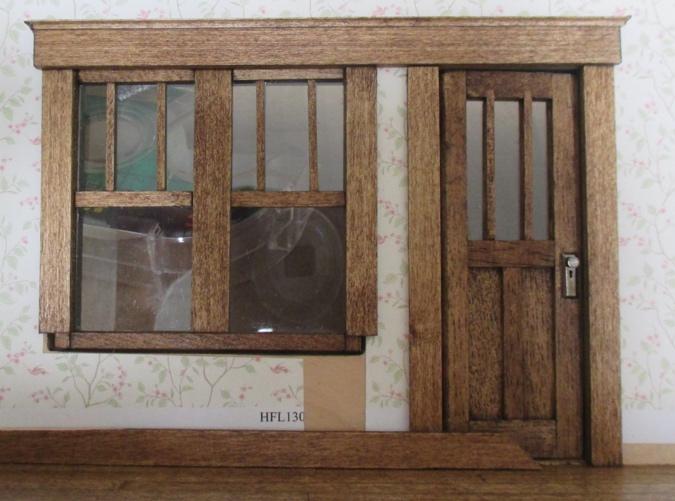
I did cut the piece well, but not perfectly. On the left side you can see a crack of wallpaper between the paneling and the trim.
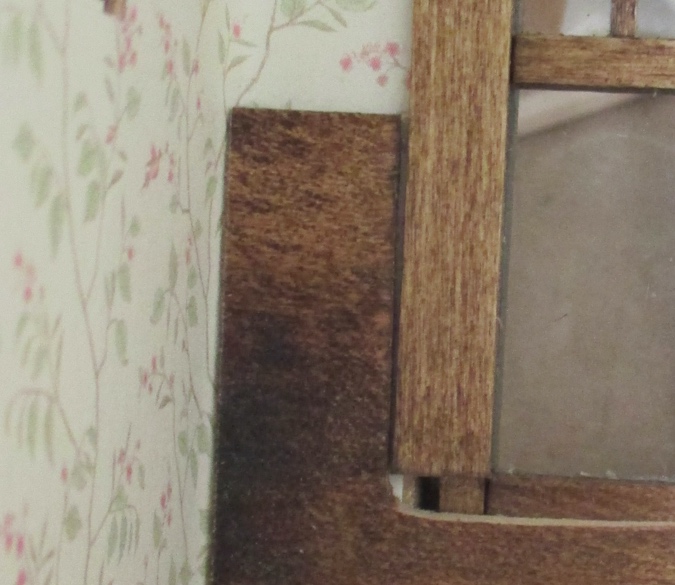
I filled this in with colored wood filler. This is Minwax Early American — not quite as dark as the Aged Oak + Provincial I used on the wood, but it was the darkest I had.
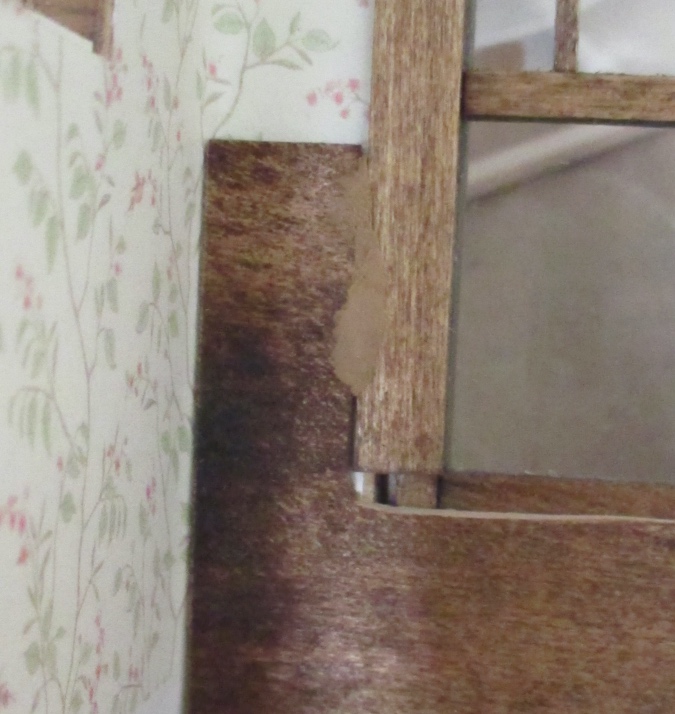
It doesn’t totally blend in, but it succeeds in hiding that wallpaper crack, which would have annoyed me forever.
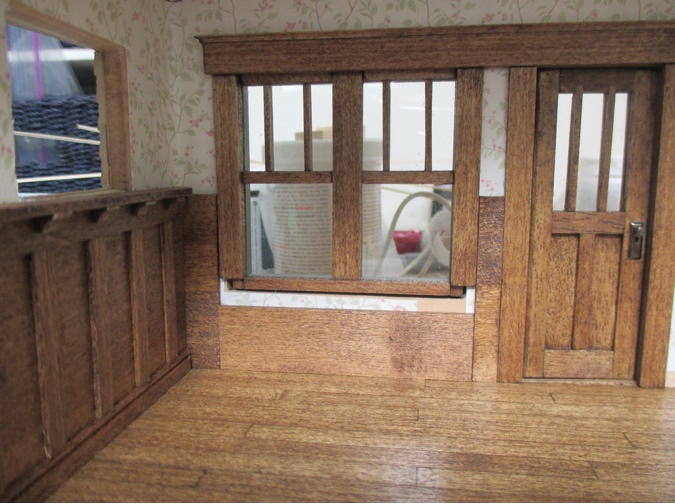
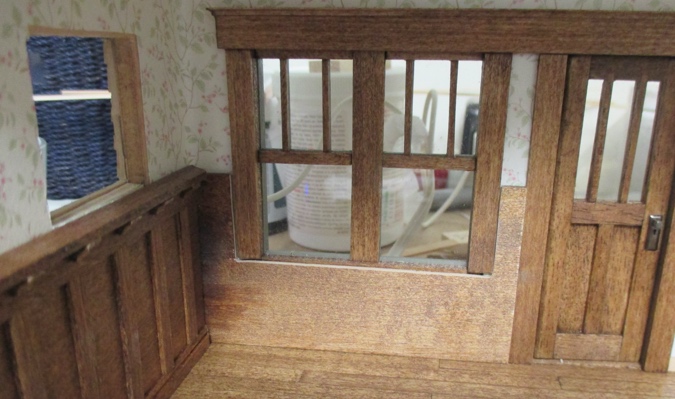
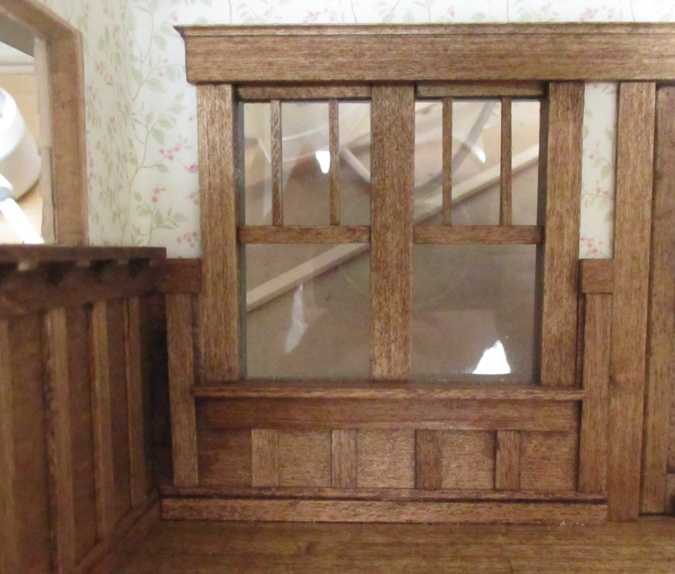
Next I added the horizontal pieces at the top and bottom of the panel, and then the vertical pieces. They’re supposed to be 7/16″ apart, but I fudged the spacing so the ones under the window would be more or less centered.
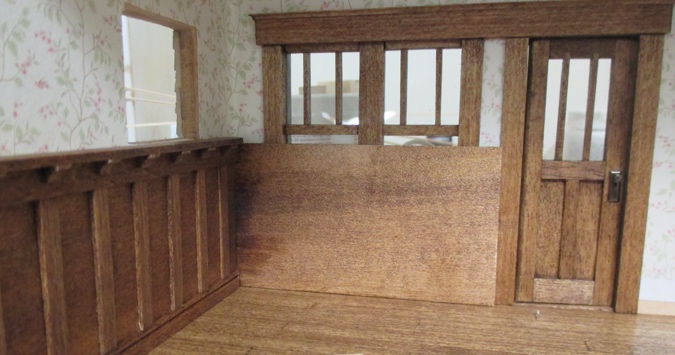
Next I added a bracket and mitered top piece in the corner.
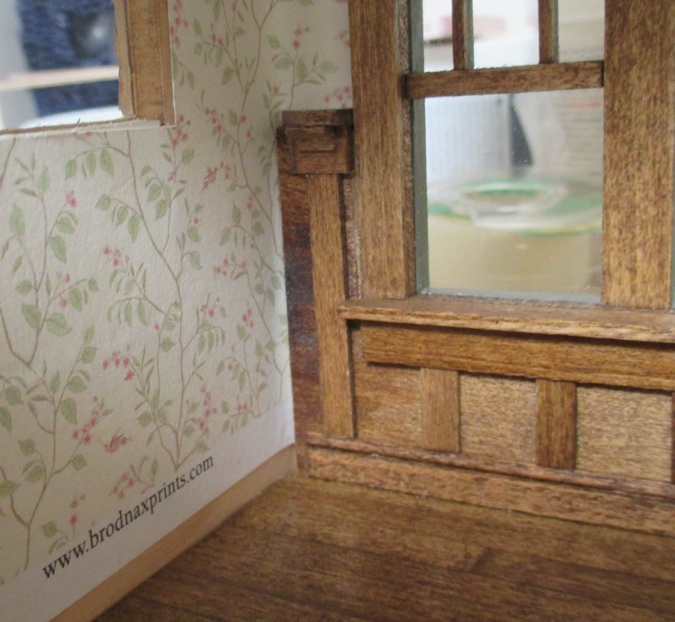
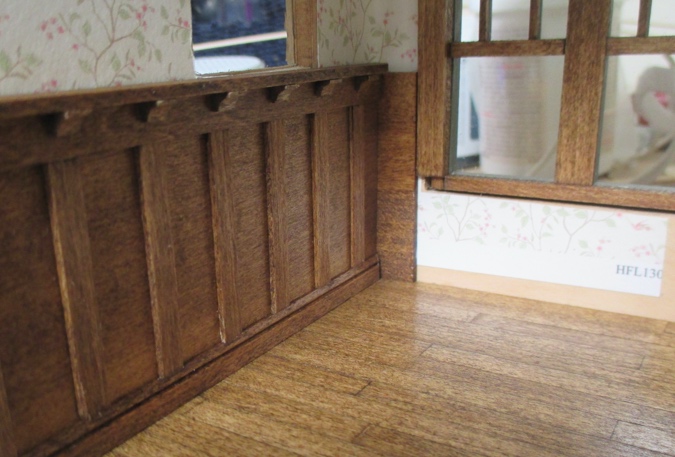
Here’s how these will meet up with the paneling on the other wall.
And here’s how it looks with the rest of the brackets in. The paneling around the other window has its own set of challenges, so I’ll save that for another day.

 Emily is a freelance writer, miniaturist, and adventure game enthusiast.


That really looks phenomenal. More patience than I have, though I know the results are really worth it. Can’t wait to see what you do with curtains and furnishings. Great project!
Thank you! It really is a lot of work for a one-room house, but I think the results will be worth it. I have a RGT bungalow kit in my stash so I will be able to reuse some of what I figure out here in that house.
Very nicely done!
Thanks! :)
I appreciate you showing the mistakes and fixes as it helps me when I need to correct my build., very inspirational.
Glad to hear that. :)