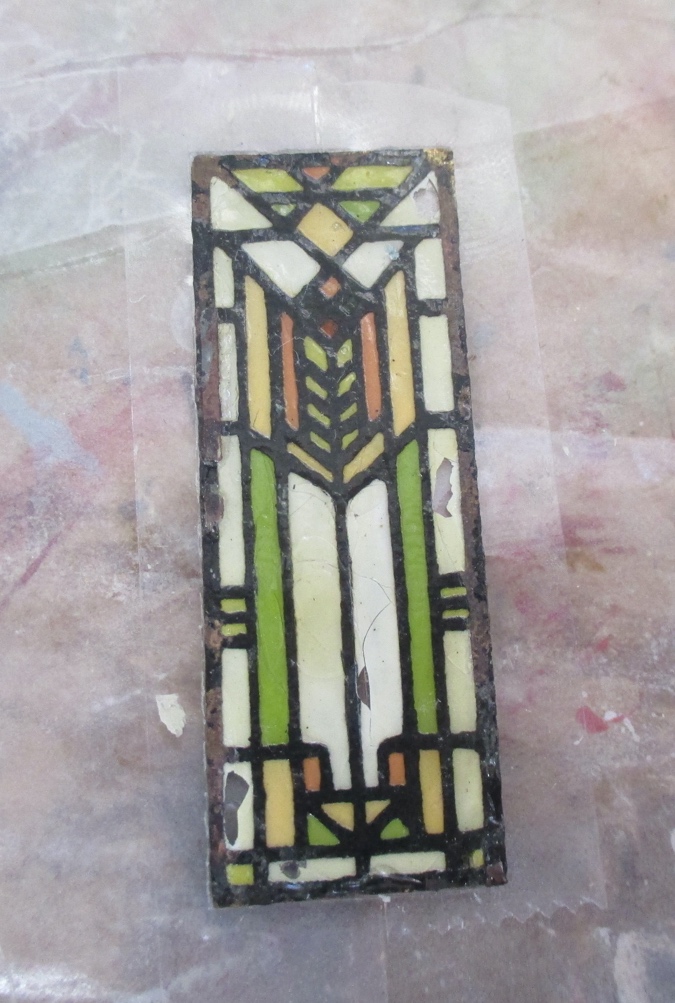
I can’t remember where or when I got this Mission-style thingie. I’m not even sure what it is… probably a 1:12 firescreen? But I’ve had it for a while, and when I started working on the Craftsman bungalow vignette I pulled it out thinking I could do something with it.
Update July 15, 2022: I now know that the Mission-style thingie is a firescreen created by Barbara and Lew Kummerow. See the posts here and here for more info.
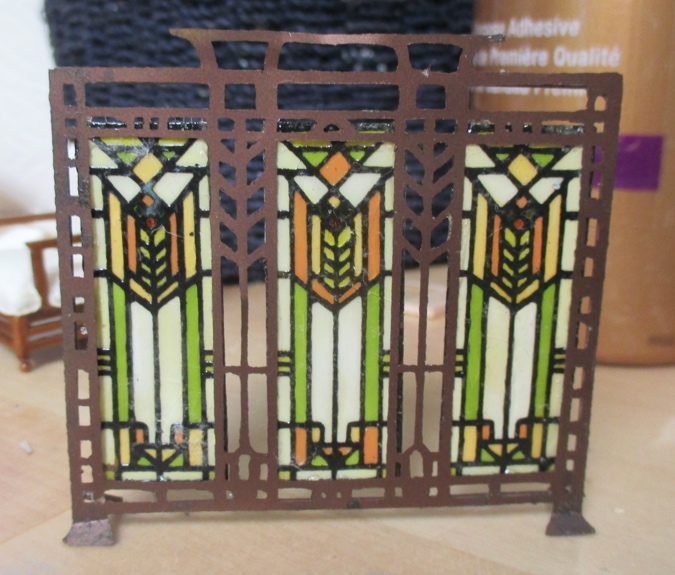
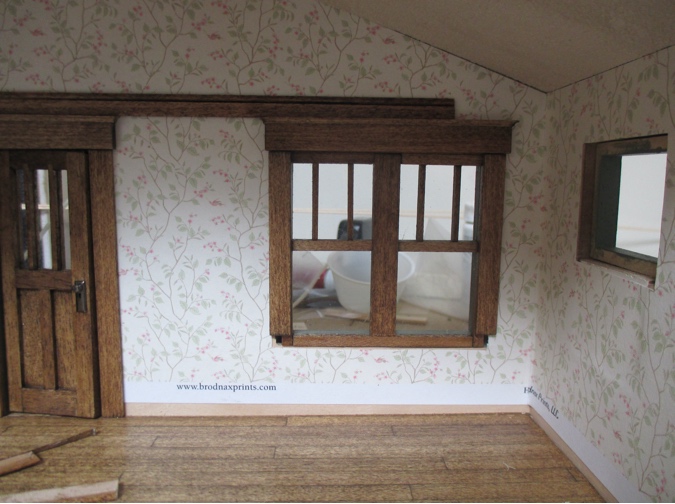
I thought about putting a fireplace and built-in cabinets on the side wall, and using the firescreen’s stained glass panels as cabinet doors. But the window placement prevented a fireplace in the middle of the wall, and the spacing wasn’t good for a fireplace with one cabinet next to it. So I paneled the side walls instead.
But I still liked the cabinet idea, and decided to build one into the space next to the front door.
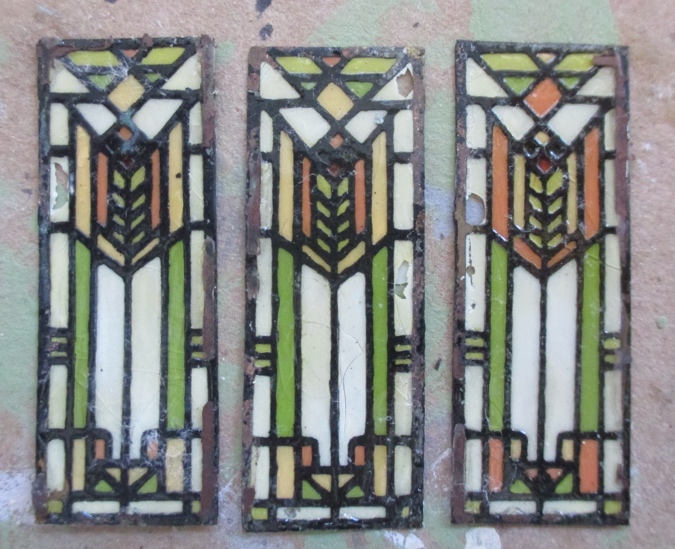
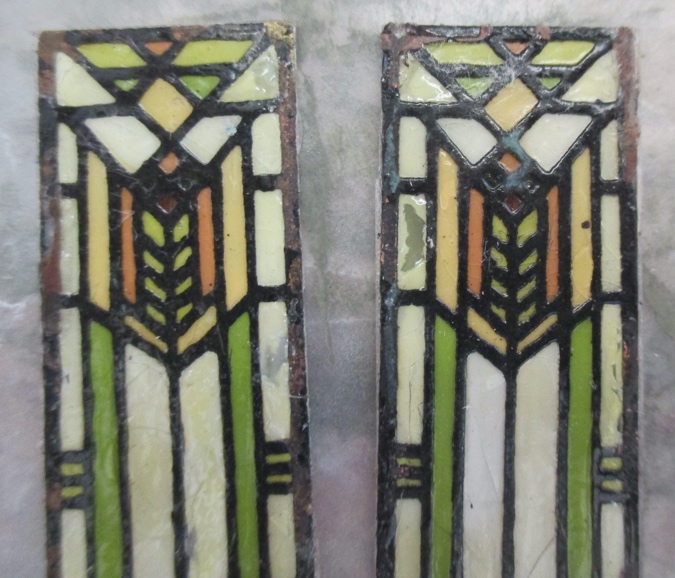
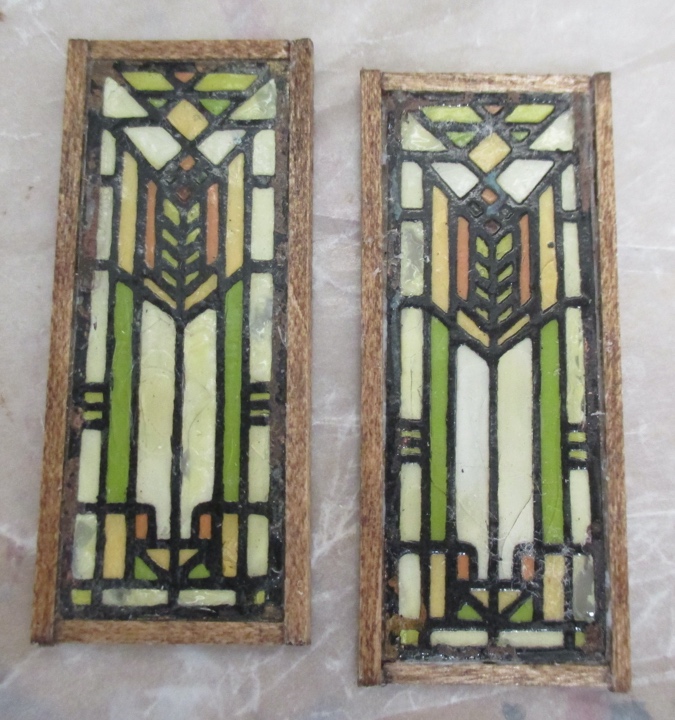
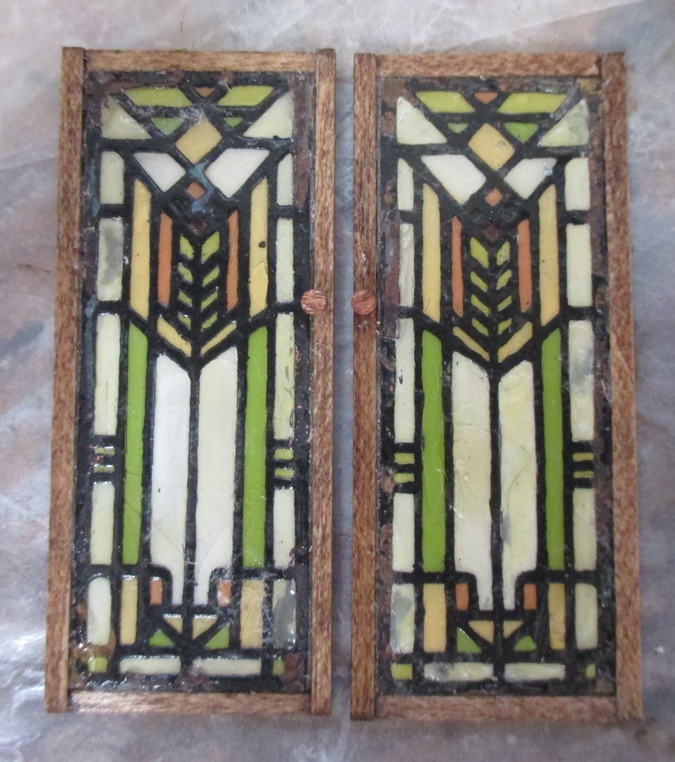
I popped the stained glass out of the firescreen. The stained glass is just paint with no plexiglass behind it, and some of it pulled off when I removed the panels.
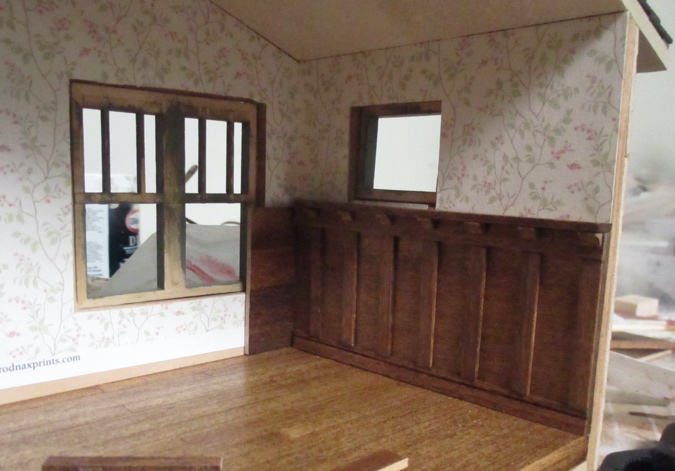
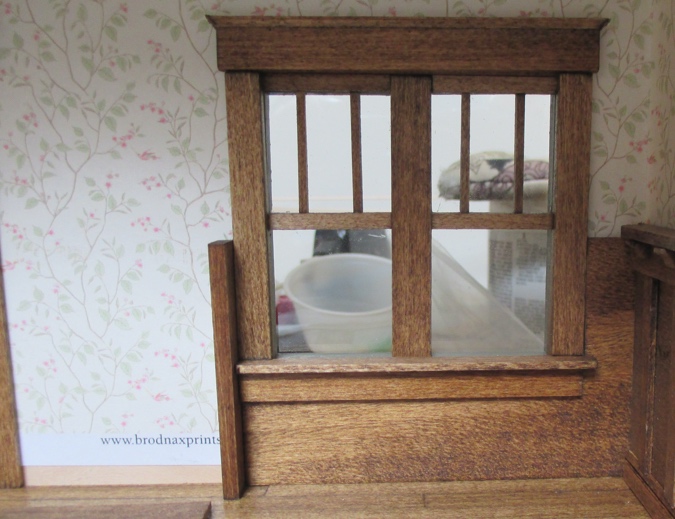
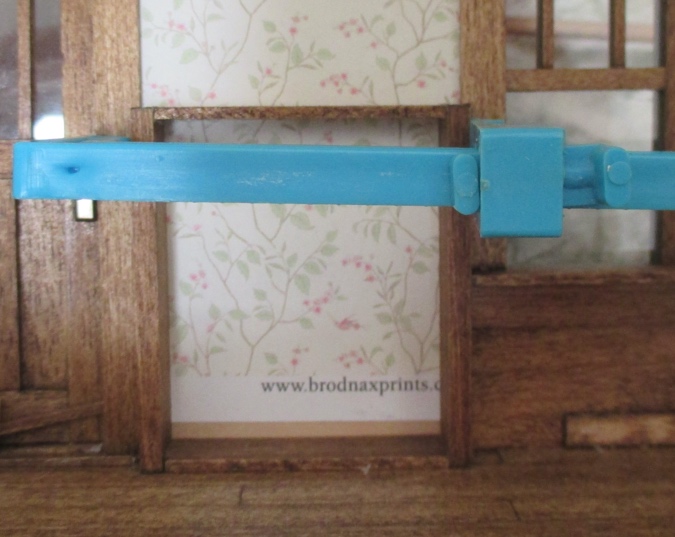
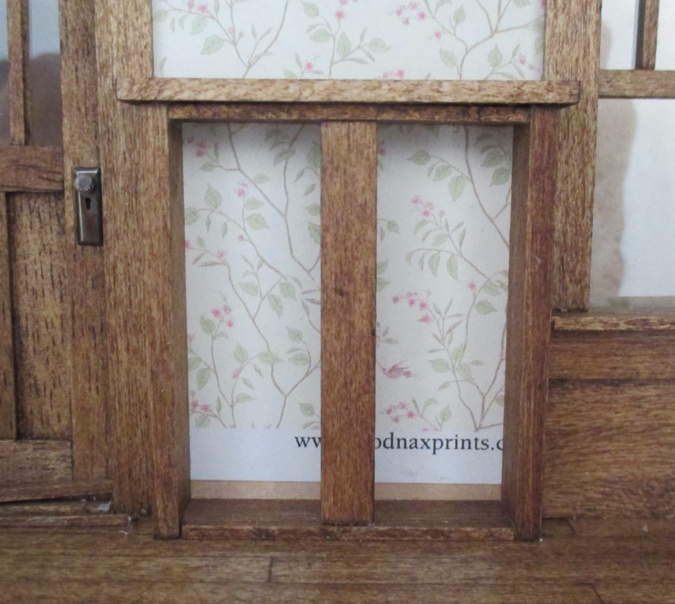
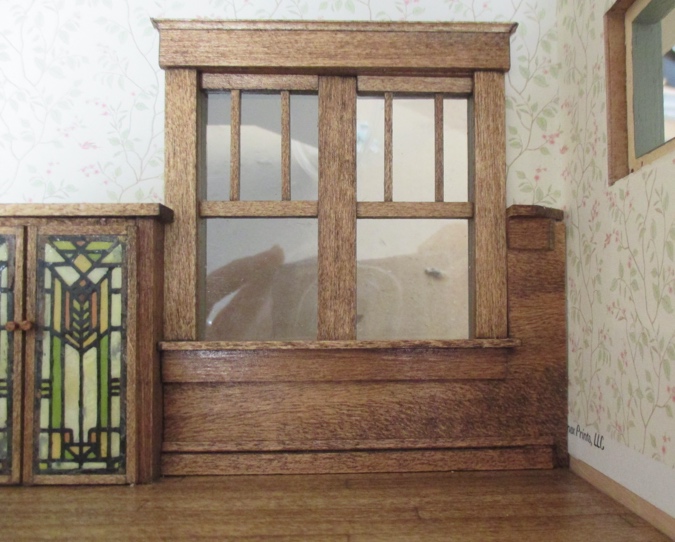
In order to build the cabinet to fit between the door and the window, first I needed to put up the window trim. I lay a scrap piece on top of the two headers to make sure they lined up.
Then I built a cabinet to fit inside the space. This is 3/8″ deep and the same height as the rest of the paneling. The top piece doesn’t go back to the wall (because it overlaps the trim), but you can’t see the very back, so I left it that way rather than notching it.
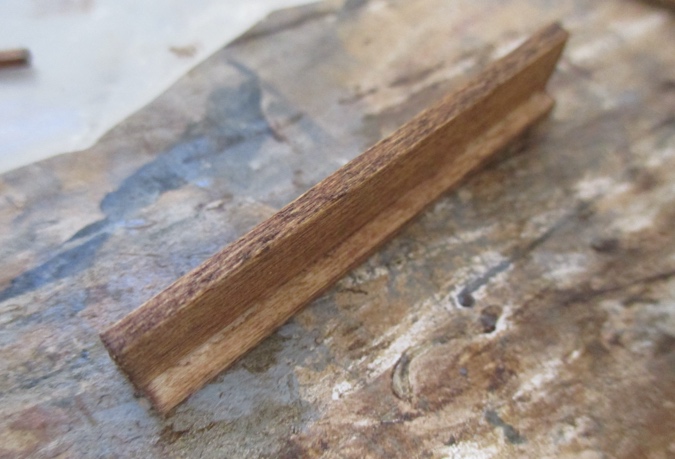
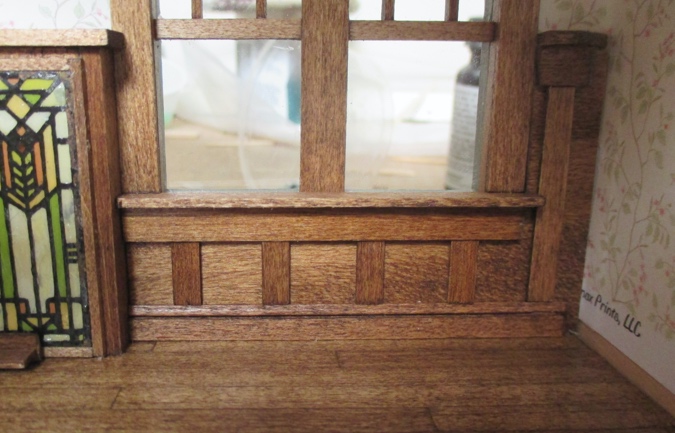
Next I cut a piece of basswood to go under the window and butt up against the cabinet.
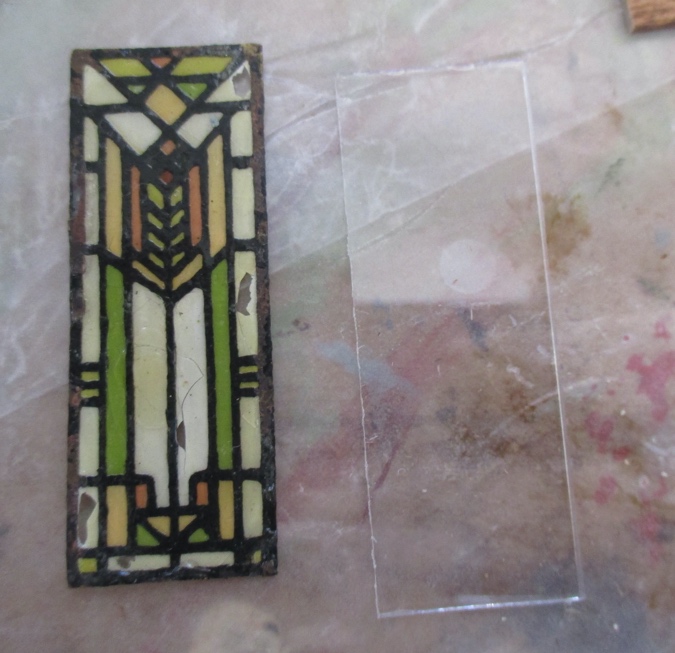
Time to make the doors. I popped the stained glass panels out of the firescreen early in the bungalow project and they’ve been sitting out for a year and a half. During that time, more of the paint flaked off. I had to find a way to stabilize it.
Using a utility knife, I cut a piece of plexiglass the same size as the panel. This is a little less than 1/16″ thick (not the thin stuff I used on the windows).
I attached the panel to the plexiglass using double-stick tape and then cut the tape down to size.
With the panels attached to the plexiglass, I attempted to fill in the holes with Gallery Glass. This seemed like it would work while the paint was wet and opaque, but it dries clear. I wish I knew what kind of paint was used for these panels. I also tried regular craft paint on the third panel that I’m not using, but that didn’t look right at all.
I was impatient to keep going, so I decided to live with the messed-up glass. Let’s just pretend these doors are a hundred years old and original to the house. Some of the brown from the firescreen frame is stuck to the black lead-lines, too. I scraped off as much as I could, but I didn’t want to mess up the windows any more, so some brown remains. Let’s call it patina.
I framed the panels with 1/16″ x 1/16″ basswood pieces. The plexiglass gives these an edge to adhere to. On their own, the panels would have been too thin.
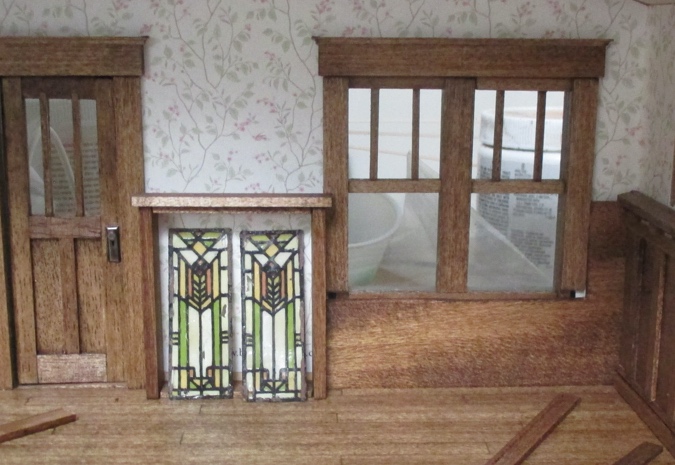
Next I added the window sill pieces. The sill is notched around the paneling on the right and butts up against the cabinet on the left.
And then I glued in the cabinet.
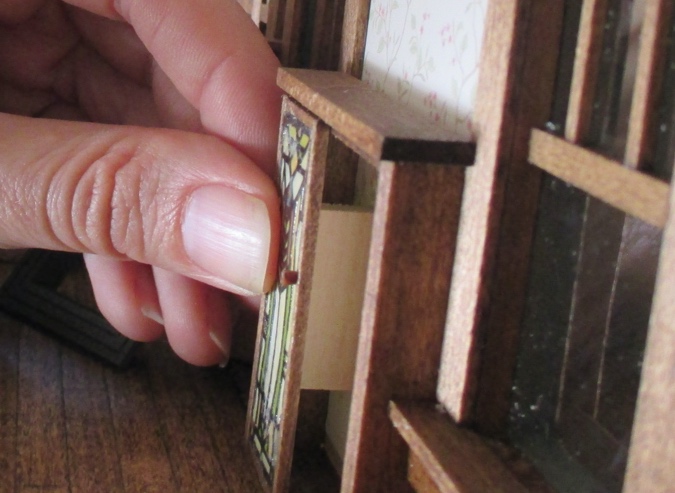
I thought the doors would fit inside the cabinet, but they were slightly too big. No biggie, because I could attach them to the front of the cabinet instead.
This will be a non-opening cabinet, by the way. I would have loved to hinge the doors, but couldn’t come up with a good way to do it. Maybe I could have used pin hinges, but I didn’t want to chance splitting the 1/16″ wood.
I added wooden knobs that came with the SDK Miniatures kitchen kit, which I built many years ago for the Queen Anne Rowhouse. This is why I never throw anything away!
With the doors right next to each other, the sides just barely overlap the cabinet sides. That doesn’t give me much surface to glue to. I assembled two scrap pieces into a center divider.
The front of this is flush with the front of the cabinet, and the back of it touches the wall.
I was still concerned that the doors wouldn’t have much to glue onto. I had visions of the panel getting bumped into and coming unglued from the skinny frame pieces. So I added 3/8″ support pieces to the backs of the panels.
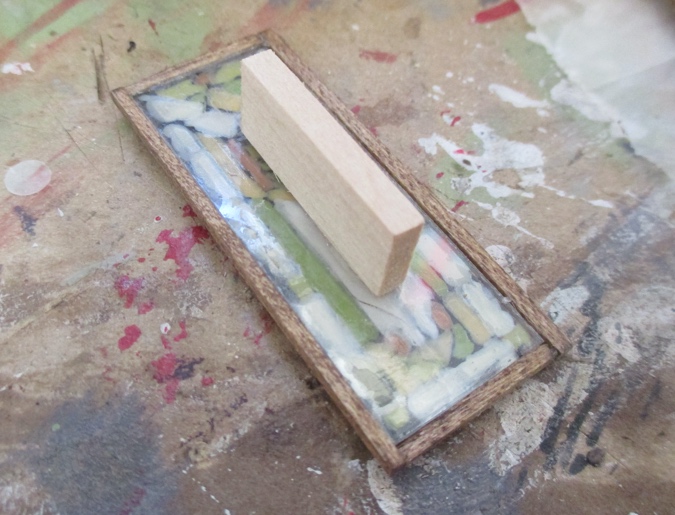
These touch the wall, so the doors can be glued to the wall and can’t be pushed in accidentally.
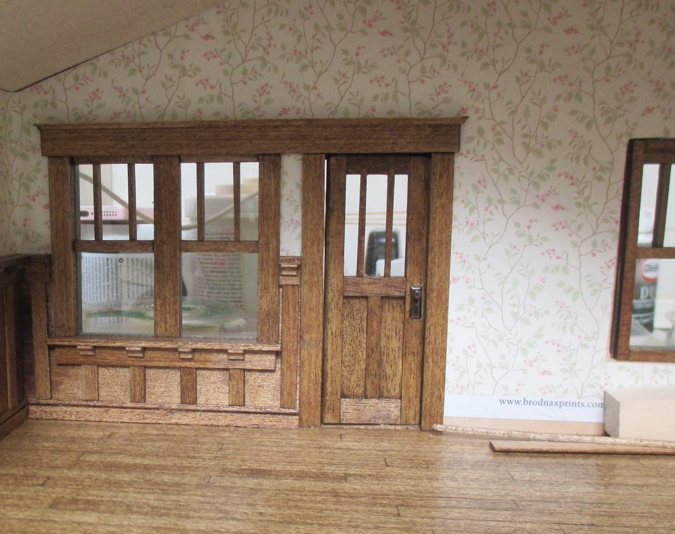
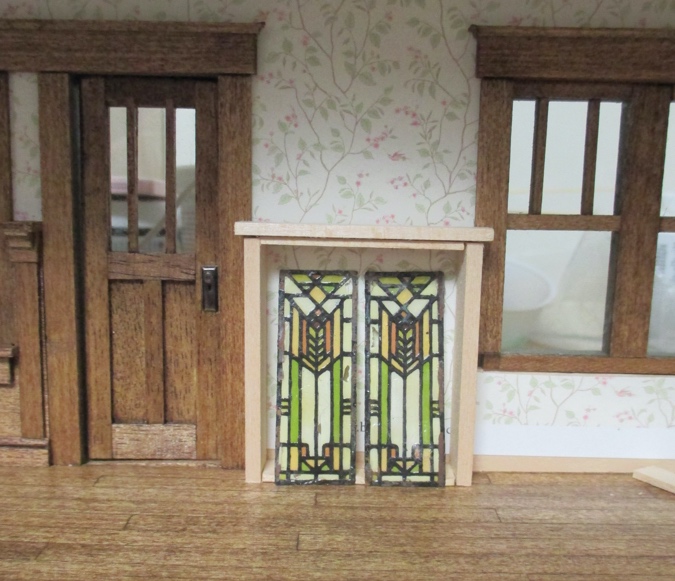
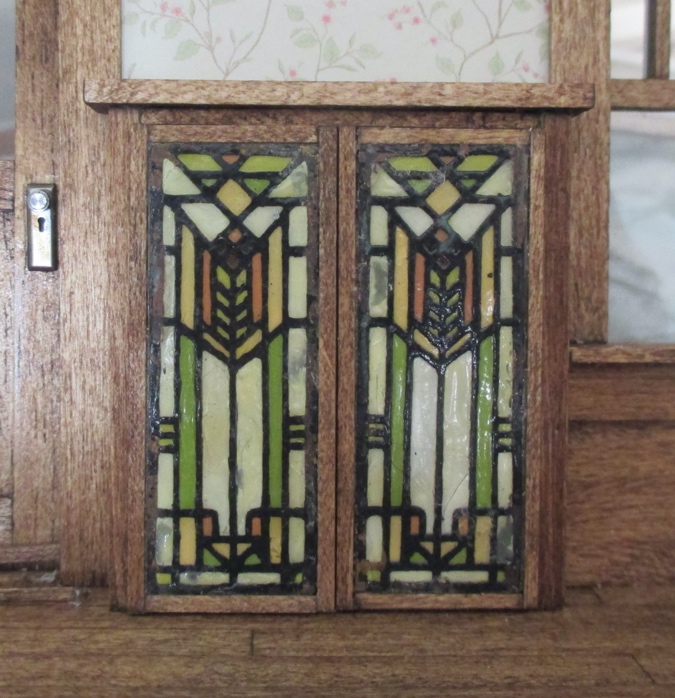
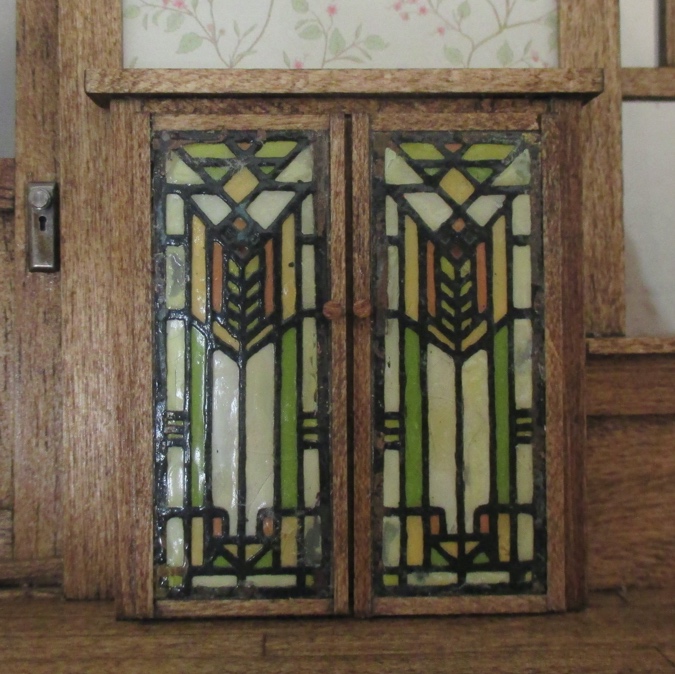
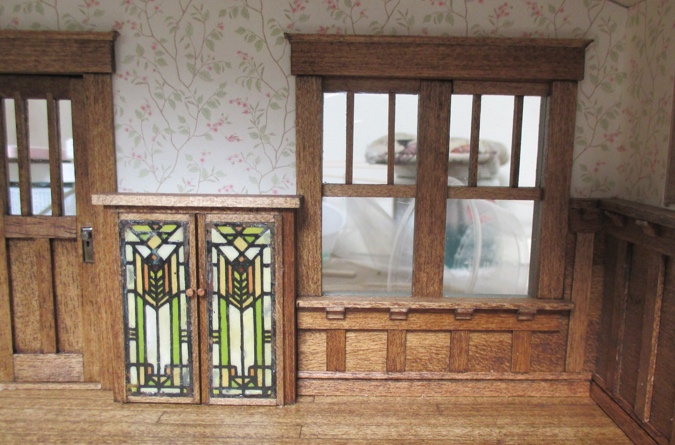
Here’s the finished cabinet.
With that done, I finished the paneling. See last week’s post for more details about the process.
And that’s a wrap on the paneling! I still have to finish the small windows, which might also have stained glass.
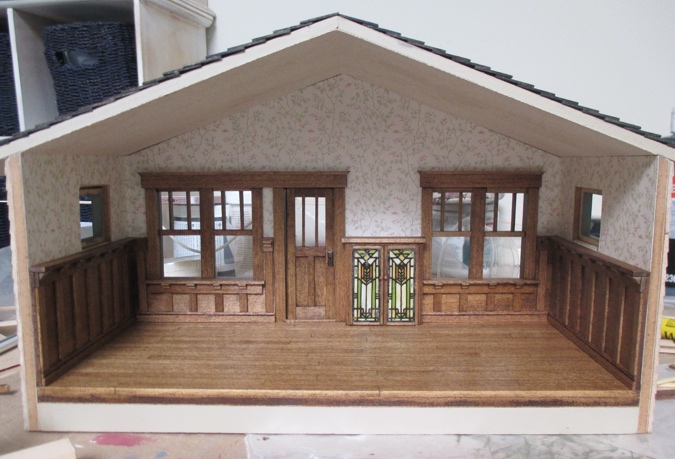
The cabinet is a little funky right near the front door, and I wish I’d hinged the door on the other side so you didn’t walk right next to the cabinet when you came in. (As if anyone’s going to be opening the door and walking into this house…) But I’m glad I found a way to use the stained glass.
 Emily is a freelance writer, miniaturist, and adventure game enthusiast.


Now your little inhabitants have a drop off spot for their keys and mail. It turned out great Emily.
Haha I had that thought, but their keys will get lost in the (not visible from our perspective) crack between the cabinet top and the wall!
Looks wonderful! I agree, it’s the perfect place for keys and mail.
Thank you!
Neat idea. Cabinet turned out well. Me, I would’ve put it on the right side wall. Great idea to use the windows and a good spot for dropping off keys and packages.
In hindsight I guess I could have put it on the side wall even without having a fireplace there. It couldn’t have gone right in the corner since it would have bumped into the big window, and if I’d centered it under the small window, there would have been a funny corner area. It could have gone to the right of the small window, though, close to the open side of the house.
This is turning out so well, true to the craftsman style.
Thank you! I have a RGT Craftsman Bungalow kit in my stash, so I’m sort of practicing on this one.
You did a brilliant job in creating a perfect cabinet for inside the door…perhaps the keys could be placed on a pretty dish or bowl so they don’t get lost. The room looks beautiful!