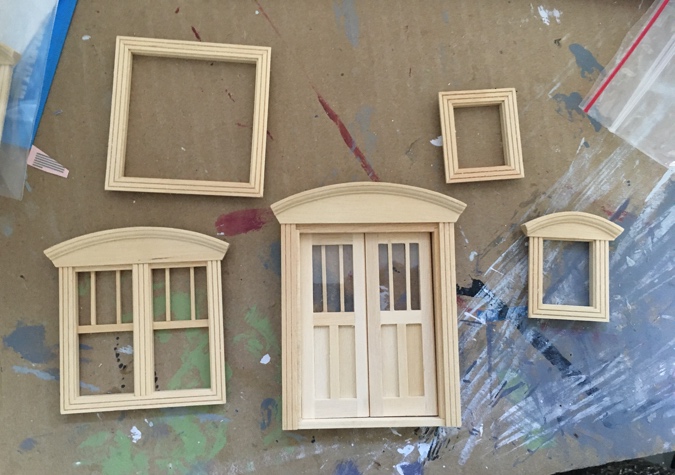
The windows and door I’m using for my 1:24 scale Craftsman bungalow vignette are Real Good Toys components that I bought off eBay. I’ve never seen these available for sale individually, but they match the components in the (now discontinued) East Side Townhouse as well as the Queen Anne (which is only available in 1:12 scale).
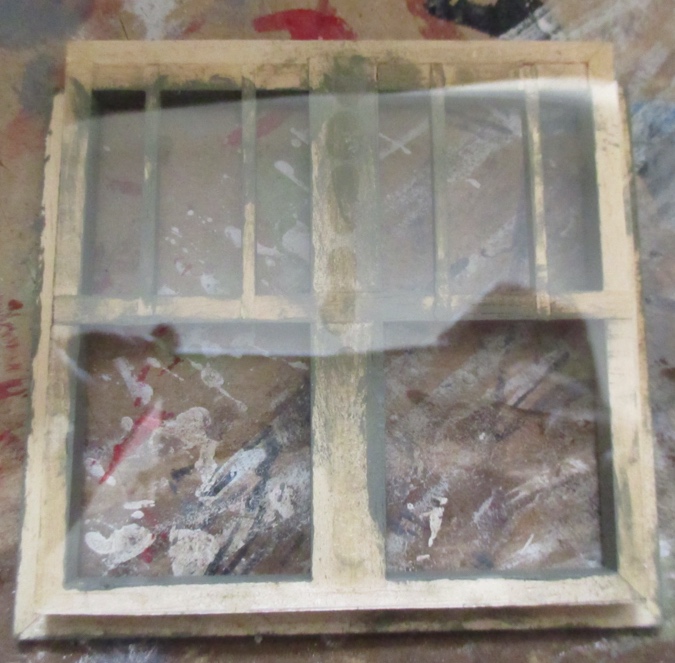
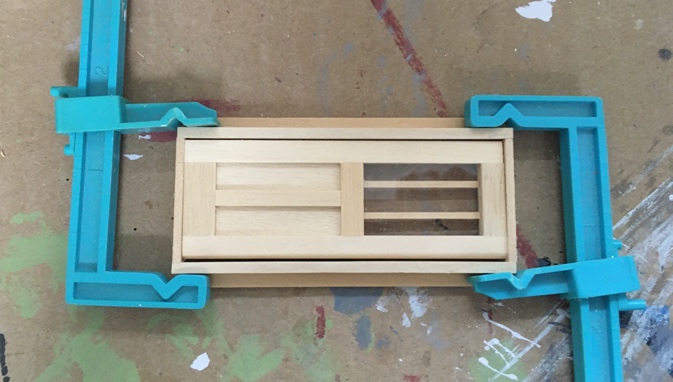
These windows come with pre-assembled interior trim. I assume the window plastic is supposed to be wedged between the exterior and interior trim, but mine either didn’t come with plastic or I’ve misplaced it. I cut out some of the thin acetate and glued it to the exterior window piece with dots of super glue.
Then I covered the exposed wood with stained pieces.
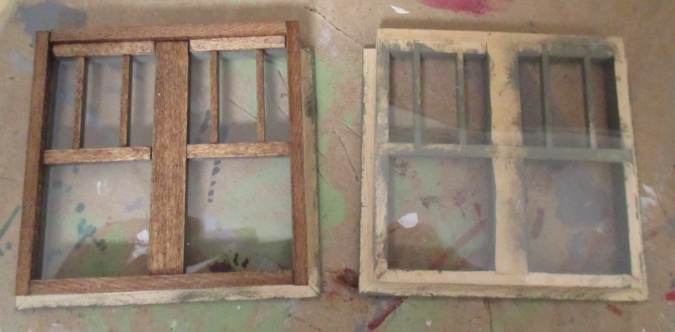
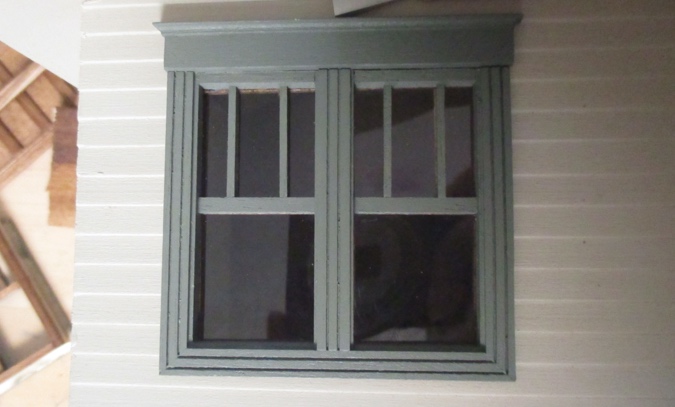
Here’s how that looks. I’ll add additional trim, this is just the first step. I held off on doing the smaller windows for now because I might want to do those as stained glass.
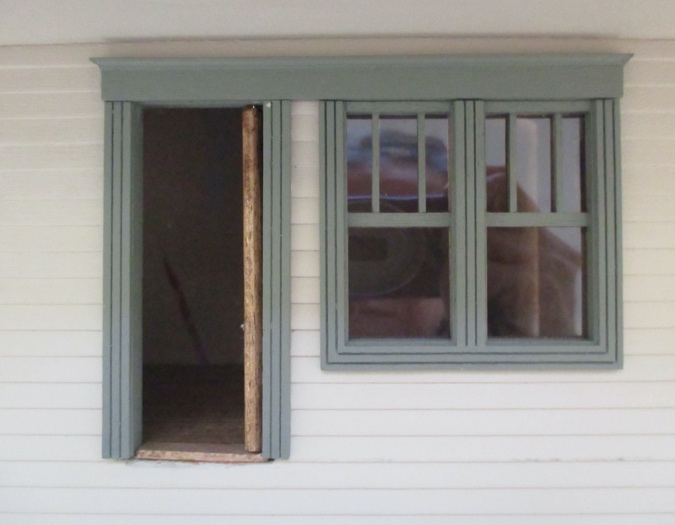
Next I glued the windows into the house and added the headers I made back in the beginning of the project.
Back then I had also assembled a door frame, but that fell apart at some point.
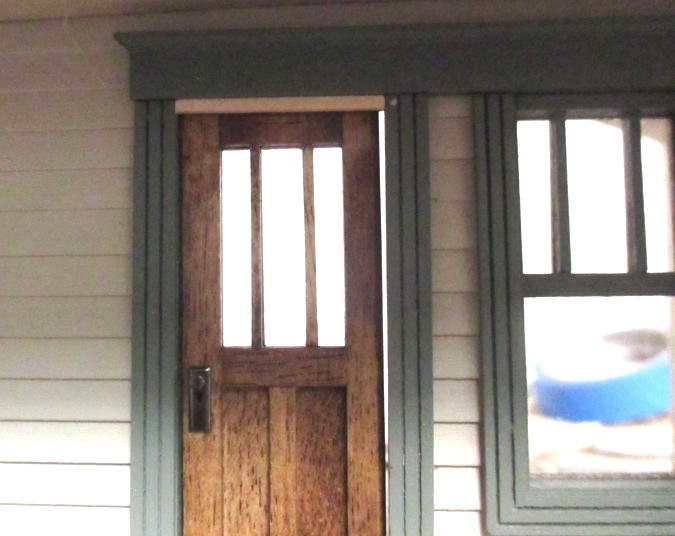
The frame fit nicely into the door hole at the time, but the siding must have changed the size of the hole a little, because the pieces had to be shoved in there. I managed to get the door pin-hinged again and get all the pieces in place.
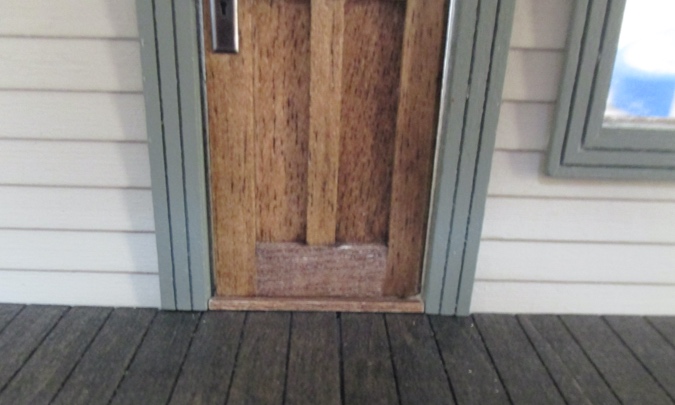
I removed one piece at a time, added glue, and put it back. This worked, but I ran into an issue when I went to add the header. In order to make all of the vertical trim pieces line up, so the header would sit straight across the door and the window, I had to shove the door’s right-side trim down into the corner of the threshold. I should have removed the threshold and sanded it a bit but I’d already super glued it in.
(Aside: super gluing the threshold was dumb. I wanted to make sure it was secure in there so it wouldn’t come loose and mess up the pin hinge. It seemed like a good idea at the time.)
To make the trim line up at the top, I had to squish the bottom corner of the threshold, which resulted in it being higher on the left than the right.
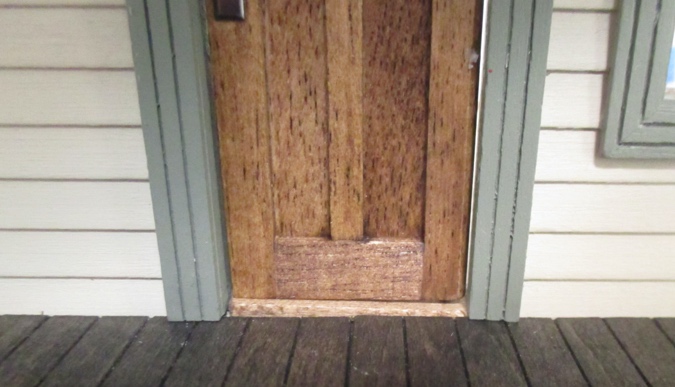
Of course, that uneven threshold is all I can see.
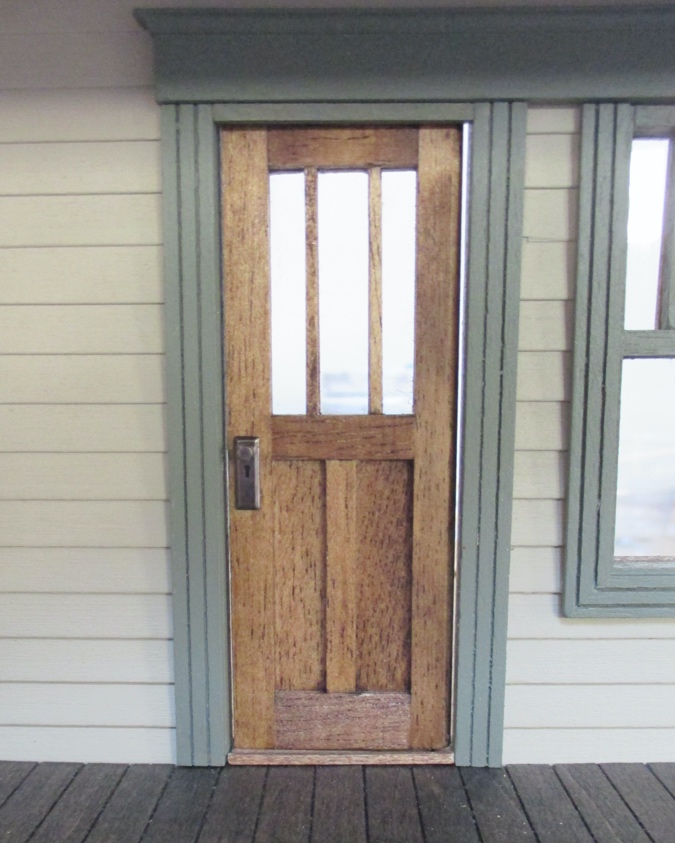
Adding a piece of 1/16″ x 1/16″ strip wood across the front of the threshold will hide the problem. I’ll wait to glue it in until the porch is done. (I’m working on the porch in tandem, that’ll be my next post!)
Normally, dollhouse doors have a little step in the threshold that prevents the door from swinging out. I didn’t do this when I made the door frame, so the door swings both ways. The piece of 1/16″ x 1/16″ strip wood across the threshold is the same height as the high end of the threshold, so it doesn’t help.
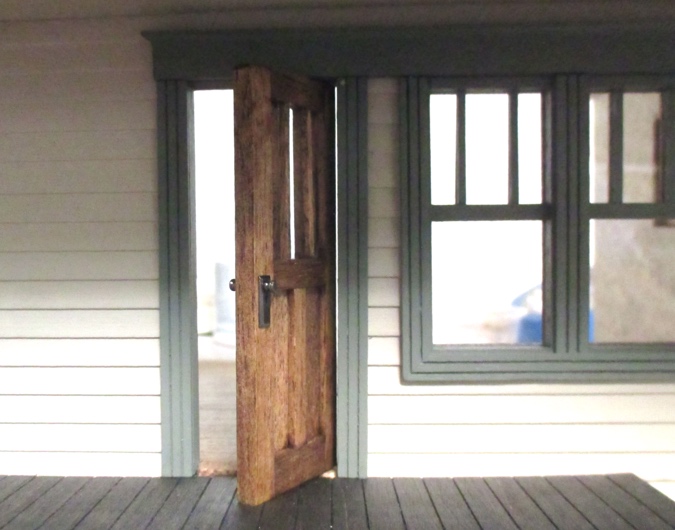
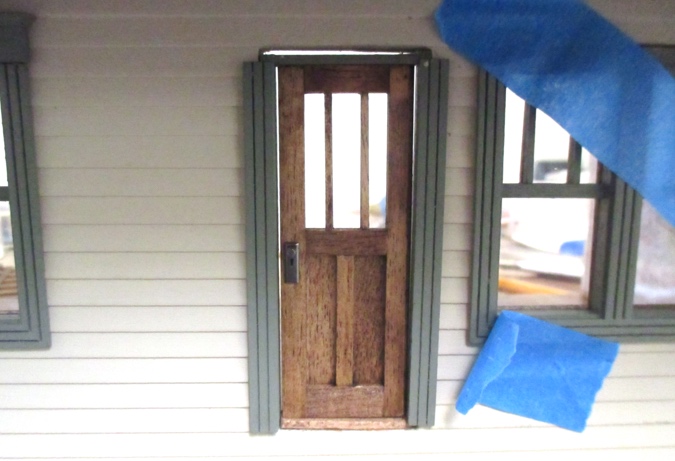
But a piece of 1/16″ x 1/16″ strip wood across the top will prevent the door from swinging out, with the added bonus of mimicking the trim across the top of the window right next to it.
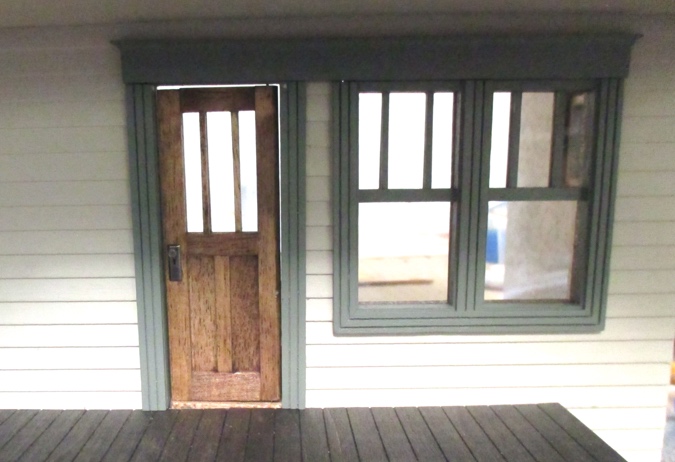
Here’s how that looks painted. This also covers up the crack at the top of the door where you could see the pin hinge sticking up.
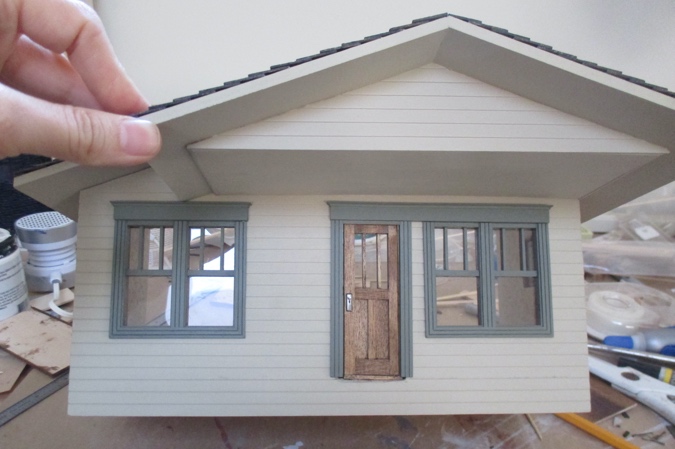
One more shot of the exterior with the window headers in. It’s hard to get good pictures of the front of the bungalow since the porch roof casts such a big shadow. (It doesn’t help that I took half the pictures for this post using the wrong lighting setting on the camera…)
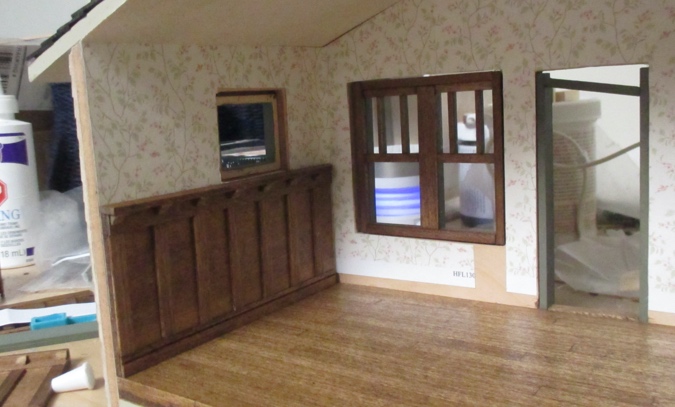
And here’s the inside view. The crooked threshold is less apparent here since it blends in with the floor.
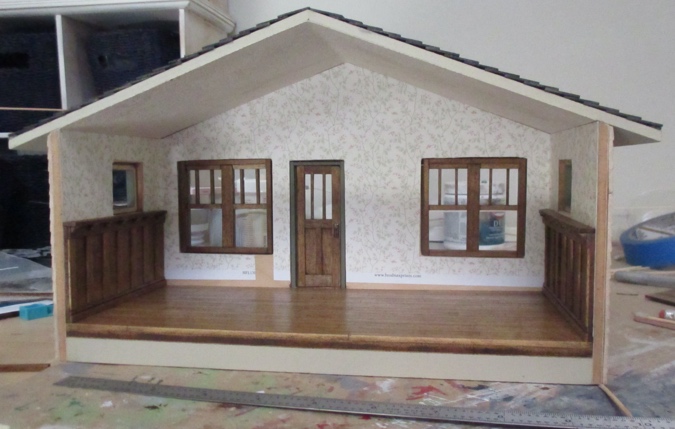
Now that these are glued in I can move on to the rest of the wall paneling. I need to prepare the window and door trim first, and then figure out how the paneling works around them. The door and window will share a header like they do outside.
 Emily is a freelance writer, miniaturist, and adventure game enthusiast.


Looking good. Love all the wood and details in this.
Love how it’s progressing!