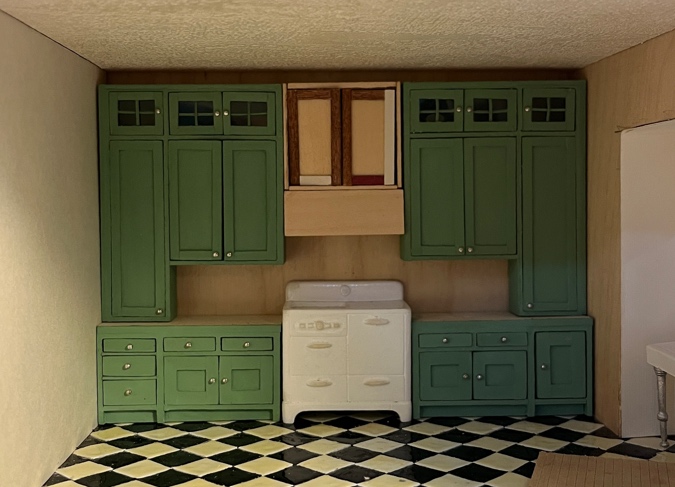
Since my last post about the Mansard Victorian’s kitchen, I finished the second upper cabinet.
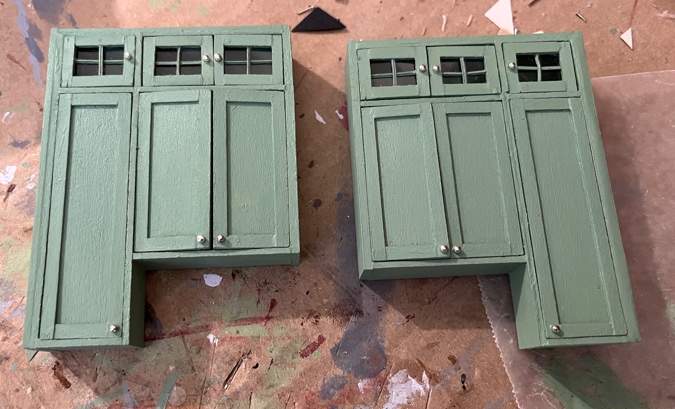
Then I started thinking about how to make a hood. I was enjoying bashing Cassidy Creations kits into something completely different from their intended purpose, so I sat down with my box of kits and went through them looking for something hood-like. I was down to the last few kits in the box when I spotted this.
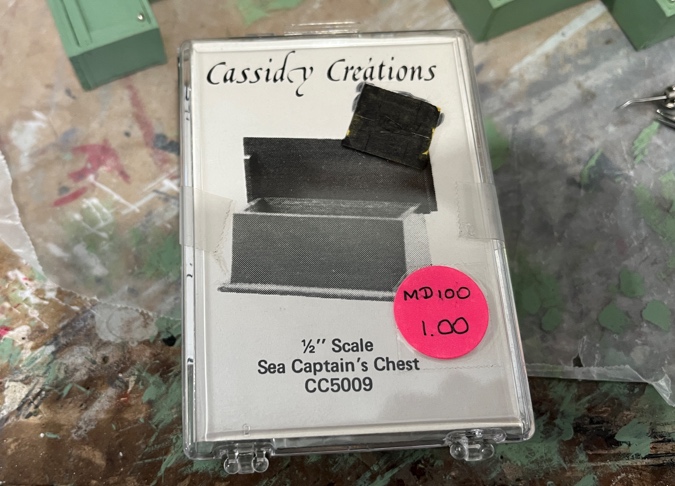
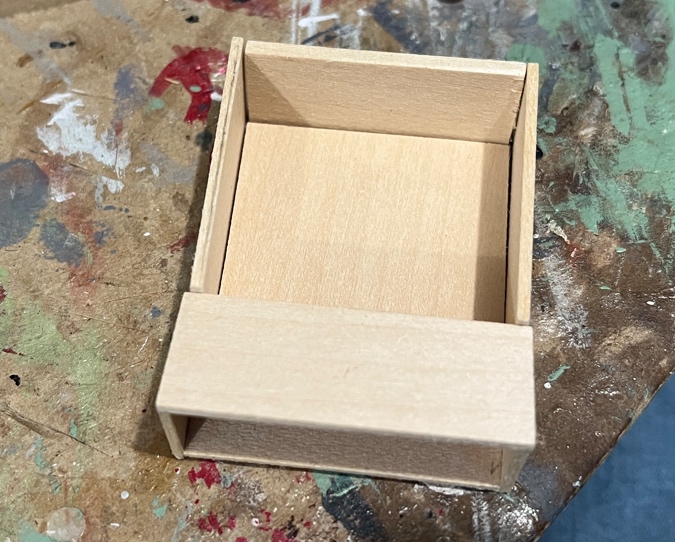
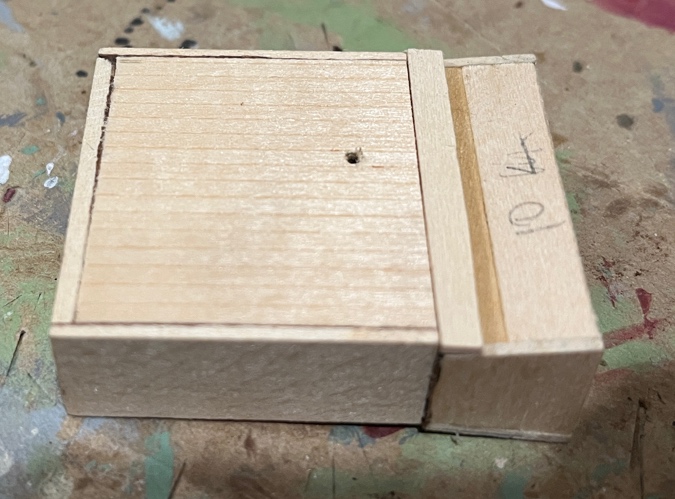
I have a completed one of these already. Hey look — it’s exactly the right width!
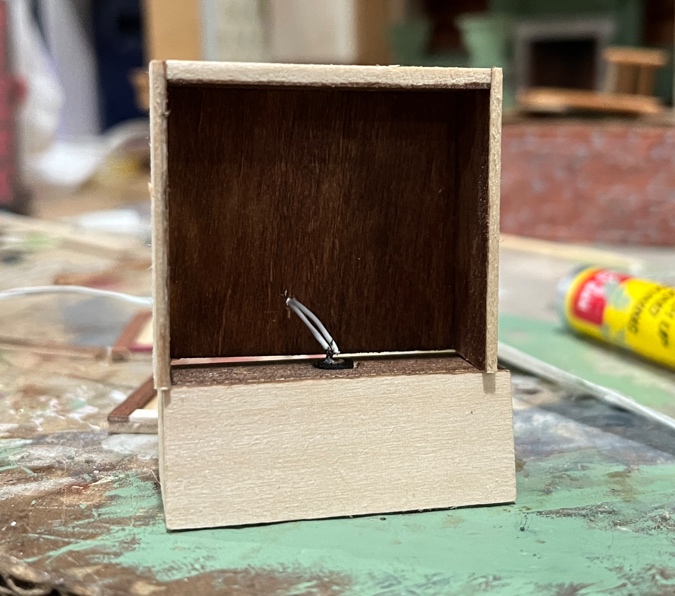
I didn’t want to destroy my Bauder-Pine chest, but I didn’t mind bashing the kit. (Especially since I apparently only spent $1 for it!) Here’s what I came up with:
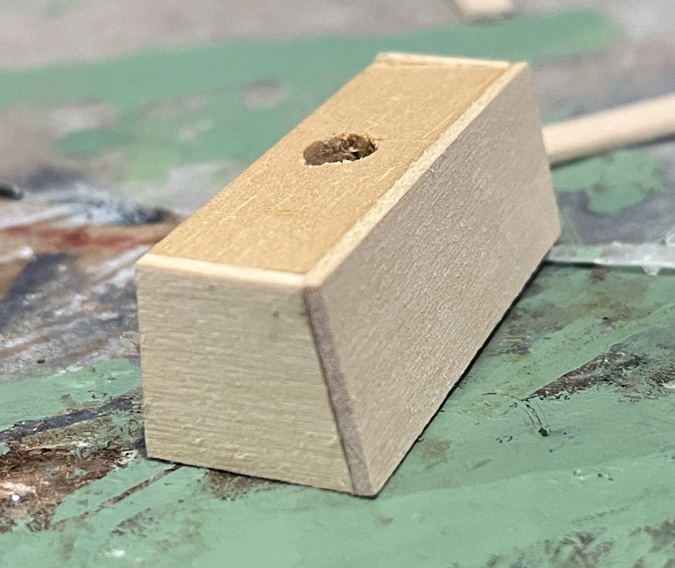
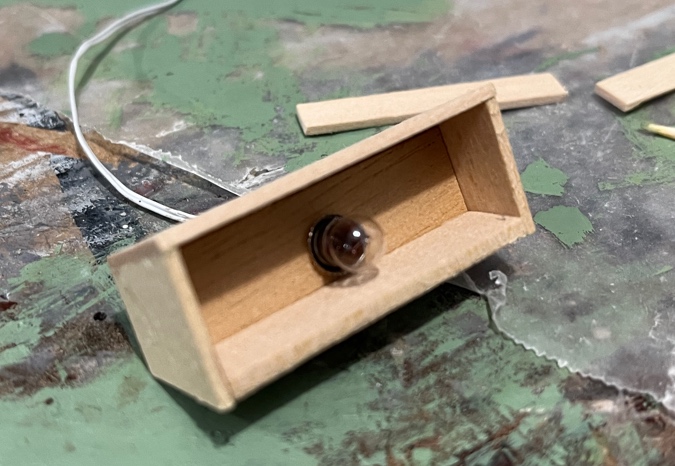
I kept the side pieces, and modified the original top and bottom pieces to create a new, wider front and back. The bottom is open, and the top is a thicker piece of basswood with a hole drilled into it for a light.
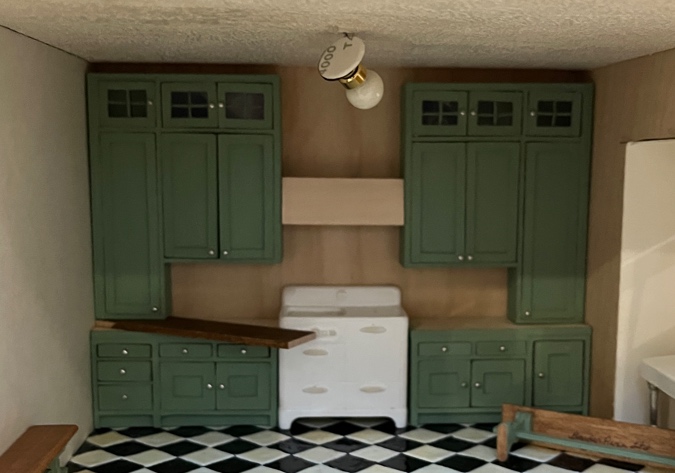
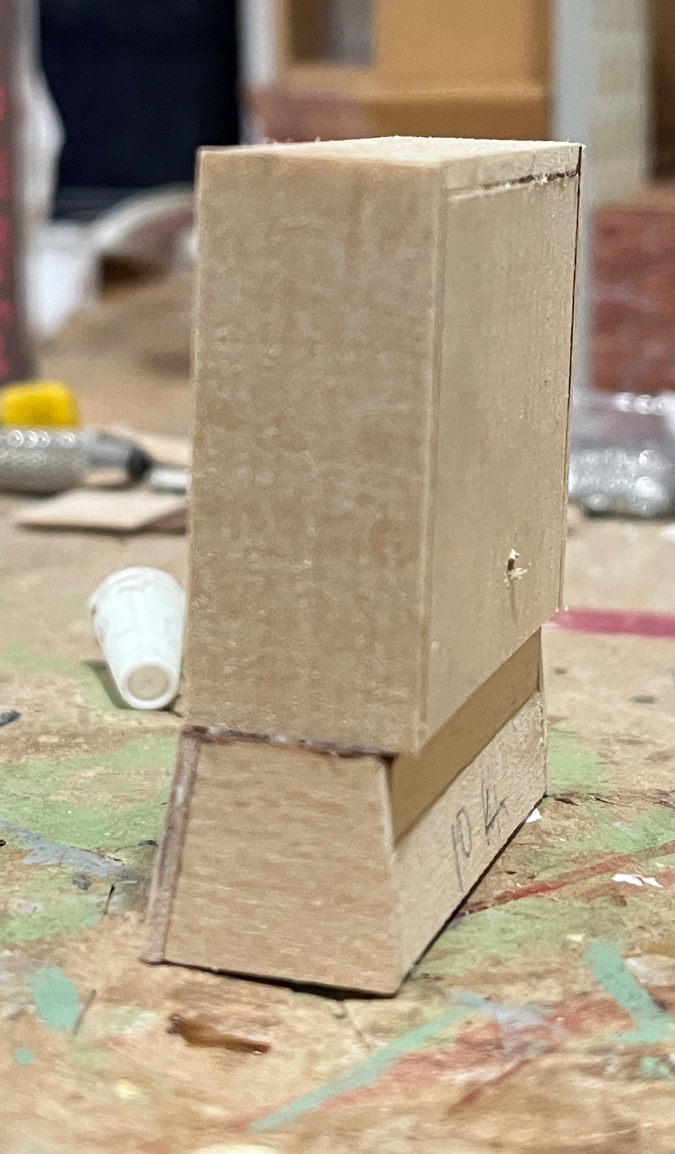
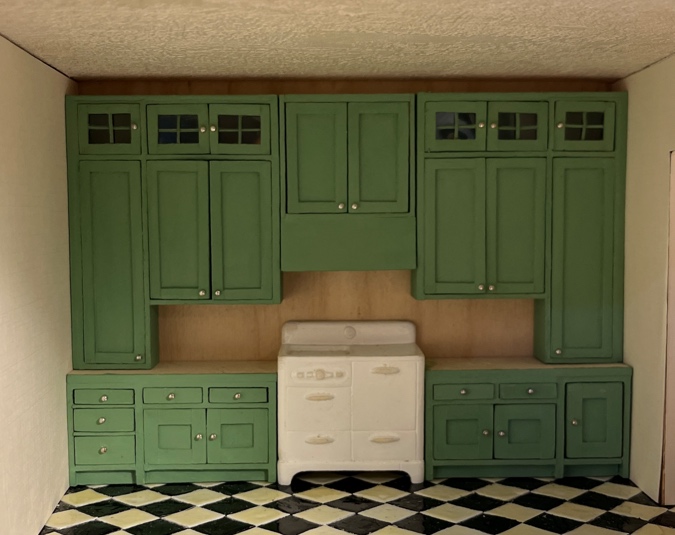
Here’s how it looks wedged between the two uppers.
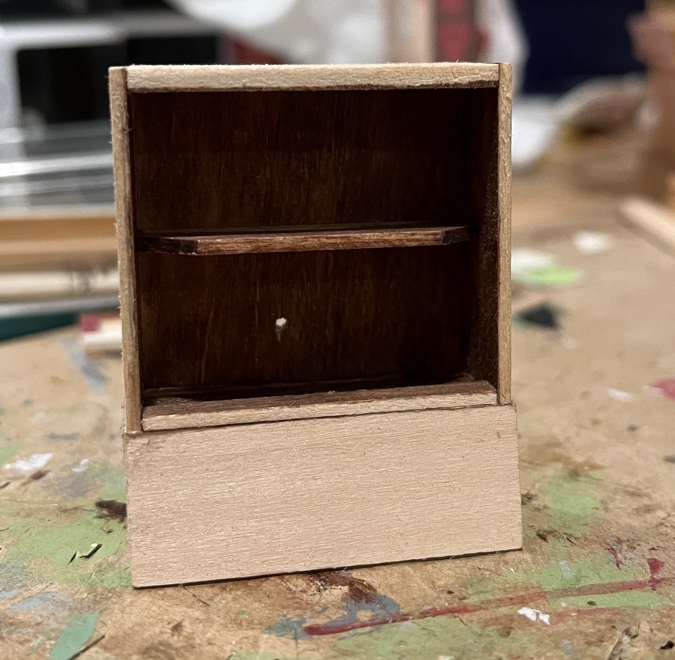
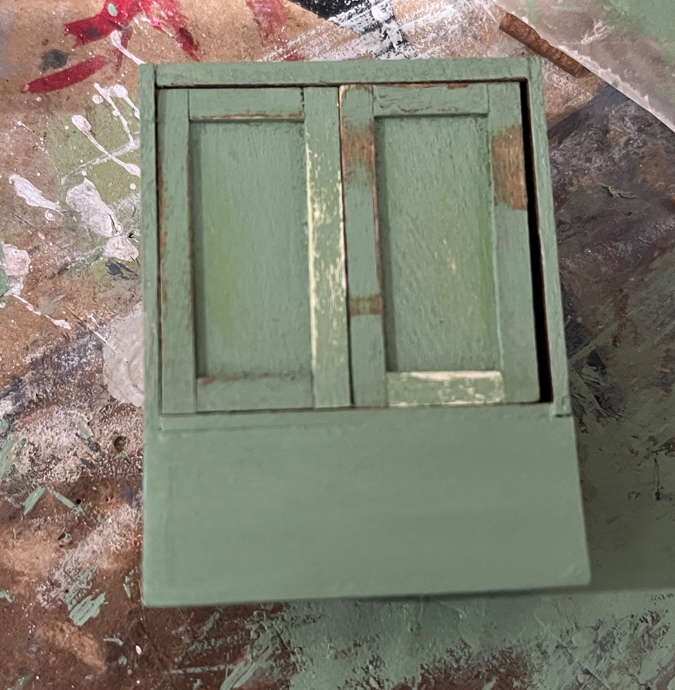
Next I used scrap wood and leftover kit pieces to make a cabinet to go above the hood.
For the doors, I cut down the ones that came with the wardrobe kit I’d previously bashed into the tall upper cabinets.
I drilled a hole in the back of the cabinet for the wire, and also drilled a hole in the wall for the wire to pass through. Once the cabinets are installed, I’ll add a plug to the wire and plug it into the power strip on the back of the house.
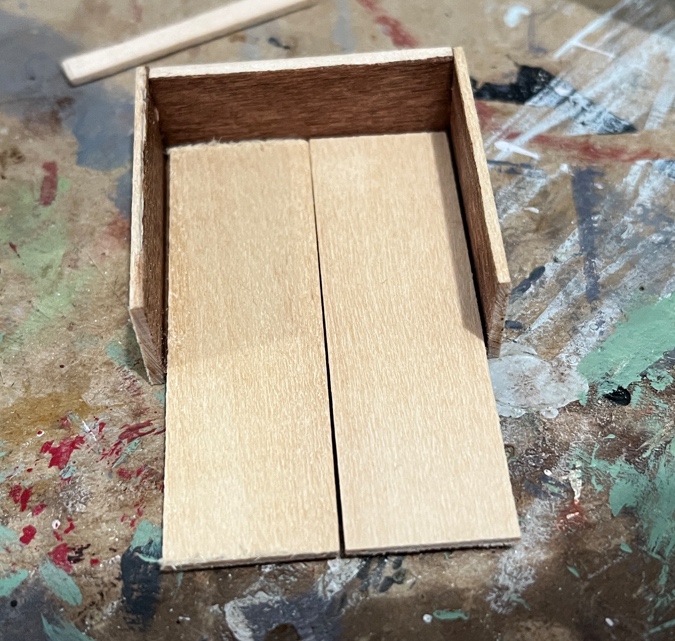
Because the sides of the chest are slanted at the back as well as the front, the cabinet overhangs the back of the hood slightly. When the hood and cabinets are in place, you won’t be able to tell that the hood isn’t flush against the wall, but this results in an open crack at the bottom of the cabinet (as seen in the picture above).
I used another scrap of wood to cover the gap (but first stained the front piece of the wood scrap, so it will blend in with the rest of the cabinet).
Next I added a bottom piece to the cabinet. This doesn’t go all the way back, because that would cover up the hole for the light.
Here’s how it looks with the doors. For the panels, I didn’t have a full piece of the correct size of basswood and had to scrounge through my wood drawer for tiny scraps. (This is why I always save scraps of wood, no matter how small!)
The doors seemed to fit well initially, but now there’s a big gap. Maybe the cabinet isn’t square, so they fit when I lay them in the back of the cabinet but don’t fit up front?
I thought about cramming in a skinny divider. This made the fit very tight, and also would have looked different than the other upper cabinets.
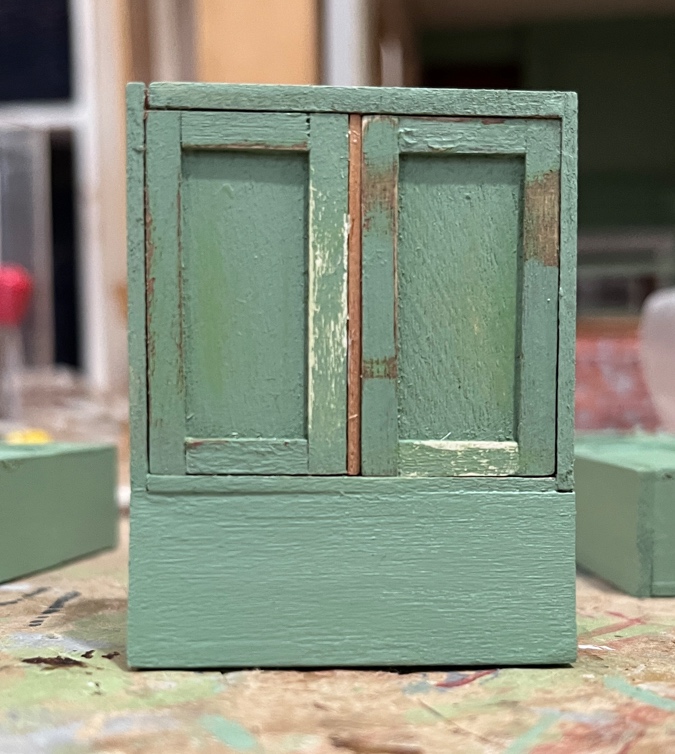
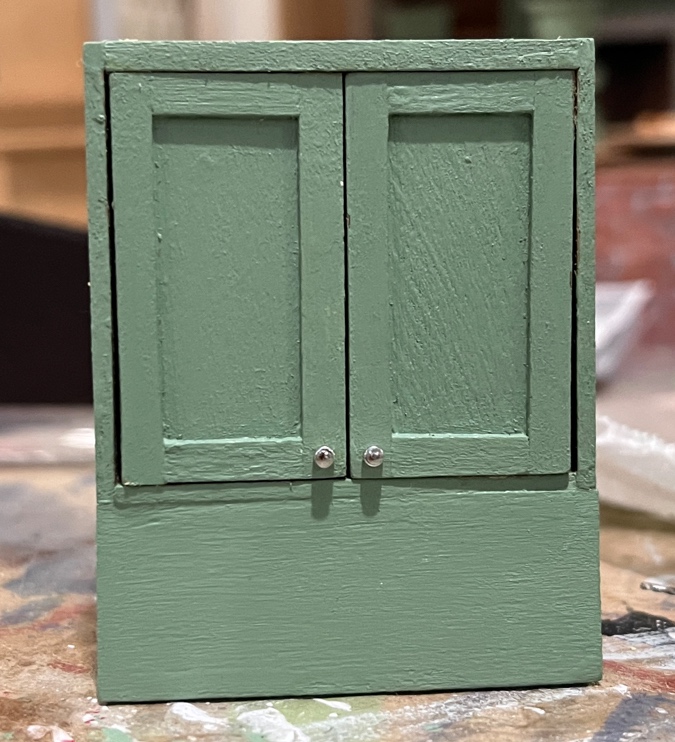
In the end I decided not to use the divider, and instead hinged the doors slightly out from the sides. It’s not perfect, but so much about these bashed cabinets is imperfect. It adds to the charm, right?
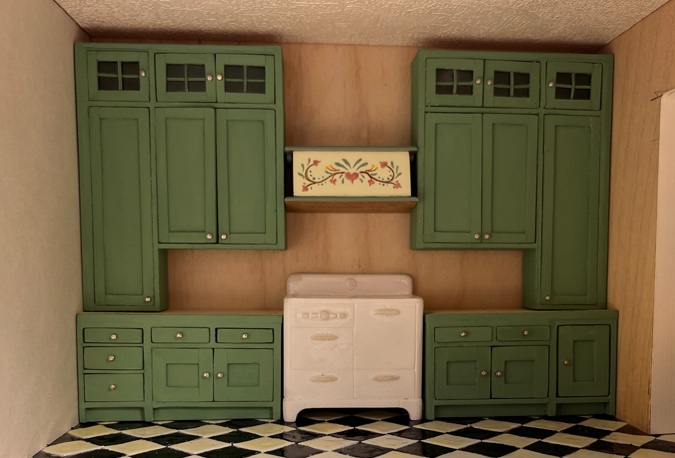
Here’s the hood in place. I think this would have worked better if the slanted sides stuck out a bit more, but I was dead set on using a Cassidy Creations kit.
Eventually I’ll glue the three upper cabinets together, and then fill and paint the seams. First I need to make the countertops and figure out what I want to do for wallpaper.
 Emily is a freelance writer, miniaturist, and adventure game enthusiast.


Continues to look amazing! I love this color green. Where did you get the stove or did you make that too?
Thank you! The stove was a Cassidy Creations kit, but one of the newer ones that might have been added after the line was sold to Kathy Moore (I’m not sure). It’s resin, versus the older Cassidy Creations appliances which were metal. I originally put it together for the Puzzle House but never completely finished it. There was something wrong with my spray paint (or maybe a combination of me over-spraying and very damp weather where I lived in San Francisco) that caused the paint to not completely cure, and it was tacky for a long time — that’s why there’s a smudge (fingerprint mark) in the upper left corner. I need to figure out what to do about that, and also paint the handles and find the resin burners that go with it (which are in my stash somewhere) and paint those too.
Perfect! Great job!
Thanks!
Wow – great work. It looks very charming, a perfect kitchen.
Thank you! :)
You are amazingly gifted!!!!!!!!!!!! I want you to build a house for me, maxiaturized, not miniaturized. You really should be an architect…..
The house might fall down around you if I did! I don’t build anything to code. :)
Emily, it is looking absolutely perfect! A very well spent dollar!
Wishing you and yours a very Merry Christmas and a Happy New Year!
Hugs,
Sharon
Thanks, same to you!
Your stove hood is so gorgeous! Your kitchen cupboards are so nice – can I move in there when you’re done? Great job on all your amazing carpentry!
Thank you!