When I left off with the uppers, I’d built the main part of the cabinet and was ready to add a row of smaller cabinets above.
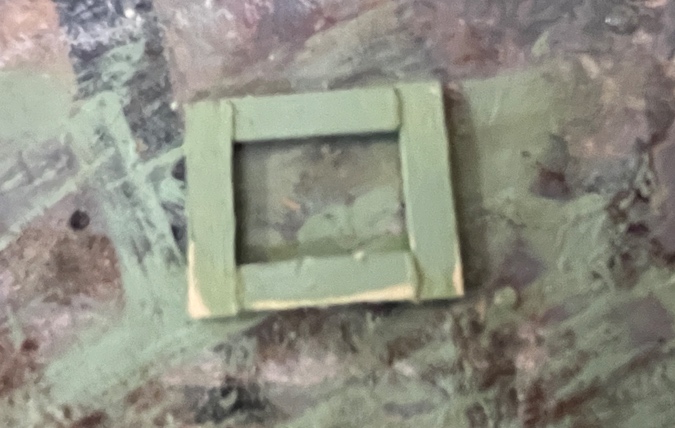
I assembled the “glass” doors so I could use them to determine how big to make the cabinets. I put these together with super glue, which more or less worked, but then I had to sand them a bit and some of those joints came apart and needed to be re-glued. Looks crunchy here, but nothing that can’t be touched up.
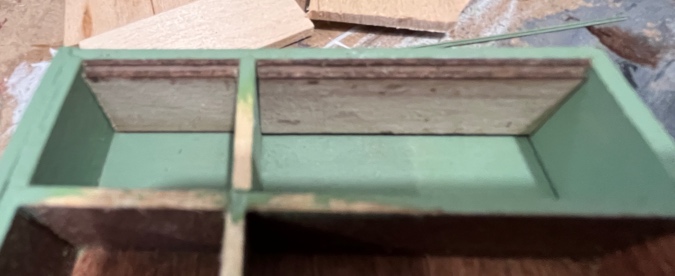
I added a piece to the left side of the cabinet because that side was a bit bowed, and I thought it would help. Also, the right side was thicker than the left side — the right side is made from a piece of the original Cassidy Creations cabinet and I didn’t have any scrap wood the same depth — so the double-wide left side will now be closer to that.
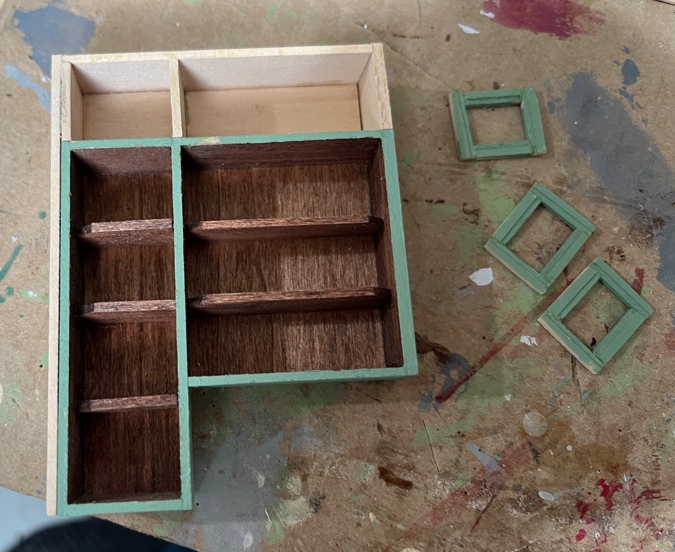
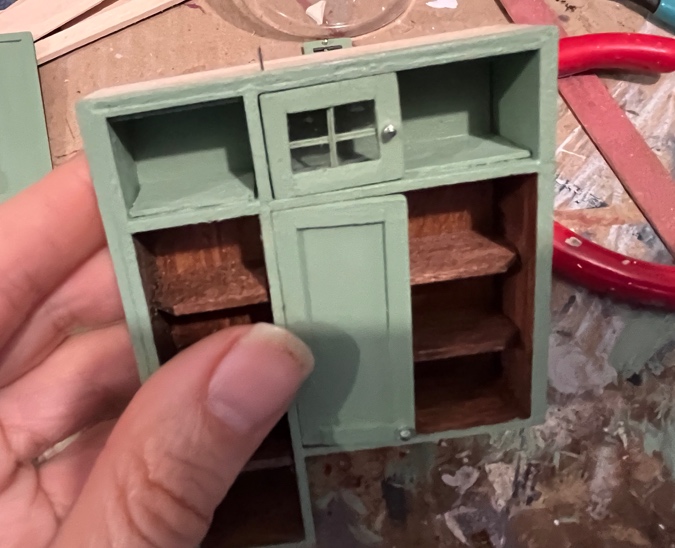
In the lower part of the cabinet, the shelves prevent the doors from swinging inward. The upper cabinets have no shelf, so I need to add something to the inside to force the doors to sit flat.
I found some thin 1/2″ strip wood in my stash.

The inside of the cabinet is 9/16″ deep (5/8″ minus the 1/16″ back), so the 1/2″ piece of wood is exactly the right size to make the 1/16″ thick door sit flush in the cabinet.

(Actually, that’s not completely true, as you might be able to tell in the picture. I was scrounging scraps out of the kits I was bashing, and used a slightly thicker piece of wood on the left than on the right, so the strip wood leaves a little less of a gap on the left side. When I build these for the other side of the stove, I’ll make sure the backs are the same depth.)
Oops, but there’s a problem! In spite of using the doors as spacers, I made the cabinets slightly too tall.
More strip wood to the rescue. These pieces are flush with the front, to fill in that gap.
Then I added another piece that goes all the way to the back, to keep the door from swinging inward. I added a piece to the bottom of each cabinet as well.
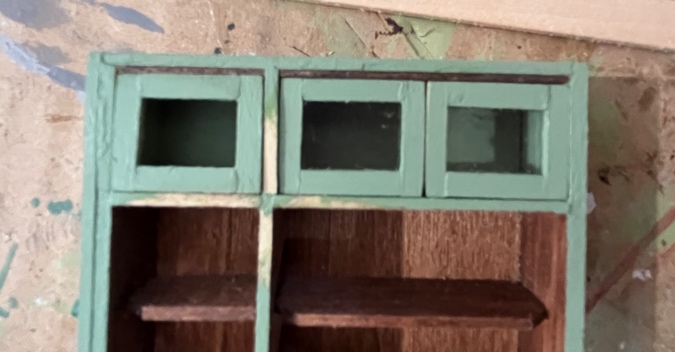
Now the doors are flush and the gap is filled in. I’ll have to repeat this on the other cabinet, so they match.
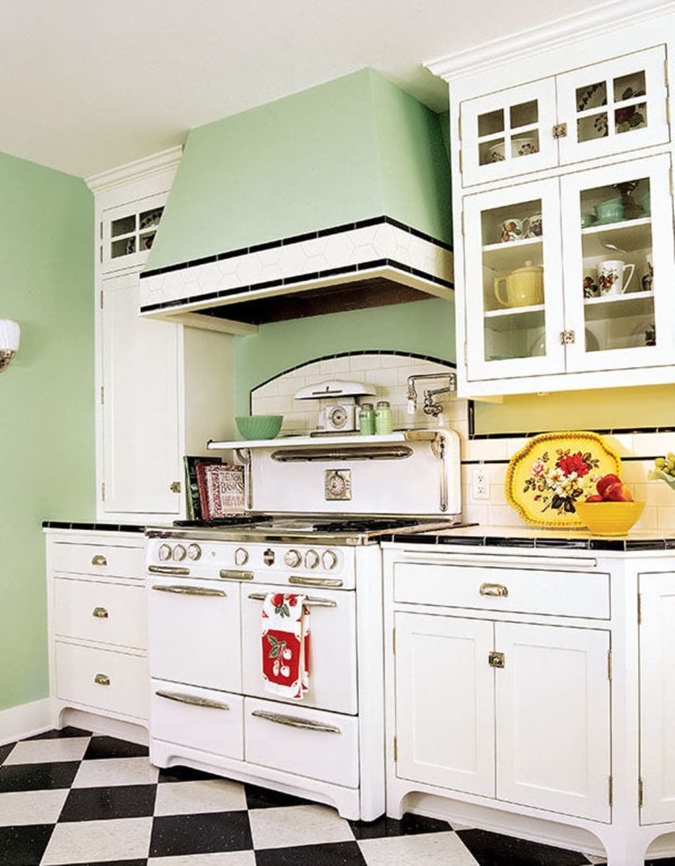
In the inspiration photo, I like how the glass cabinets have mullions.
I found some very thin trim in my stash. Before doing this, I didn’t double check to make sure I had enough for the second cabinet — dangerous! — but later I found another piece set it aside. Hopefully I won’t lose track of it before I need it.
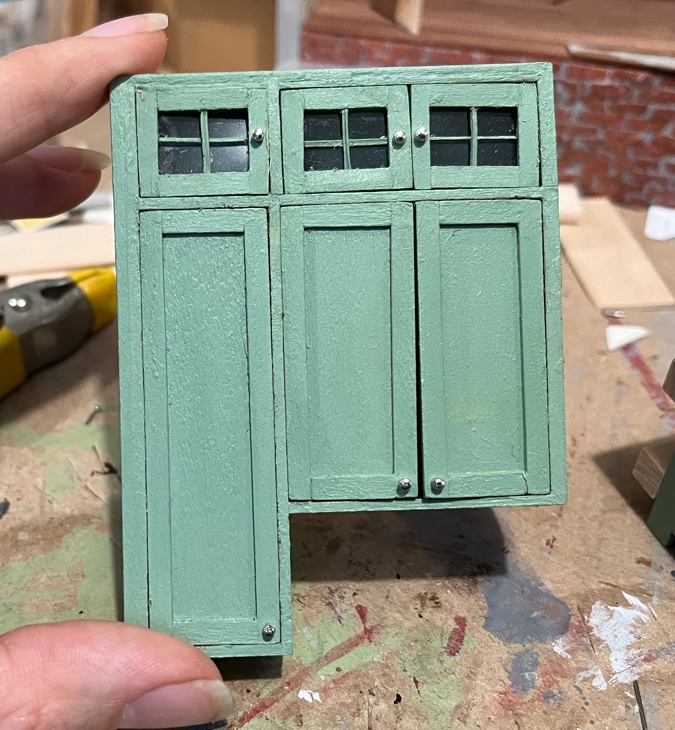
Here’s how it’s looking (with some sanding to the front where that vertical crosspiece stuck out slightly).
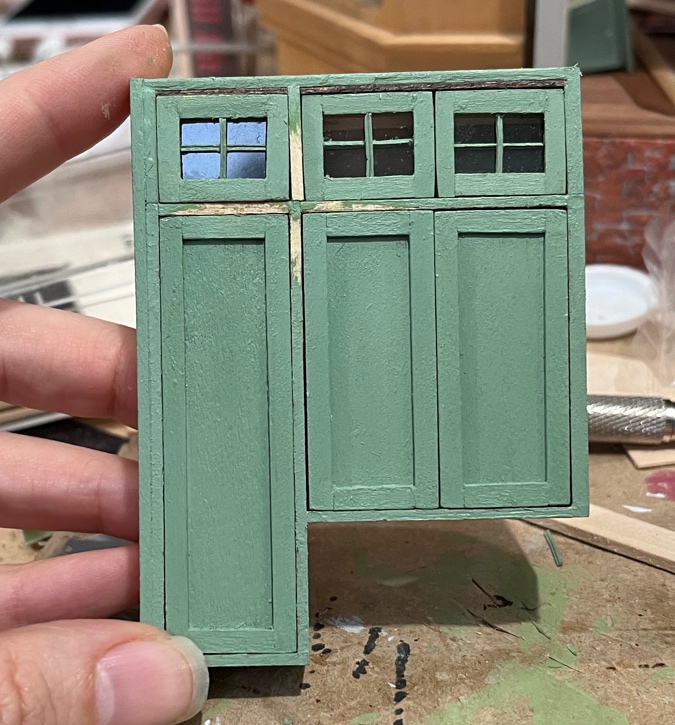
You might notice that the glass doors in the double cabinet sanded more than the other one — that’s because the horizontal pieces for those doors are as they came in the kit. I figured they would be the right size, so I didn’t adjust them before assembling the doors.
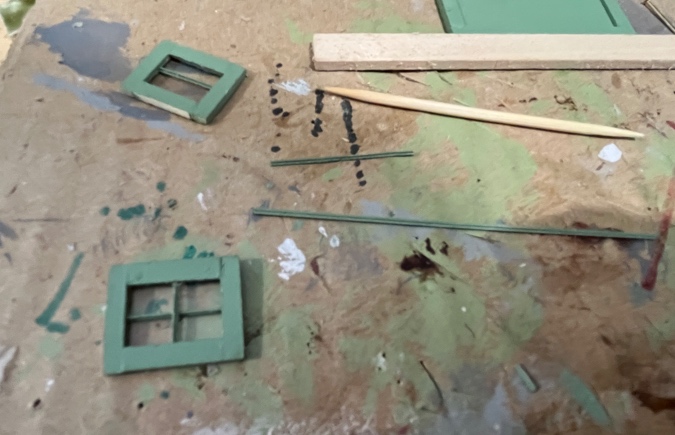
To create a third door, I cut the horizontal pieces myself (from the pieces that were left over after I reduced the height), and I made these a little shorter than the horizontal pieces that came in the kit, so the door would fit in the 3/4″ space. I should have checked the fit of the other two doors more carefully before I put them together, because the fact that the doors required sanding to fit in that space is going to come back to bite me a few paragraphs from now…
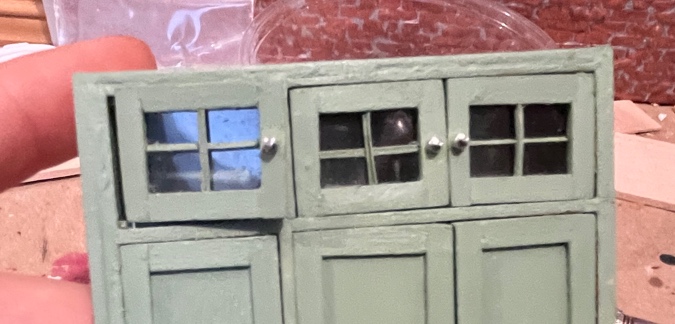
Next I added pulls.
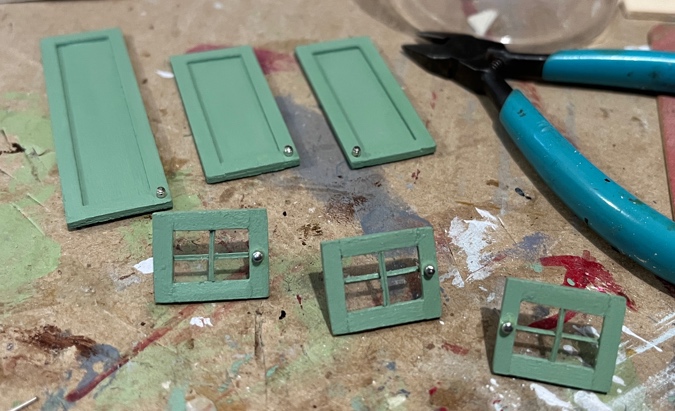
As I mentioned when I started this project, these are made with pin heads and Magnifica beads, and I had *just* enough beads to do the pulls on the base cabinets but I forgot about the uppers. Magnifica beads are discontinued, but I managed to find a pack online. I paid way more than I should have, but at least I knew for sure that they would match.
To add the pulls, I first used the pilot punch to make made a dot where I wanted them, and then drilled a tiny hole using the finger drill. Then I added a bead to a sequin pin, dipped the tip of the pin in super glue, and pushed the pin through the hole. The glue balls up on the wood as the pin pushes through it, bonding the bead and stem of the pin to the door.
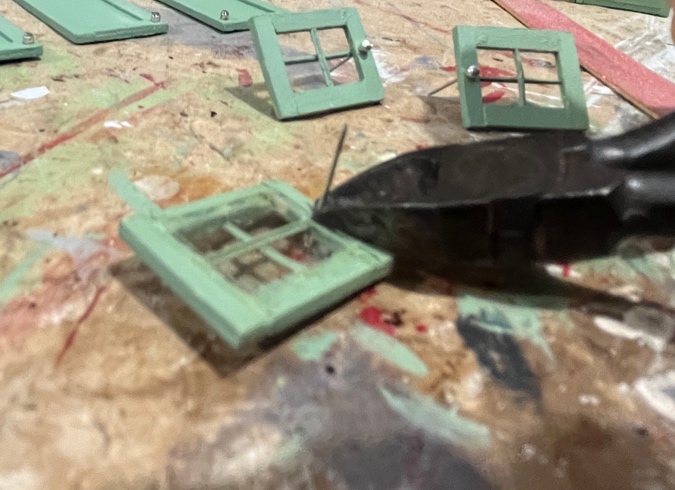
Finally, I snipped the end of the pin off with wire cutters (holding on to it with my other hand, so it wouldn’t go flying and I could use that piece later for pin-hinging).
The tops and bottoms of the bigger cabinets have pre-drilled holes, since those pieces are made with pieces out of the Cassidy Creations kits. The doors did not have pre-drilled holes, since I made them myself, and they’re very thin which makes it hard to get the pin in without it poking through the door. I stuck the pointy parts of the pins into the door so they would create their own hole as they went in. I left a length of (non-pointy) pin sticking up.
When I assembled the glass doors, I made sure each one had a pre-drilled hole at the bottom of the hinged side. This allowed me to insert the door over the protruding piece of pin, even though the pin wasn’t pointy. Then I drilled a little hole in the cabinet top and inserted a pointy piece of pin down through it, pushing that down into the door.
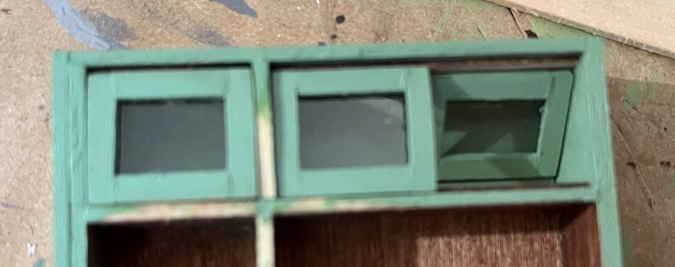
This more or less worked… until I got to this one and found that inserting the door over the pin that was sticking up positioned the door too far over.
And here is where sanding the doors has come back to bite me. My plan had been to use the unsanded door on the left and the two sanded doors on the right, but I got them mixed up. This door is positioned incorrectly because sanding the edge of the door resulted in the pre-drilled hole being in the wrong place.
(To be fair, I might have had the same problem if I’d installed this door where I originally intended. The takeaway is that sanding them was bad, and I should instead have shortened the horizontal slats before I put them together. I’ll do that with the next cabinet.)
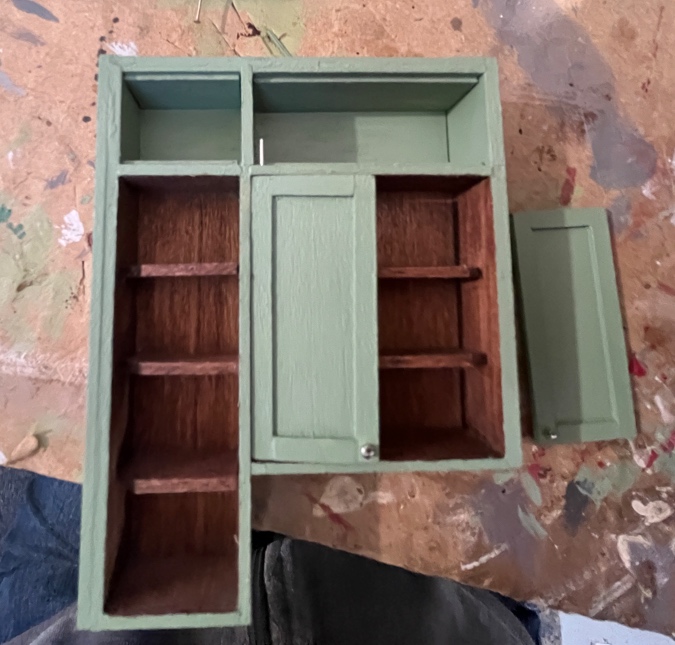
I drilled a new hole in the bottom of the sanded glass door and managed to get it hinged at the bottom. But then I had a really hard time with the top pin, which split the wood in the door and just didn’t want to cooperate. I ended up not hinging it at the top. It fits snugly, and I can remove it if I want to put something in that cabinet (which seems unlikely, since it’s small and dark in there).
The other doors do open — not perfectly, but this is good enough. I’ve already spent more time hinging them than I ever will opening and closing them.
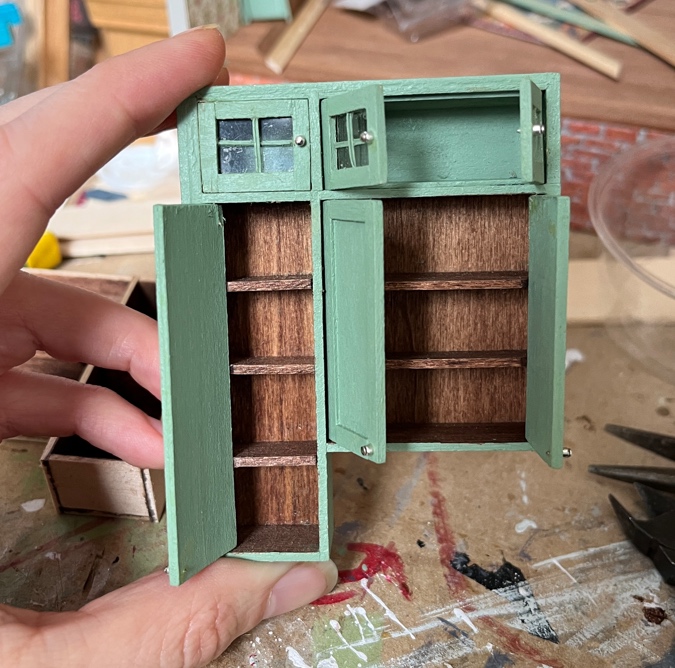
The two solid doors on the right don’t want to close all the way, probably due to the location of the pins not being quite right. I can add little pieces of wax to one of the shelves to keep them closed.

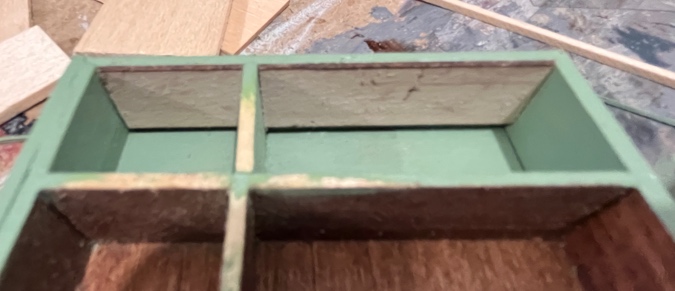
Once I add the countertop, there will be about 1/4″ of space at the top, which is just enough for crown molding. (Shown here with a scrap piece that’s so dark, I’m not sure if you can tell it’s crown.) I might need to use a countertop a little shorter than this, to ensure the molding clears the tops of the glass doors.
I started building the cabinet on the other side but left off here.

In my last post I was questioning the color of the light. Now it’s starting to seem out of scale. Guess I’ll be looking for a new light…
 Emily is a freelance writer, miniaturist, and adventure game enthusiast.


Looks great. Those hinges are so fiddly, great job getting them to work!
Your patience and creativity are endless! It’s a joy to see the progression of things, as well as the finished projects. Do you ever keep track of the hours that go into your projects?
What amazing luck that you were able to find the right beads! I love how you go for it and get things to work out. It looks wonderful!