With the kitchen electrical finished, I can now lay the floors in the nursery upstairs. The wires from the kitchen lights come up through the floor. My original idea was to leave a slight gap at the sides for the wires to sit in and cover that gap with baseboards.
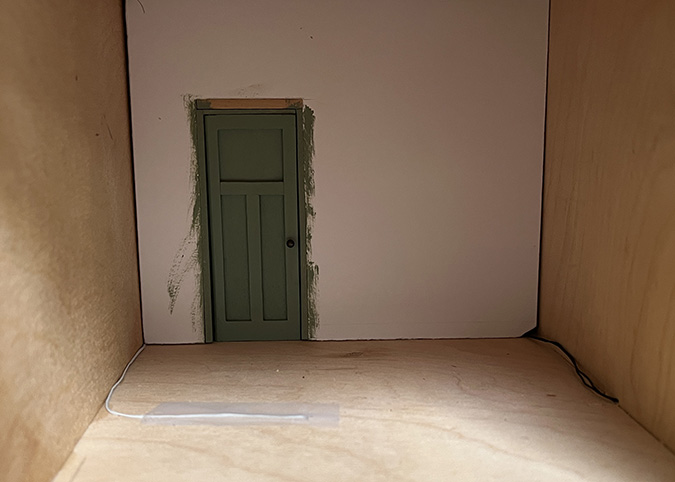
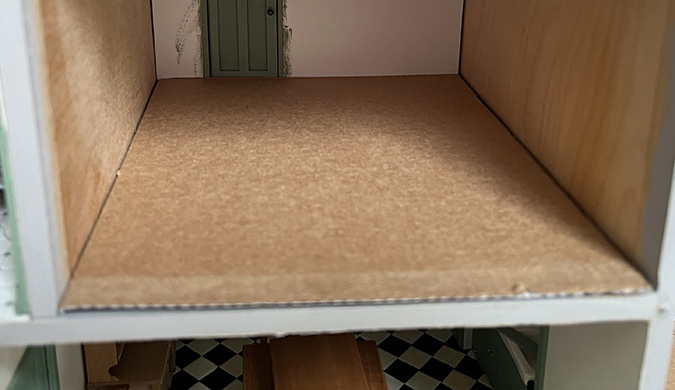
But when I started playing with it, I found the white wire coming from the middle of the room was too bulky for the floorboards to lay flat on top of it. On to Plan B: a subfloor made of cardboard.
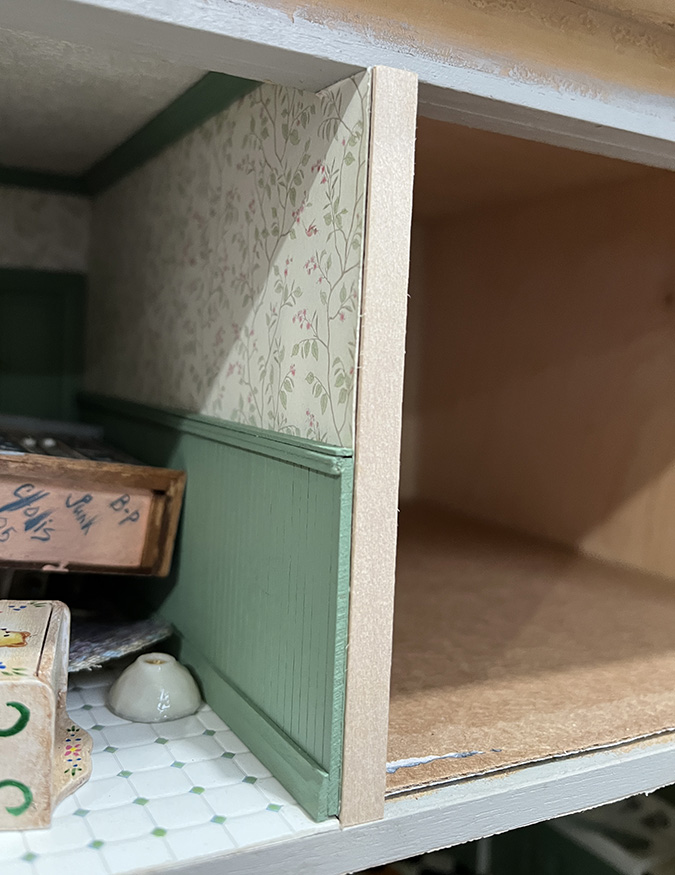
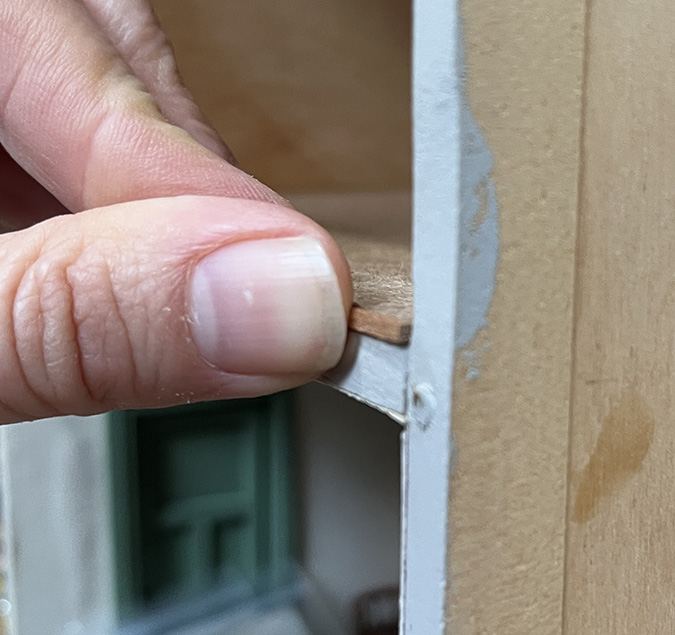
And then I noticed that the bathroom wall isn’t quite flush at the bottom. The front edge of the cardboard needs to be covered with a piece of trim anyway, so I thought about extending the trim piece all the way across the gap at the front of the wall. But this would have been inconsistent with the other walls and would probably look weird.
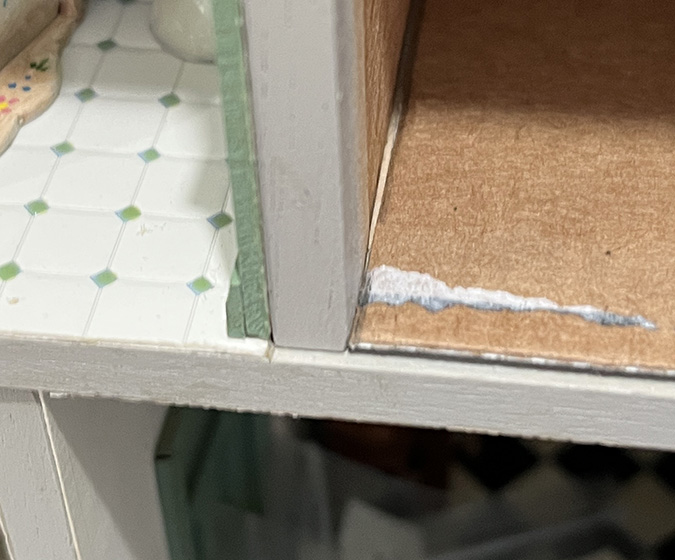
The wall is flush at the top, but the bathroom wallpaper sticks out a bit, which also bugged me.
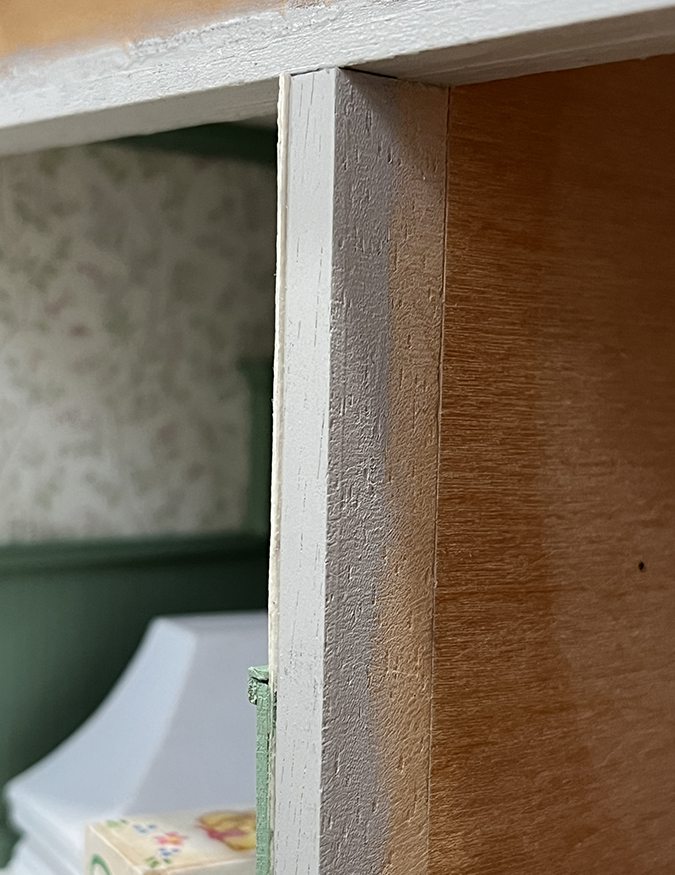
I decided to kill two birds with one stone (sorry, birds!) by adding a piece of thin basswood to the front edge of the wall. This mostly gets rid of the gap at the bottom.
And it takes care of the sticking-out wallpaper at the top.
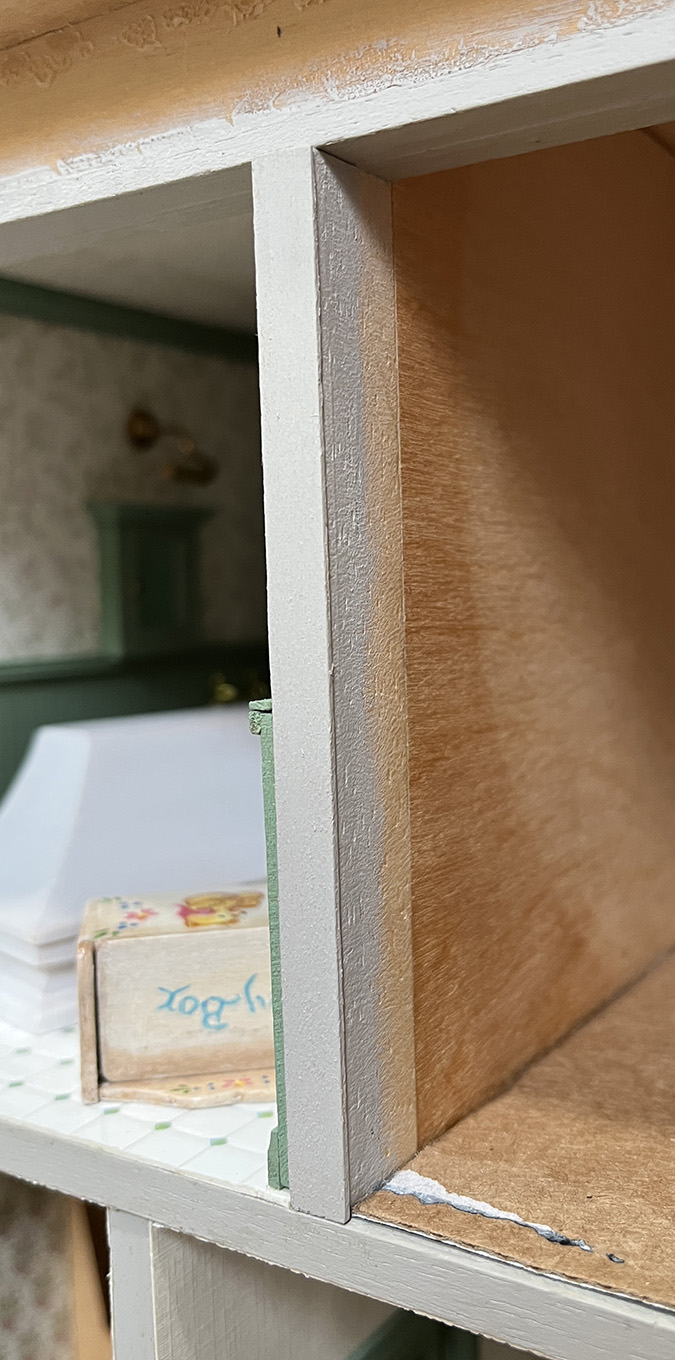
I used the belt sander to make the back of the basswood piece thinner at the top, so it won’t stick out quite as much where it meets the trim piece above. It still does stick out a little, but it’s is less egregious than the gap at the bottom was.
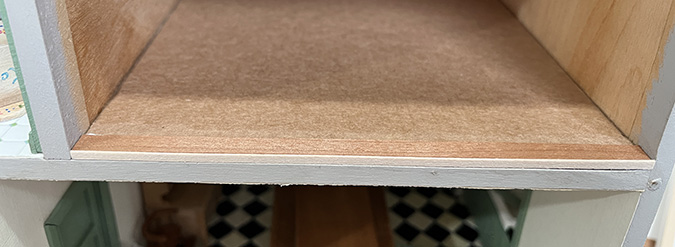
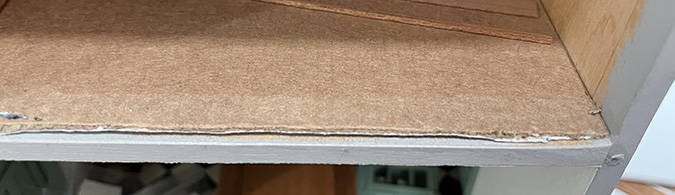
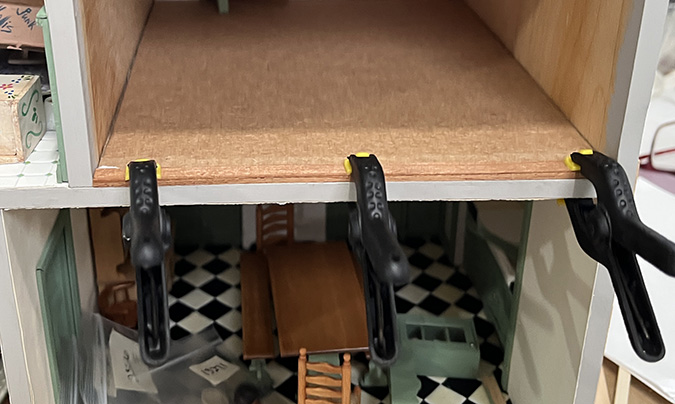
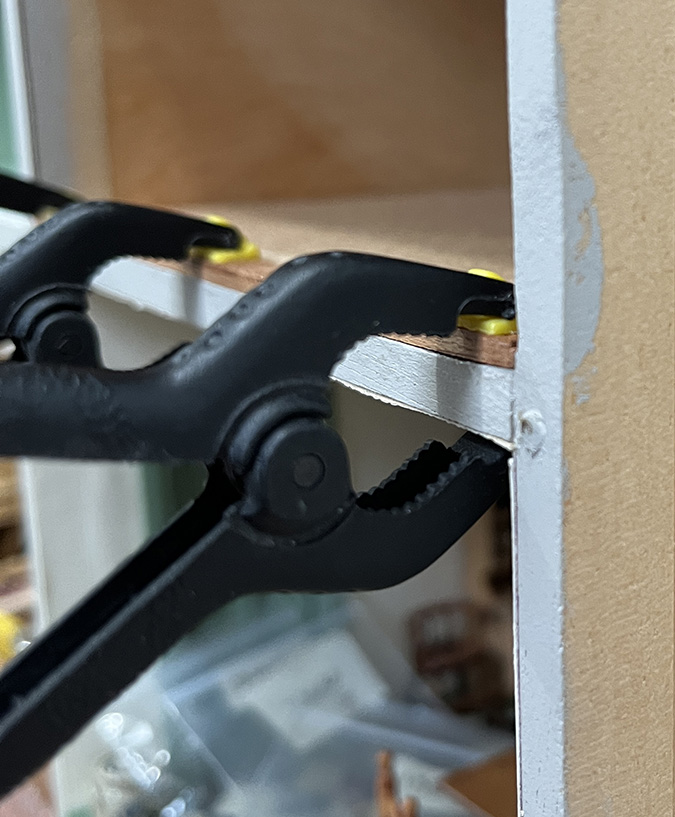
While the paint on that new wall piece was drying, I glued the cardboard to the floor. It’s spaced slightly away from the front edge to accommodate the piece of trim that will hide the edge of the cardboard.
Here’s the wall piece painted and glued on.
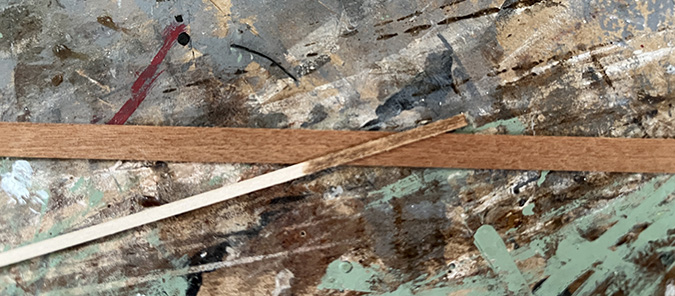
And here’s the piece of basswood I prepared to go in the front of the cardboard, with a floorboard butting up against it.
I tried staining the basswood with a Minwax Red Oak stain pen. The color wasn’t even close.
I used a similar piece of trim at the front of the living room floor, but that was almost three years ago (!) and I couldn’t remember how I did it.
My blog post about it informed me that the piece I used in the living room was mahogany close in color to the cherry floorboards (left over from making checkerboards for a swap).
That post also reminded me that I’d stained the living room floorboards with Minwax Cherry, which I’d neglected to do with the nursery floorboards. Luckily I hadn’t started gluing them in yet. The post mentioned that the mahogany piece didn’t match the floorboards as well once it had been stained, so I didn’t stain it this time.
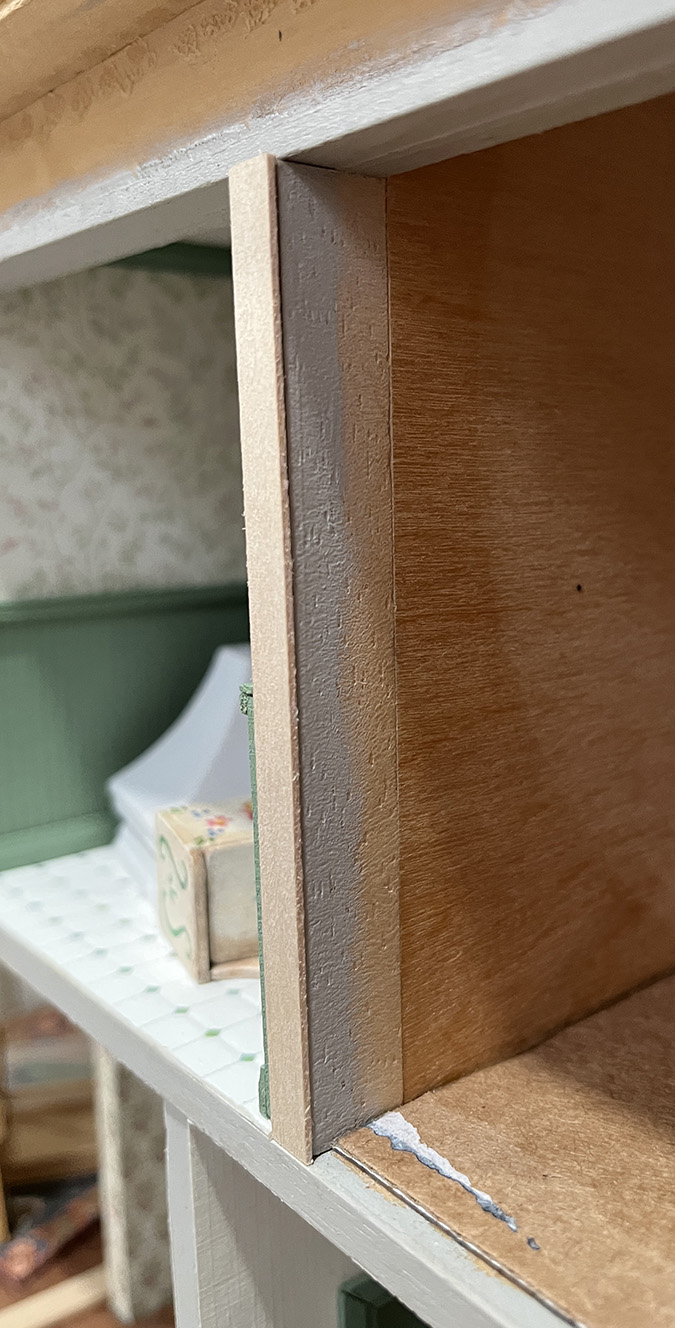
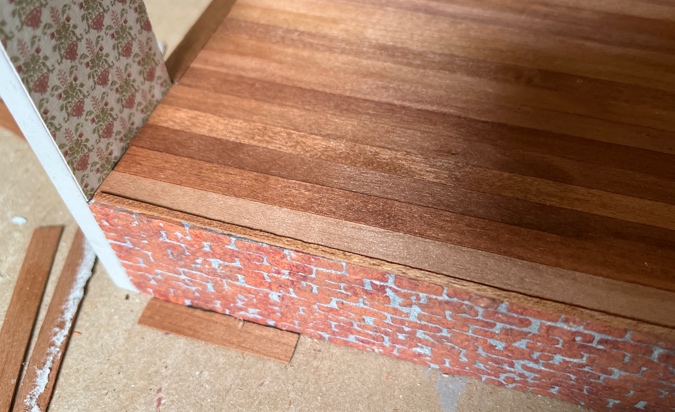
The mahogany is thicker than the basswood piece I’d used as a spacer when I glued in the cardboard, so now the cardboard was slightly too far forward and the corner of the mahogany piece stuck out from the wall. Ugh.
I used the utility knife to shave off some cardboard. It came out messy (a sharper blade might have helped), but the messy edge will be covered up.
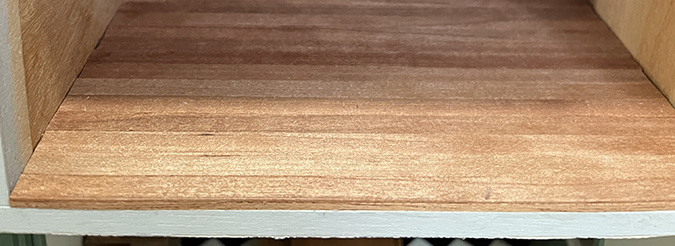
I glued in the mahogany trim piece and a floorboard to cover up the edge of the cardboard.
Looks good at the corner!
Now I was finally able to glue in my (now stained) floorboards. I cut all of these to the width of the room so there are no seams where floorboards meet. I did the living room the same way, and can’t remember now why I did. To give it a clean look, I guess.
I continued gluing in the floorboards until I got to the point where the false wall will be. The gap between the last floorboard and the wall is skinnier than the width of a floorboard.
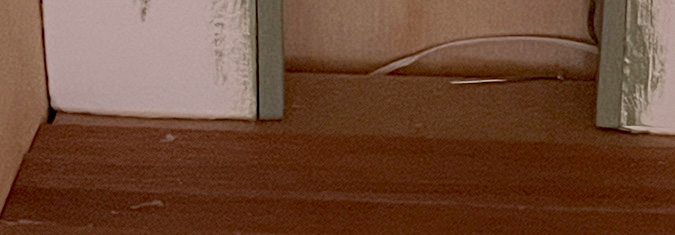
The false wall has 1/2″ spacers glued to the back of it. Rather than modifying these, I glued shims to the wall.
Now the false wall butts up against the floorboards. The last board is still loose for now, because I can’t get the wall in and out with it in place.
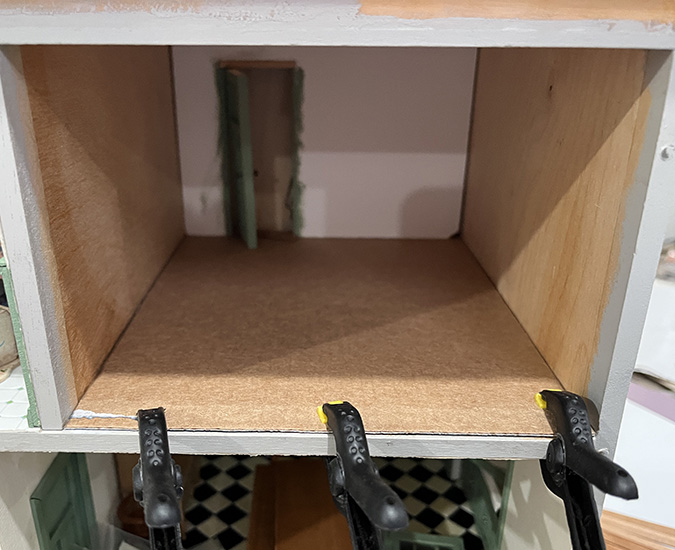
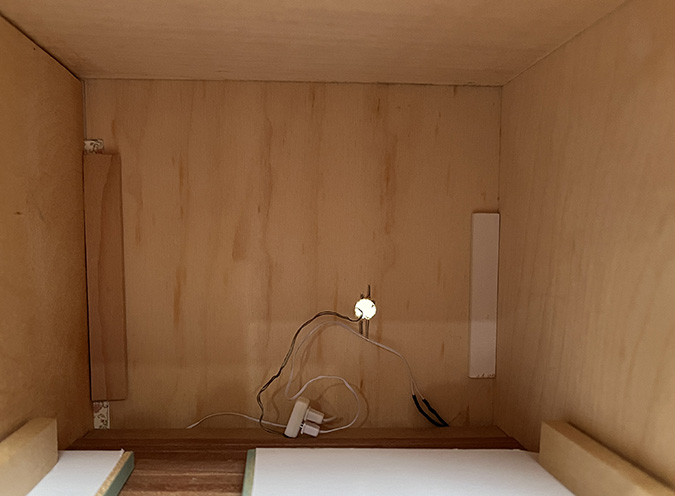
Earlier in this process, I realized I’d made a mistake when I prepared the false wall and ceiling for this room by making the wall go all the way up to the original ceiling, and then making a false ceiling that butts up against it. The problem is that the wall needs to be glued in first, but the wires from the ceiling light need to drape over the top of the wall to be hidden behind it.
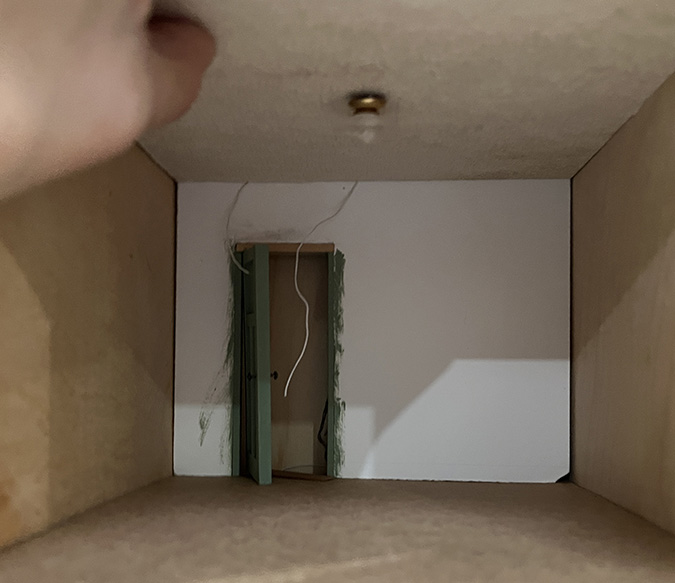
So I already knew I’d have to cut a notch of some sort in the wall to get the wires through. Once I’d glued in the shims, pushing the false wall a little farther into the room, I discovered that the false ceiling no longer fit.
No pics because I was working fast, but I removed the wood spacers from the back of the false wall, sliced off half an inch of foam core from the top (the depth of the false ceiling), and then glued the wood spacers back on.
Next I added a plug to the ceiling light, and then glued in the ceiling. (The light itself is not glued to the ceiling yet!) The light plugs into an outlet behind the false wall, accessible through the door.
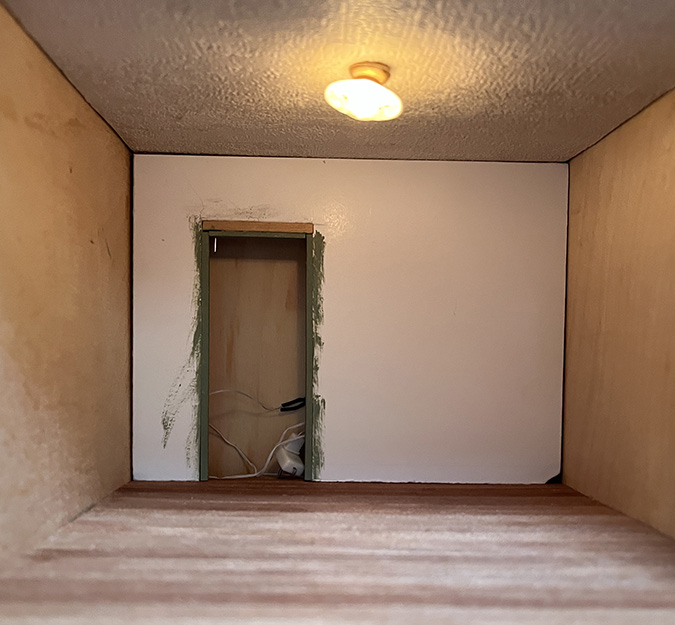
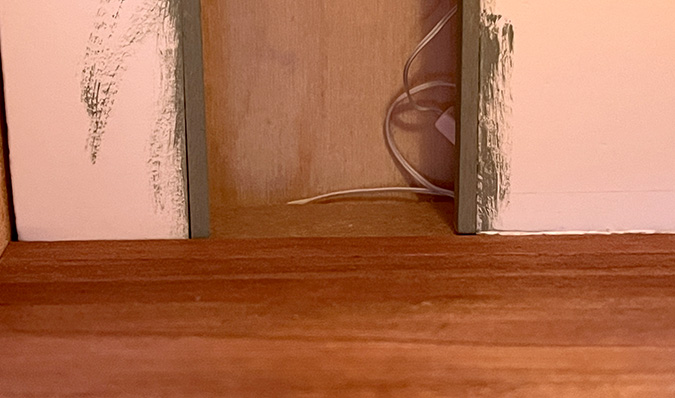
There’s a small gap where the cut-down wall doesn’t quite meet the ceiling, but this will be covered with crown molding.
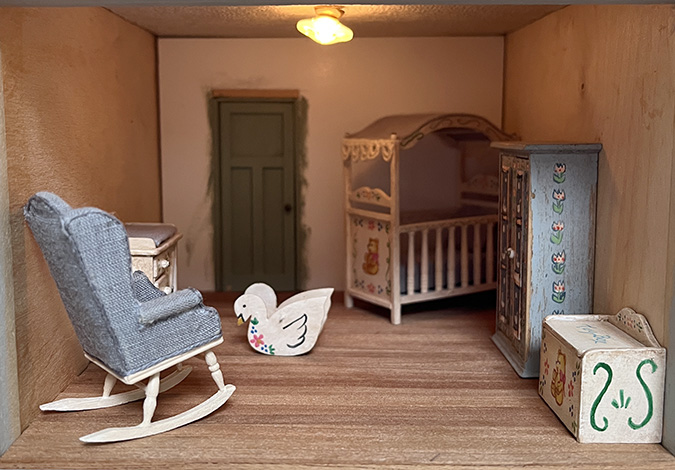
The next tasks will be wallpaper and trim, plus maybe making a new door because I mangled this one trying to pin hinge it. Oops.
 Emily is a freelance writer, miniaturist, and adventure game enthusiast.


Wonderful work! I love your attention to detail. It’s going to be beautiful.
Looks great! Isn’t it handy that you can look back at your blog notes to help you remember and plan your builds/makes? Love watching your progression.
IRL hardwood floors always have joints because long boards are not available. If you recall the pine tongue-and-groove cathedral ceiling in the Maine house has no joints because Marvin the builder made a deal with the sawmill to save all the non-standard 20 foot boards for him.