I won’t be winning any races, but someday in the not-so-distant future the Fairfield will be finished and on display in my living room, and when that day comes I’ll be really proud I took so long to make it as close to perfect as I can. (Right?!) My latest task is doing all of the interior trim (crown molding, baseboards, etc.) This stuff takes a long time, and the fact that it’s half scale and sometimes hard to get my hands in where they need to be adds to the work.
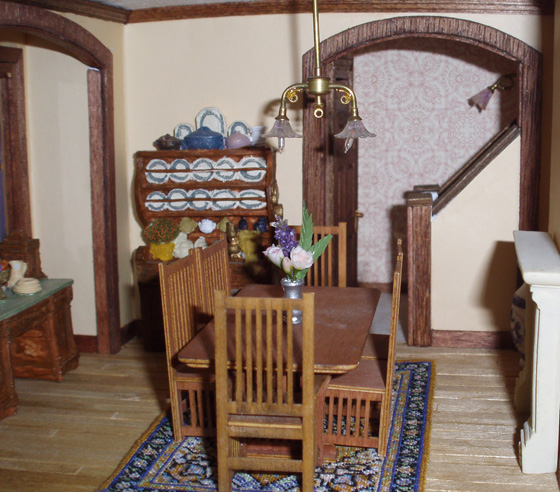
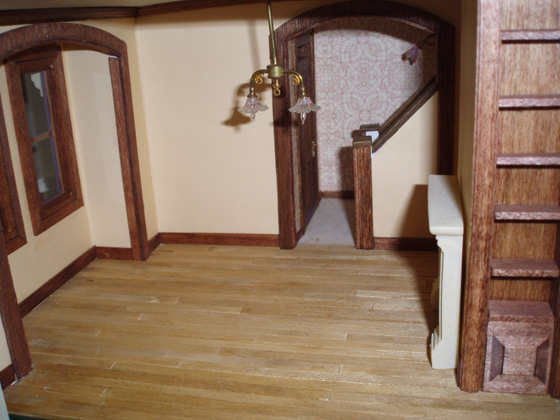
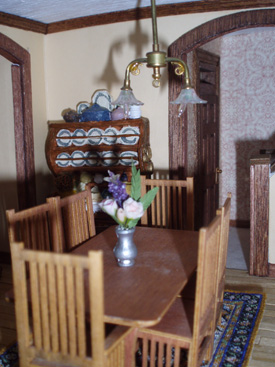
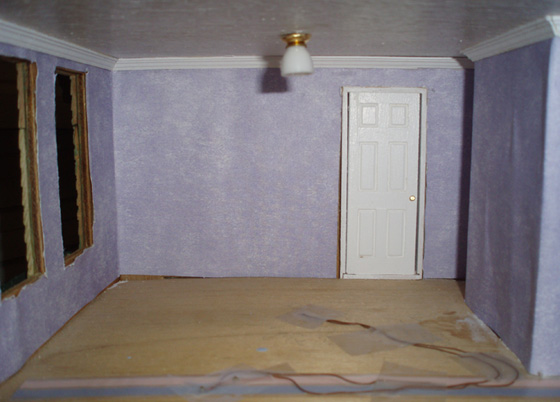
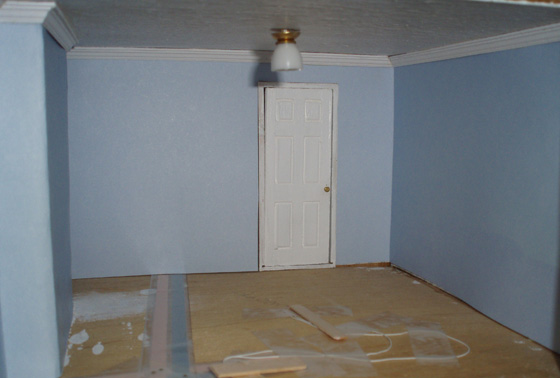
Back in June, I cut all of the crown molding for the living room, dining room, and bedrooms, but I only put it up in the the dining room before taking “a break.” (I have to stop taking six month breaks!) This week I did the living room (pictured above with dining room furniture… I’m rethinking my layout). This room was considerably more work, due to the bay window and the stair area, and I ran into some issues that required an emergency replacement of the wall next to the fireplace (long, annoying story). Today I did the baseboards and some other trim odds and ends, including gluing in the front door and finishing up some lingering baseboard in the entryway. I was hoping to do crown molding in there but I just can’t get my hands in there to measure it. (It doesn’t help that there’s a chandelier in the way…)
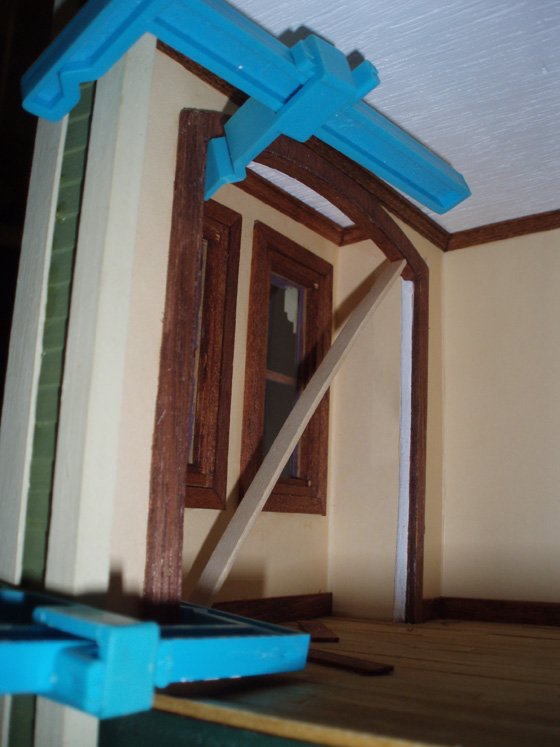
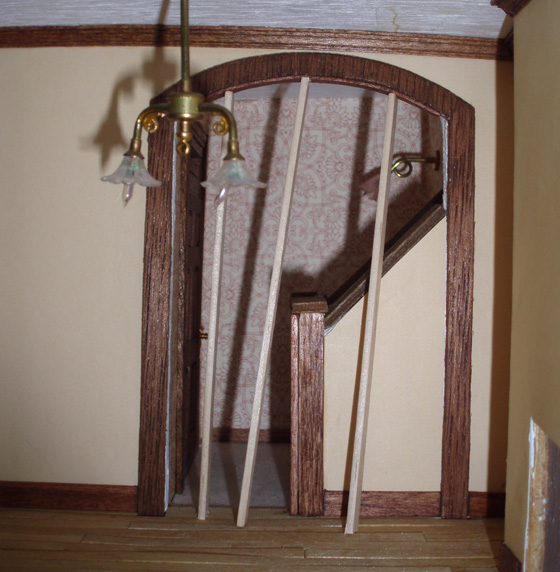
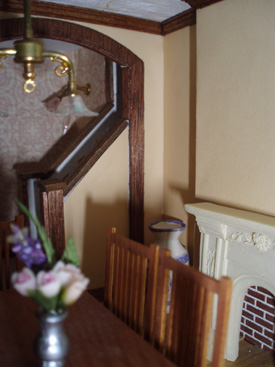
It looks great and I’m happy with the results, but by far the best part of the day was making a snap decision to fix something that has been bothering me for years. When I put the Fairfield together, I planned to use white trim, so I painted the interiors of the doorways white. Then I decided to stain the trim instead, so I ended up with a weird stain / white / wallpaper layered effect that was driving me nuts. If the doorways were rectangular they would have been easy to fix, but since they have rounded tops, I figured I was stuck with it.
Today as I glued in the baseboards, I realized the strip wood I was using, which was only 1/32″ thick, was really flexible. I made a quick trip to the dollhouse store around the corner to buy some more, stained it, and managed to glue it in over the white. Used skinny sticks to hold the curved part in place while the glue dries. I can’t believe I never thought of this before!
I haven’t decided yet if I should do the same thing in the dining room, since the kitchen doorway on the other side does have white trim around it…
Years ago when I was first building this house, I bought a lot of resin furniture I planned to use in it, but lately it seems too small to me. (The couches barely come up to the bottoms of the windows, etc.) So once the interior trim is finished, I might end up redecorating. For now, I tried playing around with some dining room furniture in the so-called living room, and I actually like how it fits in here better than in the other room, so I may leave it this way. (But then I don’t know where I’ll put the grand piano…)
The next challenge will be the second floor bedrooms. Crown molding’s up, and the door trim is ready to go, so all that’s left are the windows, floors, and baseboards. Earlier this week I tested my electricity, which still works four years later, but initially I had to fiddle with some of the connections. Since the connections for the first story lights are on the floor of the second story, I’m nervous about covering them up permanently, so I’m trying to figure out how I can do a removable floor (carpet, probably) and still have it look good with baseboards. The floor in one of the rooms is pretty warped which might complicate matters.
Then comes crown molding in the upstairs hallway and bathroom… then flooring and baseboards in the attic… and the kitchen trim and flooring and pantry… and then the interior will be finished. Want to take bets on how many more months it’ll take me?
 Emily is a freelance writer, miniaturist, and adventure game enthusiast.


Hi Em,
The trim (and the house) looks really good. And Mom thinks MY projects take a long time. (I just finished crown and window trim in the 3rd floor bath and I am working on trim for the mirrors now.) A little caulk can hide the areas where the walls bow leaving a gap at the trim (just like in a real house.)
Dad
It’s so cute! I just bought this kit, it’s my first go at a dollhouse and I’m definitely not brave enough to try all the cool stuff you are doing. This inspires me though. Your house is so cute i want to live there!