Last week I posted about wallpaper and wainscot in the Craftsman bungalow. I’ve been working on the roof and shingles in parallel.
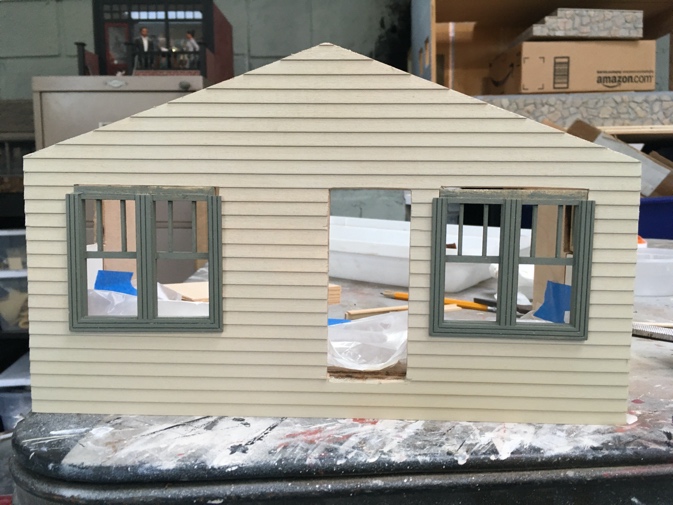
The last thing I did before putting the bungalow aside for a year was to glue on the roof. At the time, it looked like this.
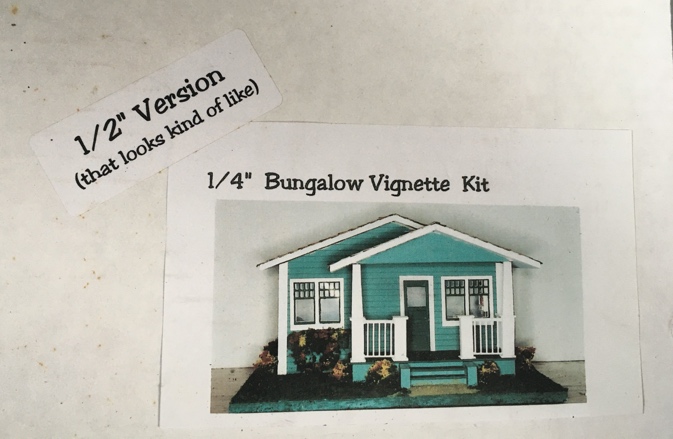
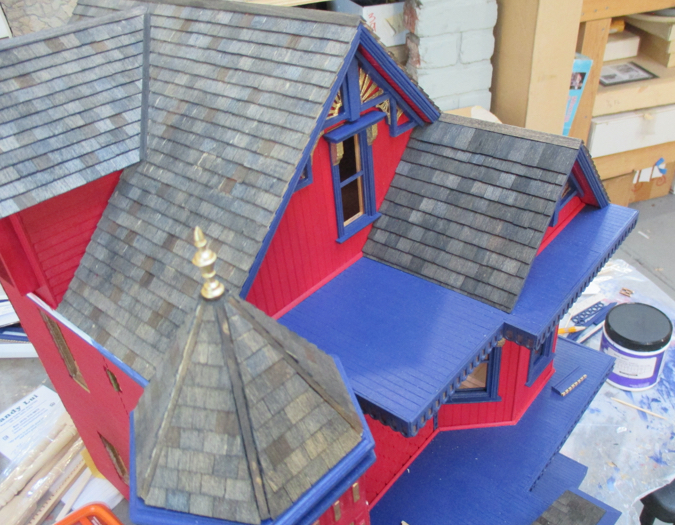
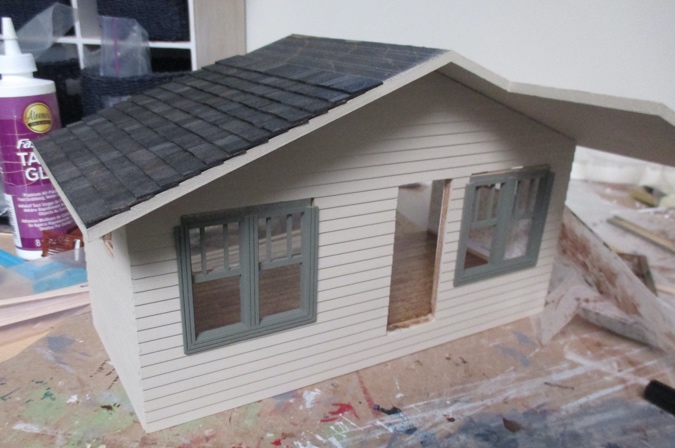
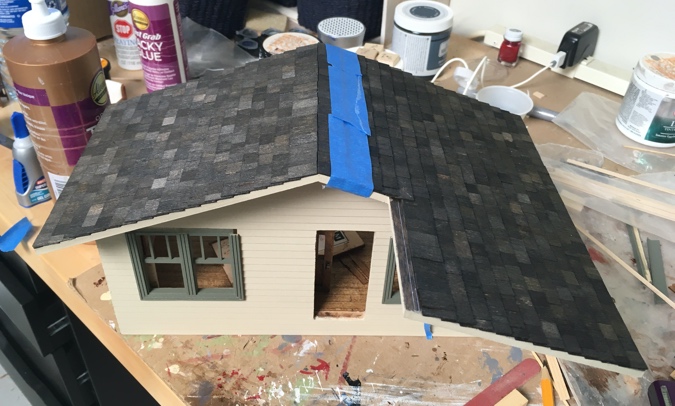
And this is what I’m working toward.
The kit didn’t come with siding for the triangular porch roof, but after looking at a bunch of pictures of Craftsmans, I couldn’t come up with a good reason to leave it bare.
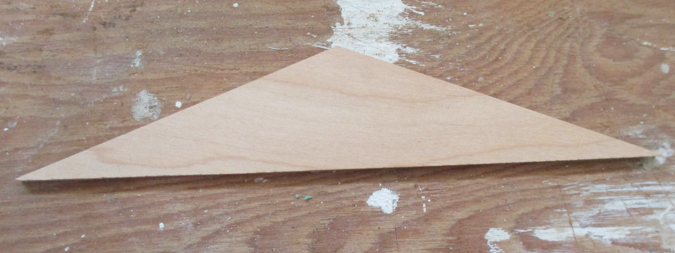
I checked my ziplock bag of scrap siding and found some pieces that worked.
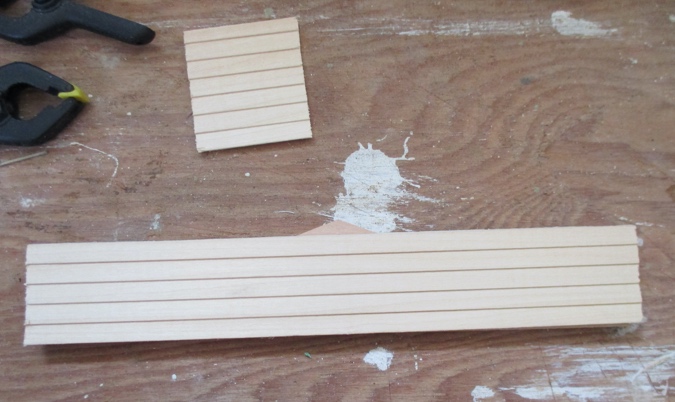
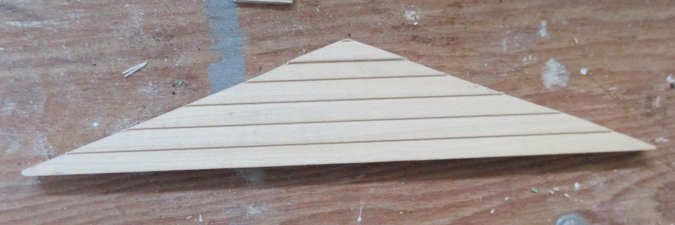
Here’s the dry fit.
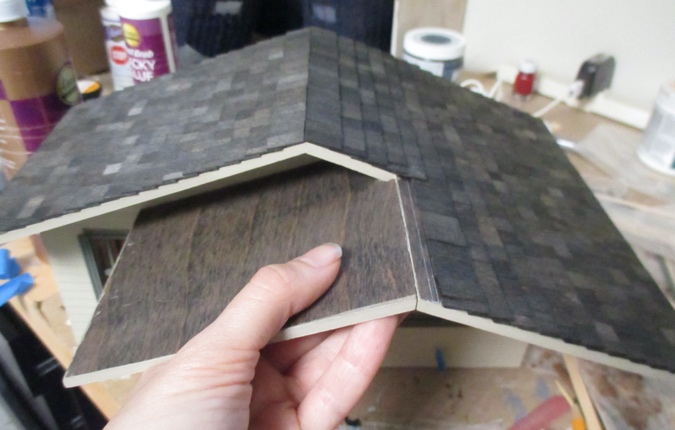
The instructions got a bit wonky here. First you’re supposed to glue the two big roof pieces together at the peak, but don’t glue them to the house yet. Easy enough.
Here’s what the directions told me to do next: “With the painted triangle peak standing upright on its long side, glue the porch ceiling to the back of the peak.”
Okay.
And then: “With the two large roof pieces still sitting (but not glued) on the house, trial fit the porch roof on. … Glue the porch roof onto the house roof at the peak. (Do not glue it to the house.) Glue the peak/porch ceiling piece in under the roof, flush with the house edge of the porch roof. … Let the roof dry, making sure it does not stick to the house.”
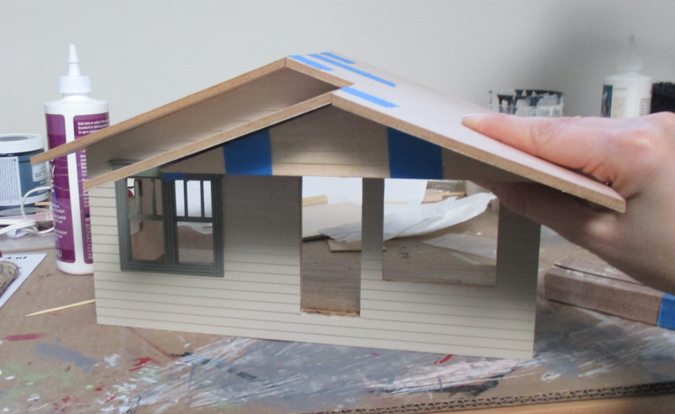
In other words, the roof is supposed to be assembled as one unit — including the front part that sits over the porch — that can be lifted off the house. It does get glued on eventually, but I guess this is supposed to make decorating the inside easier.
Sure, let’s give that a try.
I did my best, but as you can see the angle of that roof and the angle of the triangular piece aren’t matching up. If I adjusted the roof pieces so they were flush on the triangle, then they didn’t meet up at the peak. And because they weren’t fitting together like they should, I was concerned the porch ceiling would turn out crooked. I tried taping it and crossing my fingers, but the pieces just slipped around and the glue made a big mess.
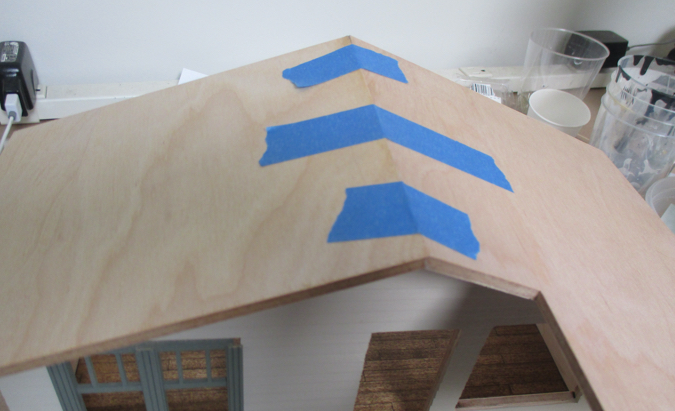
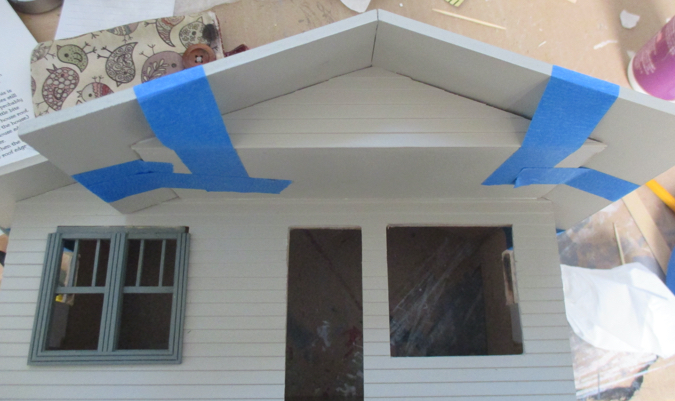
So I ignored the instructions and glued the main roof pieces to the structure. The seams weren’t tight here either, so I used a lot of glue.
I stuck masking tape to the roof and in through the windows to help clamp it down as the glue dried. Somewhere in there I also stained the roof with Minwax Ebony.

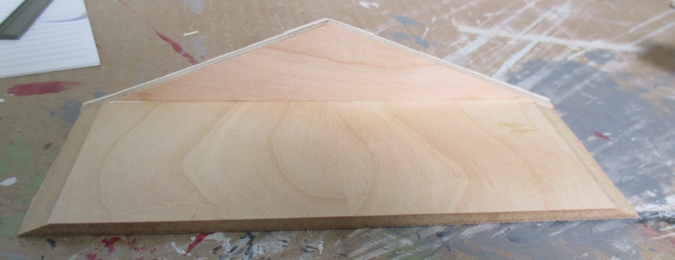
I’ll wait to glue on the triangular piece and the remaining small roof piece when I assemble the porch, so the posts will provide support. If the triangular piece and the roof still don’t meet nicely, and I can cover up the gaps with trim.
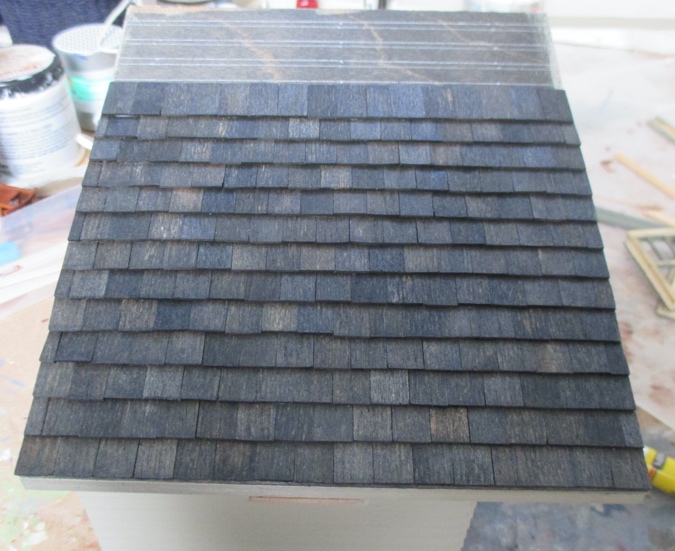
Fast forward to two weekends ago, when I pulled the house out again and started shingling. In the meantime I acquired the Turret house and I learned some things from how the previous owner did the shingles.
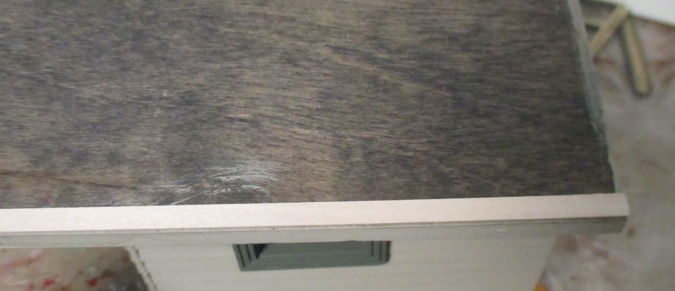
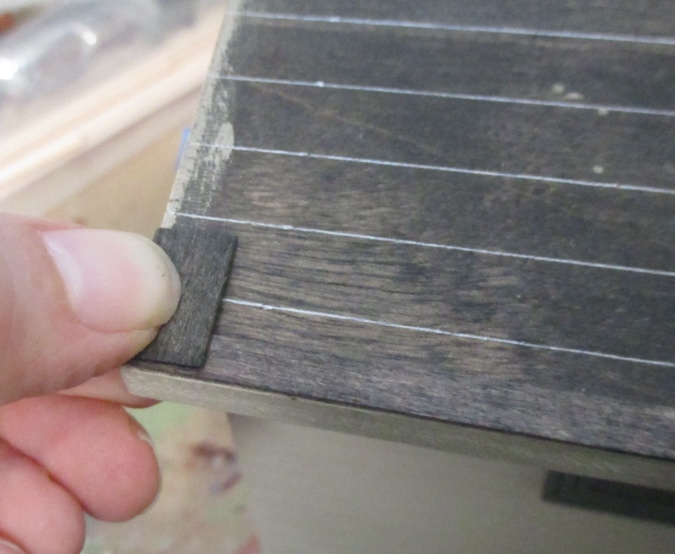
One lesson learned was to add a piece of strip wood the same thickness of the shingles to the bottom edge of the roof. This makes the first row of shingles sit at the same angle as the rest of the shingles, which prevents the second row of shingles from sticking up too much. (This picture of the Victorianna shows what I mean.)
The other lesson was to space out the rows by 3/8″ of an inch. I used to do 1/4″ or 5/16″ between rows, but I think they sit more nicely at 3/8″.
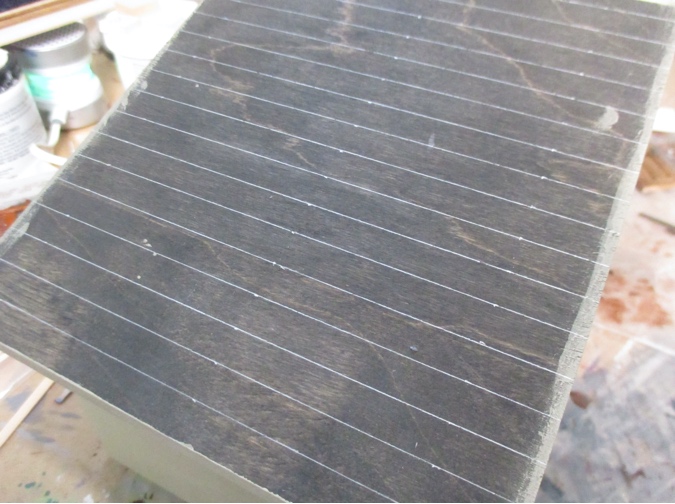
After I’d drawn all those nice neat lines, I realized the first line should not have been 3/8″ from the bottom of the roof, but 3/8″ from the top of the first row of shingles. Oops.
No biggie. I drew a second set of lines.
One row of shingles fits perfectly without having to cut the first or last shingle.
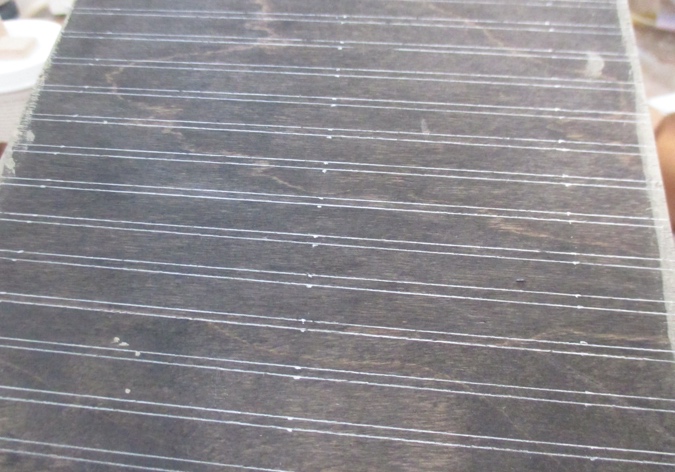
Shingling one by one (as opposed to using strip shingles) takes a long time, but I love the color variation you get by doing it this way. I glued them on with tacky glue.
Slow and steady wins the race.
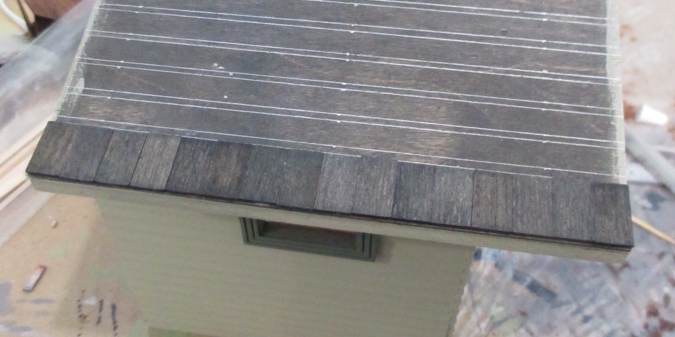
On the other side of the roof, I didn’t shingle the last row at the top of the porch roof.
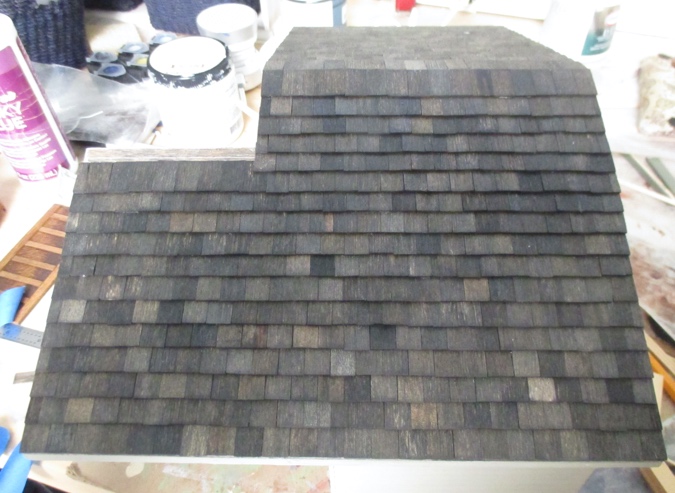
I’ll wait to do that until the piece it meets up with is glued on, since I’m going to have to cut down the shingles and I want them to meet up neatly.
The shingles on the first side of the roof glued on nice and flat, but the second side has some cupping. Maybe the air was more humid when I glued these on?
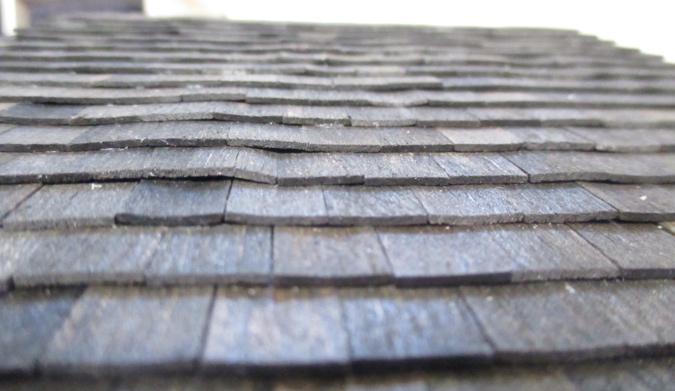
It’s not noticeable unless you go looking for it, and might correct itself somewhat as the glue dries. I applied masking tape to the top rows and left the house this way to help keep those rows flat as they dry.
 Emily is a freelance writer, miniaturist, and adventure game enthusiast.


Looking really good! It’s all that figuring that’s the challenge!
Roof looks great!
Nice work. I hate shingling.
Well, the shingles look much more realistic when they’re slightly uneven like that …!