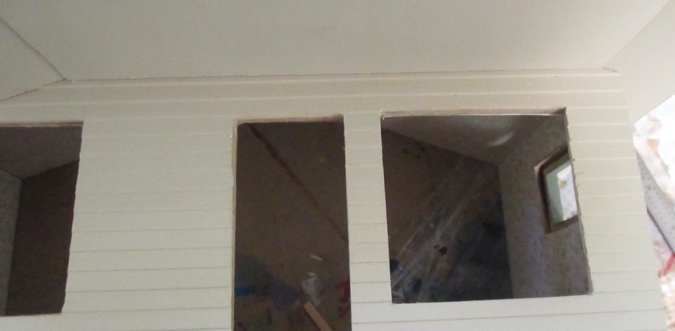
Moving right along on the Craftsman bungalow, the triangular front of the porch roof doesn’t fit snugly under the roof pieces. I could resolve this by adjusting the left side of the roof (which isn’t glued in yet) to meet the angle of the triangle, but then the roof pieces wouldn’t meet up at the peak and the triangle would not be level across the front of the house.

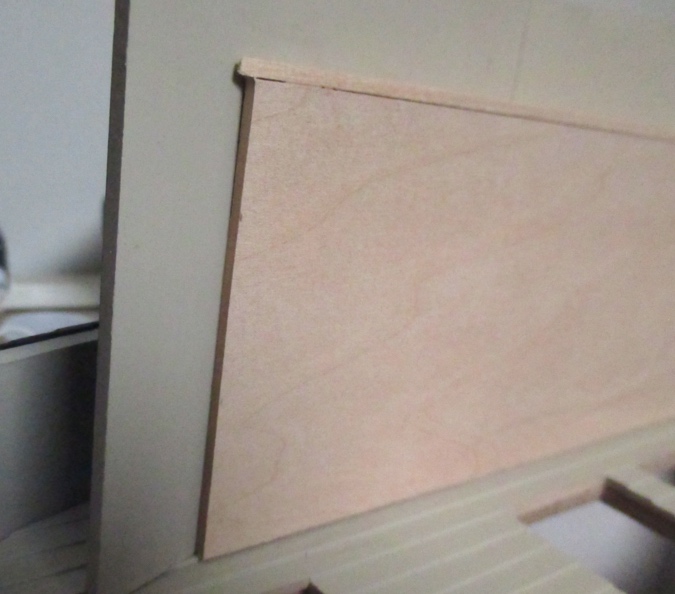
Using the lines of the siding as a reference point, I positioned the triangular piece so its flat bottom is level.
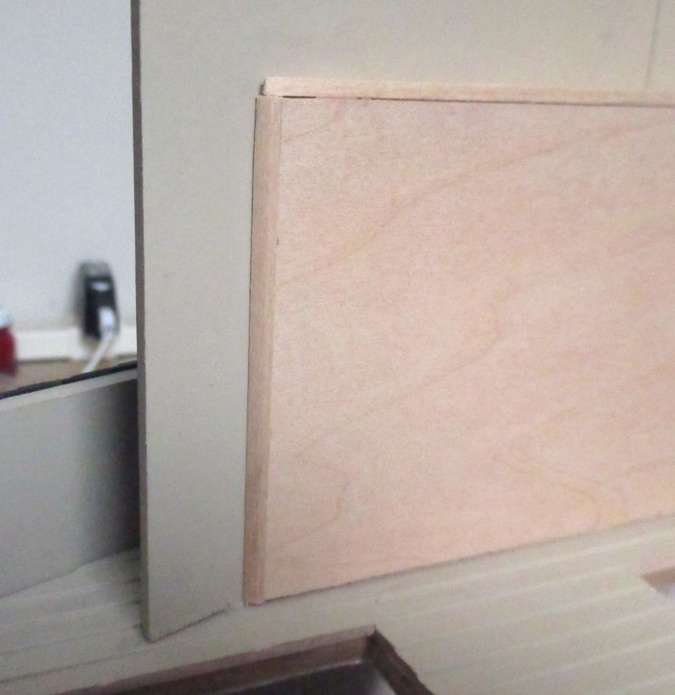
Then I adjusted the left side of the roof to be snug against the triangle. This leaves a gap on the right side.
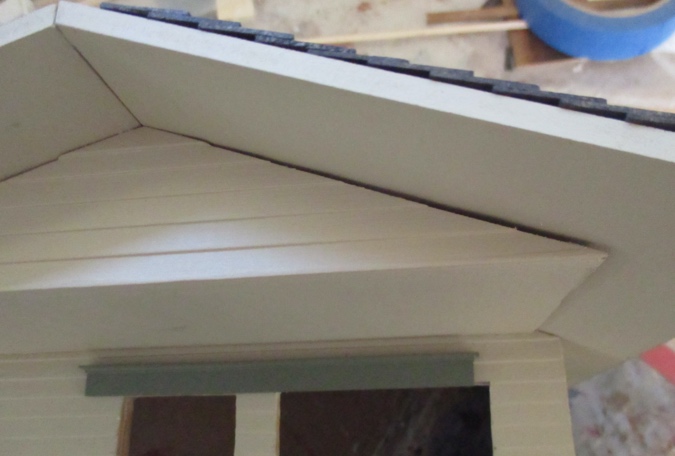
I glued the pieces in place this way, with the left side of the triangle glued to the roof, and the back edge glued to the front of the house. I didn’t bother using glue on the right side since it isn’t actually touching the roof.
Then I created a new bottom piece. The porch roof happens to be 3″ deep, and I had a piece of 3″ x 1/16″ basswood that I cut to fit underneath it.
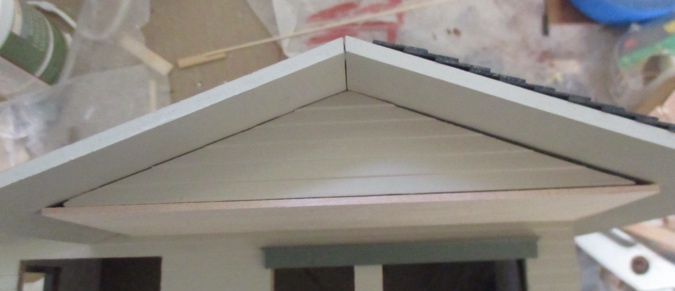
Next I created a paper template for the front piece of the triangle.
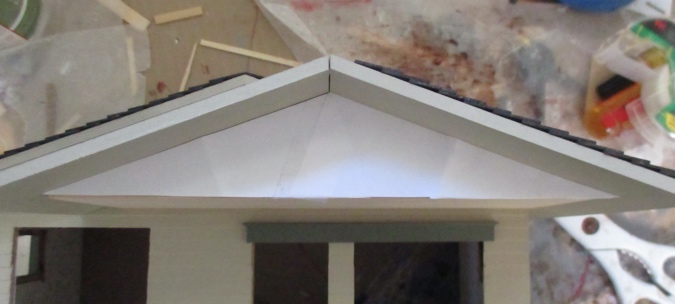
And I cut a new piece of siding to go over it. No more unsightly gap!
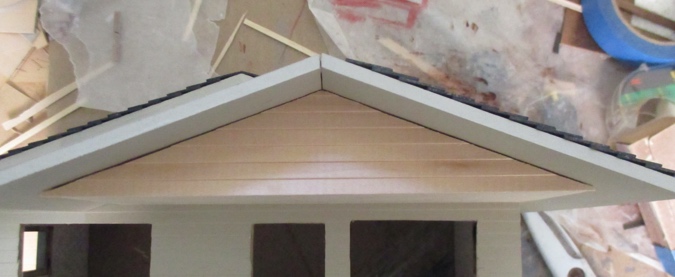
I used masking tape to push up on the siding piece, so it would glue in as snug to the roof as possible.
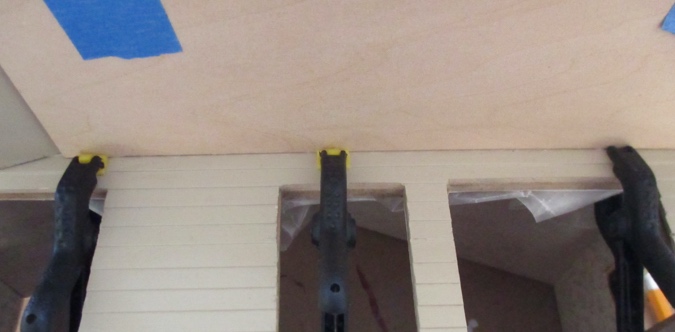
And I used clamps through the window to prevent the basswood piece from slipping down while the glue dried. The clamps are on top of waxed paper on the inside, to prevent damage to the wallpaper.
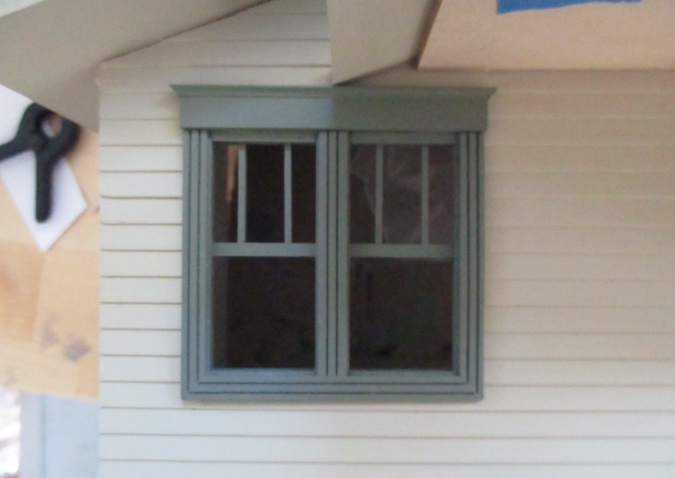
While I was putting this together, it didn’t occur to me to make sure the window header still fit. Whew! It just clears the bottom of the roof.
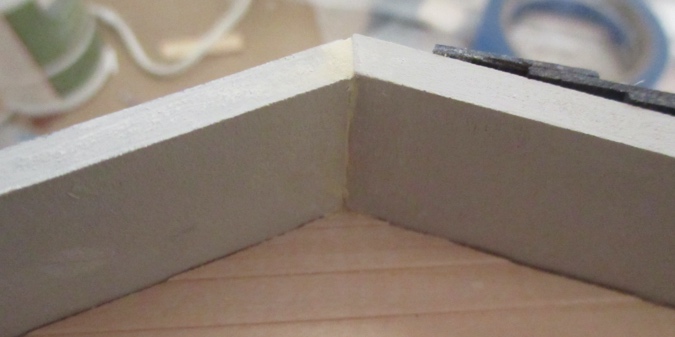
I didn’t bother beveling the edges of the basswood piece, so I ended up with sharp edges behind the pointed corners of the siding.
I filled these in with quarter round.
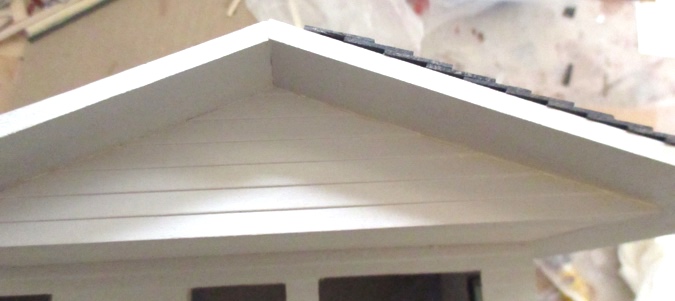
The roof pieces didn’t meet perfectly at the peak, so I filled in the gaps there with wood filler before painting the new pieces.
I hoped the paint would fill in the gaps where the siding doesn’t quite meet the roof, but it didn’t. (I was fooling myself… this never works!) So I added wood filler to those edges before doing a second coat of paint. Thanks to the shadow in this picture I’m not sure if you’ll even see what I’m talking about…
While the paint was drying, I moved on to the shingles. This is the same process as the rest of the roof, starting with gluing a piece of strip wood to the bottom and drawing lines 3/8″ inch apart.

I should have shingled this piece of the roof before gluing it on. The shingles under the roof overhang were hard to glue in. On the other hand, they’re also hard to see, so it’s not a big deal if they’re a little messy.
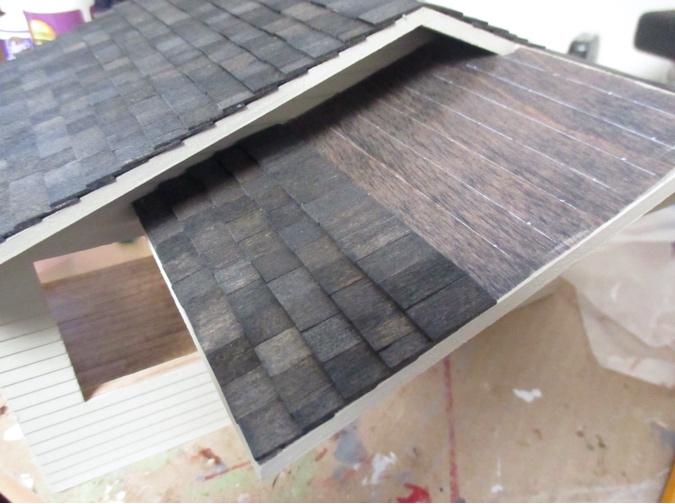
When I got to the top row, I had to cut the shingles down a little bit to maintain the spacing.
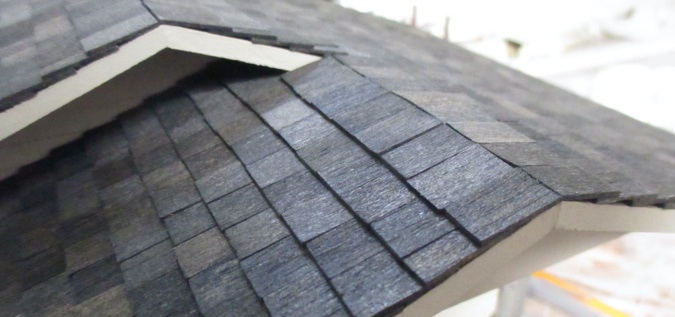
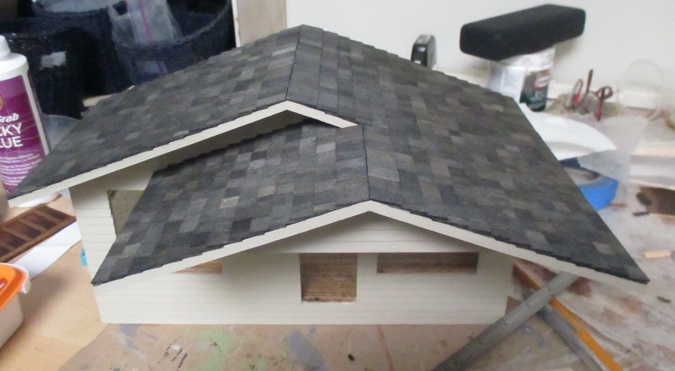
Here’s the finished roof. Love that color variation.
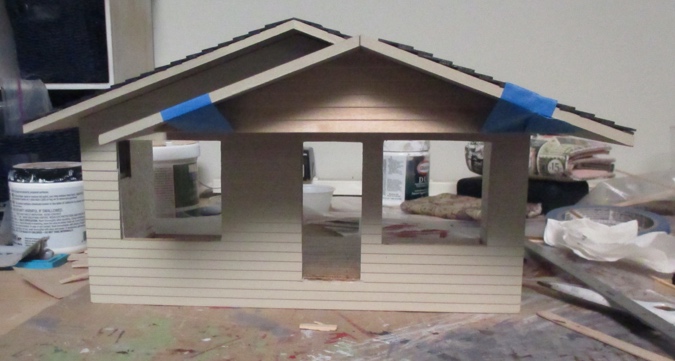
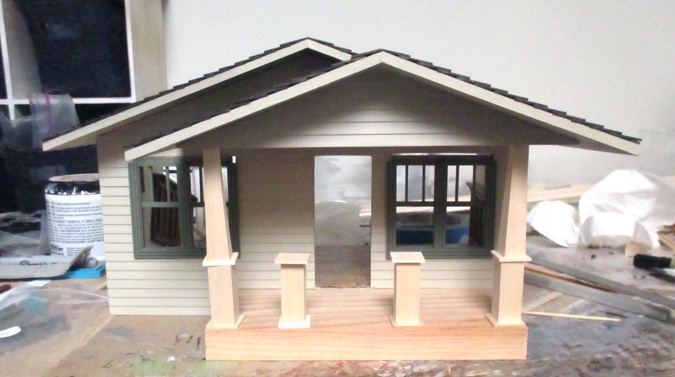
Here’s how the front will look with the door and window headers in place.
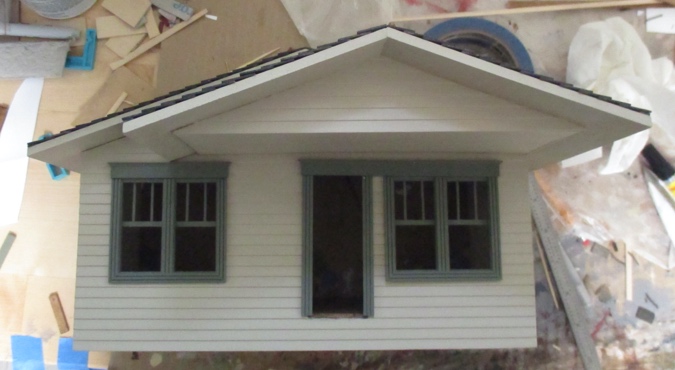
And here’s a preview of the porch.
 Emily is a freelance writer, miniaturist, and adventure game enthusiast.


It looks very nice!
It’s always a challenge to get pieces to fit correctly. I might have used silicone caulking that painters use to fill gaps to fill the gap that you ended up with. Yo did a nice job with the wood buddy. Very nice. Roof looks great.
Very nice work.
I love the details! I love how you are determined to fix those teeny tiny issues that most of us would never notice, but would drive you mad eventually. Well done!!