Okay, that’s a weird title, but I couldn’t come up with a better way to describe what I’ve been doing to the Mansard Victorian for the past month or so.
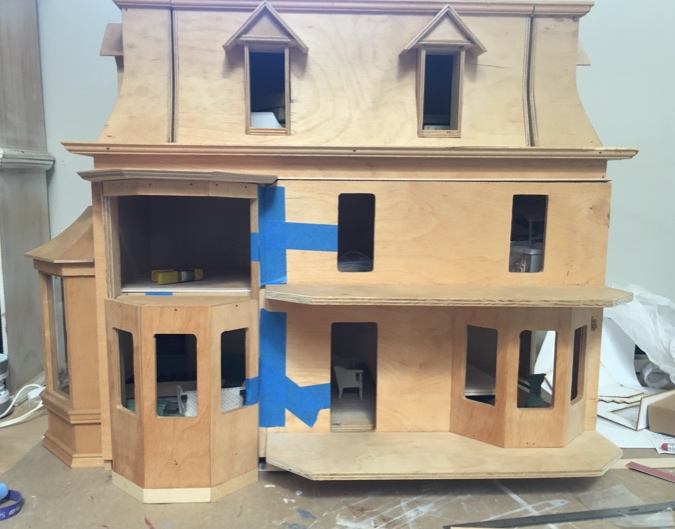
This all started because I wanted to add an addition to the side of the house.
The addition is a long-discontinued Houseworks 1:12 scale bay window that more or less works as a 1:24 scale addition, but it’s both a bit too tall and a bit too wide to fit neatly on the side of the house.
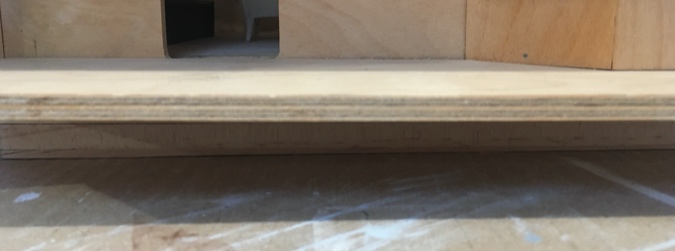
I dealt with the height issue by gluing 3/8″ strip wood underneath the foundation.
And I made the side walls 1/2″ wider by attaching pieces of strip wood.
If I re-hinged the front panels, this one would bump into the addition and not open all the way. I decided instead to attach the panels with magnets.
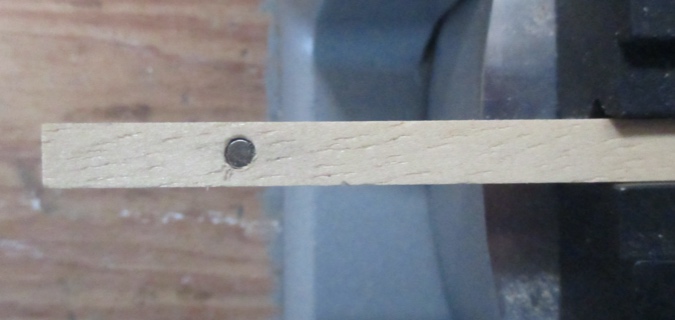
First I drilled holes in the pieces of strip wood that were getting glued to the sides of the house, deep enough to insert magnets.

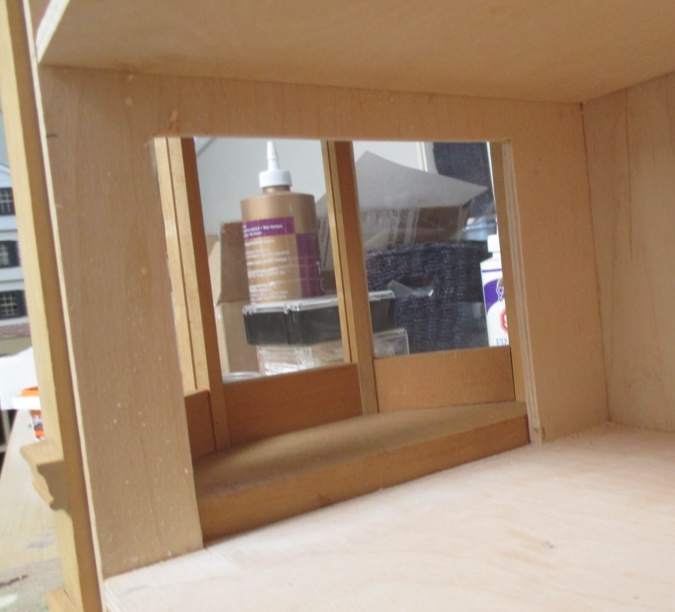
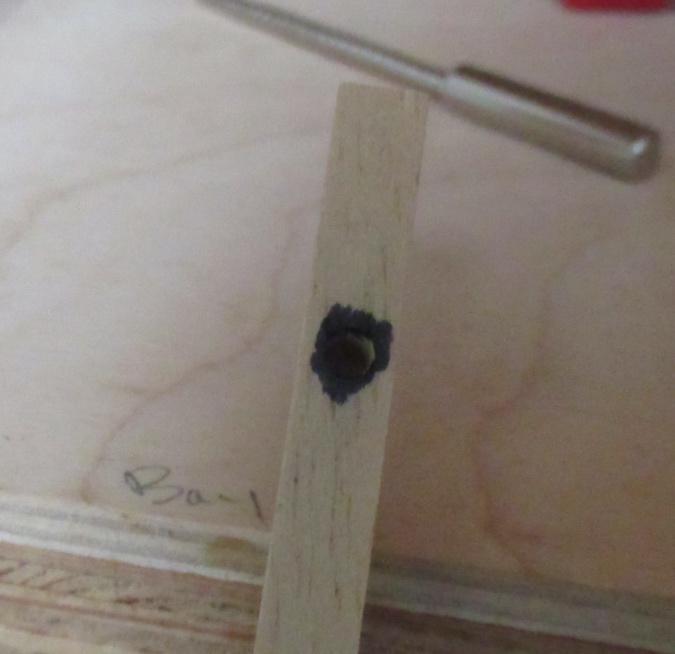
I then colored over the holes with Sharpie and pressed the piece of strip wood against the front panel that will meet up with it. The Sharpie transferred onto the panel, showing me where to drill holes so the magnets would match up.
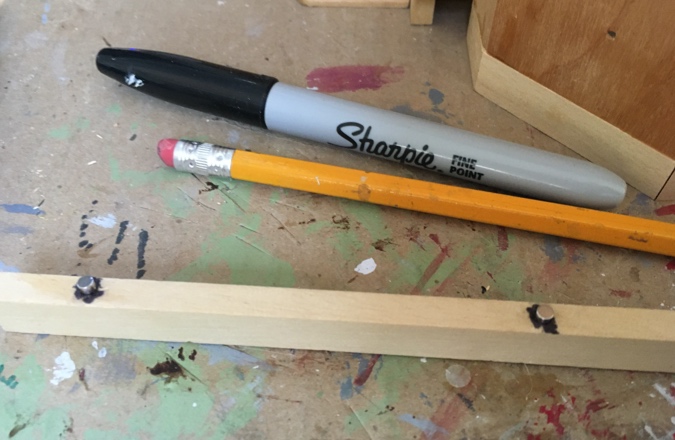
So here’s a tip, if you ever try this yourself: be SUPER careful about gluing in your magnets facing the right way. Somehow I messed this up four times. Even when I placed the magnets to be glued into the panel on top of the magnets that I had already glued into the strip wood (as shown below), I somehow got them turned around when I glued them in. And since I used super glue for these, they weren’t coming out.
Luckily, I did all of this before gluing the pieces of strip wood to the house, so I was able to keep redoing it until I got it right. I’d bought a big pack of tiny magnets relatively cheaply, so it’s okay that a few were wasted.
So I finally got the magnets in, facing the right direction, and I glued the strip wood pieces to the sides of the house, and…. the magnets don’t hold up the panels. The magnets are too small? The panels too heavy? I don’t know. So far I’d only done one side of each panel. I was planning to add more magnets to the bottom and center of the panels, but by now I was getting soured on the whole plan.
So I changed course. Are magnets even necessary, when the panels could just stand up on their own?
On the left panel, I added strip wood below the bay window. This raises it up the same amount as the strip wood I added around the foundation, and the panel is now self-supporting.
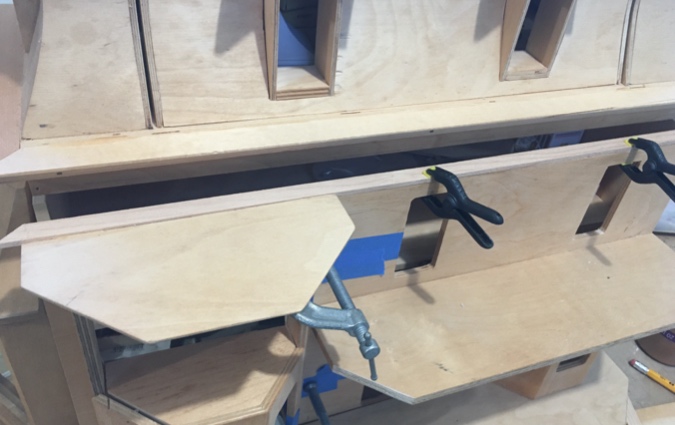
The right panel was trickier. I should have added strip wood around the base of the porch, just like I did around the base of the bay window, but I didn’t have anything exactly the right height and didn’t feel like figuring out the lengths and cutting the angles. When I eventually finish the porch, I’ll have to create a base for it, but I wasn’t ready to make decisions about how that should look.
Instead, I added strip wood below the base of the porch at the back, thinking this will get covered up whenever I do decide how to finish the porch base.
I didn’t have the right height wood for this either, so I stacked two pieces.
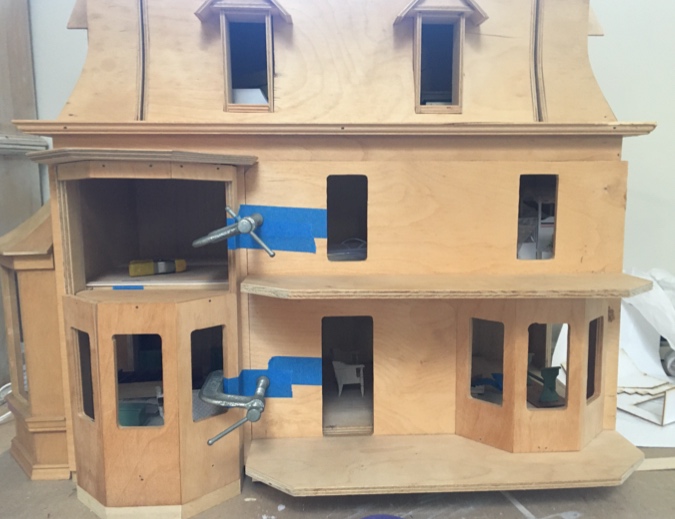
Look Ma, no hands! The magnets still help guide the panels into the right position, while the strip wood at the bottom supports the panels to keep them from falling off.
With strip wood added to the outside walls of the house, those walls are now 1/2″ deeper than the rest of the house. I still need to add 1/2″ of depth to the front of the base, the second floor, and the top edge of the panels. I’ll worry about the base and the second floor later.
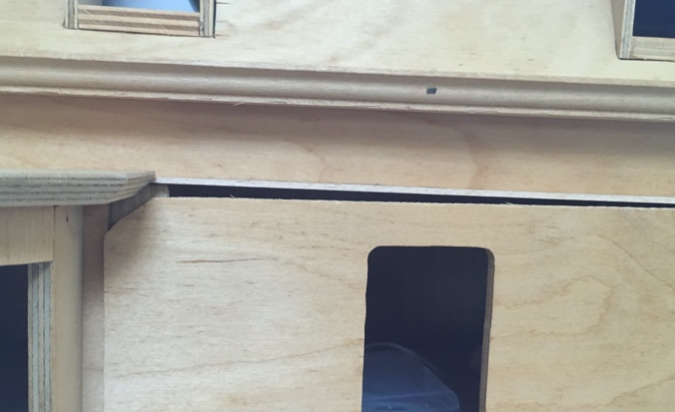
For the top edge, rather than bulk up that whole piece underneath the molding, I decided to use a thin piece of strip wood, and fill the gap above it with some kind of decorative trim. Adding this piece of wood called attention to a new problem: the right panel is crooked at the top.
If I push up on it, I can make it line up.
But then the base doesn’t sit flat anymore. Argh.
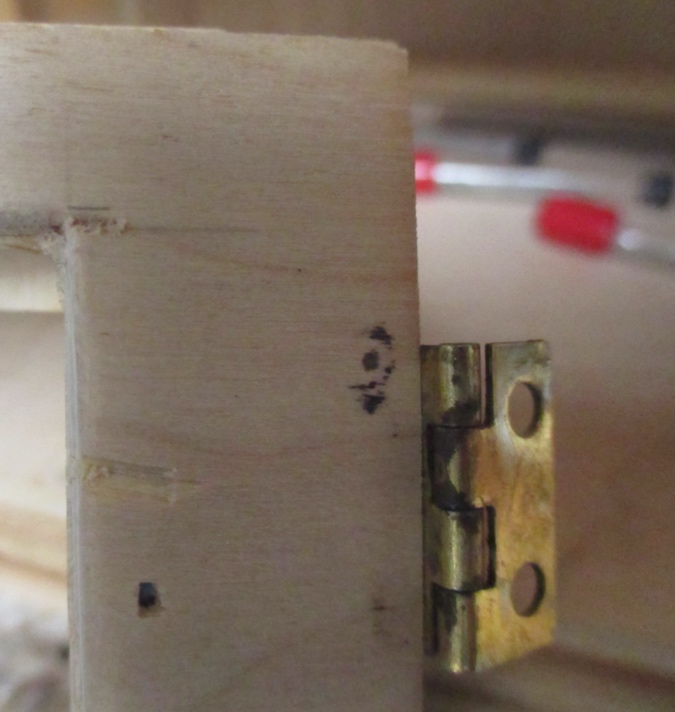
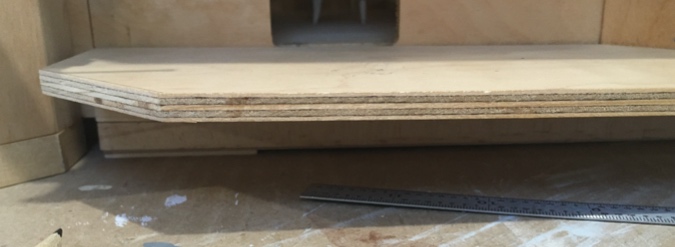
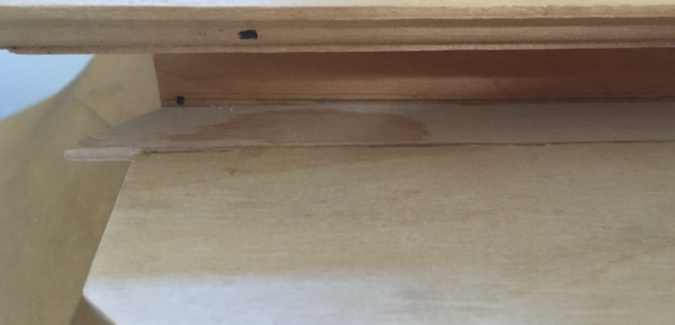
This might partly be because my magnets aren’t exactly lined up with each other, so the panel is slightly askew. But I also think the panel or the house itself, or both, aren’t square. As you can see below, the edge of this panel is cracked out where the hinge was. Originally the house had a big latch inside of it, that held the panel closed. I suspect if that hadn’t been there to force it shut, the panel would have hung crookedly and drifted open.

I stuck a thin shim of strip wood under the base to fill the gap. That helped, but I was still having a problem with the corners. If I pushed in the bottom right corner, the top left corner of the panel popped out. If I pushed in the top left corner, the bottom right corner popped out. The panel must be warped.
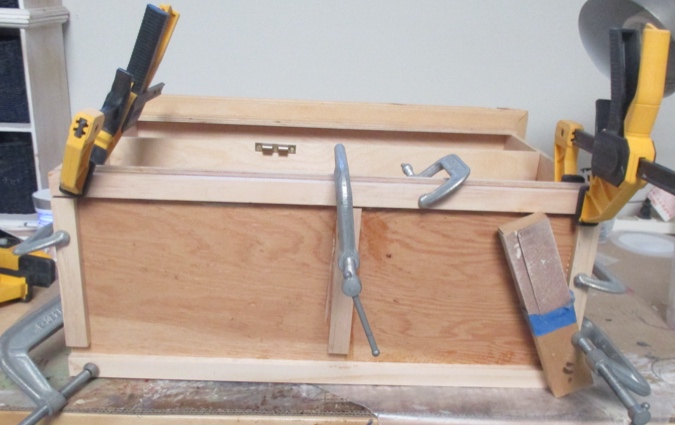
Since these panels are no longer hinged, there’s not really any reason for them to be two separate pieces. I tried taping them together and found that this fixed the problem I was having with either the top left or bottom right corners sticking out — not completely, but enough that I could live with it.
So I glued the two panels together. They’re now one big panel. As a bonus, this means there won’t be an awkward seam on the front of the house.
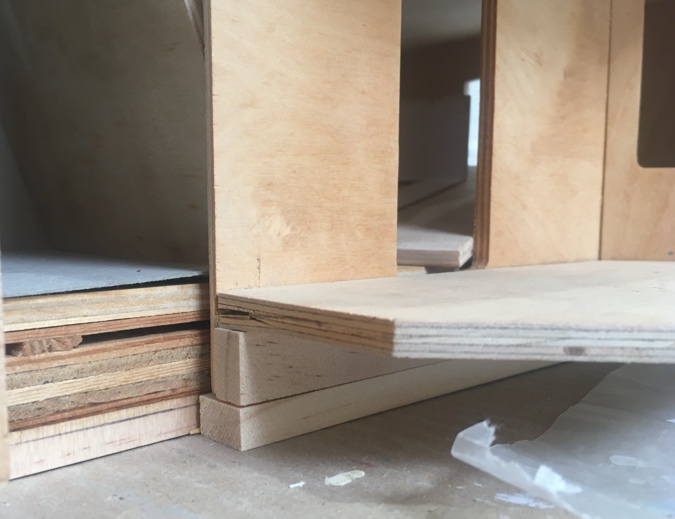
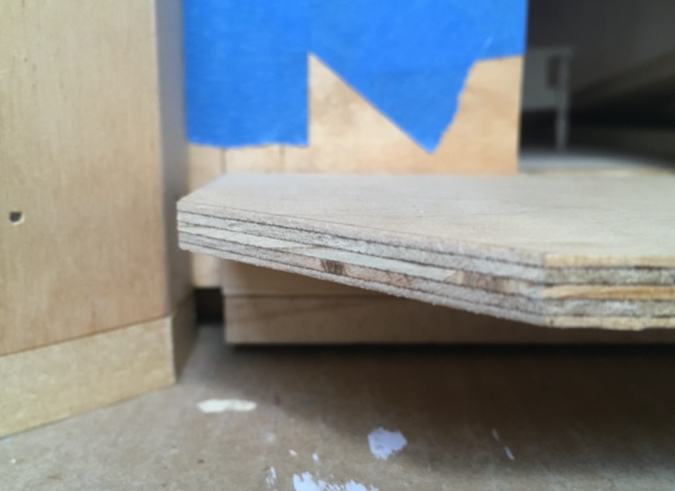
The shim I’d added under the base of the right panel worked okay for the right corner, but the left edge was still lifting up from the table. I added an additional shim here.

The shim pieces weren’t as wide as the other pieces I’d glued on to the base, so I filled the gap with another strip of wood.
I then used the mouse sander to sand down that strip so it’s flush with the bigger shim on the left and with the smaller shim on the right. This means the base is now sloped to fill in that irregular gap.
(I realize this is all very confusing and no one but me really cares about the details, but sit tight. We’re almost done.)
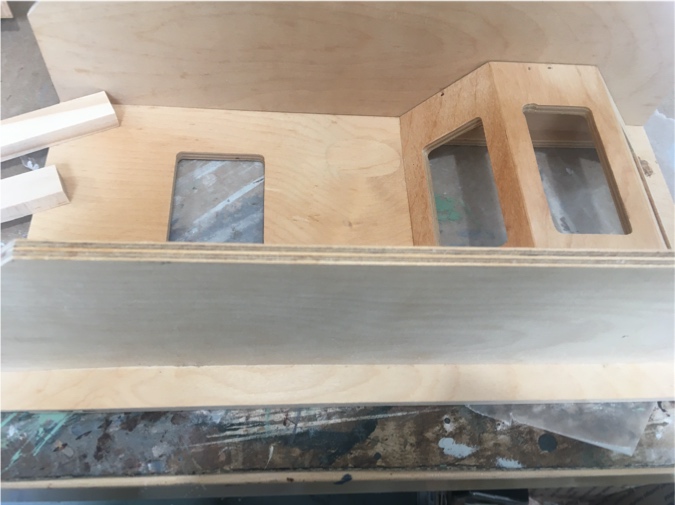
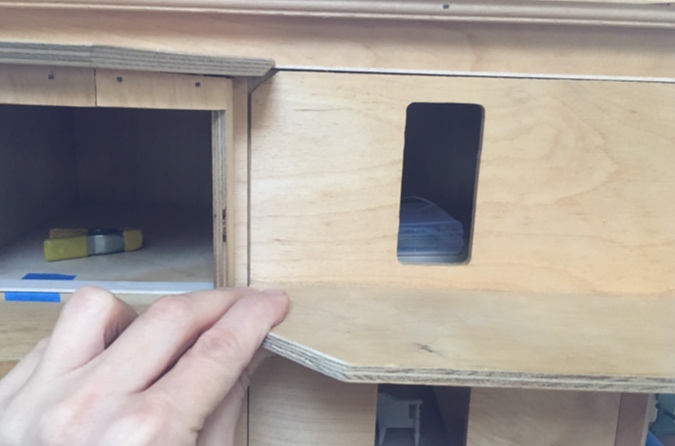
Finally, I added a piece of 1/2″ strip wood to the top of the panel, to fill in the gap up there. I decided to glue this to the panel rather than to the house, since it seemed sturdier that way.
This is mitered to meet up with another piece that I’ll add on the side.
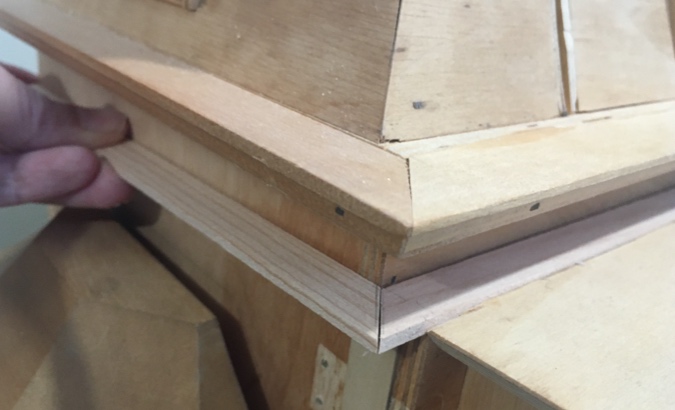
The bay window roof was not level (maybe related to the jankiness that Geoff fixed with a nail gun previously). This meant that the top of the piece of trim stuck up above the bay window roof on the left corner of the bay, but was flush with the roof on the right corner of the bay. I tried to fix this with the mouse sander but it made the trim look sloppy and also meant that the area above this piece of trim wasn’t a uniform height all the way across the house, which would surely bug me later.
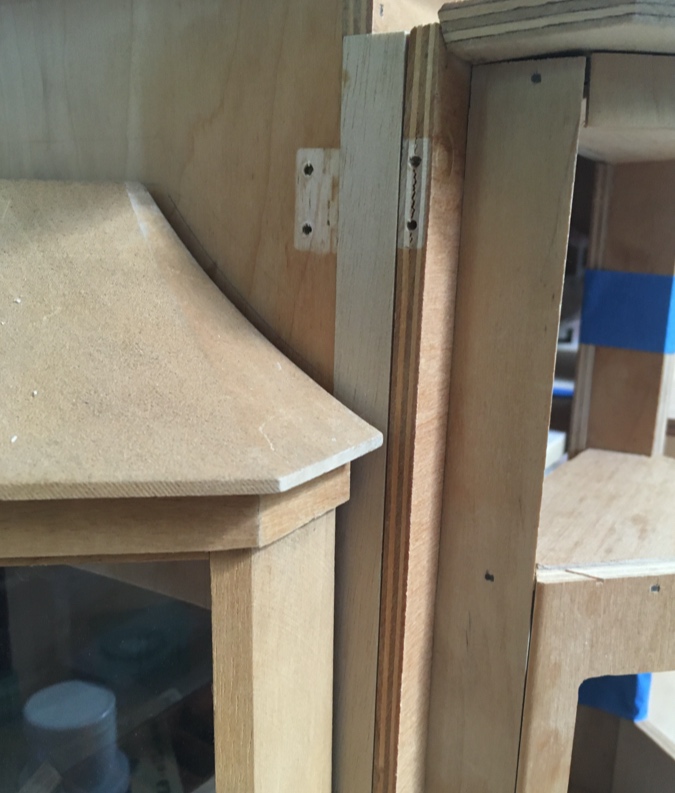
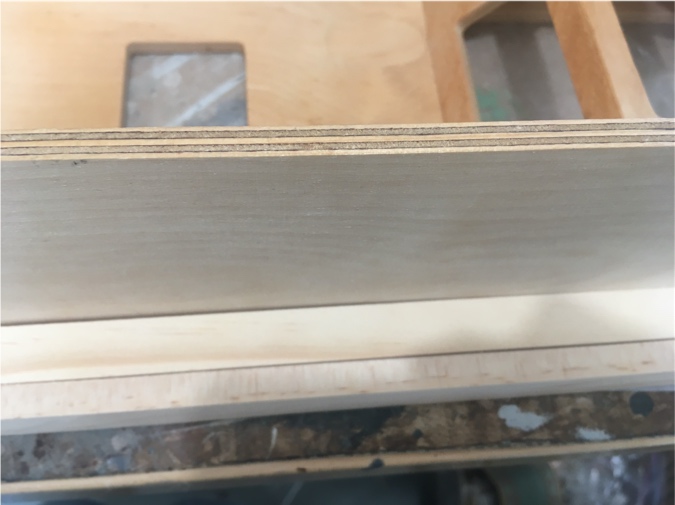
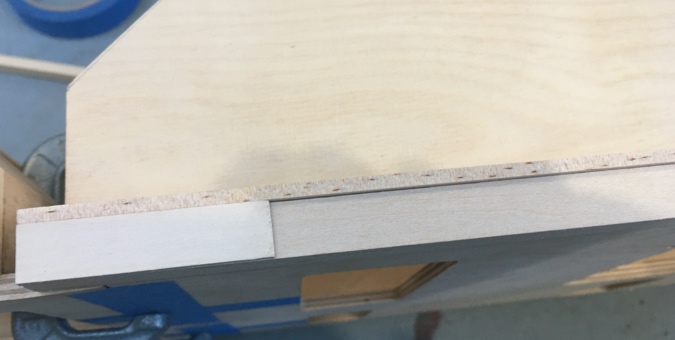
The next day I tore off that piece of trim and tried again. This time I used the belt sander to sand out the chunk of strip wood that rests against the top of the bay window assembly.
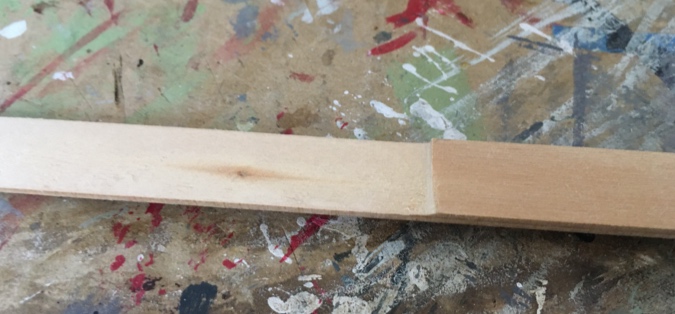
Now it fits snugly against the bay window roof. The pencil line above it is where the first piece of trim ended — the new piece is about 1/16″ lower.
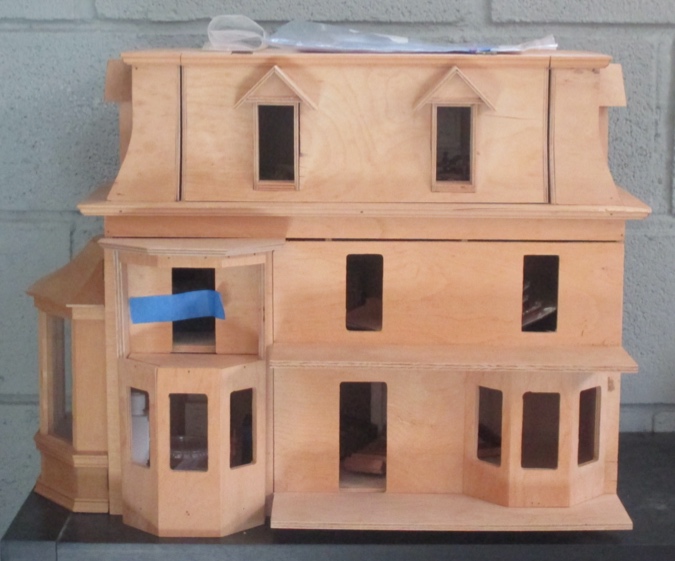
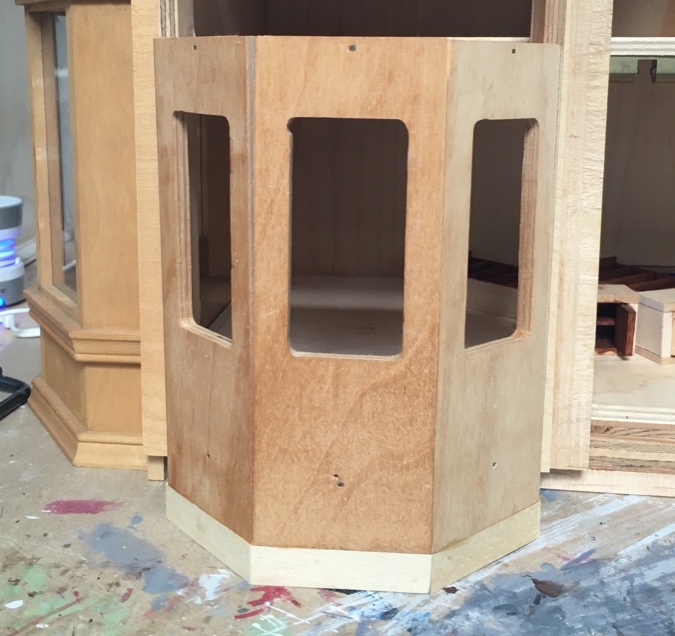
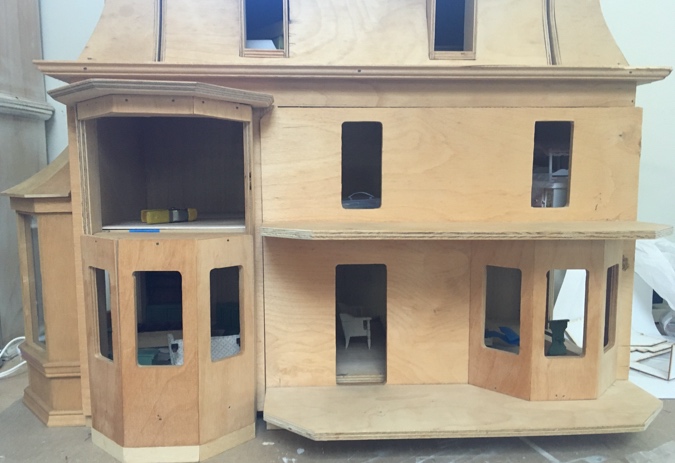
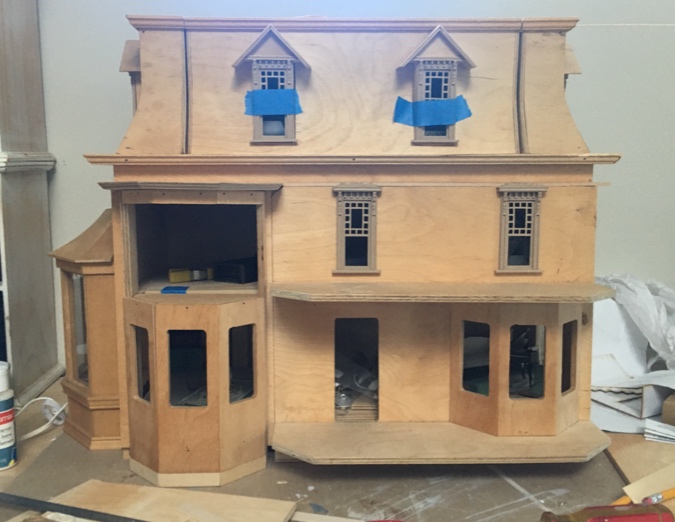
Is this possibly the most boring and convoluted post I’ve ever written? I fear that it is, but thanks for sticking with me! As a reward, here’s how the house looks in its “bulked up” state (with a bonus sneak peek of the windows, which I’ll cover another time).
 Emily is a freelance writer, miniaturist, and adventure game enthusiast.


Feel your pain. I hate when I have to fix stuff like this as it’s always a long process. Fix one thing, wreck another! But it looks good in the end. Really a nice house!
Thanks! I know someday it’ll look great and this will all be a distant memory. :)
OMG Emily, it’s gorgeous. If I build a house to live in I want you to be my designer.
Hi!! Thanks for commenting! Unfortunately, if my dollhouses were real houses I suspect they wouldn’t be up to code.