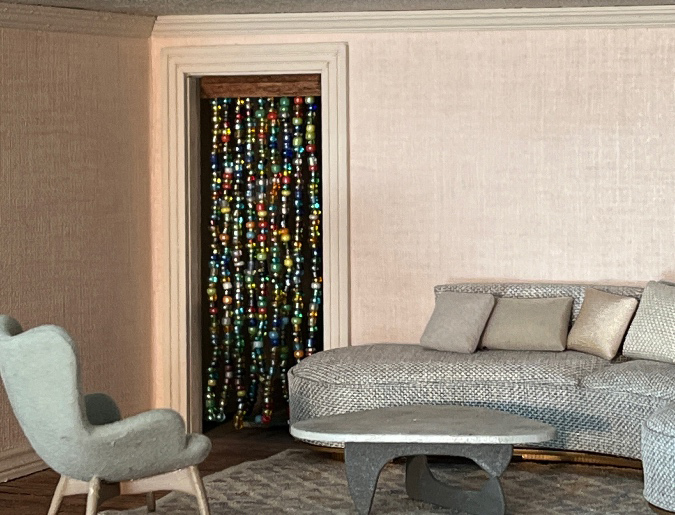
It’s half scale swap time again! This year’s theme was Kitschy Things, and I made beaded curtains. This post will show how I did it, so you can make one too.
My curtains are 1 1/4″ wide by about 3 1/4″ tall, which fits a 1:24 scale Houseworks interior door. You can easily change the curtain’s width and height to accommodate a different sized doorway, or increase the dimensions to create a 1:12 scale beaded curtain.
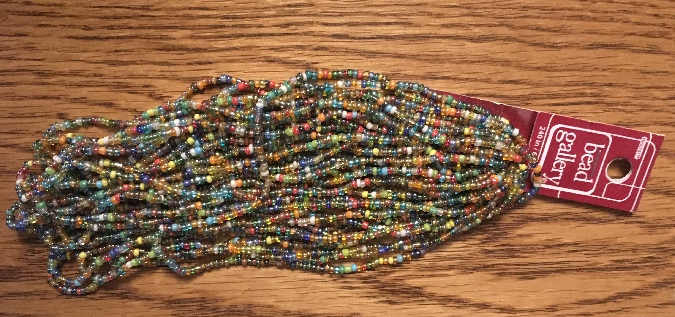
If I’d only been making one curtain, I might have had enough beads left over from various projects to make my own mix, but since I had to make 21 of these for the swap, I bought a few packs of multicolored seed beads from Michaels.
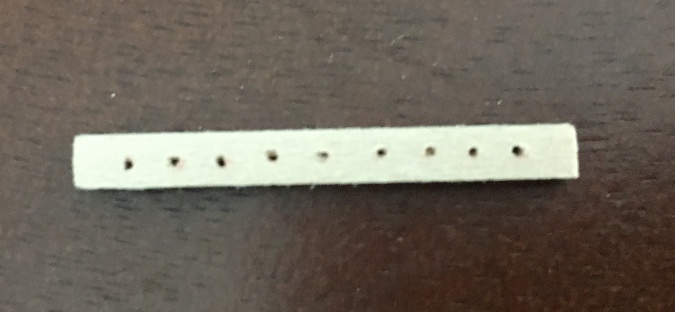
I started by cutting a 1/8″ x 1/8″ basswood strip into 1 1/4″ lengths. Then I put this up against a ruler and made dots spaced 1/8″ apart.

I used the micro drill to turn the dots into holes, using a bit slightly thicker than a beading needle.
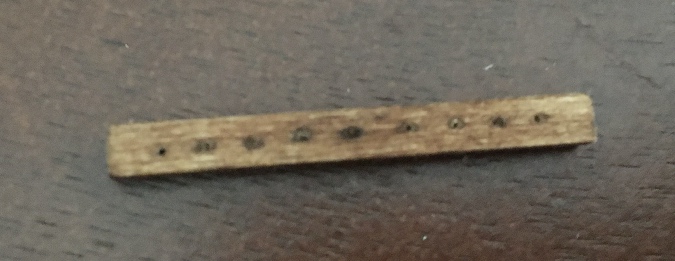
Next I stained the wood with a Minwax stain pen.
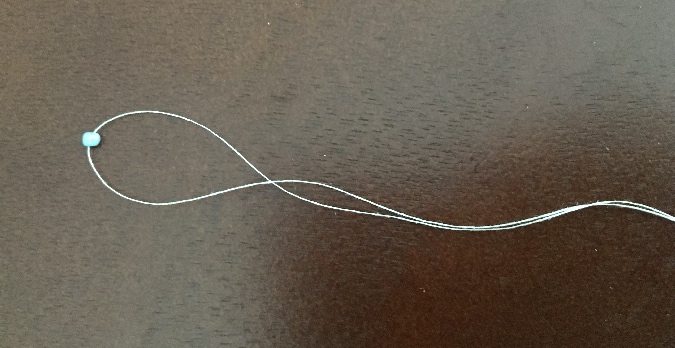
I cut a piece of sewing thread approximately 12″ long (about three times the length of one strand of beads). I strung one bead to the center, and then doubled up the thread and reinserted it into the needle.
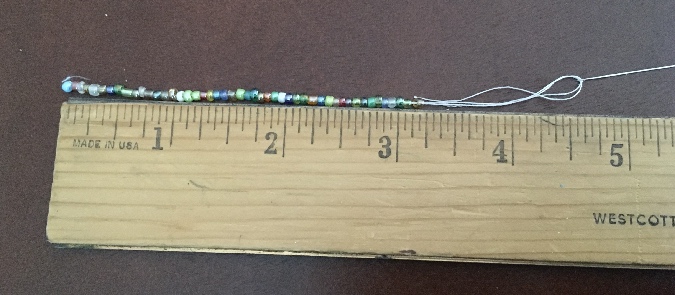
I strung beads to my desired length (approximately 3 3/16″).
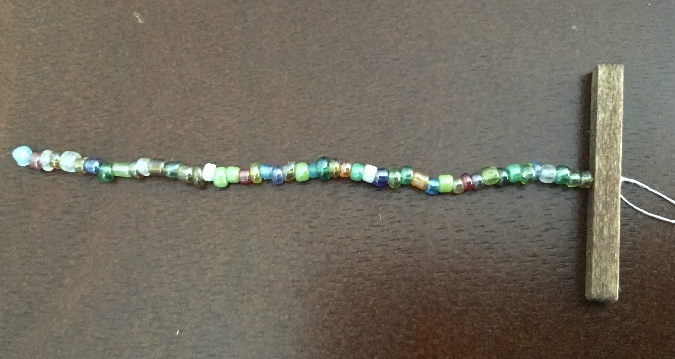
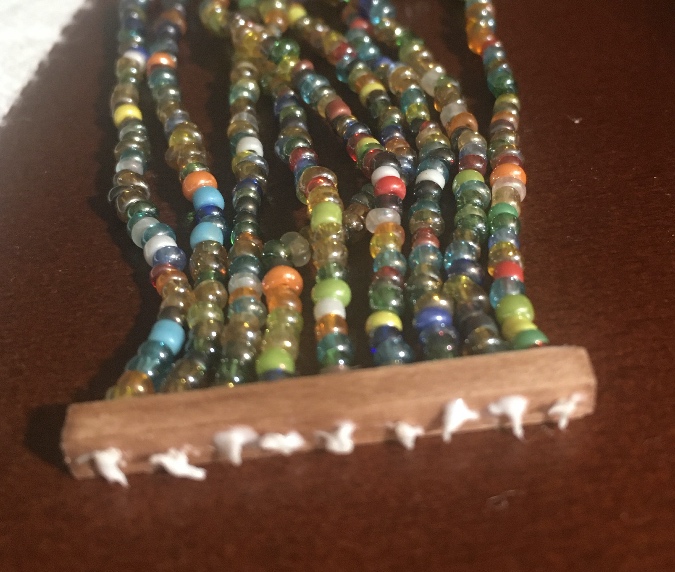
I inserted this into the center hole and tied a knot at the top. The long tail makes it easier to tie the knot. It needs to be knotted several times to be large enough not to slip through the hole (tug on the strand to make sure it doesn’t slip through).
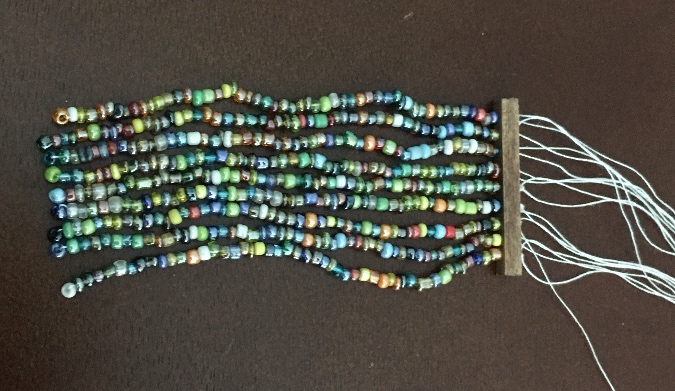
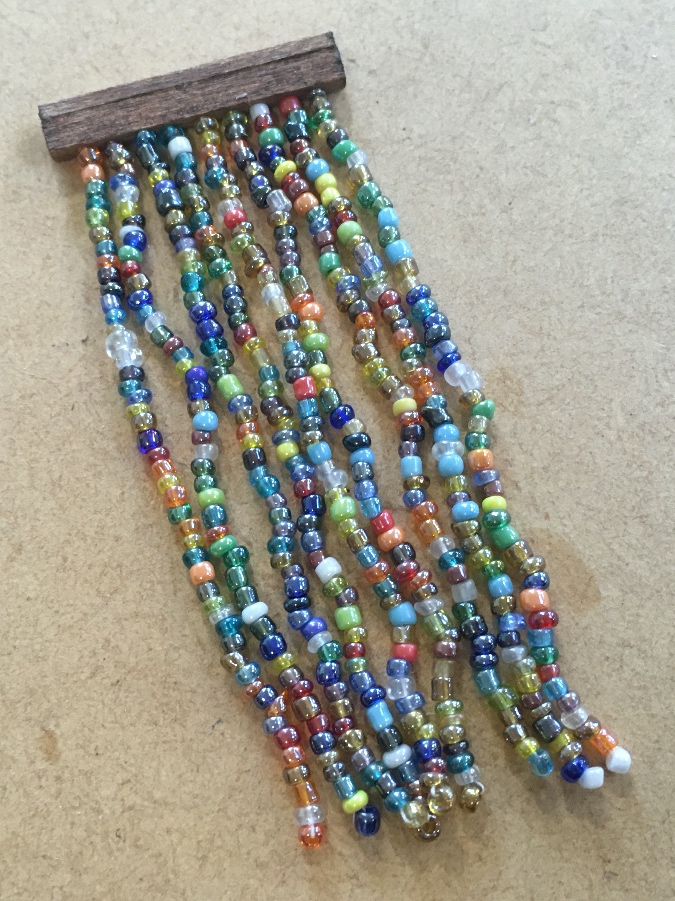
Working my way from the center, I added the rest of the strands, using the center strand as a guide for the length.
When I was done adding strands and had tested to make sure none of them would slip through the holes, I cut off the tails close to the knots. I cut some of these too close and the knot came apart, so I had to redo the whole strand. I added dabs of tacky glue to the knots to make them more secure.
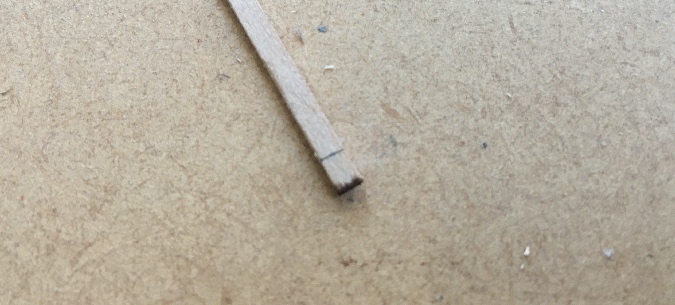
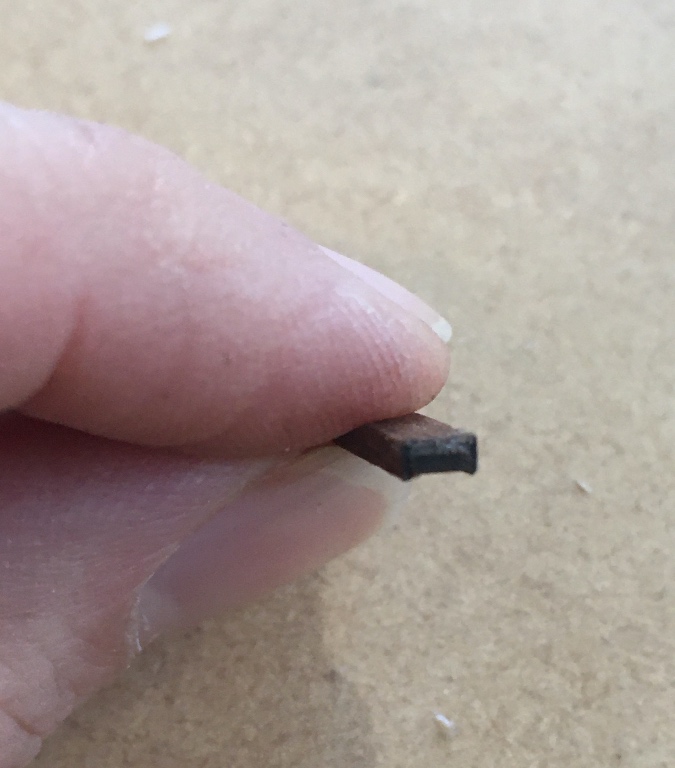
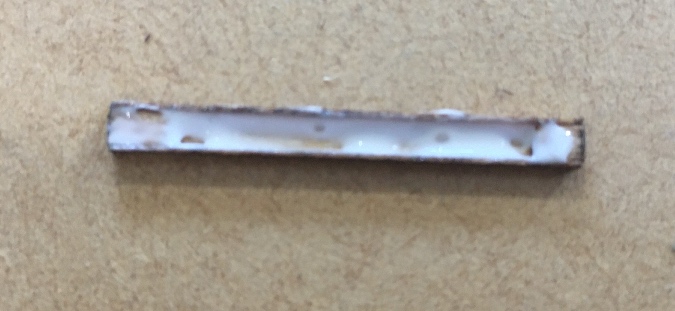
That would have been the last step, but the knots were very visible and would interfere with hanging up the curtain, so I needed to cover them up somehow. I bought some channel molding that’s about 1/8″ deep by 1/16″ tall (it’s Northeastern Scale Lumber #543).
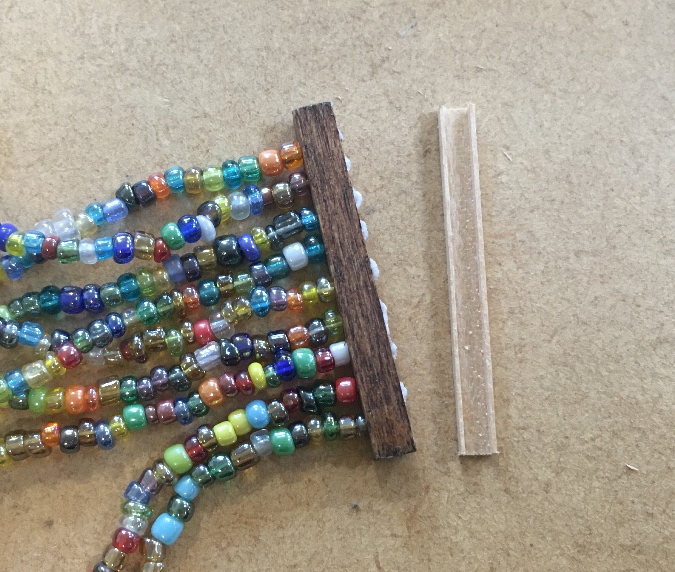
This is the same depth as the top piece, and it just fits over the knots.
I didn’t like that the end of the channel molding is open. In theory you won’t see this when the curtain is hanging, but I didn’t want my swaps to look sloppy.
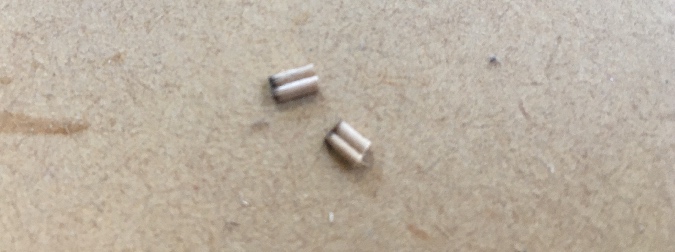
I found a piece of wood in my stash that fits exactly into the open part of the channel. This is 3/16″ double bead molding (about 1/32″ tall), but a regular flat piece of strip wood will work too. I stained the end, and then held the piece up against the top of the curtain so it bumped up against the first knot, and drew a line at the edge of the top.
I repeated this on the other side of the curtain top, and used a utility knife to slice off these tiny pieces.
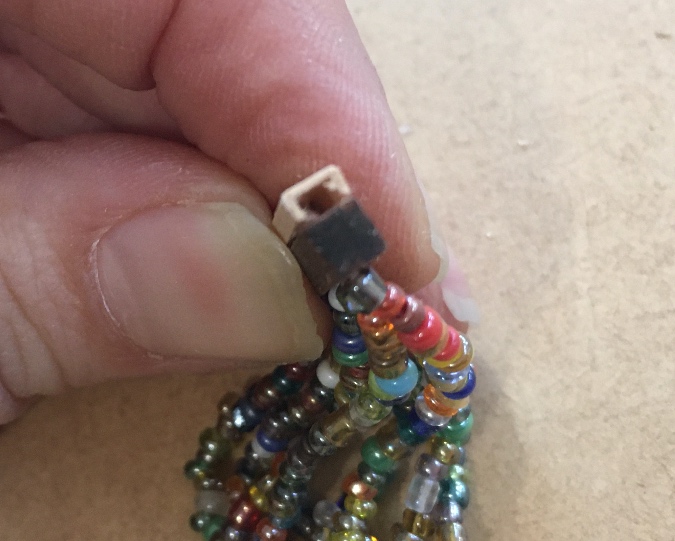
After staining the channel molding, I glued in the little pieces with the double bead facing up, so the flat side will be glued to the curtain top.
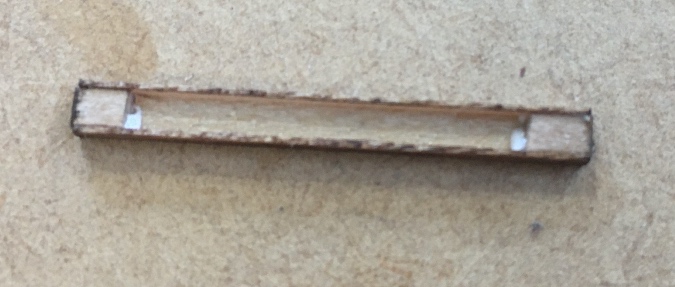
Now the channel molding has a finished end.
I glopped tacky glue inside the channel molding and used a toothpick to spread it along the bottom edges. The little end pieces’ added surface area will help secure the channel molding to the curtain top.
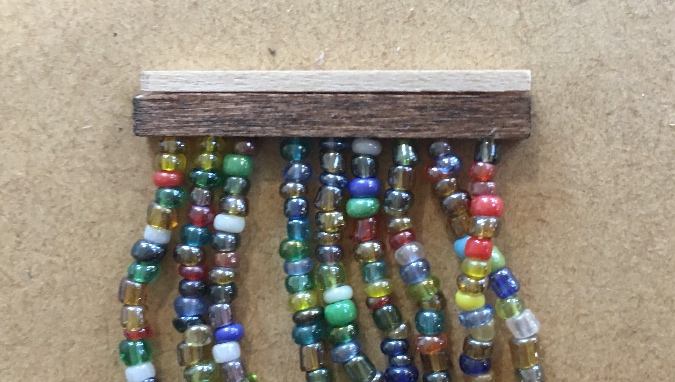
And here’s the finished curtain. The channel molding makes the top piece taller than I intended — if I was doing these over, I would have started out with a 1/8″ x 1/16″ piece of wood so the height of the finished top would be 1/8″. (This would also require making the strands a little longer to reach the floor.)
If you don’t want to glue the curtain into the doorway permanently, you can cut piece of double-stick tape to fit along the top edge and install it that way.
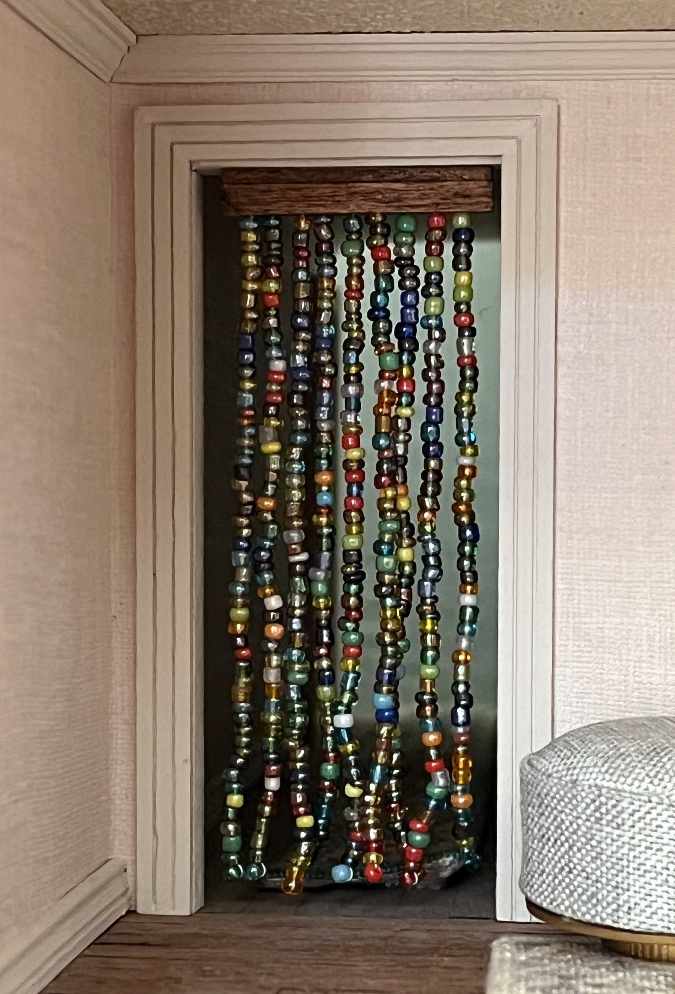
(There’s a runner behind the curtain that’s laying funny, I should have fixed it before taking the picture! Alas.)
If you didn’t participate in the swap and you want in, there will be three boxes of items auctioned off. The proceeds from the auctions go toward shipping for next year’s swap. Go to Half Scale Miniatures on Groups.io for details.
 Emily is a freelance writer, miniaturist, and adventure game enthusiast.


What a clever item to make and while it doesn’t fit into the time frame I am using, I can certainly admire your ingenuity in creating such a project! Well done!
Love this idea. Thanks for taking the time to write a tutorial.
Loved this! More patience than I in making all those but they turned out great! Thanks for sharing the how-to also. I linked it on my blog and will do that in the next post, too.
What a lovely beaded curtain!! I’m new to all things miniature and just amazed by your talents and ideas!