After finishing the fireplaces, it was bugging me that you could see the transition between the two types of wallpaper where the diagonal wall met the back wall. I fixed this today by adding a thin piece of basswood to the corner where the two walls meet.
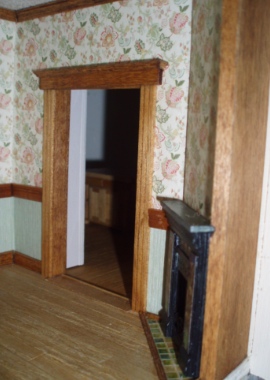
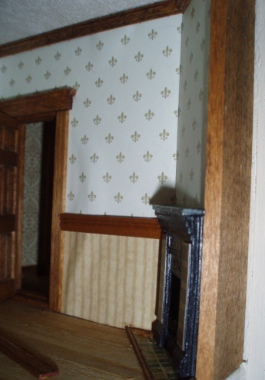
From the front (which you can only see through the window!), this means there’s now a piece of wood visible that wasn’t before. I’ll balance it out by adding trim to the other edge of the corner wall, which will also hide my “close but no cigar” attempt at matching the wallpaper. It was a valiant effort!
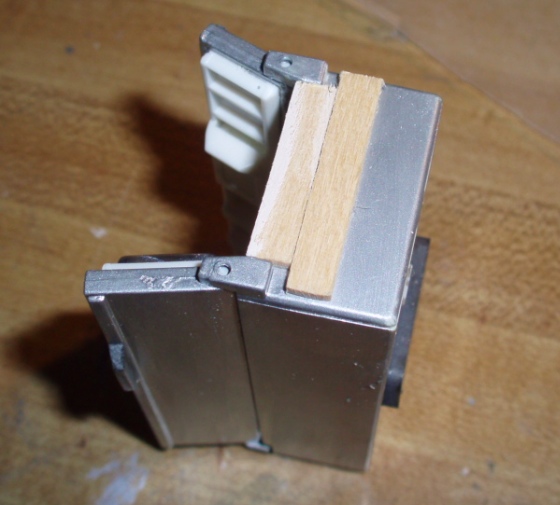
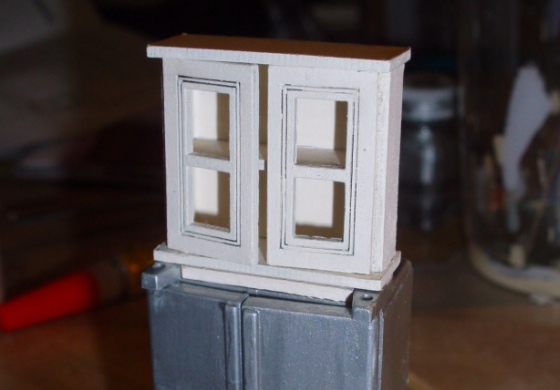
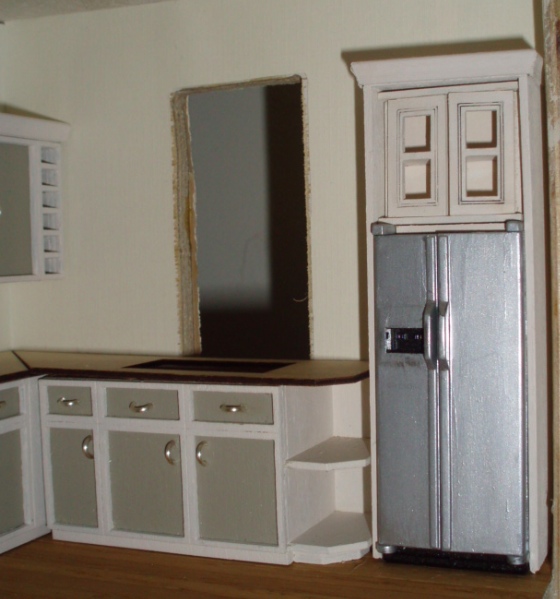
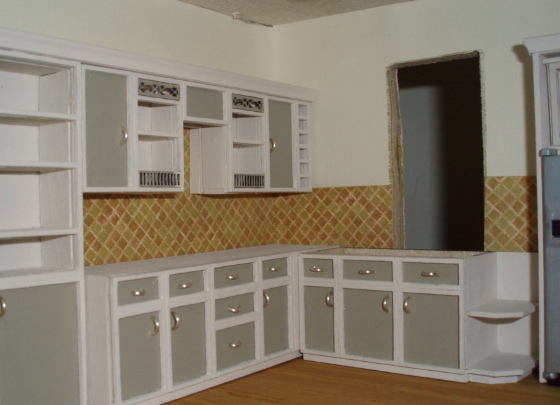
Anyway, back to the kitchen! I left off with the fridge cabinet. Following the method shown on the Greenleaf Fairfield for Miss Lydia Pickett blog, I added basswood to the top of the fridge for the cabinet to sit on.
It looks like this. I haven’t decided if I should paint the doors of this cabinet green like the others or leave the whole thing beige. I’d like to glue some glassware in (wine glasses?) and then glue the doors shut since they don’t want to stay closed on their own, so am holding off on making a decision until I have something to put in it. Maybe I’ll find something at the CHAMPS show next weekend…
Rather than use the counter backsplash that comes with the kit, I wanted a tile backsplash that could extend all the way up to the stove hood. This paper is from Itsy Bitsy Mini (same style as what I used for the fireplace hearths, but a different color scheme).
We recently got the real-life bathroom tiled and the guy who did it suggested turning the 12×12 floor tiles on a diagonal… it looks really nice, and that gave me the idea to do the same with this backsplash.
I cut what I needed and glued the paper to the wall. I still have a lot of this left (same with the hearth paper) so it’ll probably be cropping up in other projects in the future!
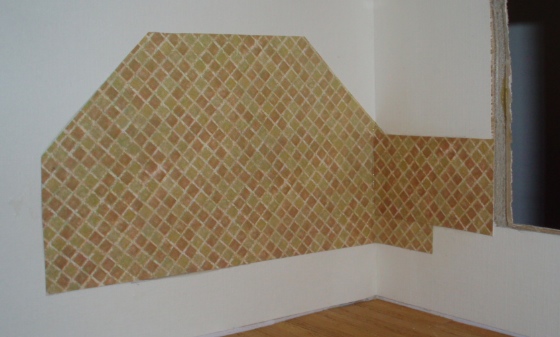
On the wall with the window, I’ll add some kind of trim to the top of the tiles to make it look more finished.
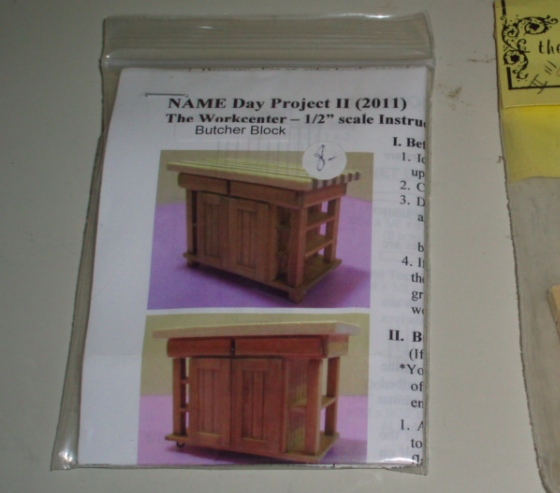
Today I built a kitchen island kit that I bought last year at CHAMPS. This was a NAME Day project a couple of years ago.
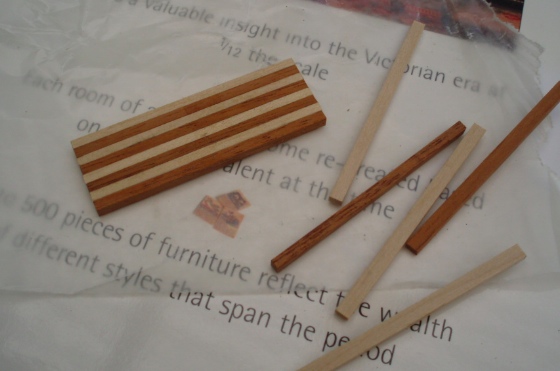
The butcher block top is made by gluing dark and light wood strips together. The instructions said to use a jig, but I didn’t and it came out fine.
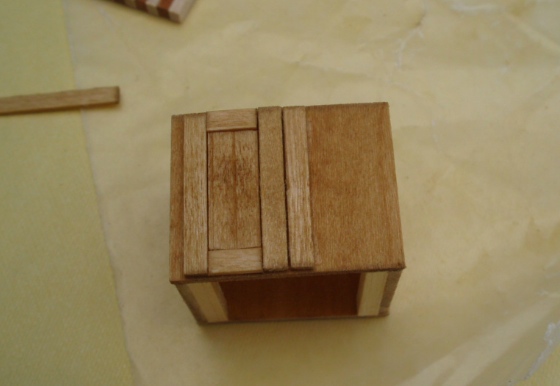
I deviated from the instructions a few times. They said to glue the door pieces together and then glue the door to the cabinet, but with such small pieces that seemed like a recipe for disaster. Instead, I found the center of the cabinet, and then glued the door pieces onto the cabinet directly. (They don’t open anyway!)
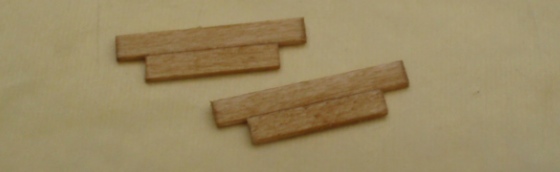
The island is supposed to have four shelves, and each shelf is made from two pieces glued together (a big piece and a little piece) to form a notch for the legs to fit into. My kit only came with the four big pieces. I modified two of them to make the little pieces, so only ended up with two shelves.
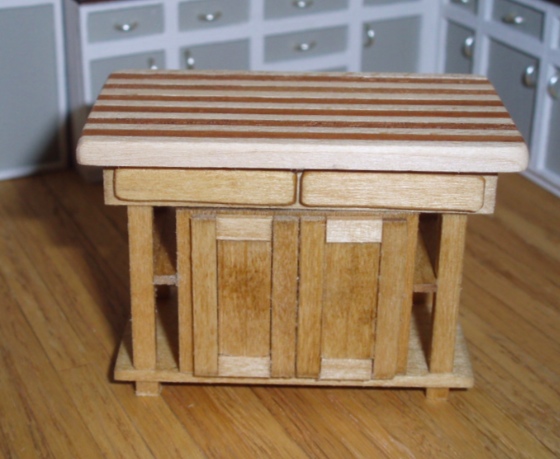
Here it is assembled (but without the drawers). When the butcher block was dry, I sanded it and rounded the corners a bit. It looks very realistic! Before gluing it onto the cabinet I used furniture wax to give the butcher block a nice finish.

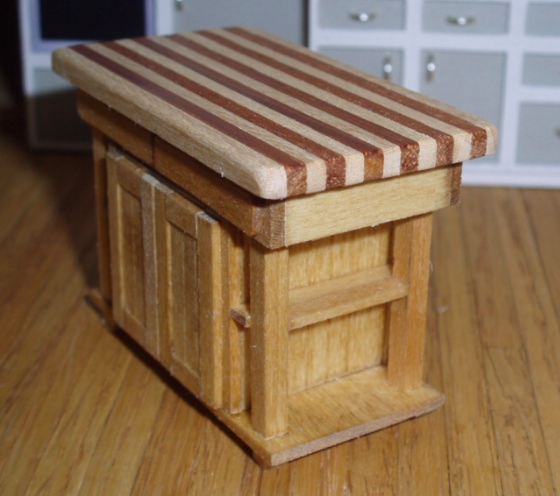
And here it is with the drawers on. I used a nail file to give the drawer fronts a bevel and kind of went overboard…
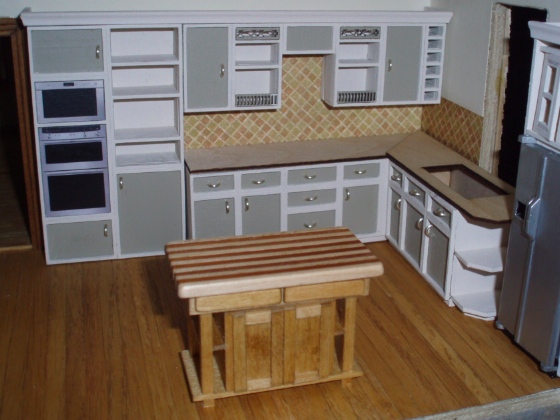
I think it looks fine with just two shelves. They’ll be good for cookbooks.
It’s just begging for some food preparation in progress!
 Emily is a freelance writer, miniaturist, and adventure game enthusiast.


The island is a great touch.