Usually with a die-cut house, if I’m using the windows that came with the kit I’ll apply wood filler to the inside edges of the window to smooth them out. I do this once the trim (either interior or exterior) is glued in and then carefully repaint, to give the edges plus trim a nice uniform surface. For the Victorianna’s bay windows it will be much easier to glue acetate to the outside of the window, so my plan was to add the interior trim and then use the wood filler to smooth out all the interior edges.
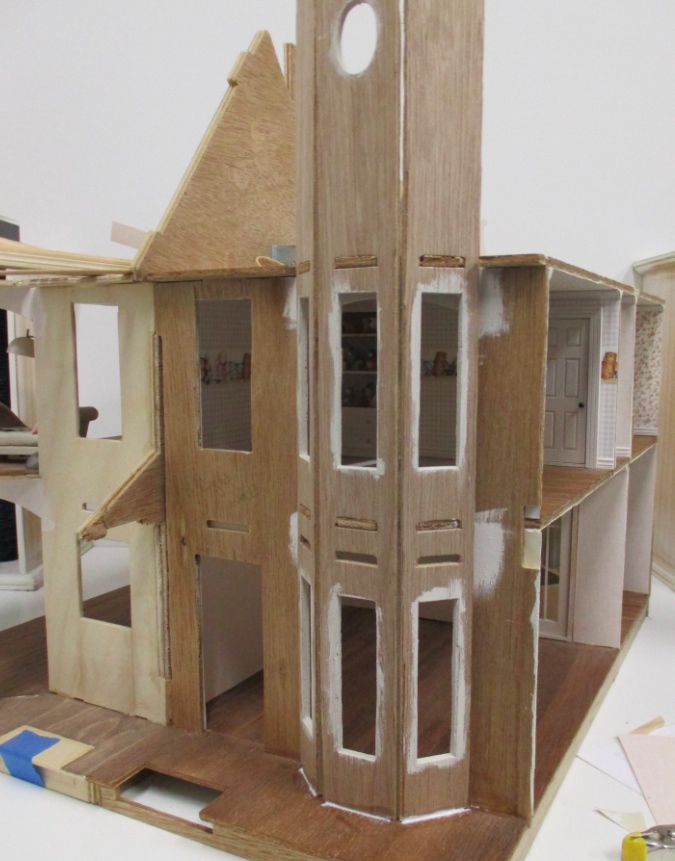
But because cutting out the window holes left some jagged edges on the wallpaper, I decided to cover the window edges with strip wood the same way I do with doors. This seemed like a better plan for a smooth finish, with less chance of getting wood filler and paint on the wallpaper.
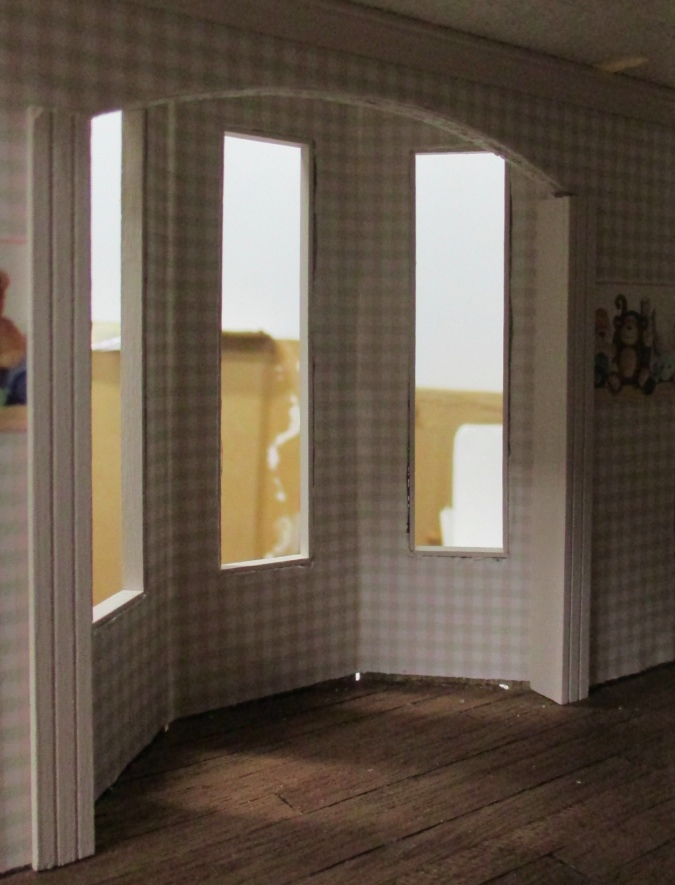
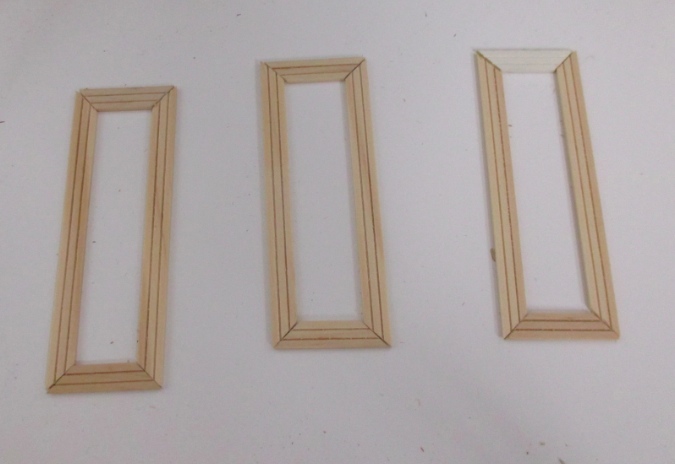
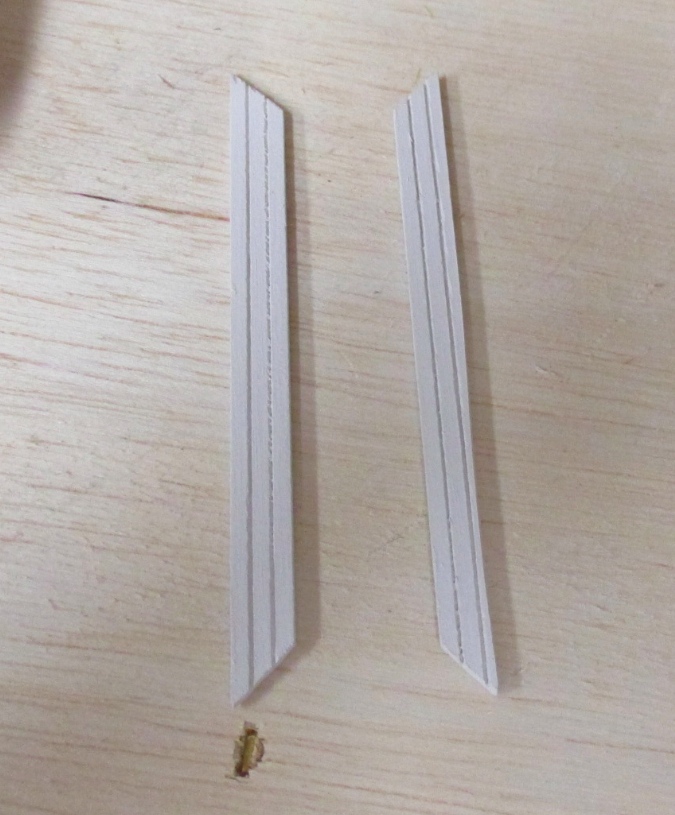
I started by painting one long piece of 1/16″ thick stripwood my Tuscan Beige trim color. This cuts easily with scissors so I cut the pieces to fit each window, once the paint was dry. Here you can see the window on the right with trim installed, and the one on the left without.

With all three windows were trimmed out, I next added vertical trim at the sides of the arch. These are made from one piece of half scale door/window casing flush with the wall, butting up against piece of strip wood that covers the plywood edge. Once the glue dried I carefully painted over where the trim pieces meet, to get rid of visible seam.
(I had to use a larger piece to cover the plywood edge on the right side than on the left, to account for a gap where the walls don’t quite meet there. Because of the angle you can’t see this bay window head-on, so it doesn’t matter the trim’s inside edge is slightly larger on the right than on the left.)
With the vertical trim glued in, I measured and cut a header piece. I couldn’t come up with a graceful way to handle trim around the arch (and didn’t want to use what came with the kit) so instead I’m covering the arch to square off the opening.
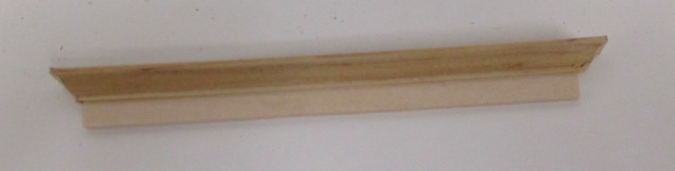
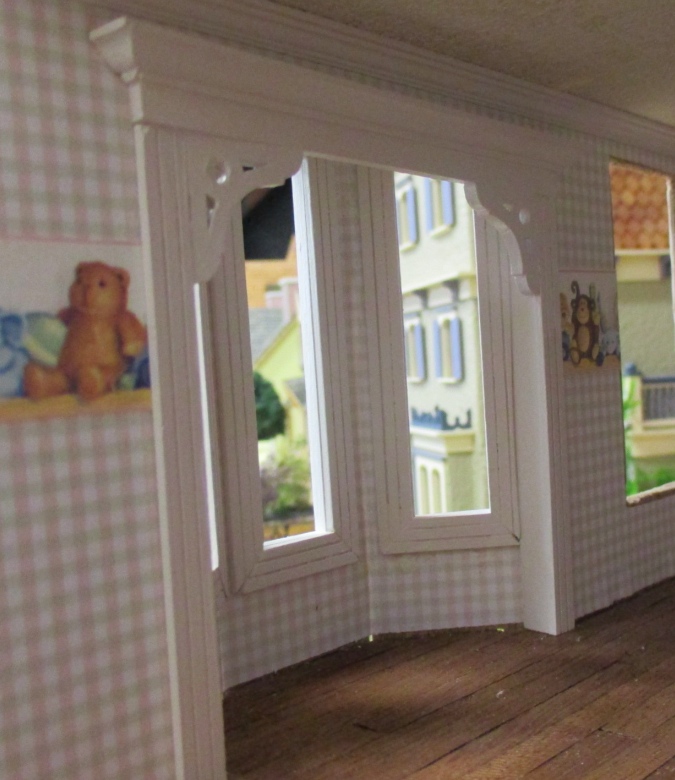
I added crown molding around the top of the header. This is a different style than the crown molding I used in the room — I didn’t want the header to look like repurposed crown molding, but like a distinct element.
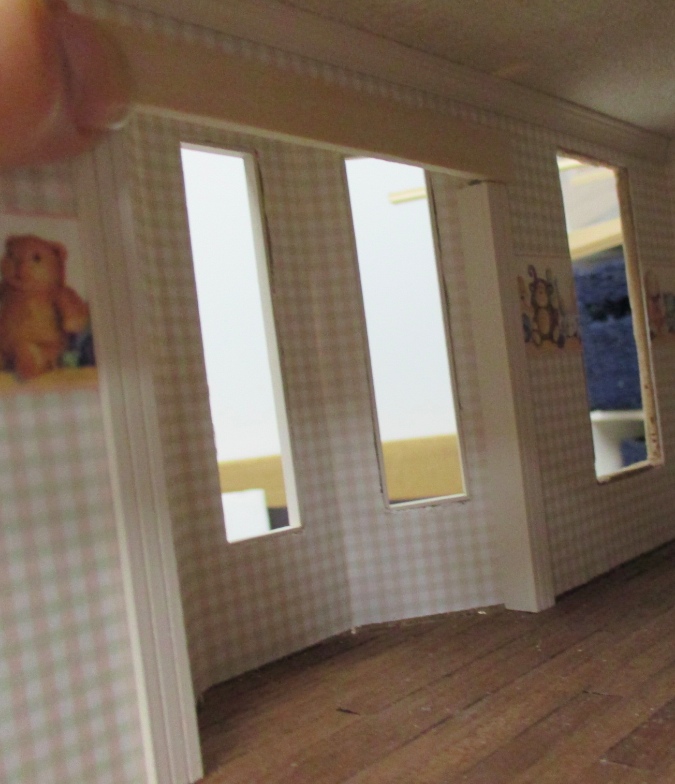
With the header glued in it would be even harder to reach my hands into the bay window, so I put the header aside and did the interior window trim next. These are skinny windows so I was able to use up some little scraps for the tops and bottoms that are too small to do anything else with.
The piece of trim I used on the right side of the opening to cover the wall gap interfered with the edge of the window trim on that side. I sanded down the edge of the trim, first with the belt sander and then with an emery board until it juuust fit.
A little curvy at the bottom there, but it fits! Also, some of my mitered corners are messy, both because the miter box and saw are on their last legs so these aren’t exactly 45-degrees, and because it was not easy to glue these pieces in straight. After taking this picture I went over the seams as best I could. The space is too cramped to add wood filler (not neatly, anyway!)
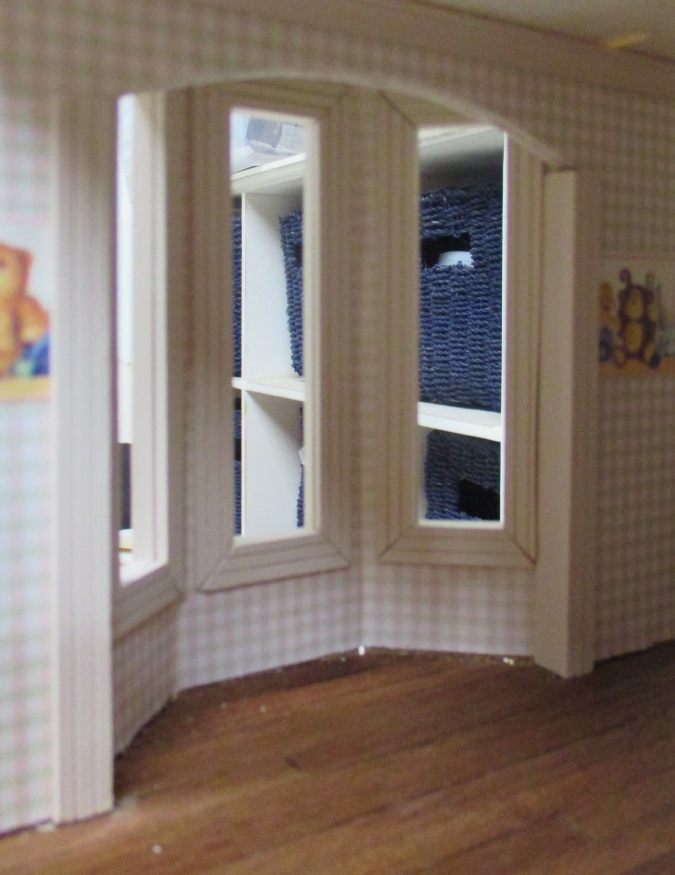
There was a slight gap where the wallpaper didn’t quite meet the ceiling. You only saw it if you twisted your head and looked for it, but of course I kept doing that! So, before adding the header, I glued in some trim to cover the gap. These are pieces of leftover window mullion.

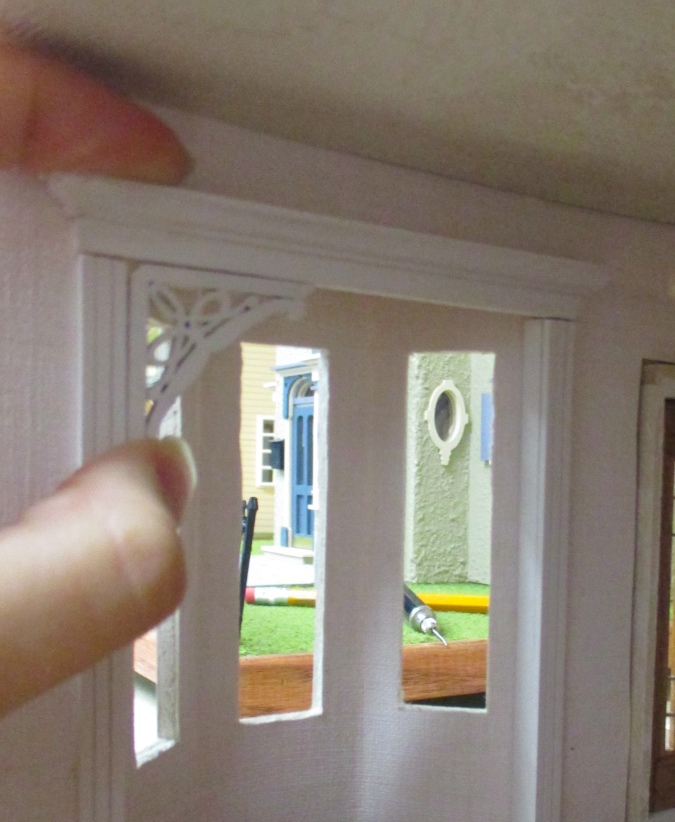
Next, I added the header and decorative brackets. These are BRD-1 brackets by Northeastern Lumber (I’ve also seen them referred to as 1:48 apex trim). I already used one of these at the foot of the second floor staircase, so in that room (when I get to it!), the bay window trim and staircase will complement each other.
I only have enough of these brackets on hand to do three bay windows, so they will go in the two upstairs bays and the kitchen. In the living and dining room I’ll use these fancier BRF-1 brackets.
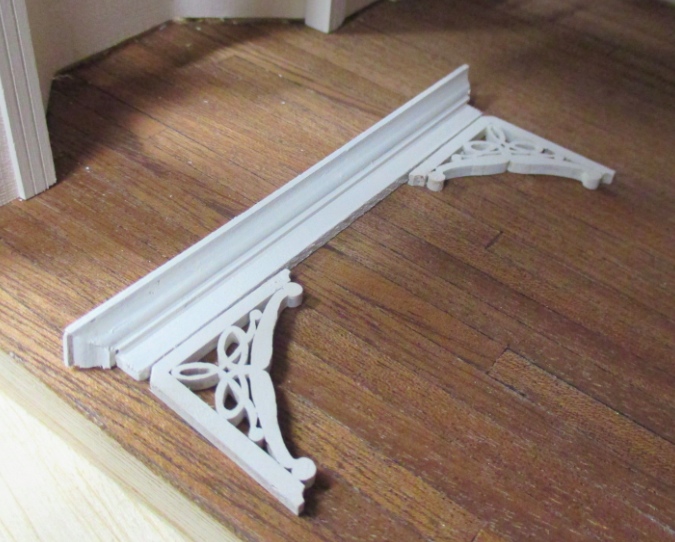
The bays are taller downstairs so the bigger brackets hopefully won’t be too overwhelming.
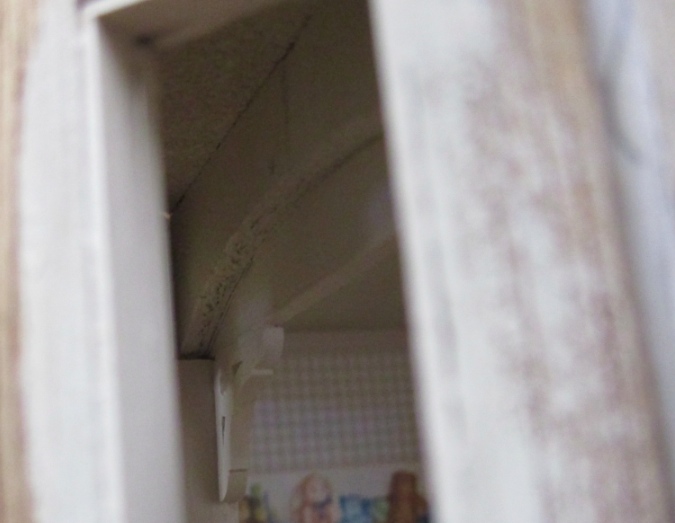
Here’s how the upstairs bay looks through the windows. I’m conflicted about whether I should have wallpapered this side of the arch. I painted it before putting in the bay window, and also painted the back of the header and brackets, so it’s a sea of Tuscan Beige. (It’s also pretty hard to see.)
I stepped back to admire my handiwork and only then — once everything was glued in and dry — did I notice that the header is crooked! It’s higher on the left than on the right. It’s especially obvious because of the stripes in the wallpaper (but harder to tell in the picture than in real life).
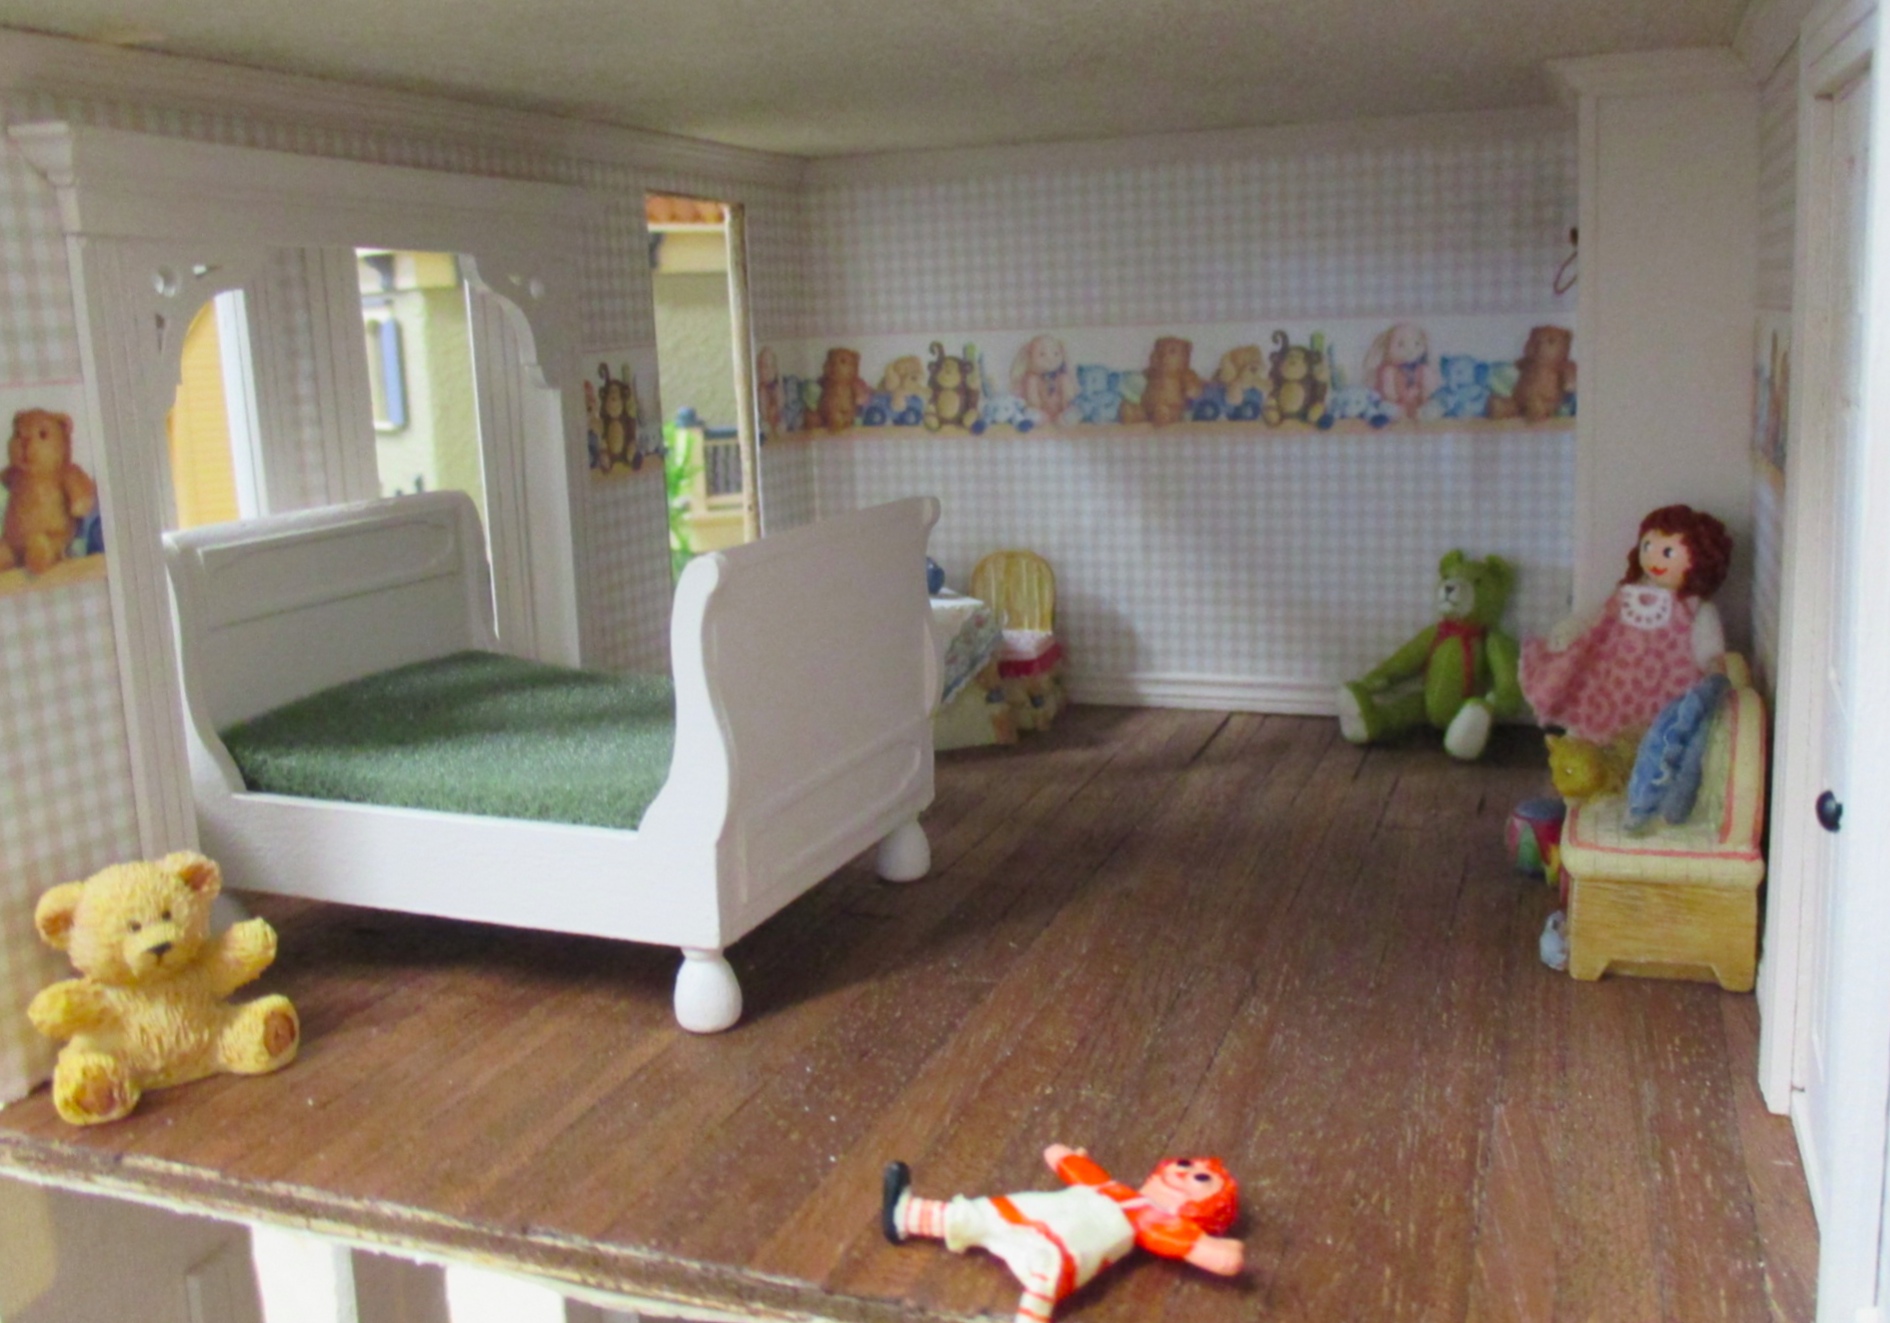
Of course, it’s now driving me nuts. I measured the vertical trim to fit the places where they were going and didn’t make sure they were exactly the same height, so that might be why it happened. And/or, the trim on the left isn’t quite flush with the floor. I can’t do anything about it in this room now, but I’ll be more careful about that for the rest of the bay windows!
 Emily is a freelance writer, miniaturist, and adventure game enthusiast.


Love the way you’ve trimmed out the bay window. I’m sure that once you’ve filled the room with all the goodies that will go into it, no-one but you will notice that the header is crooked – and it certainly isn’t obvious in the photos.
I love what you did and that you made a little error. It goes to show there is so much thought that goes into each decision and execution with miniatures, congrats to you for doing a great job.