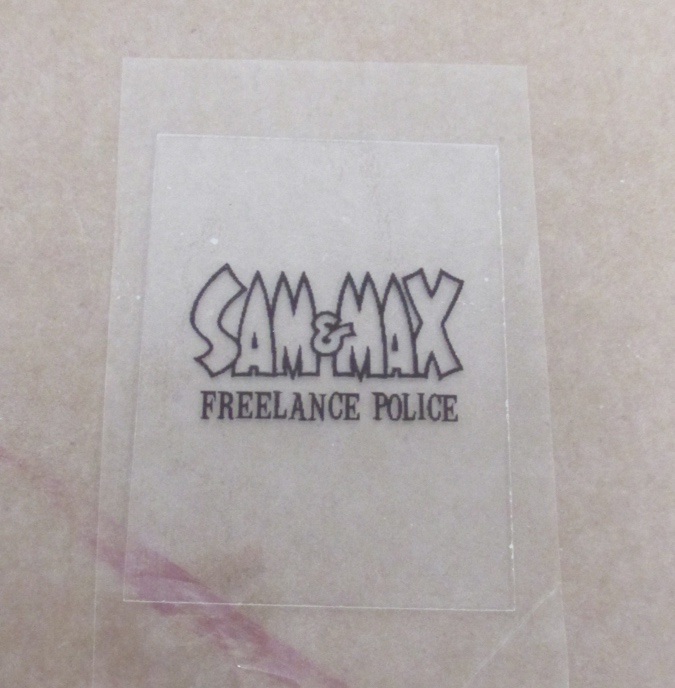
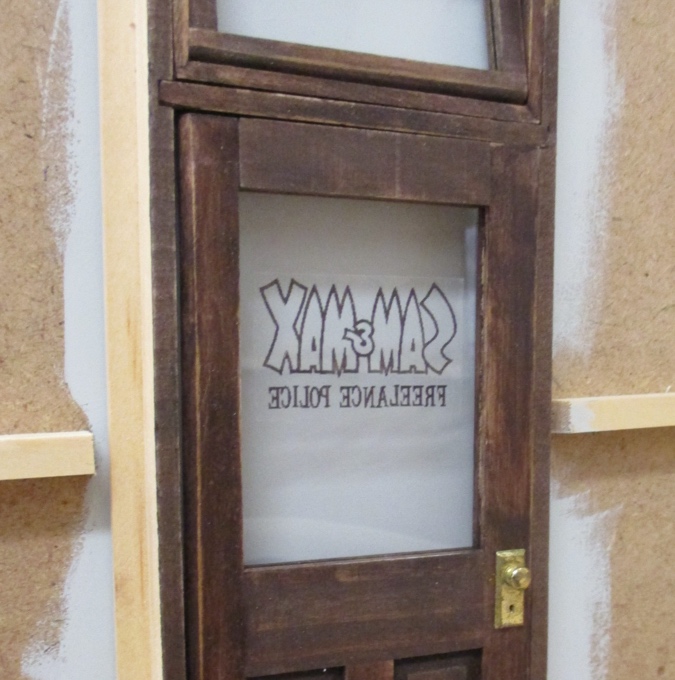
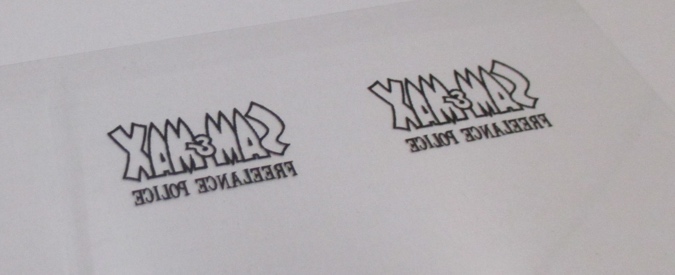
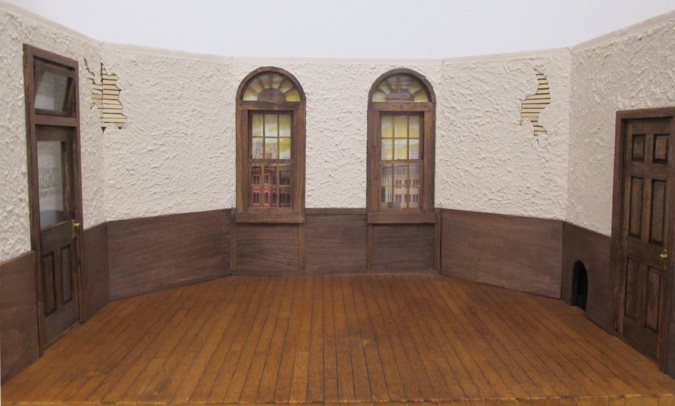
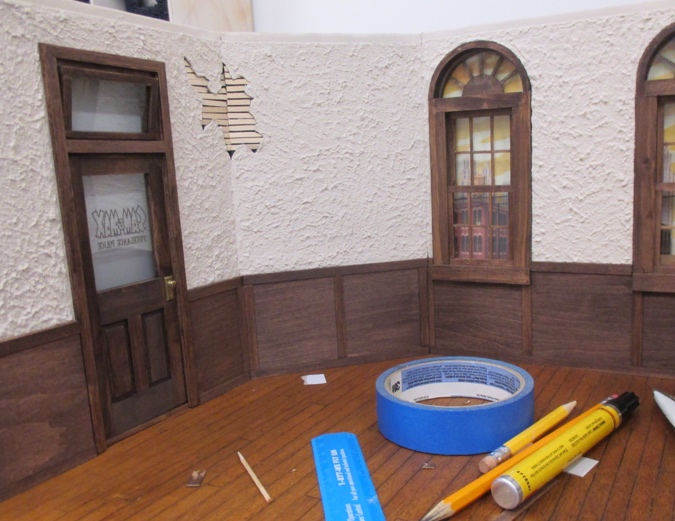
Before I can glue in the walls in Sam & Max’s office, I needed to finish the doors. The office door has a Freelance Police logo on the window. I had a few sheets of clear sticker paper left over from when I made mini Absolut Vodka bottles and life-sized spice jar labels, so I grabbed the texture using Telltale Explorer and printed it out.
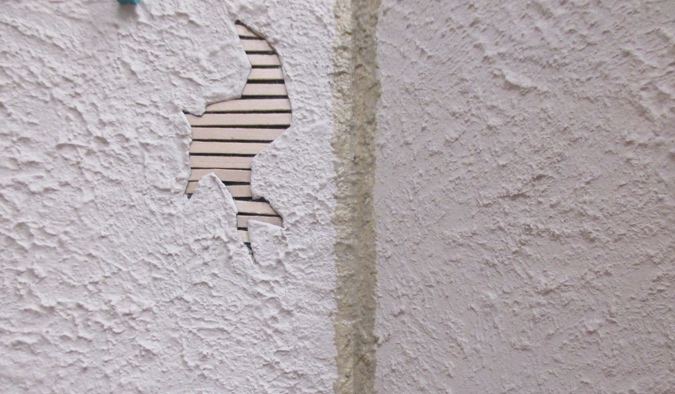
My idea was to lay the sticker sheet over the window glass, carefully smooth it down, and then cut around the glass with an Xacto knife. I attempted the same thing for the front window of the Blackbird Bar and it didn’t work — no matter how careful I was, I ended up with bubbles and creases and flecks of dust between the sticker and the plexiglass. But I convinced myself I’d do a better job this time.
Guess what? It didn’t work this time, either.
Just like with the bar window, I ended up with bubbles under the sticker. And just like with the bar window, I ruined the plexiglass when I peeled the sticker off.
I had some replacement plexiglass in my stash so I tried again, cutting the sticker close to the edges of the logo. I was able to stick it on nicely, but I didn’t like the visible outline around the logo.
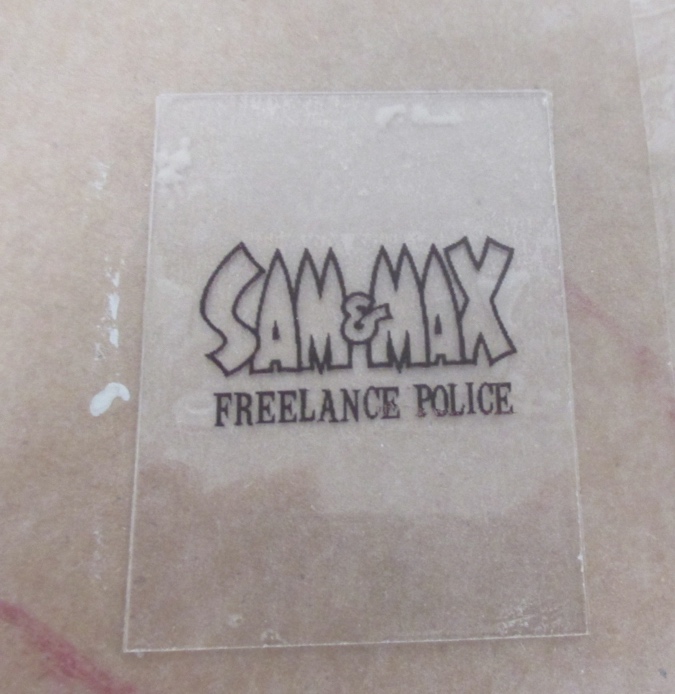
So I went back to the internet looking for inkjet transparency sheets. I wanted something stiff like the plastic that comes with a die-cut dollhouse kit. (I know such a thing exists because the stained glass windows I bought for the Victorianna are printed on it.) I thought that’s what I was getting when I bought this 6-pack of inkjet transparency film, but this film is thinner, more like what you’d use on an overhead projector. But I can still use it, supported by a thicker piece of plexiglass.
The first package of transparency film was shipped in a padded envelope and arrived creased in half. I reported it to Amazon and they sent a replacement. Separately I bought a 2-pack of .030″ plexiglass from KitKraft, since by this point I had ruined all my spare pieces with the sticker attempts.
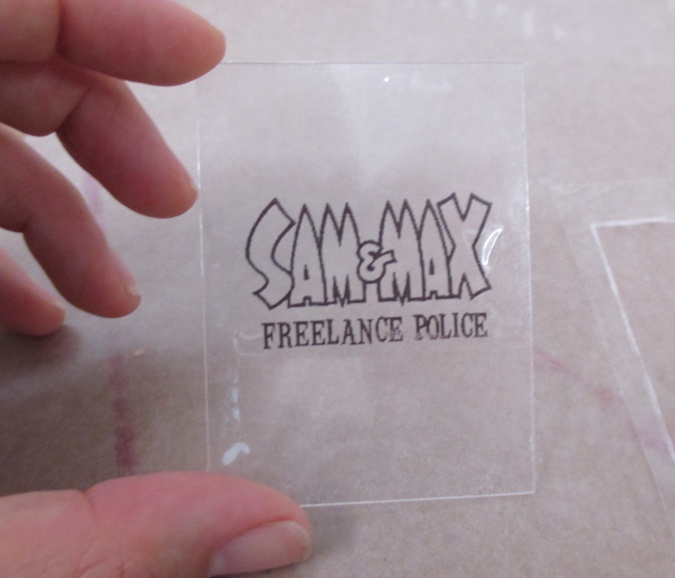
When I finally had everything I needed, I printed out a few logos. I printed them out as a mirror image so the reverse image (which is what you see when the door is closed) was on the printed side. This allowed me to sandwich the printed side against the thicker piece of plexiglass, so the ink side isn’t exposed to the air. I hope this will prevent the ink from fading. (I didn’t want to spray this with my UV-resistant sealer, which would take away the gloss of the transparency film.)
Continue reading

 Emily is a freelance writer, miniaturist, and adventure game enthusiast.

