The Den of Slack

emilymorganti.com

Page 56 of 239

Victorianna kitchen bay window seat

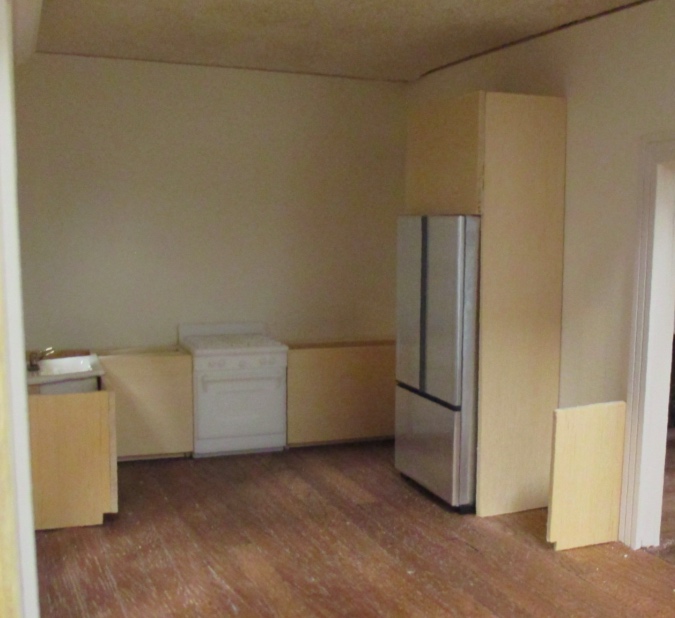
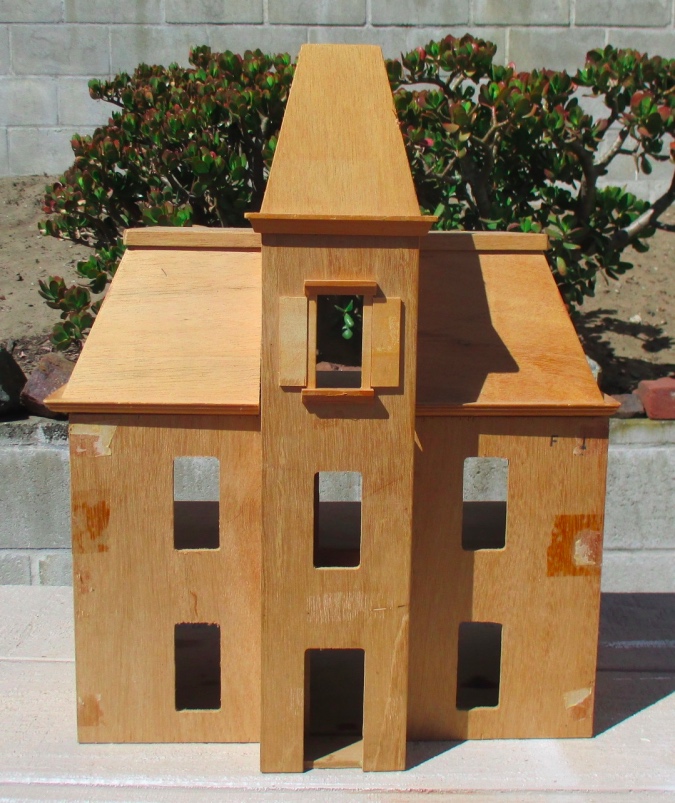
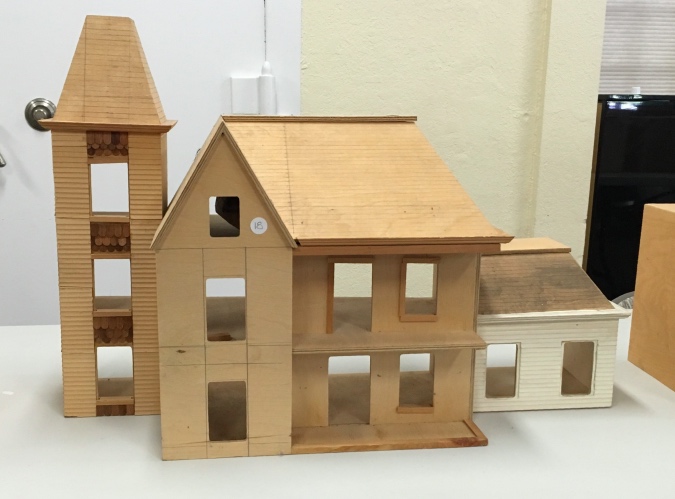
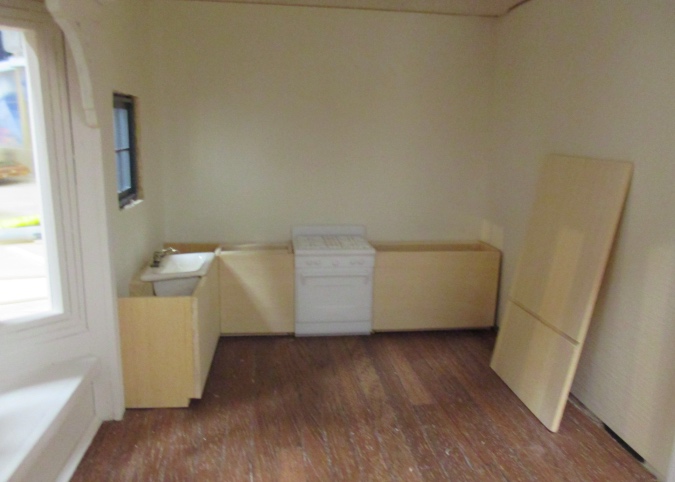
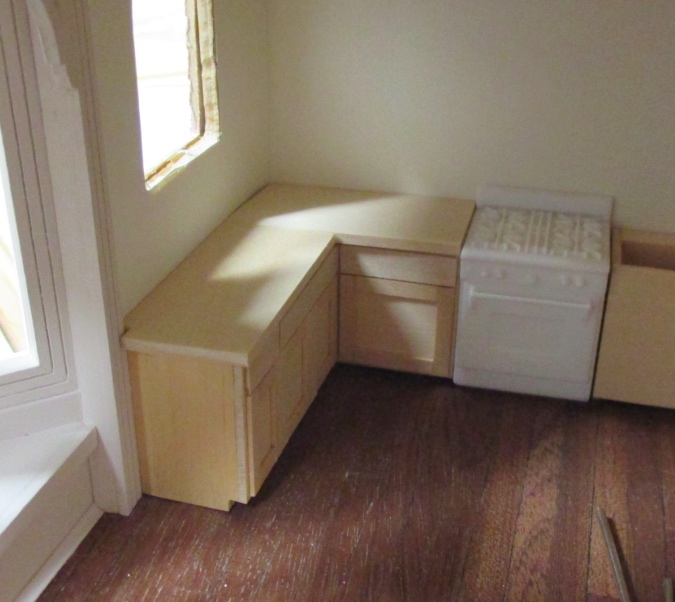
I’m at the point where I could attach the Victorianna’s roof, but after spending so much time shingling the Rowhouse I just don’t have it in me to do another roof right now. So I moved on to the last room in the house: the kitchen.

I wanted to use the same tan wallpaper I used in the second floor bathroom (which has the same texture as the pink wallpaper used in the rest of the house), but I don’t have any more and it’s discontinued. Instead I papered it with a heavy off-white scrapbook paper that also has some texture to it.

It’s too difficult to slide the wallpaper up behind the archway, especially with this stiff scrapbook paper. When I did the other four bay windows, I slid the wallpaper in through the gaps in the sides. I couldn’t do that in the kitchen because I’ve already added siding to the back of the house, blocking off those gaps. Luckily I hadn’t glued in the bay window wall pieces yet. With one of the walls removed, I was able to slide the wallpaper in.

I put that wall panel back in, creased the paper at the joints, and cut out the window holes.

Then I removed the wallpaper from the opening and glued the three wall pieces together. These are only glued to each other, not to the house yet.

When the glue was dry, I was able to remove the assembly to add wallpaper and trim. This was much easier than doing it with the bay window in place (which is how I did the other four).

I added painted strip wood to the inside edges of the window holes.

Then I glued in the interior window trim, cleaned up the seams with wood filler, and touched up the paint.

Continue reading

Little girl doll for the Victorianna

I don’t usually put dolls in my dollhouses, but I made an exception when I bought a little resin baby for the nursery.

Since then I’ve been keeping an eye out for dolls to put in the other kids’ rooms — I need a little girl (age 4-ish) and an older girl (age 12-ish). An eBay seller named karens-mini-bears makes adorable baby and kid dolls, sometimes in half scale, but they’re usually 24-hour auctions with a lot of people bidding, and I haven’t waded in.

Recently I saw this little girl on eBay, offered by seller by_lana, and I loved her on sight. The short, messy hair, the little smile, the dress — she just looked like the right doll for the little girl’s room. I hit Buy It Now and paid… and then I looked more carefully at the description. She was only 1″ tall, which would be 24 inches in half scale. I Googled “How tall is a four year old” and Google informed me that the average four year old is 40 inches tall.

I emailed the seller but she’d already sent the package. She told me not to worry, if the doll was too small she accepted returns.

The doll arrived (very quickly from the UK!) while I was working on the Robin Betterley kits. She’s small next to the dollhouse, but maybe not *too* small?

Unfortunately, yes, she’s too small. Especially when the room is strewn with toys, she looks like, well, a doll. Not like a child.

I sadly emailed the seller to tell her the doll would be too small. She refunded my money and graciously told me to keep the doll — excellent customer service, but I felt bad that I hadn’t looked at the measurements more closely before I purchased.

Continue reading

Rowhouse shingles

I started this blog post on March 16, 2013 — that’s when I started shingling the Queen Anne Rowhouse — and it’s been sitting as a draft for 2,004 days. But not anymore, because the roof is finished!

I used hexagonal shingles that came with the Greenleaf Fairfield. I really liked them on the Fairfield and someone from the Greenleaf forum sent me a bag that she hadn’t used. I started by dumping them into a foil roasting pan and dumping stain on them. Then I picked them out (wearing gloves!) and pressed them under paper towels to get the stain off. Because this takes some time, some shingles get more color than others, which makes for nice variety on the roof. The stain I used is ACE Early American.

Behold the first row! I used to live in northern Marin county, where it gets hot. I would bring the house outside on a card table and shingle all afternoon.

The rows are 5/16″ apart. When I try to draw all the lines at the beginning it turns into a horrible mess, so I shingle an entire row, and then draw the line for the next row. I had the foresight to write “lines 5/16″ apart” on the roof so I’d remember this five years later.

I turned shingles upside down to get them flush against the chimney. You can also turn shingles upside down to turn any shaped shingle into a rectangular shingle. (Makes me wonder why they sell rectangular shingles at all…)

This is probably how much I got done in the first weekend. Each side of the roof is 15″ x 9″, with about 40 shingles per row.

And here’s how far I’d gotten by the time I moved in October 2015. Not much progress for two years!

The house I moved to is in foggy San Francisco, and the backyard isn’t exactly scenic, so that marked the end of my “shingling in the yard” days. I didn’t start up again until this spring, when I brought the dollhouse upstairs from my workshop garage to shingle while watching TV. By the time I started fixing the stair rooms in June, the first side of the roof was almost done.

Continue reading

« Older posts Newer posts »

© 2025 The Den of Slack

Theme by Anders NorenUp ↑