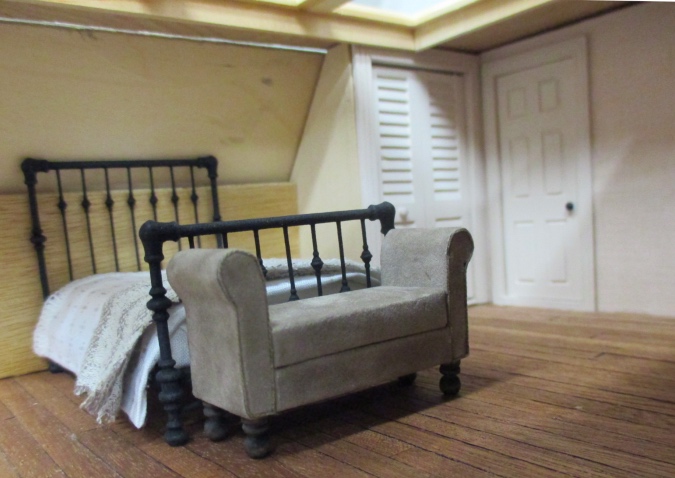
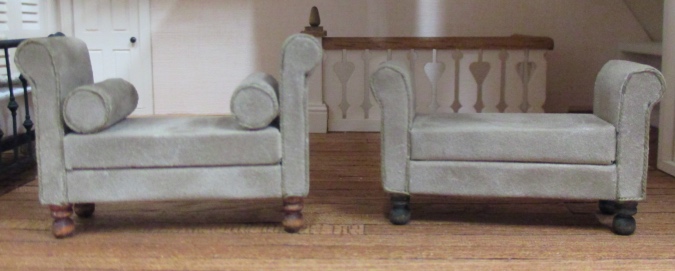
As promised in a recent post, here’s a tutorial for an upholstered bench in 1:24 scale. The bench is made the same way as my half scale sofas. There are two versions – one with tall arms and one with short arms. (They’re shown side by side at the bottom of this post.)
Supplies needed:
Basswood in the following sizes:
- 3/4″ x 3/16″ (arms)
- 1/4″ dowel (armrests)
- 3/4″ x 1/4″ (base and seat cushion)
- 5/16″ dowel (bolster pillows – optional)
Suede scrapbook paper — one sheet is more than enough
DMC floss or another thick-ish thread in a color that complements the scrapbook paper
Tiny Turnings or beads to use as feet — approximately 1/4″ tall
You’ll also need glue (I used Aleene’s Tacky Glue), scissors, wood filler, sandpaper or emery boards, stain (for wooden feet), and a couple of toothpicks.
1) Assembling the frame
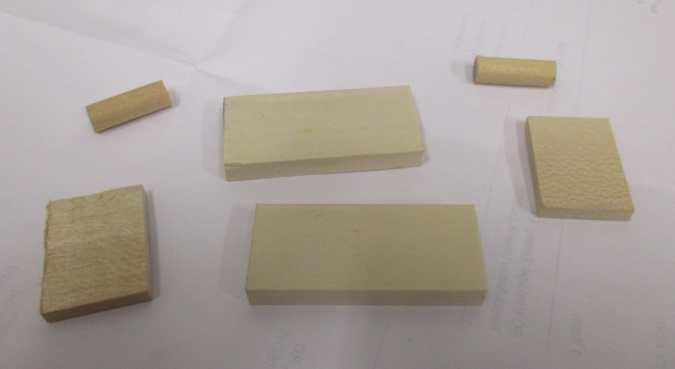
Cut the following pieces of strip wood:
- Arms: 1″ for tall-armed bench or 3/4″ for short-armed bench — cut two
- Armrests: 3/4″ — cut two
- Base: 1-3/4″
- Bolster pillows (optional): 3/4″ — cut two
The seat cushion will be slightly smaller than 1-3/4″. Its exact length will be determined by how much space you have after the arms and base are covered, so you might want to wait to cut that piece until later.
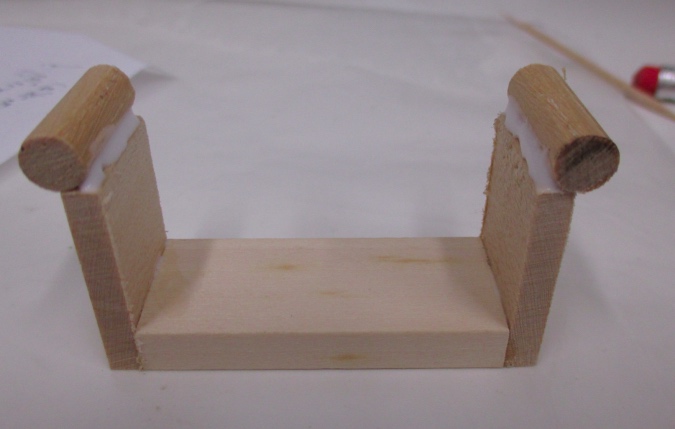
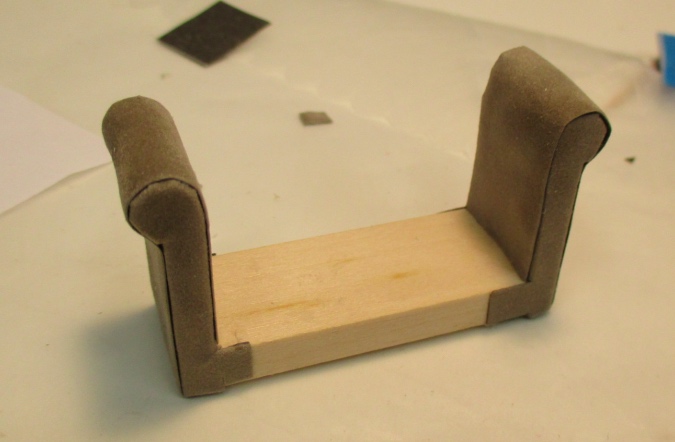
Glue the arms to the base. Glue the armrests to the tops of the arms, with the dowel pieces positioned on the edges of the arms as pictured. Use a lot of glue, then leave it alone to dry!
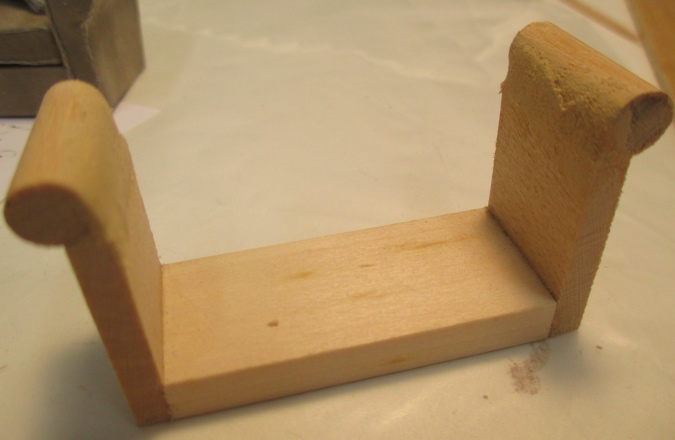
Once the armrests are totally dry, use wood filler to fill in the gaps and create a smooth transition from the arms to the armrests.
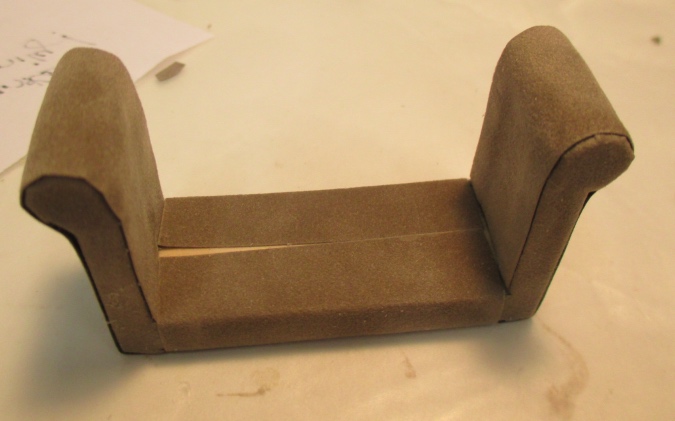
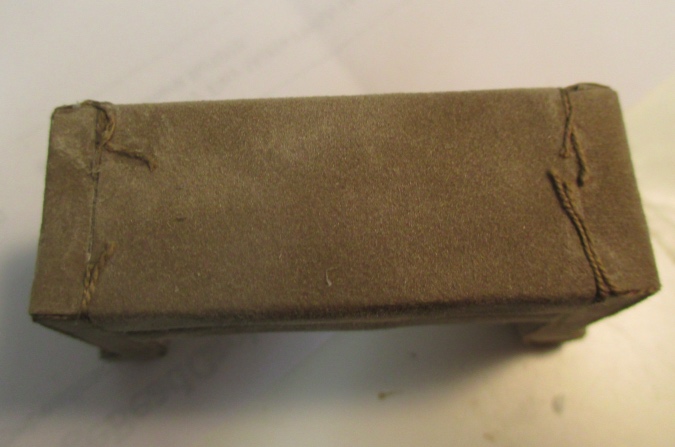
2) Covering the frame
The bench is covered with “suede” scrapbook paper that has the appearance of microfiber. Start with the fronts and backs of the arms, using pieces of scrapbook paper that look like this. Then cover the sides of the arms with a rectangular piece that’s long enough to fold under the base. See Step 4 in the sofa tutorial for more details.
Next, cover the base. The cushion will go on top of this, so it’s okay if the ends of the paper don’t meet up.
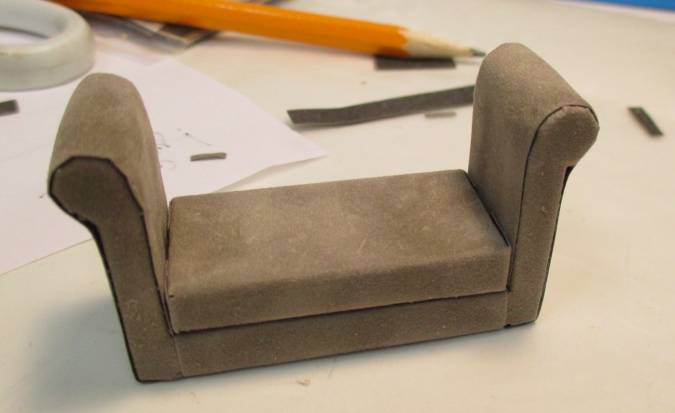
Measure the space between the two arms and subtract 1/16″ — that’s how long your cushion should be. Cover the cushion with scrapbook paper as shown in Step 5 of the sofa tutorial.
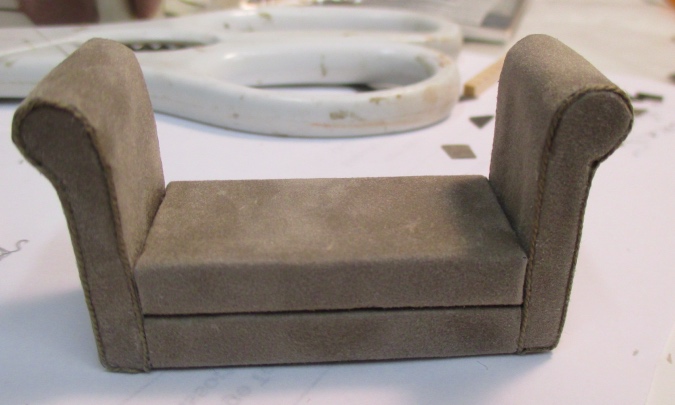
3) Piping
Now it’s time to cover up the seams on the fronts and backs of the arms. For the benches, I used DMC flower thread which does not separate into strands. If you use regular DMC floss, which has 6 strands, you may want to pull out some of the strands so it isn’t as thick. (I used 3 strands on the sofas.)
Dab glue on the seams with a toothpick and lay the floss on top of the glue line. Check out Step 6 of the sofa tutorial for more detail. For the benches I only did piping on the arms, not on the cushions.
Glue the floss ends to the underside of the bench, keeping them away from the corners.
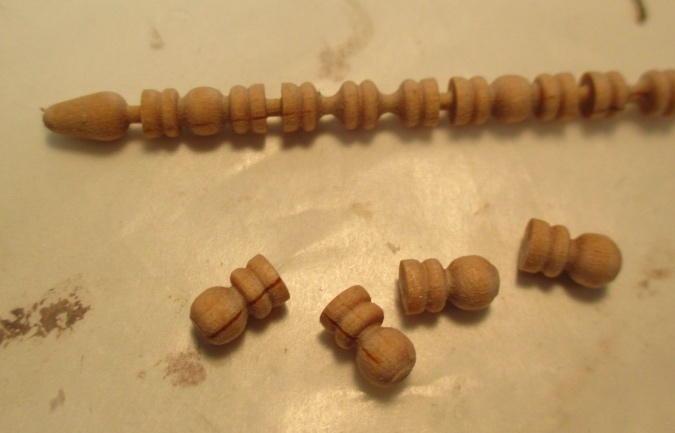
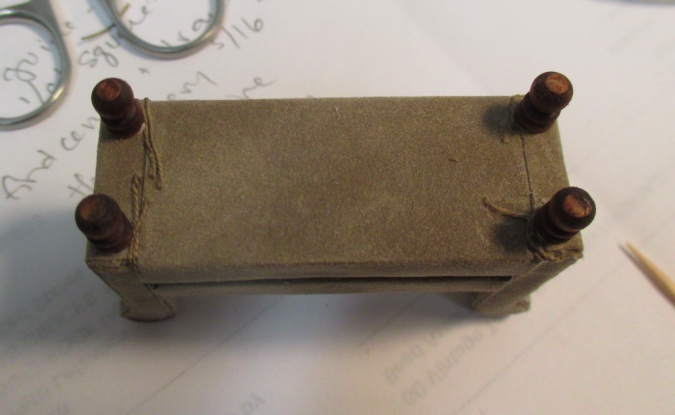
4) Feet
My ball feet are made from a portion of Tiny Turnings (TTN1000). Alternatively you could cut a portion of a turned spindle or newel post, or use beads. The feet should lift the bench about 1/4″ off the ground.
If you’re using wooden feet, stain them before gluing them on.
5) Bolster pillows
I added bolster pillows to the tall-armed bench. These are made from 5/16″ dowel to be slightly bigger than the armrests. Cut two 3/4″ pieces.
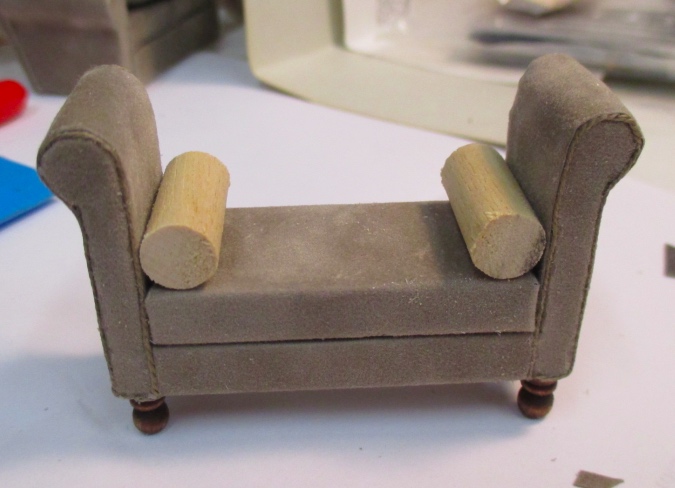
Cover the front and back edges like this, and then the sides. (See Step 3 of the sofa tutorial.) Add piping around the seams at the front and back.
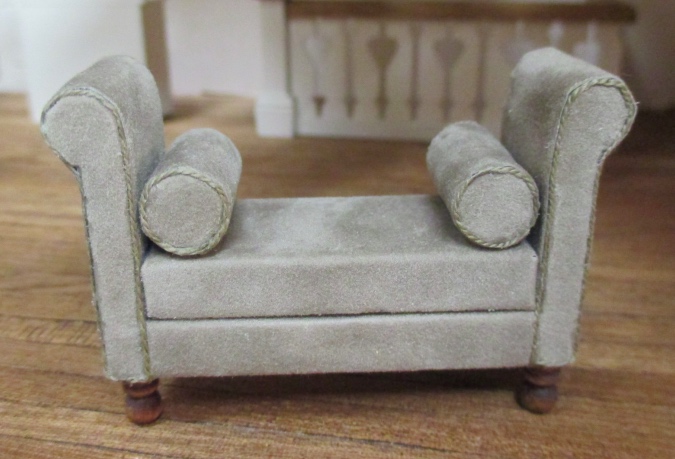
All done!
 Emily is a freelance writer, miniaturist, and adventure game enthusiast.


So cute! Love how they turned out.