I accidentally turned off the automatic blog updates, so emails didn’t go out for the last couple of posts. If you missed the Victorianna nursery trim or the grand opening of the Blackbird Bar, please check them out! And here’s a quick tutorial for the children’s books I made and then ended up not using in the Victorianna’s nursery.
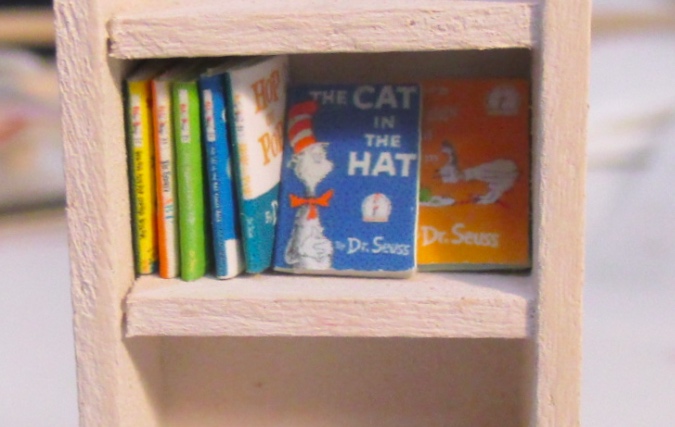
I like my miniature books to look like real books, with a front cover, a back cover, and a spine. Front covers are easy to find online, and Amazon sometimes displays back covers, but finding the spine can be tricky. Of course when you have books on a shelf, the spine is also the most visible part, so you really need it for the mini book to look realistic.
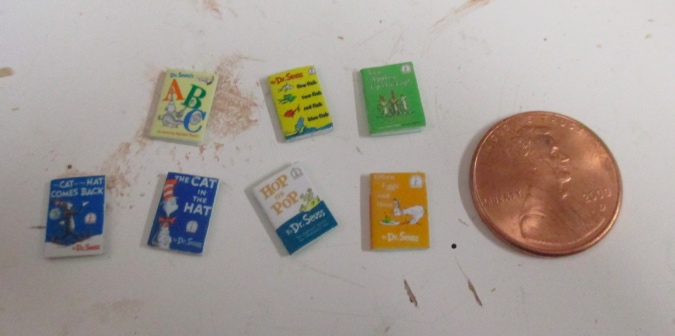
I made several children’s book covers by piecing together the front and back covers pictured on Amazon, with spines off of photographs from an eBay auction. Here’s a file you can download with some of the covers I made (for personal use only).
Before it’s resized, a pieced-together cover looks like this:
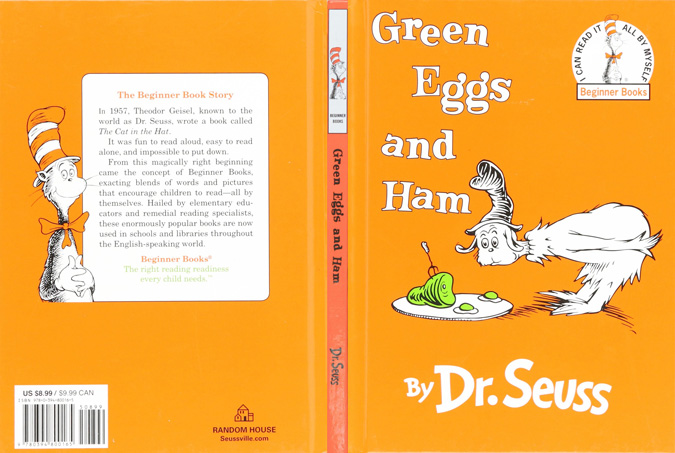
Notice the color of the spine is different than the front and back cover, due to it coming from a different image. Once the cover is shrunk down and assembled, it’s not too noticeable.
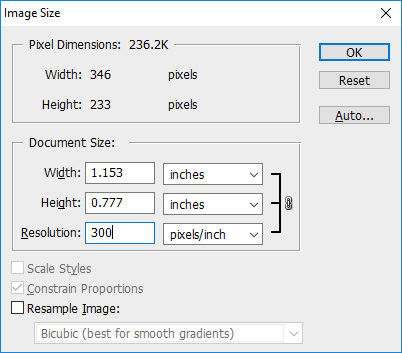
Before you shrink down the cover, first increase the dpi (dots per inch) to 300 or higher, for better print quality. Increasing the dpi reduces the printed size of the image, which is totally fine for miniatures since you usually want the picture to print out much smaller than what you see on your computer screen.
If you’re using Photoshop, uncheck the box that says Resample Image, change the dpi, then re-check that box and reduce the print size to whatever you want it to be. (Other image programs let you do this, too, I just don’t know what they call it!) You can refer to the Amazon listing for the book’s dimensions, and then divide the height by 12 for a 1:12 scale book or by 24 for a 1:24 scale book.
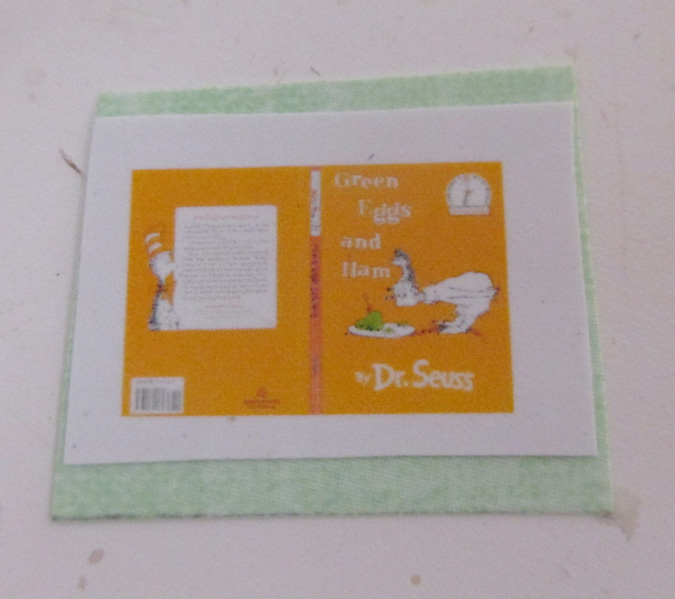
To assemble a book, cut out the cover leaving some slop around the edges. Use a glue stick to glue the cover to a piece of paper that’s stiff enough to give it some heft, but not so stiff that it will be hard to fold. I used a piece of scrapbook paper.
Fold the cover along the spine. You want to make two folds, one on each edge of the spine. The cover will shift a little when you fold it (that’s why you should wait to cut close to the edges until after folding).
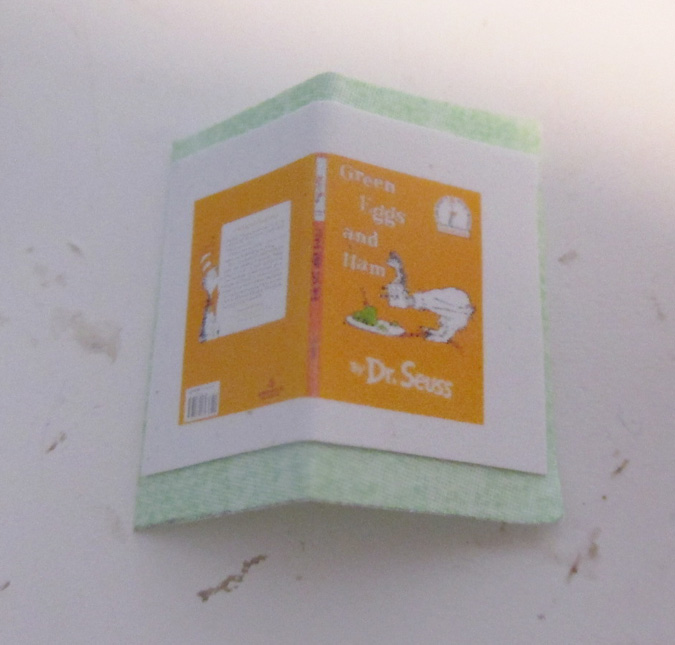
Now cut around the edges. I use nail scissors for this.

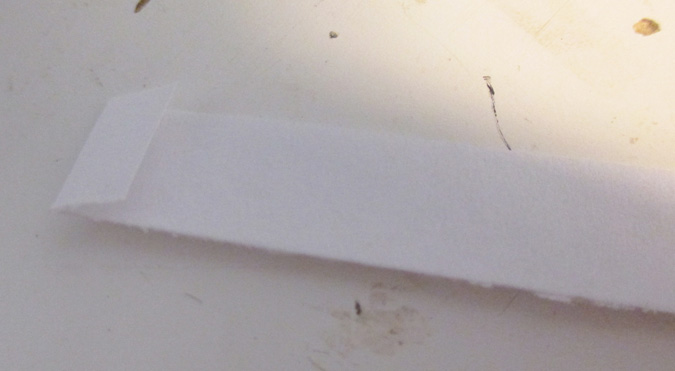
Next, cut a strip of printer paper that’s roughly the same height as the cover. (The blade on my paper cutter is dull, so I ended up with a crummy edge. That’s okay — it’ll be cut down in a later step.) Fold the edge of the paper so it’s slightly wider than the book.
Make several more folds, gluing each one to the one beneath it.
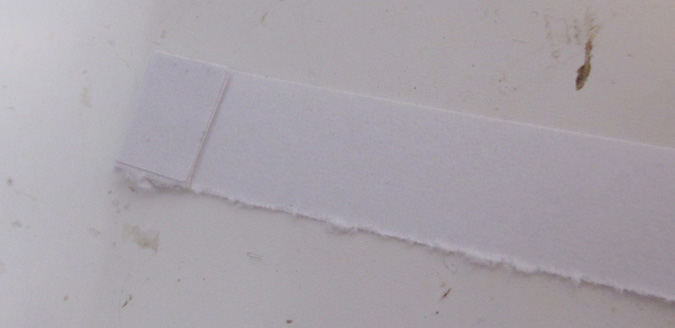
Continue folding and gluing until the pile is the right thickness to fill the cover.
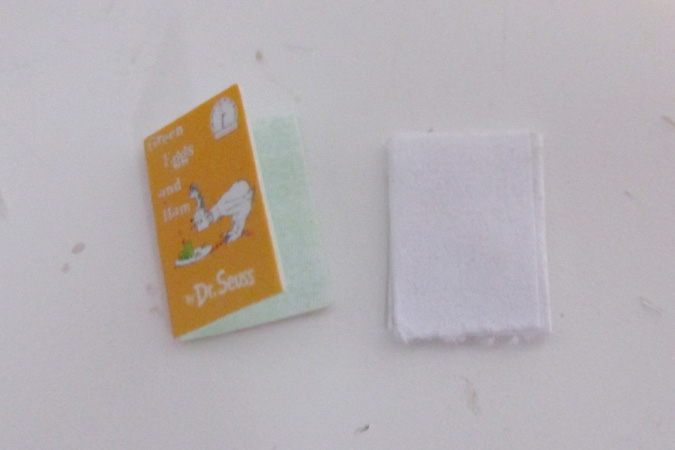
Trim around the edges so the paper pile just fits inside the cover without any white paper sticking out beyond the edges.
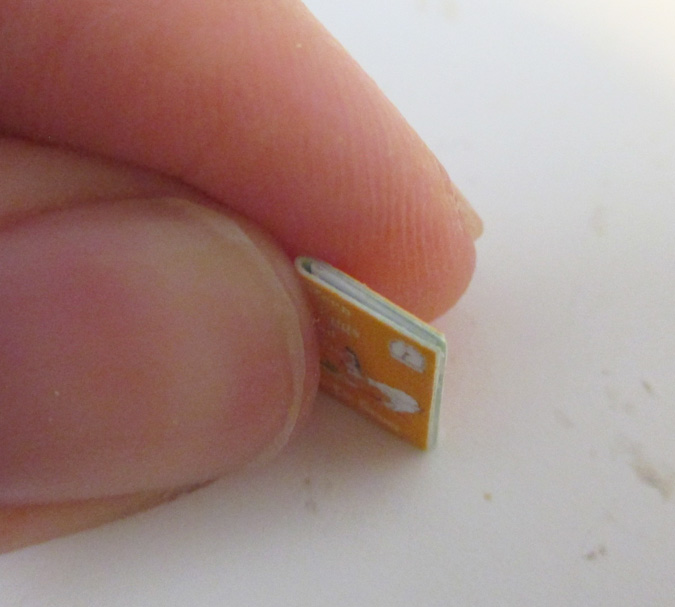
Glue the pile of pages into the cover. Congratulations, you’ve made a book!
Of course you can use this process for any book, not just children’s books. I’ve also made book covers by scanning dust jackets from hardcover books that I own. You can read about that here.
 Emily is a freelance writer, miniaturist, and adventure game enthusiast.


Oh I DO so like it
Sam I Am! :D
Lovely simple tutorial, thanks!