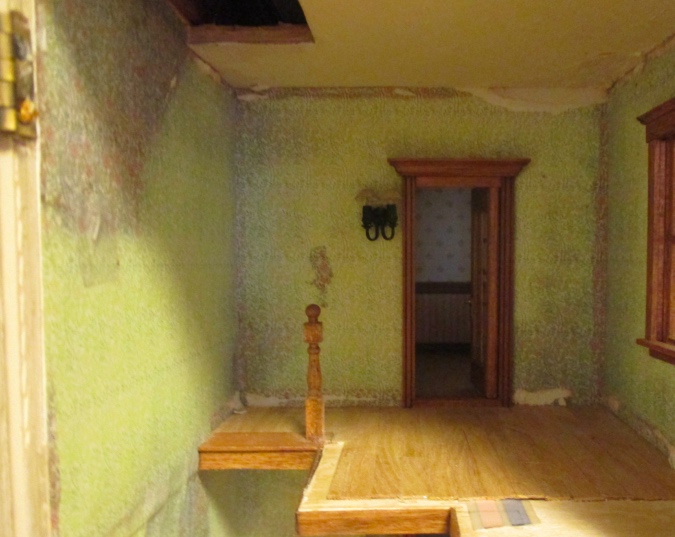
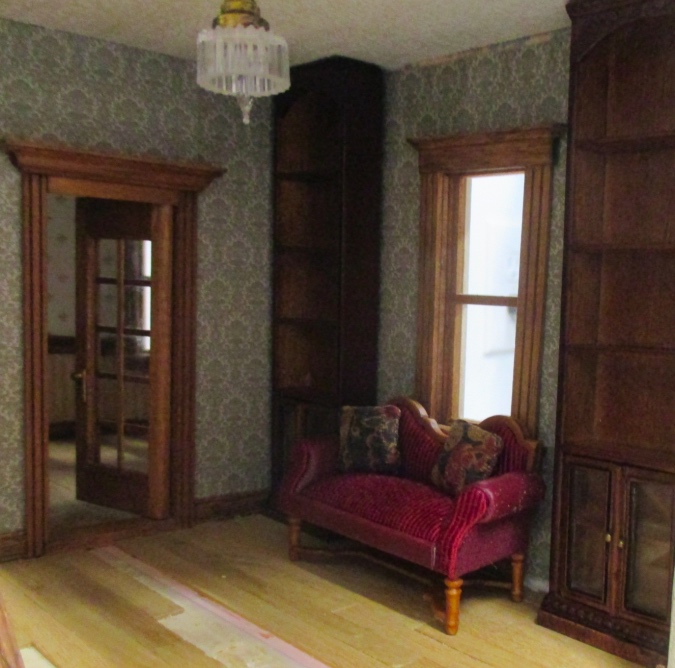
With the Rowhouse’s wallpaper and staircase fixed, I moved on to the upstairs room. I needed to patch the floor where the staircase had previously been, add railings so the little people don’t plunge to their deaths, and figure out how to handle the crown molding and baseboard around the Greyford bookcases I bought to go on either side of the window.
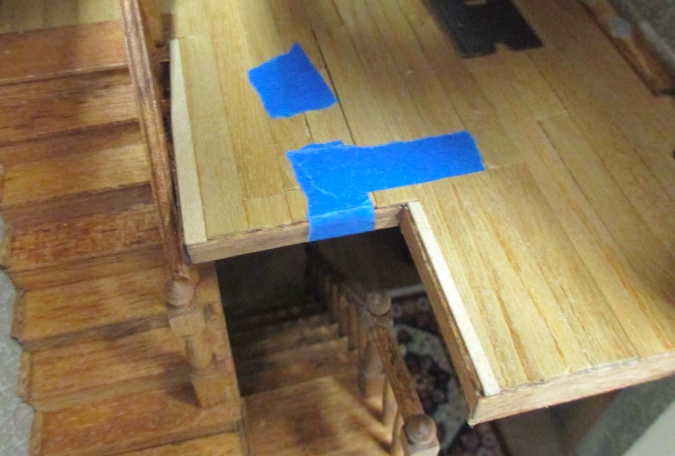
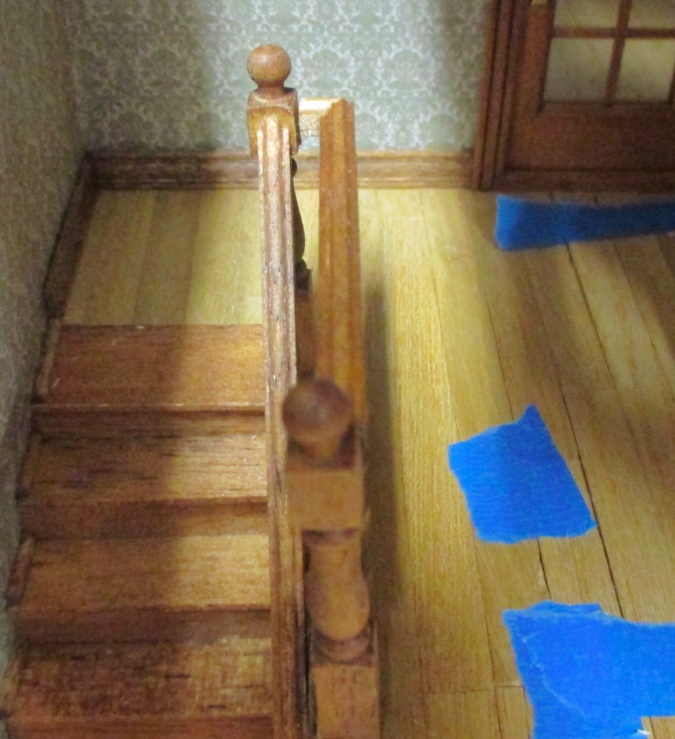
I didn’t think to take a picture of the floor when I started this process, but this one gives an idea of the area that needed patching:
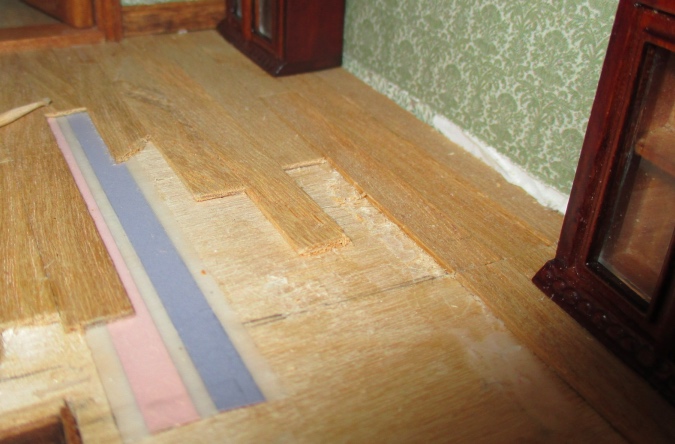
Luckily, I had a few leftover pieces of the flooring I used. I tried removing some floorboards so the patch would be less obvious, but it was hard to pull them up without breaking them, which left remnants of the floorboard behind that were then tough to get off.
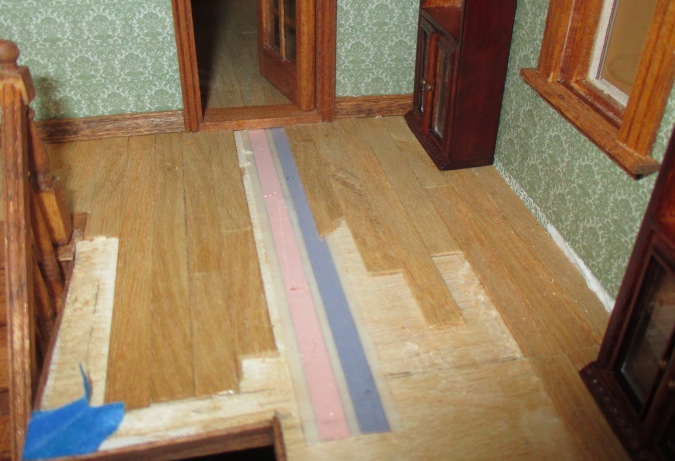
So I decided to start patching and see how bad it looked with the boards all meeting up in the same place, rather than staggered. The fact that the boards all meet up next to each other isn’t too noticeable beside the bookcase, but as the patch extended beyond the bookcase it would have become more obvious. So I got to work removing more floorboards by sliding the tip of my utility knife or a razor blade under the edge and prying them up.
Some came off more easily than others. Luckily this tapewire isn’t attached to anything so I didn’t have to worry about damaging it.
When I got to the edges I needed two irregular pieces. The floorboards splintered if I tried to cut them, so I used basswood for these.
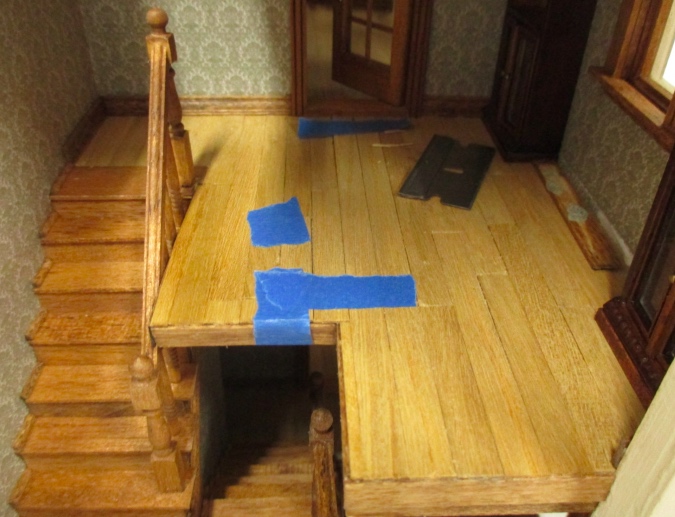
All patched!
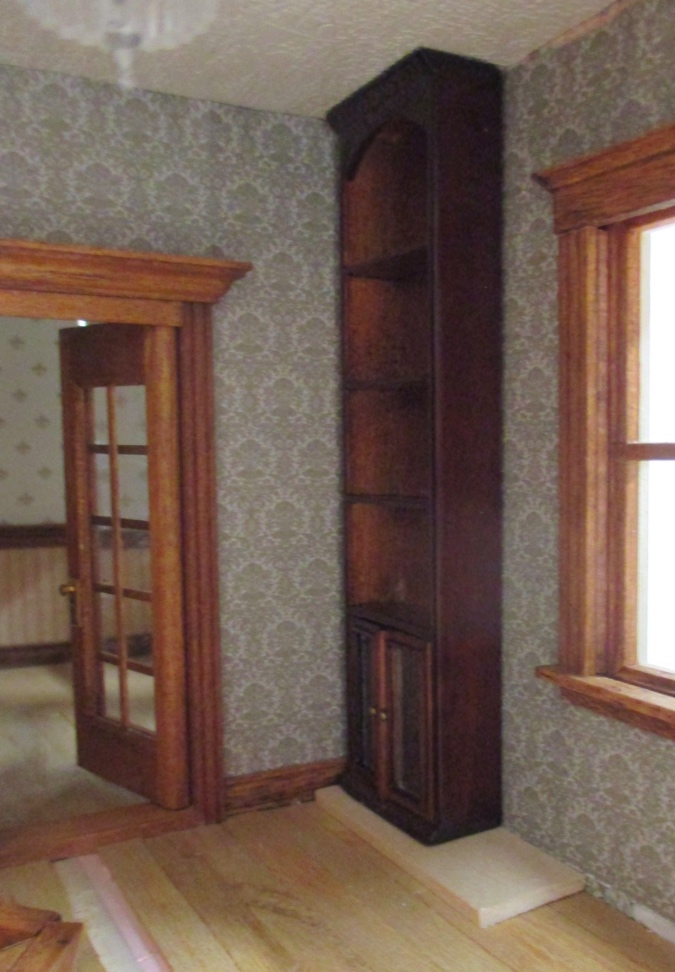
The Greyford bookcases are 4.75″ tall and the ceiling height is 5″. That left too small of a space above the bookcases to fit the crown molding. I decided to add wood to the bottoms, so the bookcases go all the way to the ceiling. Then I’ll just put crown between the two bookcases rather than running the crown around the top (which would have been complicated by the trim at the top of the bookcase).
These bookcases are supposedly “new walnut” finish, but they’re darker than other new walnut pieces I’ve bought in the past. Here’s the bookcase next to a new walnut kitchen cabinet I’m going to use in a different house. The lighter color was what I was expecting when I ordered the bookcases.

I tried all my different stains to find a match and this was the closest I could get. This is Minwax Mahogany gel stain.
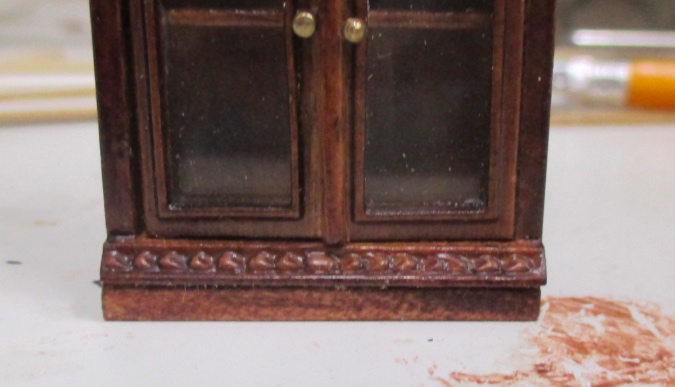
The base blends in better on the far bookcase, which is in shadow, than on the close one, but hopefully once the room is finished that won’t be where your eyes go. While I was working on this, the settee I ordered from JBM in Australia arrived. I like it!
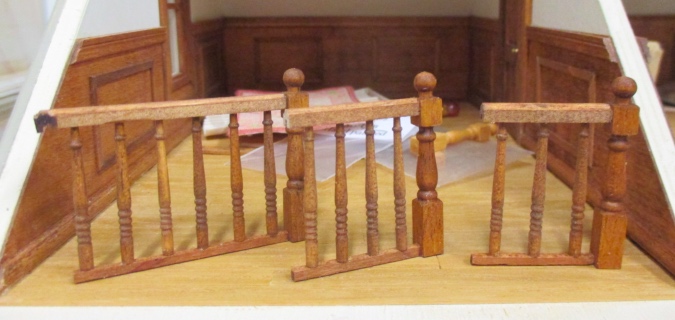
Here’s the layout for the railings. Houseworks’ Stair and Landing Handrail only comes with a top piece, not a bottom piece to hold the spindles. Trying to glue the spindles directly to the floor seemed like a disaster waiting to happen so I made bottom pieces out of a scrap piece I had, which is either cherry or mahogany. (I used this because it was the size I wanted, not because of the type of wood.)

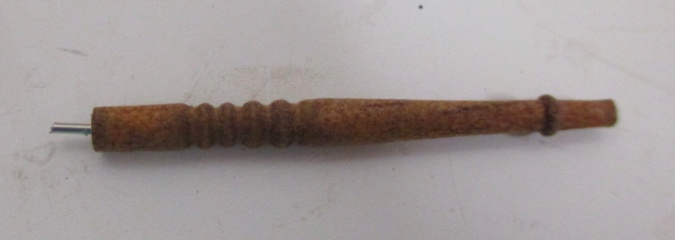
I added pins to the bottoms of the spindles. This a straight pin with the pointy end stuck into the spindle, then cut down.
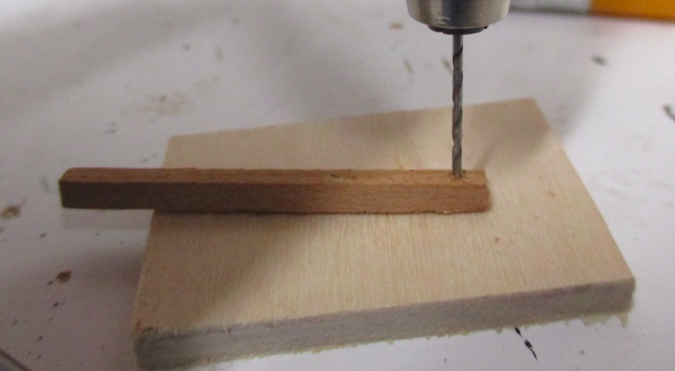
I used the micro drill to drill holes in the bottom pieces, the same size as the pins.
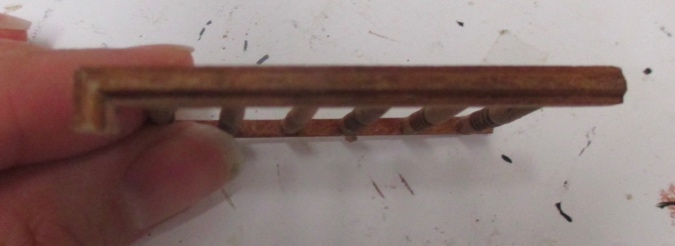
This gives the spindles more stability than if they were just glued on. I glued the spindles to the tops and bottoms, holding them between two newel posts to make sure the railing piece was square. (The newel posts aren’t glued on yet.) The bottom pieces would have been too dark if I stained them with Early American like everything else, so I used Minwax Natural on those — the color’s a little more red, but it’s close enough.

On the piece that meets up with the stair newel post, I added a small piece of handrail at a 45-degree angle.
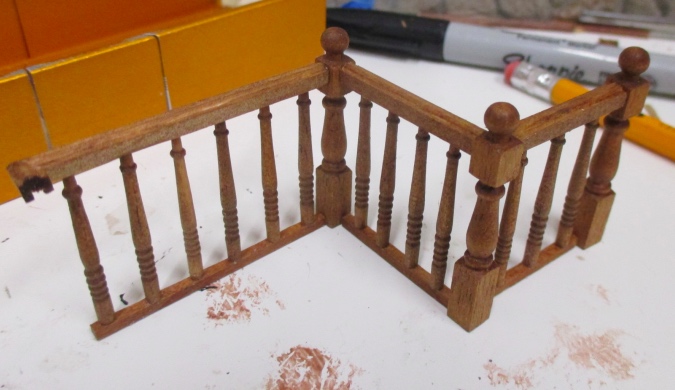
Once the glue on the railing segments was dry, I glued one newel post to each of them.
They’ll fit together like this.
I haven’t decided what to put on the shelves in the bookcases, but once the railings are glued in I don’t think I’ll be able to get the shelves out anymore, so I’ll wait to glue these in. I’ll also wait to finish the baseboard and crown molding until the bookcases are in their final positions.
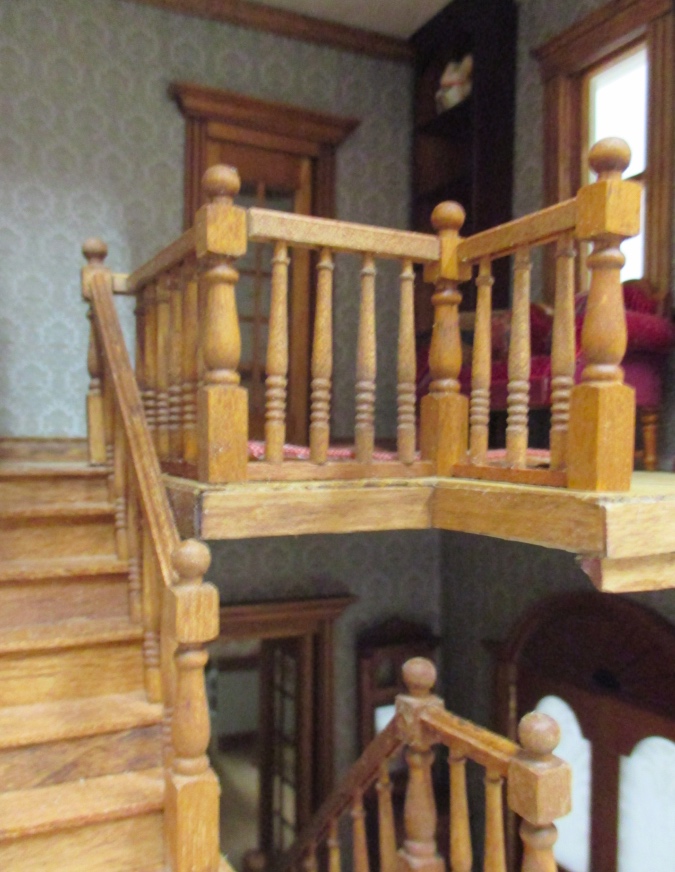
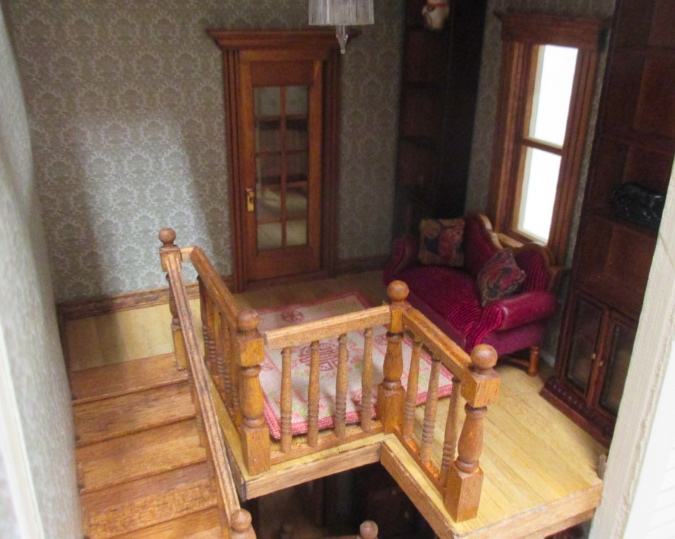
The open area to the right of the railing is up against the wall when the panel is closed, so it doesn’t need a railing for safety reasons, but it looks a little funny being open when the rest of the opening is closed off. I might add a radiator to that space. I’m also not sure if I’ll use this rug here. Instead I could add a hall table up against the railing.
 Emily is a freelance writer, miniaturist, and adventure game enthusiast.


Love your railings. And the bookcases look gorgeous.
Thanks! I have loved those bookcases ever since I saw them months (years?) ago, and have been looking for somewhere to use them. Of course by the time I decided to use them here, they were discontinued and hard to find! I feel lucky that I found some.
Oh, I totally love your tip for the spindles! The extra stability provided by using the straight pin is genius! You have just removed one of the stressors that made railings a nightmare for me. Thank-you so much. I can’t wait for your next installment/progress report. :)
That room looks so nice. I love those bookcases.
I applaud your perseverance in patching the floorboards and I’m relieved that you were finally able to make it work; but I can’t say enough good things about your hand rails-Really Beautiful Work!
And I also want to commend your decision to boost up the bottoms of the twin bookcases so that their tops meet the ceiling. By doing so, they’ve taken on even more visual presence as built- ins, which look as though they’ve always been there as does your cushy new sofa; your new houseguest from Down Under which was obviously worth the wait!??